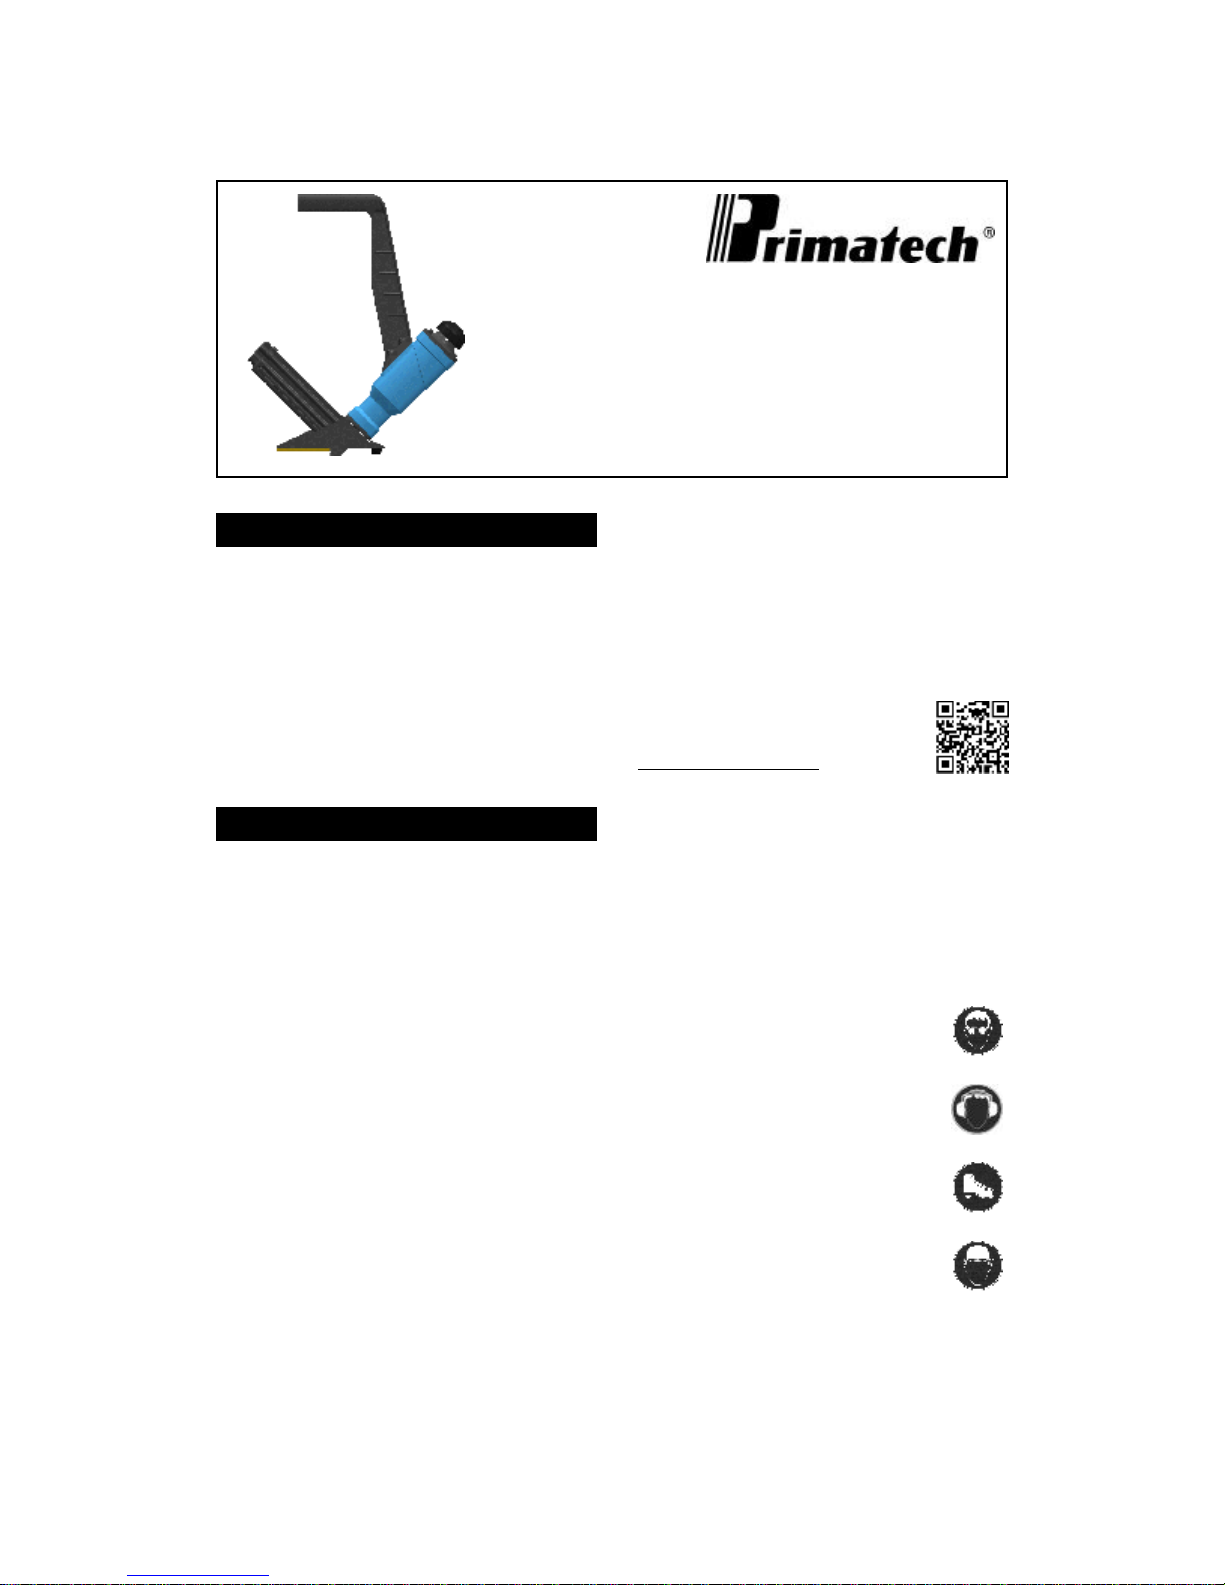
primatech P145 User manual

P145
PNEUMATIC FLOORINGTOOL
OPERATING INSTRUCTIONS
PNEUMATICTOOLP145
The pneumaticflooring toolP145 isatoolspecially
developed for the installation standard 3/4"to1/2"
hardwood flooring.It hasbeen designed for easy
maintenancewhere major components can be easily
accessed.It makesthe installation ofhardwood floor
veryeasy,allowing the operator tosetand fasten the
boards inthe standing position.
The P145 nailer/stapler takesbothstandard L-type
16GA flooring nailsand ½" crown15½GA flooring
staples.
Completedocumentation specifictoyour toolcan be
retrievedbyscanningthe QR-Code appliedon the tool.
You will find updated information suchasOperation
Manual,Partlist, Schematicspecifics and Technical
Notes specific toyour toolasitwasmanufactured; as
well asusefulinformation for ordering replacement
parts.
Technicalsupport, information &
schematics at
http://ts.primatech.ca/145
SAFETY MEASURES
Theseimportantguidelinesshouldalwaysbe followed
toworksafelywiththePrimatechpneumatictoolP145:
•Read theseinstructions thoroughlybefore using this
tooland keep it handyfor referenceif necessary.
•Alwayskeep hands, feetor other bodyparts away
fromthe fastener ejection area.
•Never aimthe toolinanydirection other than the
working area.
•Alwayscarryormanipulatethe toolbyits handle
whilethe airsupplyhoseis connected.
•Never hitthe head cap ofthe actuator ifthe baseis
not sitting perfectlyon the working surface.
•Never leavethe toollaying downon its side whilethe
airsupplyhoseis connected; the toolshouldalways
be left on the floor, standing on its base.
•Alwaysdisconnect the airsupplyhosewhen the tool
is not inuseor when movetoanother work area.
•Never serviceor repairthe tool,clear obstructionsor
makeadjustments whilethe airsupplyhoseis
connected.
•Onlycompressed airshouldbe used topower this
tool; do not exceed 110 psi(7.6bar).
•Never useoxygen or anyother compressed gasasa
power sourcefor this tool. Explosion mayoccur.
•AlwayswearOSHA-requiredZ-87safetyglasseswith
side shields.
•Alwayswear proper ear and footprotection whilethe
airsupplyhoseis connected.
•Alwaysremovefastenersfromthe magazine before
servicing tool.
Eyeprotectionisrecommendedandshould
be worn bytheoperator and other in
working area.Accidentalejection of
fastenersor wood debriscouldcause
severe eyeinjury.
Insomeenvironments,earprotectionmight
be required,asworking condition may
include exposure tohigh noiselevelswhich
lead tohearing damage.
Wearing safetyboots and safetyhatisalso
highlyrecommended.
Note:All the personalprotection
equipments must meetnationalstandards.
Printed in Canada v180 12/18

CONNECTION&AIRSUPPLY
Thistoolrequiresclean&dryair.The useofafilter and
apressure regulator is recommended.
Useadetachablemalecoupler with3/8"NPTmale
treads. The useofa3/8"(1 cm)diameter airsupply
hoseisrecommended.Asmallerhoseorahoselonger
than 50'(15 m)couldcauseapressure drop when the
toolis activated repeatedly.
Always useafree-flowconnection for the
compressed airsupplytoprevent that the
toolstays charged after disconnecting the air
supplyhose.
Unload toolbefore connecting airtoprevent
accidentaldischarge.
Toprevent injuryor accidentaldamage tothe
finished surfaceof the installed floor, rest the
toolontothe subflooring when connecting air,
moving tooltoadifferent work area, loading
the toolor performing anymaintenancetothe
tool.
Dirt, dust, and other particlesinthe airsupplycan
causesluggishoperation or premature wear.Drain
water fromthe compressor tankregularly.The
compressorstart-stop limits shouldbe settodeliver an
airpressure ofatleast 100 psi(7 bar) atall times.
Consultthe compressor manualor dealer for
instructions on howtomakethis adjustment.
Thistoolisdesignedtobeoperatedwithacompressed
airpressure of80 to100 psi(5.5-7.0bar).Airpressure
of90 psi(6.2bar) isadequatefor most situations,
although occasionally,ahigher pressure couldbe
necessary.Never notuseacompressed airpressure
higher than 110 psi(7.6bar).
PREVENTIVE MAINTENANCE
Thistoolrequiresminimallubrication.Use
onlydetergent-free oil suchasPrimatech
P-090.Fewdropsofoil weeklyinthe airinlet
issufficient. Other typesoflubricantmay
degrade the seals.
Checkperiodicallytomakesure thatthe head
assemblyisfullyscrewedontothemainbody.Aloosen
head will damage the tool.
LOADING THE TOOL
Thistoolcan be used witheither standard 16ga
flooring cleats or with15½ga flooring staples:
•L-type 16GA nailsinlengthsof1½"(38 mm),1¾"
(45 mm)or 2" (50 mm)
•½" crown15½GA staples inlengths of 1½" (38 mm),
1¾" (45 mm)or 2" (50 mm)
Useonlythe type of fasteners identified on
the magazine. The useof anyother type of
fasteners will damage the tool.
Loading the toolwithflooring staples:
•Press the lock and open the magazine cover.
•Insertone or twostripsofflooring staplesover the
centralguide ofthe magazine asillustrated below
(left).
•Pushthe magazine cover forward intoits locked
position.
Loading the toolwithL-type 16GA flooring nails:
•Press the lock and open the magazine cover.
•Placeastripofflooring cleats against the inner side
ofthe magazine,the “L” head ofthe cleats engaging
thegrooveasillustratedbelow(right).Smallmagnets
will holdit inplace.
•Pushthe magazine cover forward intoits locked
position.
Unloading cleats or staples
•Toremovefastener fromthe magazine,press the
lock and open the magazine cover
•Tiltthe tooltoslide back remaining fastener and take
themout.
Always operatethe toolwithfasteners in
magazine. Damage mayoccur if the toolis
operated without fasteners.

OPERATION
Unload tooland rest itontothe subflooring,Connect
thehoseandcycletoolonceortwicewithoutfasteners.
After loading the tool,the P145 nailer/stapler isready
for use.
Useonlythehammer supplied withthe tool.Theuseof
other type ofhammersmayaffect performance.The
rubber faceofthe hammer can be used withcare to
helpposition the boards.
Withthe flooring firmlyinplace,position the toolonto
the flooring and applydownwardpressure toensure
proper seating ofthe fastener.Strikethe head cap with
the hammer toactivatethe tool, Use onlythe RUBBER
FACE ofthehammertoactivate thetool. Using the
steelend will damagethetooland voidthe
warranty. Ifwoodisslightlytwisted,hittingthe toolwith
more forcewillassist inpulling the board up snugly.
NEVER strikethe head cap when the toolisnotsitting
on the working surface.
Before starting an installation, fasten down
fewboards toascertainthat the toolis
properlyadjusted. Always complywithall
manufacturers recommendations.
DISASSEMBLING THE TOOL
Allpneumaticcomponentscanbeeasilyaccessedwith
the useofan Allen key.Thissection describes howto
disassemblethetooltoaccessitsinternalcomponents.
Toaccess valveand piston assemblies:
•Removethe 4screws and takeoff the head.
•Pull outthe valveassembly.Inspect wear ring &
lubricate.Do notattempttodisassemblethe valve
assembly.
•Pull outthe piston assembly.Inspect wear ringand
lubricate.
It isusuallynotnecessarytopull-outthe bumper for
maintenance. Toreplacethe bumper:
•Removethe4screwsandtakeoffthebase/magazine
assembly.
•Pull out and replacethe bumper.
MAINTENANCE &REPAIR
Most maintenancetothe toolcan be made withthe
5mm Allen wrenchsupplied withthe tool.
Disassemblyofthe toolmust be done inaclean
environment. Somepartscan be easilydamaged if
disassembled withimproper toolsor byinadequate
methods. Maintenanceshouldonlybe performed by
trained personnel.Useonlygenuine Primatech
replacement parts.
Toprevent injury, ALWAYS disconnect the
airsupplyhosewhen servicing or
disassembling the tool.
When servicing the tool,donottwist or forceanyparts.
Damagemayresultfromsuchabuse.Contact your
Primatechdistributor for more information.
When opening the toolfor maintenance, always clean
allcomponents ofdirt, grit, or particles. Inspect the tool
carefullyforbroken parts or excessivewear,and
replaceifnecessary.When ordering parts, be sure to
specify the rightpartnumber,aswell asthe toolserial
number.
After anymaintenancetothe tool, REMOVE
ALL Fasteners before connecting airand
actuatethe toolrepeatedlyover apieceof
wood or subflooring toinsure proper
operation.
CLEANING THE VALVE
If the toolbecomessluggishor doesnotsetthe
fastener correctly, it mayindicateexcessivedirt, dust,
other particles, or even water,inthe tool.The first step
introubleshooting is toclean up the head assembly.
•Disassemblethe head assemblyasdescribed in
previous section.
•Performavisualinspection ofthe valveassembly.
Ensure thatthe actuator issliding easily.Clean and
lubricatelightly.Donotattempttotakeapartthe
actuator assembly.
•Clean the inside wall ofthe head and lubricatelightly
withanon-detergentoil.Insertthe valveassembly
intothe head and ensure that it is sliding easily.
•Ensure the piston assemblyissliding easilyintothe
cylinder.It shouldoffer someresistance,butifit
movestoo easily,itmaybe required toreplacethe
piston wear-ring.

ASSEMBLING THE TOOL
Thissection describeshowtore-assemblethe tool
after maintenance.The following procedure assumes
that the base/magazine is alreadyinstalled.
•Insertthe piston assemblyintothe tooland engage
the driving blade thru the opening ofgate/foot
assemblyguiding channel.
•Insert the valveassemblyintothe head.
•Inspect the head gasket; replaceifnecessary.Place
the gasketintothe grooveon the head flange.Some
oil or greasewillhelptokeep itinplaceduring
assembly.
•Insertthehead assemblyontothe body,making sure
that the gasket stays inplace. Screwinplace.
After reassembly, always actuatethe tool
repeatedlyWITHOUTFASTENERS against
apieceof wood toinsure proper operation.

TROUBLESHOOTING
TO PREVENTINJURY,ALWAYS
DISCONNECT THE AIR SUPPLY HOSE
WHEN ADJUSTING,SERVICING OR
DISASSEMBLING THE TOOL.
FIRST:CHECK THE COMPRESSED AIR SUPPLY
Manyofproblemscomefromafaultyor inadequate
compressed airsupply system.Before attempting to
repairthe tool,the following points shouldbe
checked:
•Checkthe pressureattheoutputofthecompressor;
adjust to80-100 psi(5.5-7.0bar) as required.
•Checkthetankpressureofthecompressor&adjust
the start/stop limits.
•Check the airdeliverysystem;a3/8"hoseis
recommended.
•Usefewer tools simultaneously;do not exceed the
capacityofthe compressor or ofthe delivery
system.
•Drainwater fromthe compressor.
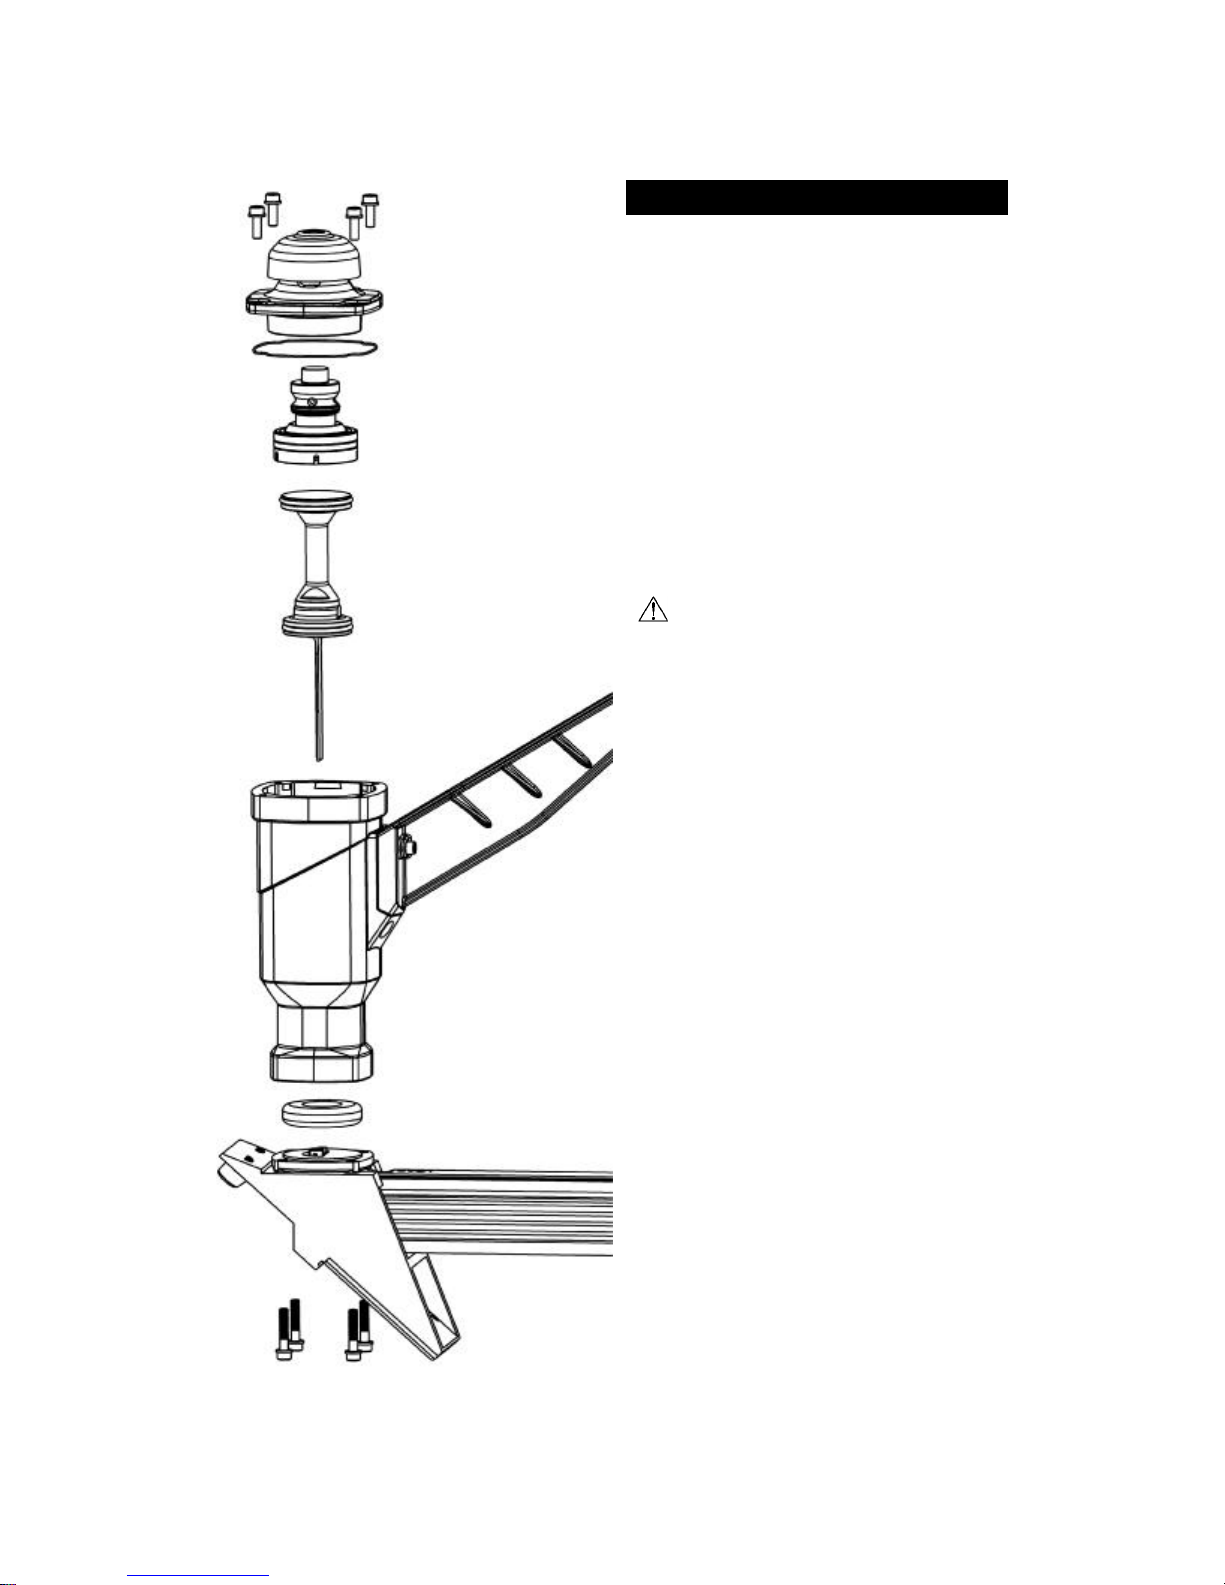
SECOND:CHECK FOR AIR LEAKS
At rest, thistoolshouldnothaveanyairleaks. Before
attempting torepairthe tooland replaceparts, check
the following:
•Check all sealsinhead,valveand piston
assemblies; replaceif necessary.
•Check the top edge ofmaincylinder for burrsor
dents.
•Clean &lubricatethe head and valveassemblies;
re-assemblethe head assemblycarefully.
•Check the interior of the head for scratches.
A more comprehensivelist of tips and
hints at
http://ts.primatech.ca/tips
SCHEMATICS
Withyour toolSerialNumber at hand,
go toour support web sitetoretrieve
the schematic specific toyour tool:
http://ts.primatech.ca/145
For more information, contact technicalsupport:
byphone 1 (800) 363-1962
byemail support@primatech.ca
TOOL WARRANTYAND LIMITATIONS
Primatechwarrants thatnewlypurchased fastening
tools,parts and accessorieswill be free fromdefectsin
materialand workmanship(excluding wear parts)for
the period shownbelow, after the dateof purchaseby
the originaluser asevidenced byavalidpurchase
invoice.
ONE-YEARLIMITEDWARRANTYwill applytoall
parts, except thosesubjected tonormalwear
WARRANTYSTATEMENT
Primatech‘ssoleliabilityhereunder will be toreplace
anypartor accessorywhichprovestobe defective
withinthespecifictimeperiod.Anyreplacementpartor
accessoriesprovided inaccordancewiththiswarranty
will carryawarrantyfor the remainder ofthe period of
warrantyapplicabletothe partitreplaces. When repair
or replacementofpartor toolisrequired,the complete
toolor part(s)mustbe returned toPrimatechor atsuch
authorized warrantyservicepointofPrimatech,
transportationprepaid,withacopyofproofofpurchase
evidencing thatthe partor tooliswithinthe warranty
period.Serial#must be intact and legiblefor warranty
toapply.
Thiswarrantyisvoidastoanytoolwhichhasbeen
subjected tomisuse,abuse,accidentalor intentional
damage,used withfastenersnotmeeting Primatech
specifications, sizeor quality,improperlymaintained,
repaired withother than genuinePrimatech
replacementparts, damaged intransitor handling,or
which,inPrimatech‘ssoleopinion,hasbeen altered,
modified or repaired inawaythataffects or detracts
fromthe performanceof the tool.
PRIMATECHMAKESNOWARRANTY,EXPRESSED
ORIMPLIED,RELATINGTO MERCHANTABILITY,
FITNESS, OROTHERWISE, EXCEPTAS STATED
ABOVE, and Primatech‘sliabilityASSTATEDABOVE
AND AS ASSUMEDABOVEisinlieu ofall other
warrantiesarising outof, or inconnection with,the use
and performanceofthe tool,excepttothe extent
otherwiseprovided for byapplicablelaw.
PRIMATECH SHALL INNOEVENTBE LIABLE FOR
ANYDIRECT,INDIRECT,ORCONSEQUENTIAL
DAMAGES WHICH MAY ARISE FROMLOSS OF
ANTICIPATEDPROFITSORPRODUCTION,
SPOILAGEOF MATERIALS, INCREASEDCOSTOF
OPERATION,OROTHERWISE. Anyliability,ifany,
connected withthe useofthe toolshall terminateupon
the expiration of the warrantyperiod specified above.
Table of contents
Other primatech Tools manuals