manuals.online logo
Brands
  1. Home
  2. •
  3. Brands
  4. •
  5. Primera
  6. •
  7. Label Maker
  8. •
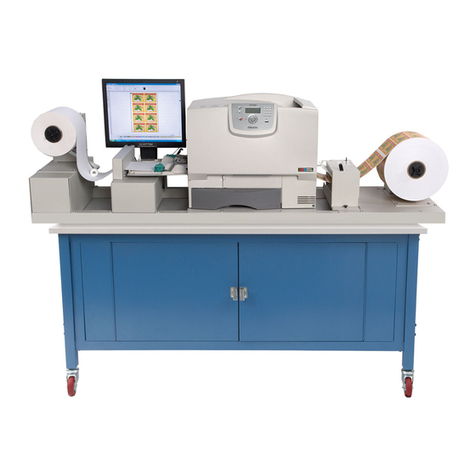
  9. Primera Digital Color Label Press CX1200e User manual

Primera Digital Color Label Press CX1200e User manual

Other manuals for Digital Color Label Press CX1200e

3

Other Primera Label Maker manuals

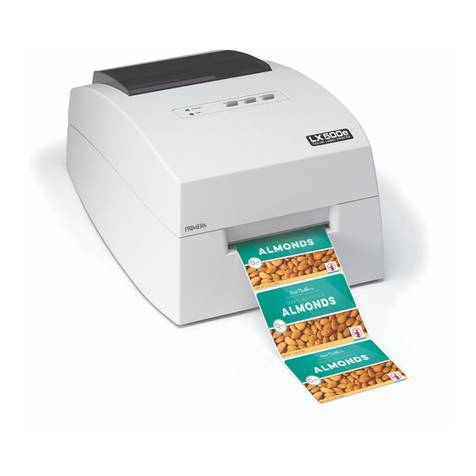
Primera LX3000e Manual

Primera

Primera LX3000e Manual

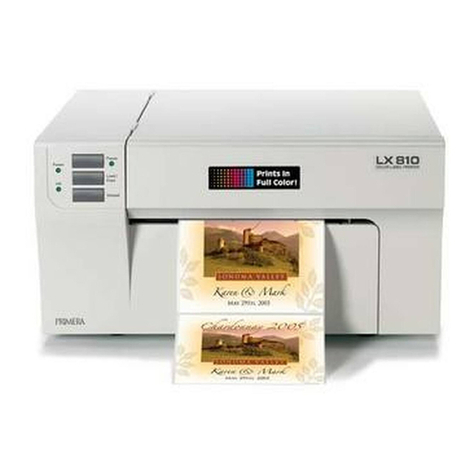
Primera LX810 User manual

Primera

Primera LX810 User manual

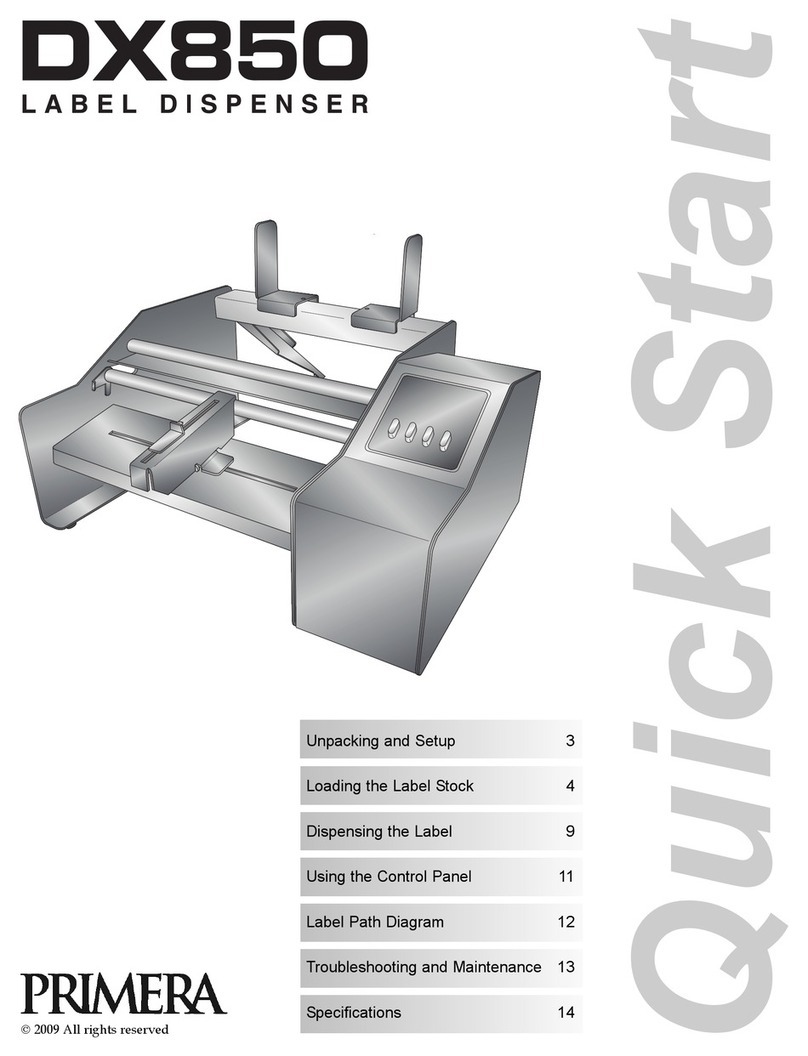
Primera DX850 User manual

Primera

Primera DX850 User manual

Primera Cyclone C-1000 User manual

Primera

Primera Cyclone C-1000 User manual

Primera LP130e User manual

Primera

Primera LP130e User manual

Primera 510212 User manual

Primera

Primera 510212 User manual

Primera LX600 User manual

Primera

Primera LX600 User manual

Primera LX810e User manual

Primera

Primera LX810e User manual

Primera LX3000 User manual

Primera

Primera LX3000 User manual

Primera LX810e User manual

Primera

Primera LX810e User manual

Primera RX500 User manual

Primera

Primera RX500 User manual

Primera LX200e User manual

Primera

Primera LX200e User manual

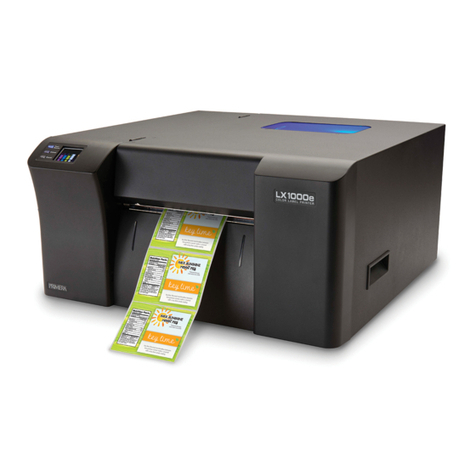
Primera LX1000e Manual

Primera

Primera LX1000e Manual

Primera LX200e User manual

Primera

Primera LX200e User manual

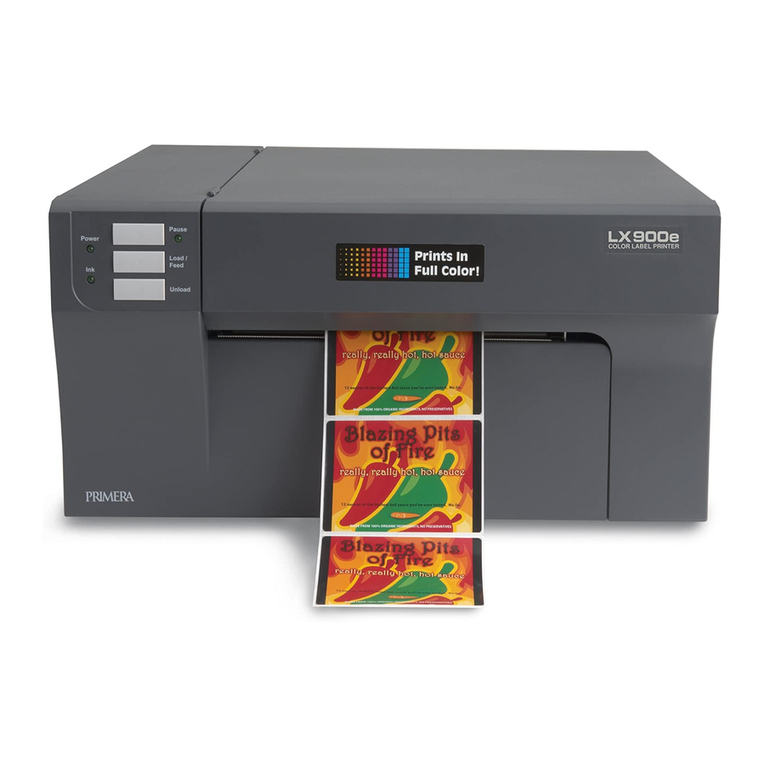
Primera LX900e User manual

Primera

Primera LX900e User manual

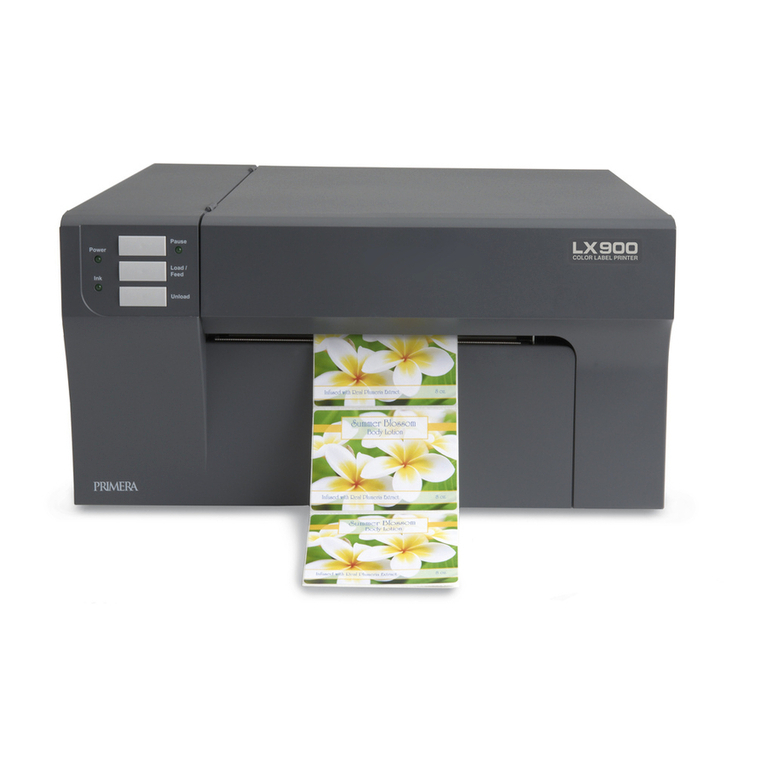
Primera LX900 User manual

Primera

Primera LX900 User manual

Primera LX810 User manual

Primera

Primera LX810 User manual

Primera LX400 User manual

Primera

Primera LX400 User manual

Primera LX400e User manual

Primera

Primera LX400e User manual

Primera DL 500 User manual

Primera

Primera DL 500 User manual

Primera Cyclone User manual

Primera

Primera Cyclone User manual

Primera RX900 User manual

Primera

Primera RX900 User manual

Primera LX2000 Use and care manual

Primera

Primera LX2000 Use and care manual

Primera CX1000 Manual

Primera

Primera CX1000 Manual

Popular Label Maker manuals by other brands

Brother P-Touch 3600 user guide

Brother

Brother P-Touch 3600 user guide

Dymo Rhino 6500 user guide

Dymo

Dymo Rhino 6500 user guide

LabelMill LM3510 Operation manual

LabelMill

LabelMill LM3510 Operation manual

Brother P-Touch 2420PC Quick reference guide

Brother

Brother P-Touch 2420PC Quick reference guide

newell Dymo LabelManager 210D user guide

newell

newell Dymo LabelManager 210D user guide

Brother TD-4000 Gu

Brother

Brother TD-4000 Gu

U-Line BROTHER H-8754 manual

U-Line

U-Line BROTHER H-8754 manual

Tharo Systems H-435+ user manual

Tharo Systems

Tharo Systems H-435+ user manual

Brother E300 user guide

Brother

Brother E300 user guide

Godex RT700 SERIES Service manual

Godex

Godex RT700 SERIES Service manual

ID Technology 252 Operator / technical  manual

ID Technology

ID Technology 252 Operator / technical manual

Labelmate MC-11 user manual

Labelmate

Labelmate MC-11 user manual

CAB XD4M/300 Service manual

CAB

CAB XD4M/300 Service manual

Avery Dennison Pathfinder 6057 System administrator guide

Avery Dennison

Avery Dennison Pathfinder 6057 System administrator guide

Brother P-touch PT-9700PC user guide

Brother

Brother P-touch PT-9700PC user guide

TSC PEX1000 Series user manual

TSC

TSC PEX1000 Series user manual

Adkins Label Master user guide

Adkins

Adkins Label Master user guide

Epson LabelWorks LW-400 Specifications

Epson

Epson LabelWorks LW-400 Specifications

manuals.online logo
manuals.online logoBrands
  • About & Mission
  • Contact us
  • Privacy Policy
  • Terms and Conditions

Copyright 2025 Manuals.Online. All Rights Reserved.

Switch on the
unwinder, printer
and rewinder.
1
2X
2
Place the label stock roll
(max 12" OD/
max 30.48 cm) on the
unwinder chuck.
Center the label stock
on the aluminum area
of the chuck.
16 mm
3The loose stock should fall on
the right side of the roll. Turn
the tension knob clockwise to
secure the roll to the chuck.
Turn the knob as as tight as
you can! Feed the stock under
the dancer arm and through
the cutter.
Dancer Arm
Cutter
Tension Knob
Continue feeding the stock
into the printer feeder tray.
Feed the stock under the green
guides and under the paper
feed roller. Stop feeding when
the leading edge of the stock
has covered the red stop block
printed just outside the feeder
door entrance.
4
Green Guides
Feed Roller
Red Stop Block
5Engage the Feeder Switch (left
Position).
Warning! Failure to engage this switch
will cause the label stock to feed out of
the top of the printer.
!
6Place an empty label
core on the rewinder
chuck. Center the core
on the aluminum area
of the chuck. Turn the
tension knob clockwise
to secure the core to the
chuck. Turn the knob as
as tight as you can!
16 mm
(.63 inches)
Loading Label Stock Quick Reference Guide
Attach the label stock to
the rewinder core.
As the printer is preparing
to print, get a piece of tape
ready. It is best to stand to
the right side of printer
with your arms above the
rewinder roll. As the stock
is ejected from the printer
hold it with your left hand
while you place the tape on the middle of the
end of the stock.
The stock will continue to
feed at a slower speed.
When it reaches the
rewinder, attach it to the
top of the empty label
core. Position the stock so
that it that it is centered on
the core. The label stock
should be taut (no slack)
when attached to the core.
Immediately after the label stock is attached,
engage the Rewinder by pushing the
Rewinder Lever toward the printer.
Important! To minimize the slack loop that
will be created under the rewinder, it is
very important that you engage this lever
immediately after the label stock is taped
to the core.
8a 8b
8c
220609-511223
7Print your label according to Section 5 of the manual.
Note: Depending on when the printer was last used, the fuser will need to heat up or cool down before the printer will print.
This can take from 2 seconds to 2 minutes.
4 Seconds
4 Seconds
iImportant Note: The taping process
occurs very quickly so you may not get
the label stock attached correctly the
first time you try it. It is extremely
important to attach the label stock
centered on the core. If the attached
label stock is too far to the right or left
the rewinder roll will start to walk
back and forth and will eventually not
be useable once the roll reaches its full
size. Any small problem within the first
few revolutions of the rewinder will be
exacerbated as the roll gets
larger. If you think the label stock
was not attached properly, press the
Stop/Cut button and cancel the print
job using the printer control panel.
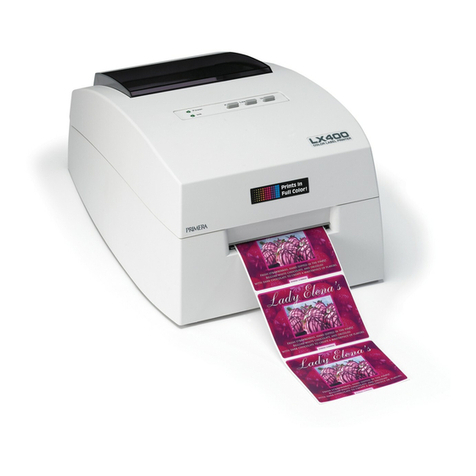
Stop
Press to
Cut
