D. Pick Depth Adjustments
If it appears the fingers are perfectly centered but just not going down far enough to pick
the disk, adjust with the following instructions:
Adjust the pick depth level by changing the values (with numbers in increments of 10) in
the 'DISK SWITCH OFFSET' field. You should be at 50 or 60 right now. Try increasing
the number in increments of 10, then testing (See Section H) until you find the proper
depth. Once you change the value, Click Test to set it. Do not set this value over 80
under any circumstances. If it is still not picking at 80, there are other problems with the
unit that will need to be addressed.
E. Adjust Picking left to Right
If the CD is getting pushed to the left or right when the arm is attempting to pick for any
one location, adjust with the following instructions:
Adjust the pick position left and right for the respective location by changing the values
(with numbers in increments no larger than 2 at each adjustment attempt - i.e. try these
values progressively - 00, 02, 04, 06, etc...) in the respective field. Keep in mind that
using a negative value (i.e. -02, -04, -06) will move the arm position to the right, and
positive values to the left. Click the Move button next to the proper location to move the
arm over that position. Click Pick to test it.
F. Adjusting Picking Front to Back – (Printer Tray and Burner Tray only)
Printer Tray - Forward and backward adjustments are made with the Tray Out Position.
The higher the positive value closer to +32 the further out the tray will come when
ejected. Opposite goes for negative values entered. The tray will not eject as far. This
would help if the arm is pushing the disc forward or backward to try to center the fingers
in the hub of the disc.
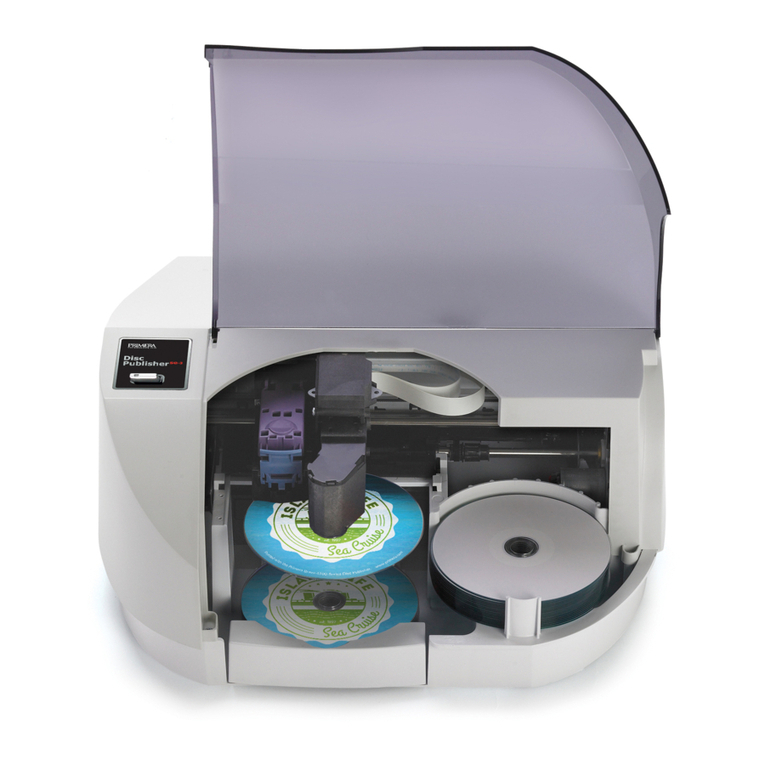
CD/DVD Burner Tray – You need to physically adjust the drive position forward or
backward, so the arm can pick correctly out of the drive. Loosening four screws holding
the drive in place inside the Bravo allows the drive to move.
You will NOT need to remove the cover to access the screws. There are four total that
will free up the drive to adjust it forward and backwards. Open the lid and look down at
the metal plate just below the drive, you will see two screws that are torx heads. You will
also notice that they are in slots and not holes. These slots are what the drive will slide
in to get your micro adjustments. Loosen these two screws. The other two screws are
located on the bottom of the machine near the back. Loosen these two screws. This
should free up the drive so it slides forward and backward in the slots up front. Once
adjusted properly, tighten the front screws back up.


