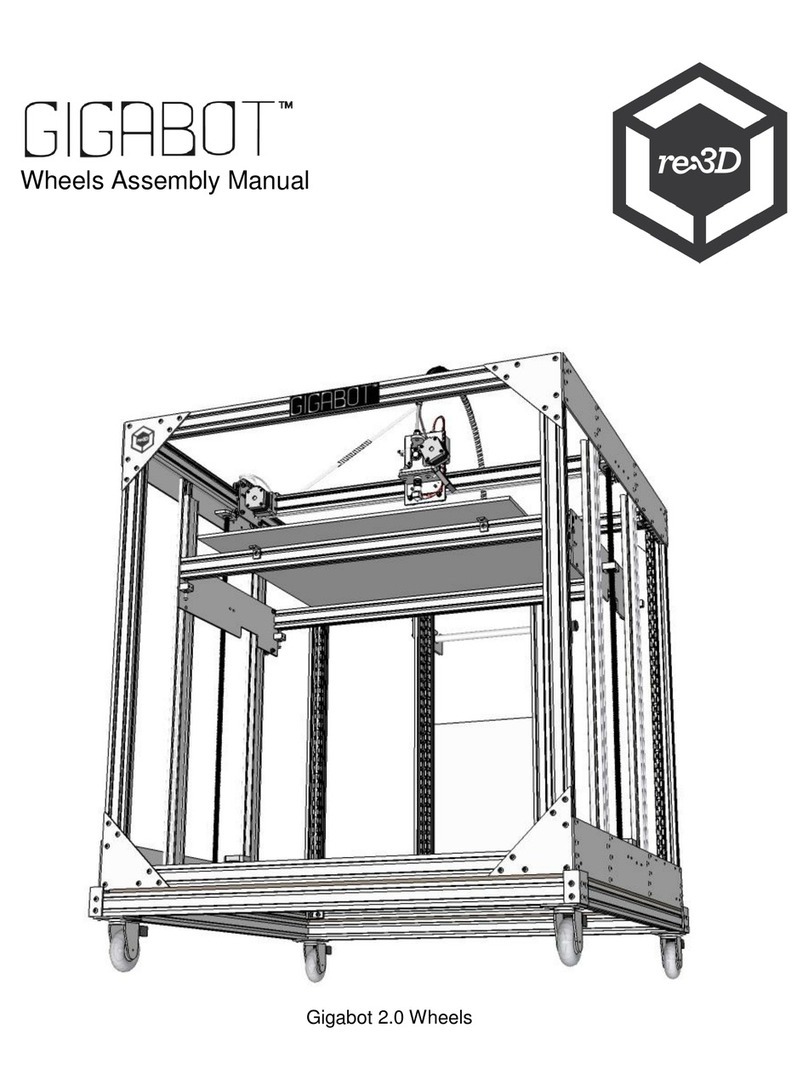
re:3D Gigabot User manual

think big,
print huge
wheeled platform
assembly


Helpful links
Welcome
This guide will help get your wheeled platform set up and ready to add to your Gigabot®. Should
Here are some additional links to help you along the way:
Wiki: http://wiki.re3d.org
Community forum: https://re3d.zendesk.com/hc/en-us/community/topics
re:3D Shop: http://shop.re3d.org/
Website: https://re3d.org/
Sketchfab: https://sketchfab.com/re3d/models
YouTube: https://www.youtube.com/user/GigaBot3D
Rev. February 2017

legalese
read instructions
retain instructions
heed warnings
follow instructions
cleaning
attachments
water and moisture
ventilation
power sources
placement
All the safety and operating instructions must be read before the printer is operated.
The safety and operating instructions should be retained for future reference.
All warnings on the product and in the operating instructions should be adhered to.
All operating and use instructions should be followed
Unplug this product from the wall outlet before cleaning. Do not use liquid or aerosol cleaners.
Do not use any attachments or enhancements not recommended by the product manufacturer as
they may cause hazards.
Do not use Gigabot® near water - for example, near a bath tub, wash bowl, kitchen sink, or laundry
tub, in a wet basement, or near a swimming pool, and the like.
Slots and openings in the cabinet are provided for ventilation and to ensure reliable operation
of the product and to protect it from overheating, and these openings must not be blocked or
covered. The openings should never be blocked by placing the product on a bed, sofa, rug, or
other similar surface. This product should not be placed in a built-in installation such as a bookcase
or rack unless proper ventilation is provided or the manufacturer’s instructions have been adhered
to.
This product should be operated only from the type of power source indicated on the marking
label. If you are not sure of the type of power supply to your home consult your appliance dealer
or local power company. For products intended to operate from battery power, or other sources,
refer to the operating instructions.
Do not place this product on an unstable cart, stand, tripod, bracket, or table. The product may fall,
causing serious injury to a child or adult, and serious damage to the product. Use only with a cart,
stand, tripod, bracket, or table recommended by the manufacturer, or sold with the product. Any
mounting of the product should follow the manufacturer’s instructions, and should use a mounting
accessory recommended by the manufacturer.

power sources
Grounding or polarization
power-cord protection
lightning
overloading
object and liquid entry
This product should be operated only from the type of power source indicated on the marking
label. If you are not sure of the type of power supply to your home consult your appliance dealer
or local power company. For products intended to operate from battery power, or other sources,
refer to the operating instructions.
This product may be equipped with either a polarized 2-wire AC line plug (a plug having one
blade wider than the other) or a 3-wire grounding type plug, a plug having a third (grounding) pin.
The 2-wire polarized plug will outlet, try reversing the plug. If the plug still fails to fit, contact your
electrician to replace your obsolete outlet. Do not defeat the safety purpose of the polarized plug.
The 3-wire grounding type plug will fit into a grounding type power outlet. This is a safety feature.
If you are unable to insert the plug into the outlet, contact your electrician to replace your obsolete
outlet. Do not defeat the safety purpose of the grounding type plug.
Power-supply cords should be routed so that they are not likely to be walked on or pinched by
items placed upon or against them, paying particular attention to cords at plugs, convenience
receptacles, and the point where they exit from the product.
For added protection for this product during a lightning storm, or when it is left unattended and
unused for long periods of time, unplug it from the wall outlet and disconnect the antenna or cable
system. This will prevent damage to the product due to lightning and power-line surges.
Do not overload wall outlets, extension cords, or integral convenience receptacles as this can
result in a risk of fire or electric shock. A product and cart combination should be moved with care.
Quick stops, excessive force, and uneven surfaces may cause the product and cart combination
to overturn.
Never push objects of any kind into this product through openings as they may touch dangerous
voltage points or short-out parts that could result in a fire or electric shock. Never spill liquid of any
kind on the product.

gigabot®: unassembled 1
Legend
insert fasten
Locate
place
align
Objects of important are outlined with
dotted lines, or highlighted.

Frame Assembly

gigabot®: unassembled
4
In this section, the frame of the wheeled platform will be assembled, as shown below.
overview

gigabot®: unassembled 5
Work on a flat surface.
Use a precision square to ensure squareness of adjacent rails
before fully fastening the M5x10mm screws.
Be mindful of the orientation of the T-nuts in the common rail.
Tips & Tricks
#1
#2
#3

a1
a2
a3
In this assembly, you
will use 4 triangle angle
brackets. Prepare each
bracket by inserting 2
M5x10mm BHCS in each
and loosely fasten a M5
T-nut to each.
Identify the cross rails
(33.5” or 850mm).
Attach 2 triangle bracket
assemblies to each end
of a cross rail as shown.
Tighten the M5x10mm
BHCS with the 3mm Allen
Key. Do this for both cross
rails.
The remaining rails are
the common rails. Insert
4 T-nuts into each rail
as shown. These are for
attaching the casters and
tie plates later.
gigabot®: unassembled
6
33.5” or 850mm
Detail view
This side up
This is down
Detail view

a4
a5
a6
Connect a common rail to
a cross rail by sliding the
triangle bracke T-nut into
the slot of the common
rail as shown. Maintain the
orientation from A3 for the
common rail. Be careful
not to tilt the rail such that
the T-nuts fall out.
Repeat this until you have
assembled the entire
frame. Loosely fasten the
M5x10mm BHCS for now.
Use the precision square
to square up a corner.
Also, make the end of the
cross rail flush with the
common rail. Fully fasten
the M5x10mm BHCS
using the 3mm Allen Key.
gigabot®: unassembled 7
Square the corner

a7
Repeat step A6 for all
corners.
gigabot®: unassembled
8

CASTER &
TIE PLATE
ATTACHMENT

tools & parts
partbox # quantity
Tie plates
3mm Allen Key
M5x8mm BHCS
Locking casters
Non-locking casters
M5x12mm BHCS
M5 fender washers
M5 T-nuts
2
1
4
2
2
12
12
8
1
1
1
1
1
1
1
Refer to packing list to identify parts
gigabot®: unassembled
10

gigabot®: unassembled 11
In this section, you will attach the casters and the tie plates to the wheeled platform.
overview
Tie plates
Non-locking casters
Locking casters

gigabot®: unassembled
12
Work on a flat surface.
Remember to attach the caster wheels using fender washers
along with the M5x12mm BHCS.
Tips & Tricks
#1
#2

B1
B2
B3
The frame should already
be oriented such that
these T-nuts are facing
up (refer to steps A3 and
A4). If not, flip the frame
around to make it so.
Insert 2 T-nuts at each
end of both cross rails as
shown.
Locking and non-locking
casters should be
grouped together along
each cross rail, as shown.
gigabot®: unassembled 13
Cross rails
Locking casters
Non-locking
casters

B4
B5
B6
Attach each caster by
aligning the T-nuts to the
holes in the caster and
fastening M5x12mm BHCS
and a fender washer to
each one. Use the 3mm
Allen Key to tighten.
Repeat this to install all
caster wheels. Note that
steps B5 and B6 show
an older version platform
with 4 locking casters -
this is no longer the case.
Flip the frame assembly
over so that the wheels
are now on the ground.
gigabot®: unassembled
14
Cross rail
Common rail
Other manuals for Gigabot
9
Table of contents
Other re:3D 3D Printer manuals

re:3D
re:3D Gigabot User manual

re:3D
re:3D Gigabot User manual

re:3D
re:3D gigabot User manual

re:3D
re:3D Gigabot User manual

re:3D
re:3D Gigabot User manual

re:3D
re:3D Gigabot User manual

re:3D
re:3D TERABOT User manual

re:3D
re:3D Gigabot X User manual

re:3D
re:3D GIGABOT 3+ User manual

re:3D
re:3D Gigabot User manual