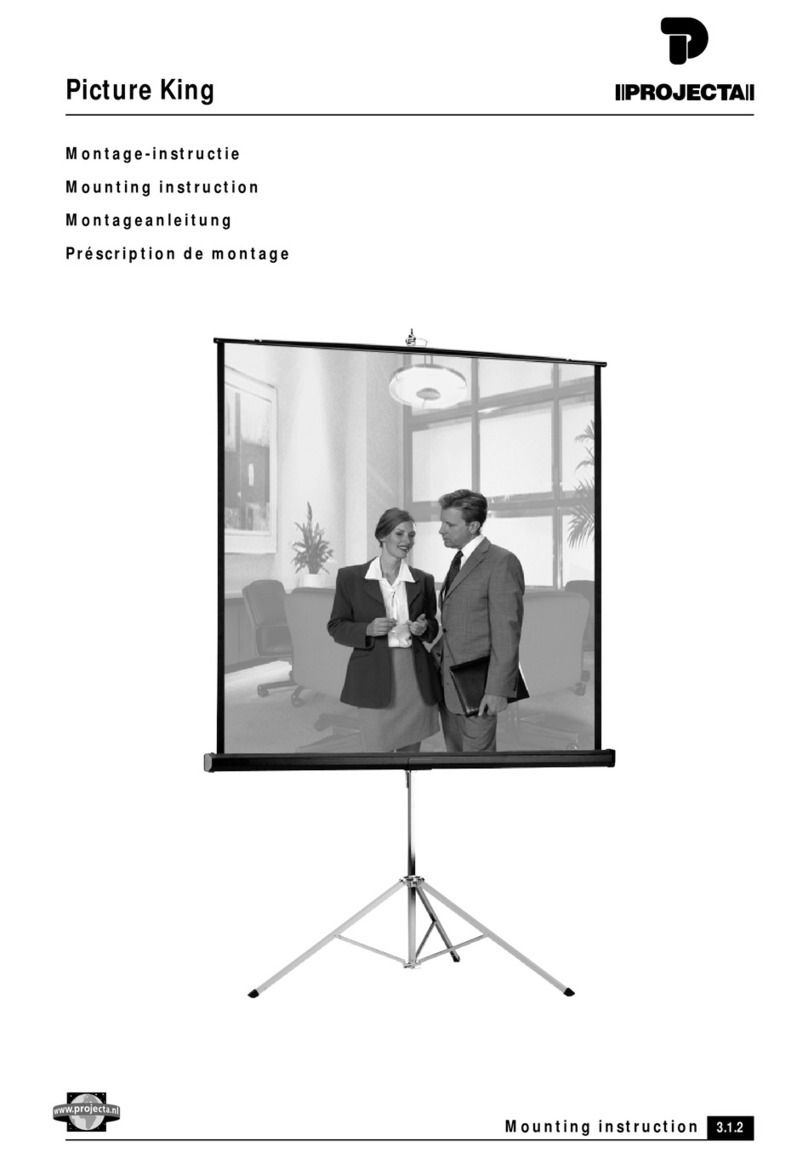
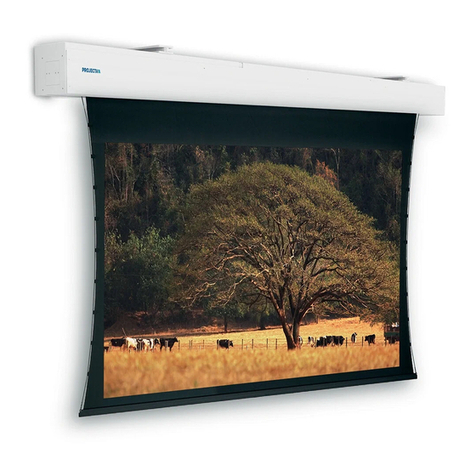
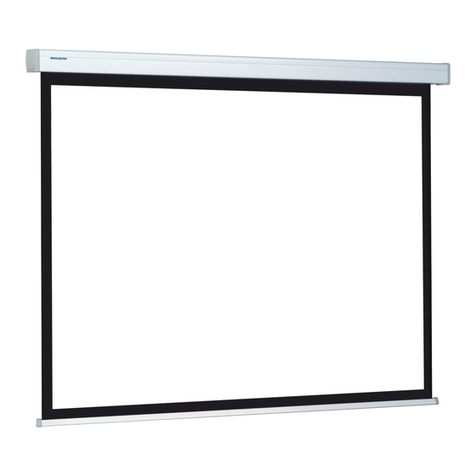
Projecta Cinema Electrol User guide

Montage -instructie
Mounting instruction
Montageanleitung
Préscription de montage
Disposizioni di montaggio
Explicación de la instalación
Инструкция по монтажу
MISE EN GARDE : IL EST IMPORTANT POUR LA SECURITE DES PERSONNES DE SUIVRE TOUTES LES
INSTRUCTIONS. CONSERVER CES INSTRUCTIONS.
Conditions d’installation
• Cet écran est destiné à un usage intérieur.
• Il nécessite une alimentation électrique monophasée 230 V / 50 Hz + terre
• Il répond aux normes CE EN 60335-1 et EN 60335-2-97
- moteur électrique de classe 1 équipé d’un fil de terre à relier à la masse lors de l’installation (câble
d’alimentation).
- câble d’alimentation directement dans le moteur sans raccordement intermédiaire sous le carter.
- carter isolé électriquement du moteur par le principe de montage.
• Ne pas couper le câble du moteur à moins de 10 cm de longueur.
Conditions d’utilisation
• Cet écran est prévu pour un fonctionnement optimal entre 15°C et 25°C et une hygrométrie maximale de 80%.
• Il ne doit pas être soumis à des sources de chaleur (risque de déformation de la toile), des projections ou vapeurs d’eau, de
poussières, de fumée ou toute autre agression, qui seraient de nature à le détériorer.
• Le moteur est équipé d’un coupe-circuit thermique à réarmement automatique. Il est prévu pour fonctionner de façon continue
pendant 4 mn. Au-delà de cette durée, il s’arrête pour refroidir.
Attention: réarmement automatique: par sécurité remettre au préalable l’inverseur en position arrêt.
• Cette catégorie d’écran est destinée à un usage intermittent de quelques manoeuvres en moyenne par jour.
La toile et sa barre de charge représentant un poids important, personne ne doit se trouver dans la zone située
sous l’écran.
Fixation de l’écran
• Positions des équerres réglables le long du carter.
Attention : ne pas les placer au-delà d’un mètre à partir de chaque extrémité du carter (voir A)
• Fixation par vis et chevilles adaptées à la nature du support : voir Bou C. S’assurer impérativement de la bonne tenue de ces
fixations.
• Garantir la bonne horizontalité de l’écran (maxi 3 mm par m).
• Accrochage de l’écran aux équerres: voir D.
• Verrouillage de l’écran dans les équerres de fixation: voir E.
• Les 2 verrous en élastomère doivent impérativement être en place et, pour leur bon maintien, s’assurer de leur propreté.
Branchement électrique
• Voir F.
• Inverseur à 3 positions (ouverture – arrêt – fermeture)
Attention: ne jamais câbler 2 inverseurs pour obtenir 2 points de commande
Mise en route
• Les fins de course de l’écran ont été préréglés en usine. Toute mauvaise utilisation de ceux-ci pourrait entraîner l’annulation de la
garantie.
Si vous constatez que
• L’écran reste immobile : vérifier le branchement électrique.
• L’écran descend mais n’a pas assez de puissance pour remonter et/ou fait un bruit anormal : vérifier le branchement électrique, les
2 bobinages (montée et descente= fils marron et noir ) du moteur sont peut-être alimentés simultanément (à éviter absolument sous
peine de détérioration du moteur).
• L’écran s’arrête ou refuse de fonctionner après plusieurs manoeuvres : le moteur qui est prévu pour un usage intermittent (4 à 5 mn
d’affilée) a atteint sa température maxi et sa sécurité thermique a fonctionné : attendre quelques minutes pour son refroidissement.
• En cas de doute, contactez votre revendeur.
Entretien
• Les composants mécaniques ne nécessitent aucun entretien.
• En cas de taches sur la toile (surface blanche uniquement) n’utiliser que de l’alcool éthylique industriel en petite quantité, en frottant
légèrement avec un chiffon de coton blanc non pelucheux (d’autres produits risqueraient de laisser des auréoles ou de détruire le
grain).
Projecta se réserve la possibilité de modifier ses produits afin de leur apporter toute amélioration technique.
!
!
www.projectascreens.com 30751121
Master Electrol

IT IS IMPORTANT FOR EVERYONE’S SAFETY THAT ALL INSTRUCTIONS ARE FOLLOWED.
RETAIN THESE INSTRUCTIONS.
Conditions for installation
• This screen is intended for interior use.
• Requires a single phase electricity supply 230 V / 50 Hz + earth.
• Corresponds to standards CE EN 60335-1 and EN 60335-2-97
- Class 1 electric motor, to be fitted with a ground wire during installation (supply cable).
- Supply cable straight inside the motor with no casing interconnect.
- Case electrically isolated from the motor by the mounting system.
• Do not cut the motor cable to less than 10 cm in length.
Conditions for use
• Designed for optimum usage between 15°C and 25°C and maximum humidity of 80%.
• Must be kept away from sources of heat (as these may cause fabric deformation) and protected from splashes of water, steam, dust,
smoke or any other hazards that may damage the equipment.
• The motor is equipped with a thermal circuit breaker with automatic resetting. It is designed to function continuously for 4 mn.
Beyond this, it will stop in order to cool down.
Caution: automatic resetting: for safety, reset reverse to stop position beforehand.
• This class of screen is designed to be used intermittently, in other words, a few times each day.
Because the weight of the fabric and the slat bar, nobody must be under the screen.
Fixing the screen
• Position the adjustable brackets along the case.
Caution : do not place them further than one meter from each end (see A)
• Mount using screws and hardware suited to the type of wall or ceiling: see Bor C. It is essential to check that the fixings are secure.
• Ensure that the screen is kept horizontal (max. variation of 3 mm per m ).
• Mount the screen on the brackets: see D.
• Lock the screen on the fixing brackets: see E.
• It is vital that the 2 elastomer locks are in place and kept clean so that they stay in place.
Electrical connection
• See F.
• 3 position switch (up – stop – downs)
Caution: never wire in 2 switches in order to obtain 2 control points.
Operation
• The limit switches have been pre-set at the factory. Incorrect use could void the guarantee.
If you notice that
• The screen is not moving: check the electrical connection.
• The screen will come down but does not have enough power to retract and/or makes an unusual noise : check the electrical
connection. It is possible that the 2 motor windings (up and down = black and brown wires) are connected simultaneously (should be
avoided at all costs as there is the risk of damaging the motor).
• The screen stops or fails to function after several operations: the motor, which is designed for intermittent use (maximum 4 to 5 mn
in a row) has reached its maximum temperature and the thermal safety function has cut in: wait a few minutes for it to cool down.
• If in doubt, contact your dealer.
Maintenance
• The mechanical components do not require any maintenance.
• If the fabric becomes stained (matte white) use only a small quantity of industrial ethyl alcohol and rub gently with a lint free white
cotton cloth (with any other product, there is the risk of leaving a ring or destroying the surface).
Projecta reserves the right to modify its products in order to make technical improvements.
!
!
Montage-instructie
Mounting instruction
Montageanleitung
Préscription de montage
Disposizioni di montaggio
Explicación de la instalación
Инструкция по монтажу
Master electrol
www.projectascreens.com

FÜR DIE GEWÄHRLEISTUNG DER SICHERHEIT ALLER SIND DIESE ANWEISUNGEN UNBEDINGT ZU
BEACHTEN.BEWAHREN SIE DIESE ANLEITUNG SORGFÄLTIG AUF.
Einrichtungsbedingungen
• Diese Projektionswand ist für die Verwendung in geschlossenen Raümen bestimmt.
• Für Stromversorgung 230 V / 50 Hz + Erde
• Erfüllt dir Normen CE EN 60335-1 et EN 60335-2-97
- Elektromotor der Klasse 1, mit Erdleitung, die bei der Installation an Masse zu legen ist (Anschlusskabel).
- Stromanschlusskabel direkt im Motor, ohne Zwischenanschluss unter dem Gehaüse.
- Das Gehaüse ist durch das Montageprinzip vom Motor elektrisch isoliert.
• Schneiden Sie das Motorkabel nicht auf eine Länge von unter 10 cm ab.
Verwendung
• Die Projektionswand ist ausgelegt für eine optimale Benutzung zwischen 15°C und 25°C und bei einer maximalen Luftfeuchtigkeit von
80%.
• Sie darf keinen Wärmquellen (Gefahr der Verformung des Tuchs), Wasserspritzern oder Wasserdampf, Staub, Rauch oder anderen
Aggressionen ausgesetzt werden, die ihn beschädigen könnten.
• Der Motor ist mit einer thermischen Sicherung mit automatischem Wiedereinschalten ausgestattet. Er ist für einen durchgehenden
Betrieb von 4 Minuten ausgelegt. Bei Überschreiten dieser Dauer schaltet er sich zum Abkühlen ab.
Achtung : Automatisches Wiedereinschalten : Stellen Sie zur Sicherheit den Schalter vorher auf « stopp ».
• Diese Kategorie von Projektionswand ist für einen unregelmäßigen Gebrauch mit täglich mehreren Handhabungen bestimmt.
Wegen des wichtigen Gewichts des Tuches und seiner Lastenstange darf sich niemand in der Zone befinden, die
unter dem Bildschirm angesiedelt ist.
Befestigung der Projektionswand
• Positionen der verstellbaren Winkel am Gehaüse.
Achtung : Diese Winkel nicht über einen Meter hinaus ab jedem Ende des Gehäuses zu setzen (siehe A)
• Befestigung mit Schrauben und Dübeln, die für den Träger geeignet sind : Siehe Boder C. Stellen Sie sicher, dass diese
Befestigungswinkel einwandfrei befestigt sind.
• Es ist darauf zu achten, dass sich die Projektionswand in waagrechter Position befindet (maximal 3 mm pro m ).
• Einhängen der Projektionswand in die Winkel : Siehe D.
• Festmachen der Projektionswand in den Befestigungswinkel: Siehe E.
• Die beiden Elastomer-Riegel müssen unbedingt eingeschoben sein, damit sie richtig halten und prüfen Sie, ob sie sauber sind.
Stromanschluss
• Siehe F.
• Aufbauschalter 3 Stufen ( offen – stopp – zu )
Achtung : Schließen Sie niemals 2 Schalter für 2 verschiedene Bedienungsstationen an.
Durchführung
• Die Endstellungen der Projektionswand wurden werkseitig voreingestellt . Jede Veränderung oder missbraüchliche Verwendung dieser
Endstellungen führt zum Ausschluss der Garantie.
Wenn Sie feststellen sollten, dass
• Die Projektionswand sich nicht bewegt: Überprüfen Sie den elektrischen Anschluss.
• Die Projektionswand ausgefahren wird, jedoch nicht genügend Leistung vorhanden ist, um sie wieder einzufahren, und/oder ein
anormales Geräusch zu hören ist: Überprüfen Sie den elektrischen Anschluss. Vielleicht werden die 2 Spulen (auf und ab = schwarze
und braune Kabel) des Motors gleichzeitig gespeist (dies ist absolut zu vermeiden, da auf diese Weise der Motor beschädigt wird)
• Die Projektionswand stehen bleibt oder nach mehreren Bedienvorgängen nicht mehr reagiert: der Motor, der für kurze Betriebszeiten
ausgelegt ist mit einer durchgehenden Betriebsdauer von maximal 4 bis 5 Minuten), hat seine Temperaturgrenze erreicht und seine
thermische Sicherung wurde ausgelöst : Warten Sie ein paar Minuten, bis er sich wieder abgekühlt hat.
• Bei Fragen oder Problemen wenden Sie sich bitte an Ihren Vertragshändler.
Wartung
• Die mechanischen Teile erfordern keine besondere Wartung.
• Bei Flecken auf dem Tuch (nur bei weißer Oberfläche) verwenden Sie ausschließlich Industriealkohol in kleinen Mengen, indem Sie
mit einem weißen, fusselfreien Baumwolltuch leicht über den Fleck reiben (jedes andere Produkt könnte Ränder hinterlassen oder die
Tuchoberfläche beschädigen).
Projecta behält sich das Recht auf Änderungen seiner Produkte zum Zwecke technischer Verbesserungen vor.
!
!
Montage-instructie
Mounting instruction
Montageanleitung
Préscription de montage
Disposizioni di montaggio
Explicación de la instalación
Инструкция по монтажу
Master electrol
www.projectascreens.com

53115A0000 12/2009
www.projectascreens.com
Montage-instructie
Mounting instruction
Montageanleitung
Préscription de montage
Disposizioni di montaggio
Explicación de la instalación
Инструкция по монтажу
Master electrol

Subject: DECLARATION OF CONFORMITY
Date: September 2014
We hereby declare that the Projecta Master Electrol projection screen, manufactured by
Milestone AV Technologies BV, fulfils the basic requirements for product safety as
supported by tests performed according to the following international standards:
2006/42/EEG Machinery Directive
Essential health and safety requirements
2006/95/EEG Low Voltage Directive
EN 60335-1: 2002 + A1 + A11 + A12 + A2 + A13 + A14 + A15
EN 60335-2-97: 2006 + A11 + A2
NEN1010
2004/108/EEG Electro Magnetic Compatibility (EMC)
EN 55014-1: 2006 + A1:2009
EN 55014-2: 1997 + A1:2001 + A2:2008
EN 61 000-3-2:2006 + A1:2009 + A2:2009
EN 61 000-3-3:2008
The projection cloth and textile materials used by Projecta in the mentioned projection
screen, complies with the following international standards and/ or EU guidelines for fire
retardancy proofing: class B1 according to DIN 4102 –part 1 (test report No. 16301)
and M1 (report No. P107396 –DE/1).
In accordance with the EU regulations, this product is marked with the CE marking.
Milestone AV Technologies B.V.
Jos Lormans
Managing Director - Europe
Table of contents
Languages:
Other Projecta Projection Screen manuals
Popular Projection Screen manuals by other brands
Screen Int
Screen Int CANALETTO ELASTIC installation manual
Screen Int
Screen Int Cine Pro installation manual
Screen Int
Screen Int Compact quick start guide
Screen Int
Screen Int MODIGLIANI Oyster installation manual
Fromm&Starck
Fromm&Starck STAR PFPS 01 user manual
Stewart Filmscreen
Stewart Filmscreen Luxus owner's manual
