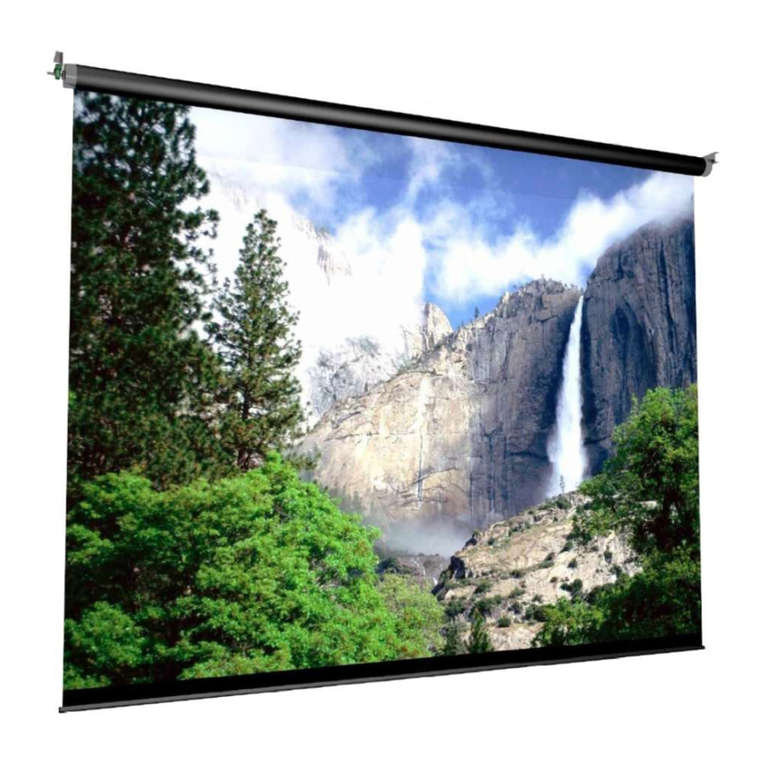
Screen Int Cine Pro User manual

INTRODUZIONE
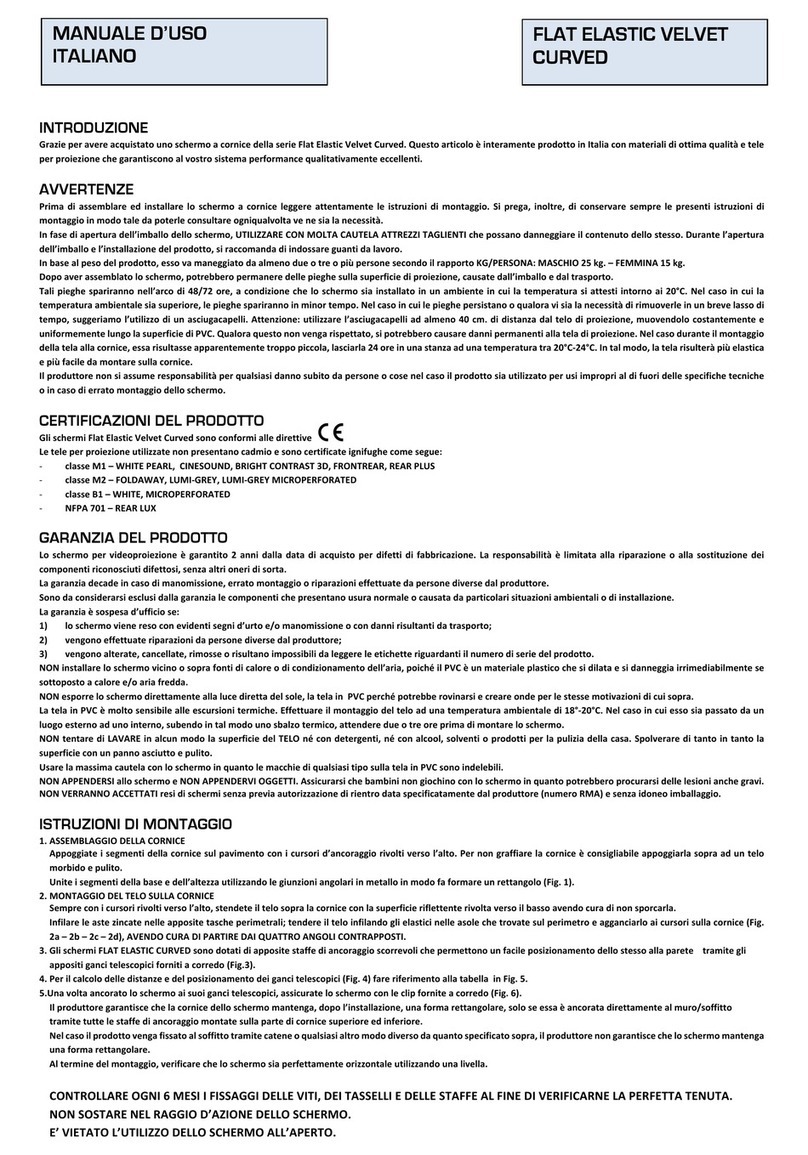
Grazie per avere acquistato uno schermo motorizzato della serie Cine Pro. Questo articolo è interamente prodotto in Italia con materiali di ottima qualità e tele
per proiezione che garantiscono al vostro sistema performance qualitativamente eccellenti.
AVVERTENZE
Prima di assemblare ed installare lo schermo, leggere attentamente le istruzioni di montaggio. i prega, inoltre, di conservare sempre le presenti istruzioni di
montaggio in modo tale da poterle consultare ogniqualvolta ve ne sia la necessità.
Il produttore non si assume responsabilità per qualsiasi danno subito da persone o cose nel caso il prodotto sia utilizzato per usi impropri al di fuori delle
specifiche tecniche o in caso di installazione errata. Il produttore non si assume responsabilità in caso di errato montaggio dello schermo.
CERTIFICAZIONI DEL PRODOTTO
Gli schermi motorizzati Cine Pro sono conformi alle direttive CEI EN 55014-1, CEI EN 50082-1, CEI EN 61000-3-2, CEI EN 61000-3-3, CEI EN 60335-1, CEI EN 61000-3-
2A14, CEI EN 60335-2-97.
Le tele per proiezione utilizzate non presentano cadmio e sono certificate ignifughe come segue:
-classe M2 – WHITE, MICROHOLE
-classe B1 – WHITE, MICROHOLE
Il motoriduttore ha una certificazione di qualità rilasciata dal costruttore in quanto sottoposto alle procedure di verifica della qualità da parte dell’Istituto
Italiano Marchio di Qualità (IMQ).
La fune di acciaio è certificata UNI EN 12385.
GARANZIA DEL PRODOTTO
Lo schermo per videoproiezione è garantito 2 anni dalla data di acquisto per difetti di fabbricazione. La responsabilità è limitata alla riparazione o alla
sostituzione dei componenti riconosciuti difettosi, senza altri oneri di sorta.
La garanzia è sospesa d’ufficio se:
1) un apparecchio è aperto o smontato o viene reso con evidenti segni d’urto e/o manomissione;
2) le istruzioni di collegamento elettrico non sono state applicate;
3) i prodotti devono essere installati secondo le normative elettriche (CEI) e altre norme di legge specifiche;
4) gli accessori elettrici e i componenti d’automatismi sono stati utilizzati senza rispettare gli schemi e i tipi di collegamenti per i quali sono stati concepiti;
5) viene effettuata autonomamente e senza autorizzazione da parte dell’azienda produttrice, la manovra di aggiustamento dei fine corsa;
6) vengono alterate, cancellate, rimosse o risultano impossibili da leggere le etichette riguardanti il numero di serie del prodotto
7) vengono effettuate riparazioni da persone diverse dal produttore.
ono da considerarsi esclusi dalla garanzia le componenti che presentano usura normale o causata da particolari situazioni ambientali o di installazione.
NON installare lo schermo vicino o sopra fonti di calore o di condizionamento dell’aria, poiché il PVC è un materiale plastico che si dilata e si danneggia
irrimediabilmente se sottoposto a calore e/o aria fredda diretti.
NON esporre lo schermo direttamente ai raggi solari, la tela in PVC perché potrebbe rovinarsi per le stesse motivazioni di cui sopra.
La tela in PVC è molto sensibile alle escursioni termiche. Effettuare il montaggio del telo ad una temperatura ambientale di 18°-20°C. Nel caso in cui esso sia
passato da un luogo esterno ad uno interno, subendo in tal modo uno sbalzo termico, attendere due o tre ore prima di montare lo schermo.
NON tentare di LAVARE in alcun modo la superficie del TELO né con detergenti, né con alcool, solventi o prodotti per la pulizia della casa. polverare di tanto in
tanto la superficie con un panno asciutto e pulito.
Usare la massima cautela con lo schermo in quanto le macchie di qualsiasi tipo sulla tela in PVC sono indelebili.
Lo schermo va utilizzato nelle dimensioni in cui è stato ordinato, pertanto è fondamentale NON bloccare lo schermo prima che esso si fermi automaticamente, in
quanto potrebbero crearsi delle onde sul telo.
NON VERRANNO ACCETTATI resi di schermi senza previa autorizzazione di rientro data specificatamente dal produttore (numero RMA) e senza idoneo
imballaggio.
ISTRUZIONI DI MONTAGGIO
1. MONTAGGIO
L’operazione di montaggio degli schermi Cine Pro deve essere eseguita da personale qualificato.
Lo schermo è corredato di tre staffe di montaggio (Fig. 1) – una al centro della barra strutturale ed una per lato alle estremità – che vanno applicate tramite
tasselli (non forniti a corredo) specifici per il tipo di superficie da forare. Installare lo schermo su superfici regolari non cedevoli (mattoni, cemento, etc.). Per
facilitare l’installazione vengono forniti a corredo tre anelli che permettono il sollevamento durante il posizionamento dello schermo sul graticcio (soffitto).
ATTENZIONE: AL FINE DEL MONTAGGIO VANNO FI ATE OBBLIGATORIAMENTE TUTTE LE TAFFE DI ANCORAGGIO FORNITE A CORREDO. Non utilizzate gli anelli
di sollevamento per l’ancoraggio dello schermo. LE DUE TAFFE DI ANCORAGGIO LATERALI DEVONO E ERE EQUIDI TANTI DAI DUE RI PETTIVI E TREMI E
VANNO FI ATE AD UNA DI TANZA MA IMA DI 50 CM. DAGLI E TREMI DE TRO E INI TRO DEL CA ONETTO.
Al temine dell’installazione, controllare che lo schermo sia perfettamente a livello.
Di tanto in tanto, controllate i fissaggi al fine di verificarne la tenuta.
2. COLLEGAMENTI ELETTRICI
Il collegamento elettrico del cavo di alimentazione al motore deve essere effettuato da personale qualificato e secondo lo schema illustrato nella
Fig. 2: rispettare il colore dei cavi elettrici ed installare l’interruttore in prossimità dello schermo affinché durante la discesa o la salita del telo lo schermo sia
visibile dal manovratore!! Non collegare due o più motori allo stesso interruttore. Utilizzare solo i deviatori forniti a corredo dello schermo.
TACCATE LO CHERMO DALLA RETE OGNI QUALVOLTA EFFETTUATE DELLA MANUTENZIONE.
3. REGOLAZIONE DEL FINE COR A
Lo schermo è dotato di motoriduttore con fine corsa automatici che determinano il punto di arresto superiore ed inferiore del telo di proiezione. I PUNTI DI
ARRE TO ONO GIA’ TATI REGOLATI NEL NO TRO TABILIMENTO PRODUTTIVO. i consiglia, quindi, di non alterare le regolazioni in quanto modificare il fine
corsa in alto può compromettere irrimediabilmente la struttura meccanica, mentre modificare il fine corsa in basso può causare la fuoriuscita della fune dalle
pulegge cilindriche del tubo.
4. MECCANI MO DI ICUREZZA
Ogni schermo Cine Pro è dotato di due funi di acciaio supplementari laterali collegate ad un dispositivo di sicurezza occultato all’interno del cassonetto.
5. MANUTENZIONE
Periodicamente l’utente deve verificare lo stato delle funi; le norme prudenziali prevedono la sostituzione quando la loro resistenza è diminuita del 20%. Avendo
la fune 114 fili, deve essere sostituita quando, nella lunghezza di 5 cm. si contano più di 20 fili rotti.
NON O TARE NEL RAGGIO D’AZIONE DELLO CHERMO. E’ VIETATO L’UTILIZZO DELLO CHERMO ALL’APERTO.
MANUALE D’USO
ITALIANO
CINE PRO

INTRODUCTION
Thank you for purchasing the motorized Cine Pro projection screen. This screen is made entirely in Italy with first-class materials, including a high quality
projection surface to guarantee excellent performance for your installation.
WARNINGS
Before installing the screen, please read the following instructions carefully. We would recommend that these instructions are stored safely for future reference.
The manufacturer does not take responsibility for any damage to property or personal injury if the screen is used outside of recommended specifications or in
case of incorrect/poor quality installation.
CERTIFICATIONS
Motorized screens Cine Pro are CE CEI EN 55014-1, CEI EN 50082-1, CEI EN 61000-3-2, CEI EN 61000-3-3, CEI EN 60335-1, CEI EN 61000-3-2A14,
CEI EN 60335-2-97 certified.
The surfaces for projection used on the products are cadmium-free and are fire-proof certified as follows:
-class M2 – WHITE, MICROHOLE
-class B1 – WHITE, MICROHOLE
The motor has a quality certification issued by IMQ (Istituto Italiano Marchio di Qualità).
teel-wire cable is certified UNI EN 12385.
WARRANTY
This projection screen is guaranteed 2 years from the purchase date for manufacturing defects.
Responsibility is limited to repairing or substitution of the defected components and without any other charge at our expense.
Warranty is officially voided if the screen has been dismantled or it is returned with collision damage or defective due to incorrect installation. Repairs must be
carried out by an Approved creen International Certified Engineer.
Warranty is officially voided if:
1) the motor is removed / dismantled;
2) the screen has been transit damaged;
3) the instructions regarding the electrical connections have not been followed;
4) the products have to be installed following the electric regulations (CEI) and the other local specific laws;
5) electrical accessories have been used that are incompatible with the screen motor causing damage to its internal components;
6) the motor end stops have been modified without the authorisation of the factory;
7) the sticker regarding the serial number of the product has been altered, deleted, removed or is illegible.
DO NOT install this screen nearby or over heating or air conditioning systems, because PVC is a plastic material which dilates and remains damaged if it is
subjected to heat and/or cool air.
DO NOT install this screen either facing direct sun light or blocking a window as PVC could be damaged for the explanations given above.
The PVC cloth is very sensitive to temperature range.
We advise you to wait 2 hours for the screen to acclimatise before using the screen after delivery, especially if screen is brought into a warm environment from
cold.
DO NOT WA H the projection surface with alcohol or solvent nor with commercial cleaners. Every now and then dust the surface with a dry and clean duster.
Please, be very careful because any kind of stain on the PVC cloth is inerasable.
The screen has to be used showing the total projection sizes indicated on the packaging; therefore it is NOT allowed to adjust the end stops to restrict the total
drop or extend it. Restricting the total drop of the screen is likely to cause your screen surface to lose its flatness.
The manufacturer will not accept returns of screens for repair without manufacturer’s authorization (RMA number) and without a suitable packaging.
INSTALLATION INSTRUCTIONS
1. A EMBLY
First of all, installation of Cine Pro screens has to be carried out from qualified personnel. Our screen is supplied with three ceiling brackets (Fig. 1) – one in the
middle of the beam and the two one at each side of the beam – suitable for fixing it to the ceiling by wedges (not supplied) specific for the type of material to
drill. Prior installing the roller screen, ensure that the ceiling is suitable for the loading induced by the weight of the screen. In order to make installation easier,
we provide also three lifting rings which can be used to lift the screen and position it to the ceiling.
WARNING: U E ALL THE FIXING BRACKET PROVIDED WITH THE CREEN IN ORDER TO IN TALL IT. Do not use the lifting rings to fix the screen to the ceiling. THE
LEFT AND RIGHT MOUNTING BRACKET HAVE TO BE FIXED AT THE AME DI TANCE FROM EACH END IDE OF THE CABINET. THE FIXING DI TANCE HA TO BE
MAXIMUM 50 CM. FROM LEFT AND RIGHT IDE OF THE CABINET.
At the end of the installation, please check that the motorized screen is perfectly level.
ometimes control the clamps of the screen.
2. ELECTRIC CONNECTION
Connection of the power supply must be carried out by qualified personnel only, using the scheme showed on Fig. 2. Pay attention to wires colour and fix the
switch near the screen because the scrolling up or down of the projection surface should be visible to the operator!! Never connect more than one moto-reducer
to the same switcher. Use the supplied switcher only.
IN CA E OF MAINTENANCE, UNPLUG THE POWER UPPLY.
3. ADJU TMENT OF THE END OF THE TROKE
The screen is supplied with a motor that has automatic limit switches that determine both the closed stop position (closed screen) and the bottom stop position
(open screen).
The limit switches have been already fixed in our factory. We advise you NOT to MODIFY them because:
-modifying the closed stop position can cause severe damages to the mechanical structure;
whereas
-modifying the bottom stop position can cause the movement of the steel-wire rope out of the cylindrical pulleys.
4. MAINTAINANCE
Every now and then, the user should verify the condition of the steel-wire cables. The precautionary measures state that the cables have to be substituted when
their tensile strength has decreased of 20%. For example: the cable has 114 wires, it is time to substitute it when in 5 cm. of cable you can count 20 or more
broken wires.
IT I FORBIDDEN TO TAY UNDER THE PROJECTION CREEN. IT I FORBIDDEN TO U E THE PROJECTION CREEN OUTDOOR.
INSTALLATION MANUAL
ENGLISH
CINE PRO

EINFÜHRUNG
Danke für den Einkauf einer elektrischen Leinwand Cine Pro. Diese Artikel wurden in Italien mit hervorragender Qualität und hochwertigen Projektionstüchern
für eine sehr gute Performance produziert.
BITTE BEACHTEN
Bevor ie die Rahmenleinwand zusammenbauen, lesen ie bitte die Montage Bedienungsanleitungen. Bitte bewahren ie diese Montage Bedienungsanleitungen
auf. Der Produzent ist nicht verantwortlich für Personenschaden oder achschaden, wenn das Produkt für unpassende Aktionen eingesetzt oder falsch installiert
wurde. Der Produzent ist nicht verantwortlich, wenn die Leinwand falsch installiert wurde.
ZERTIFIZIERUNGEN
Die Leinwände Cine Pro entsprechen CEI EN 55014-1, CEI EN 50082-1, CEI EN 61000-3-2, CEI EN 61000-3-3, CEI EN 60335-1, CEI EN 61000-3-2A14,
CEI EN 60335-2-97 Normen.
Die Projektionstücher sind kadmiumfrei und feuerfest:
-Gruppe M2 – WHITE, MICROHOLE
-Gruppe B1 – WHITE, MICROHOLE
Der Motor ist IMQ geprüft (Istituto Italiano Marchio di Qualità)
Das tahlseil entspricht UNI EN 12385.
GARANTIEBEDINGUNGEN
Gegen Herstellungsfehlern dieser Leinwand wird ab Kaufsdatum für 2 Jahre Garantie gegeben.
Der Hersteller garantiert nur die Reparatur oder den Austausch der Teile, ohne die Verpflichtung weitere Kosten zu tragen.
Dieser Garantie erstreckt sich nicht auf chäden aufgrund von Reparaturen oder Anpassungen durch zur Reparatur nicht befugte Firmen oder Personen, oder
Montage nicht gemacht wie beschrieben in unsere Anleitung.
Dieser Garantie erstreckt sich nicht auf:
1) chäden aufgrund von Reparaturen oder Anpassungen durch zur Reparatur nicht befugte Firmen oder Personen;
2) Elektrische Verbindungen, die nicht entsprechend unserer Bedienungsanleitung gemacht sind;
3) Leinwände die nicht entsprechend die Elektrizität (CEI und VDE) installiert sind;
4) Falls die elektrischen Teile oder eventuelle elektrisches Zubehör nicht installiert und angewendet sind entsprechend der Bedienungsanleitung;
5) Jegliche chäden aufgrund von Änderungen oder Anpassungen, mit denen das Produkt ohne vorherige schriftliche Genehmigung durch der Hersteller. Das
gilt auch für Verstellen der Endabschaltpunkte vom Leinwandtuch;
6) Veränderungen, Unleserlichkeit oder Entfernung der Modell- oder eriennummer auf dem Produkt.
Der Leinwand darf nicht oben oder in der Nähe einer Hitzequelle oder Kühlung installiert werden, da in diesem Fall Wellen in dem PVC Tuch entstehen und dass
Tuch bleibend beschädigt wird.
Auf oder hinter das Leinwandtuch darf nicht direktes onnenlicht scheinen, da in diesem Fall Wellen in dem PVC Tuch entstehen und dass Tuch bleibend
beschädigt wird.
Das PVC Tuch ist sehr empfindlich auf Temperatur- chwankungen. Im Fall, dass die Leinwand aus einer kalten Umgebung kommt, bitte warten ie einige
tunden bevor ie mit der Montage anfangen. Es ist wichtig, dass das Leinwandtuch auf Zimmertemperatur ist.
Das PVC TUCH darf NICHT mit Waschmitteln, Lösungsmitteln oder Alkohol gereinigt werden. Man darf nur das Tuch abstauben mit ein trocken Baumwollen Tuch.
Vermeiden ie das Beflecken von der Projektions- Leinwand, da es fast nicht möglich ist Flecken aus dem PVC Tuch zu reinigen.
Die Leinwand muss bis zum Anschlag herunter gelassen werden (das ist entsprechend der Maß angegeben auf der Verpackung), da sich sonst Wellen bilden.
Wir akzeptieren nur Rücksendungen von Waren, die gut verpackt sind und auf der Verpackung unsere RMA Nummer geschrieben ist. Die RMA Nummer muss
vorab bei uns angefragt werden.
ANLEITUNG
1. MONTAGE
Montage der Cine Pro Leinwand muss durch Fachpersonal vorgenommen werden. Unsere Leinwände werden mit drei Deckenbügels ausgeliefert für
die Montage der Leinwände direkt an Decke (siehe Fig. 1). Bitte nutzen ie hierzu chrauben und Dübel (nicht im Lieferumfang), die dem Decken Typ
und den örtlichen Bauvorschriften entsprechen. Montieren ie die Leinwand auf festem, ebenen Untergrund (Beton etc.). Um die Leinwand hoch zu
ziehen, sind drei Metal Ringen vorsehen.
ACHTUNG: MONTIEREN IE DIE LEINWAND MITTEL ALLER MONTAGEBÜGEL AN DIE DECKE. DIE LINKE UND RECHTE MONTAGEBÜGEL OLLEN BEIDEN
VON GLEICHEN AB TAND VON LINKER UND RECHTER GEHÄU E EITE MONTIERT WERDEN. DIE MONTAGEAB TAND OLL MAXIMUM 50 CM. VON
LINKER UND RECHTER GEHÄU E EITE EIN. Nach die Leinwand installiert ist, bitte die Metal Ringen entfernen.
Bei der Montage bitte prüfen ie dass die Leinwand genau horizontal montiert wird.
Kontrollieren ie die chrauben an der Leinwand und ziehen ie die chrauben gegebenenfalls an.
2. ELEKTRO-AN CHLU
Der Anschluss des Motors laut Fig. 2 muss durch Fachpersonal vorgenommen werden. Beachten ie die Farbe der Kabel und montieren ie den Auf-
/Abschalter in der Nähe der Leinwand, damit der Anwender das Auf- und Abrollen des Leinwandtuchs stets im Blick hat. Verbinden ie niemals den
Auf-/Abschalter mit mehr als einem Gerät. Benutzen ie nur den mitgelieferten chalter.
TRENNEN IE DEN AN CHLU BEI WARTUNG ARBEITEN.
3. END-AB CHALTUNG EIN TELLUNGEN
Die Leinwand hat ein Motor eingebaut mit automatische end-Abschaltung
Der oben und unter Abschaltung sind schön in Werk eingestellt. Änderungen von diesen Einstellungen annullieren di Garantie der Leinwand.
4. UNTERHALTUNG
Einmal im Jahr müssen die tahlseilen kontrolliert werden. Die tahlseilen müssen ausgewechselt werden, wenn di Festigkeit mit 20% oder mehr
abgenommen ist. Zum Beispiel: das tahlseil hat 114 tahldrahten. Das tahlseil müsst ausgewechselt werden im Falls auf 5 cm. Länge, 20 oder mehr
tahldrahten gebrochen sind.
NICHT IN REICHWEITE DER LEINWAND BLEIBEN. E I T VERBOETEN DIE LEINWAND IM FREIEN ZU VERWENDEN
B
ETRIEBSANLEITUNG
DEUTSCH
CINE PRO

Fig. 2
MORSETTI
TERMINALS
ALIMENTAZIONE
POWER SUPPLY
MOTORE (EUR)
MOTOR (EU)
MOTORE (US)
MOTOR (US)
L
FASE
PHASE (L)
N
NEUTRO
NEUTRAL (N)
BLU
BLUE
BIANCO
WHITE
W
TERRA
EARTH (W)
GIALLO VERDE
YELLOW/GREEN
VERDE
GREEN
1
NERO O MARRONE
BLACK OR BROWN
NERO O ROSSO
BLACK OR RED
2
NERO O MARRONE
BLACK OR BROWN
NERO O ROSSO
BLACK OR RED
Fig. 1
Table of contents
Languages:
Other Screen Int Projection Screen manuals

Screen Int
Screen Int MODIGLIANI Oyster User manual

Screen Int
Screen Int OPEN ROLL User manual

Screen Int
Screen Int CINE PRO User manual

Screen Int
Screen Int CANALETTO Series User manual

Screen Int
Screen Int MAJOR PRO-C User manual

Screen Int
Screen Int Cine Pro User manual

Screen Int
Screen Int FLAT ELASTIC User manual

Screen Int
Screen Int COMPACT User manual

Screen Int
Screen Int Canaletto Elastic User manual

Screen Int
Screen Int Compact User manual