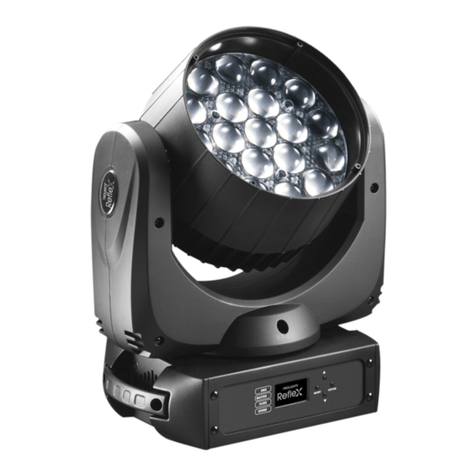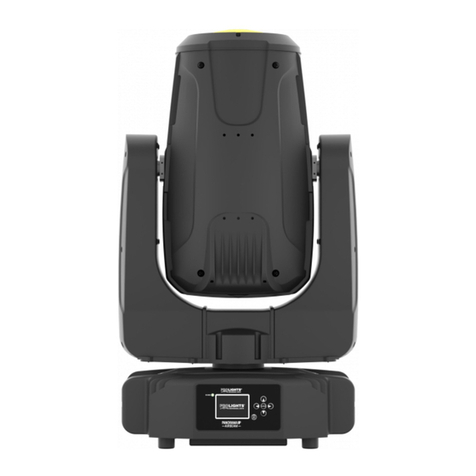
PROLIGHTS - Stark Bar100002
SAFETY INFORMATION
WARNING!
• See https://www.prolights.it/product/STARKBAR1000#download for installation instruc-
tions.
• Please read carefully the instruction reported in this section before installing, powering,
operating or servicing the product and observe the indications also for its future handling.
This unit is not for household, only professional applications.
Connection to mains supply
• The Connection to the mains supply must be carried out by a qualied electrical
installer.
• Use only AC supplies 100-240V 50-60 Hz, the xture must be electrically connected
to ground (earth).
• Select the cable cross section in according with the maximum current draw of the
product and the possible number of products connected at the same power line.
• The AC mains power distribution circuit must be equipped with magnetic+residual
current circuit breaker protection.
• Do not connect it to a dimmer system; doing so may damage the product.
Protection and Warning against electrical shock
• Do not remove any cover from the product, always disconnect the product from AC
power before servicing.
• Ensure that the xture is electrically connected to ground (earth). And use only a
source of AC power that complies with local building and electrical codes and has
both overload and ground-fault (earth-fault) protection.
• Before using the xture, check that all power distribution equipment and cables are
in perfect condition and rated for the current requirements of all connected devices.
• Isolate the xture from power immediately if the power plug or any seal, cover, ca-
ble, or other components are damaged, defective, deformed or showing signs of
overheating.
• Do not reapply power until repairs have been completed.
• Refer any service operation not described in this manual to PROLIGHTS Service team
or an authorized PROLIGHTS service center.
Installation
• Make sure that all visible parts of the product are in good visible condition before its
use or installation.
• Make sure the point of anchorage is stable before positioning the projector.
• When suspending the xture above ground level, secure it against failure of primary
attachments by attaching a safety cable that is approved as a safety attachment for
the weight of the xture to the attachment point on the main frame of the product. ln
case the safety cable, enter in action, it needs to be replaced with a new one.
• Install the product only in well ventilated places.
• For non temporary installations, ensure that the xture is securely fastened to a load-
bearing surface with suitable corrosionresistant hardware.
• For a temporary installation with clamps, ensure that the quarter-turn fastener and/or
screws are turned fully, and secured with a suitable safety cable.
1 m Minimum distance of illuminated objects
• The projector needs to be positioned so that the objects hit by the beam of light are
at least 1 meters (3,28 ft) from the lens of the projector.

