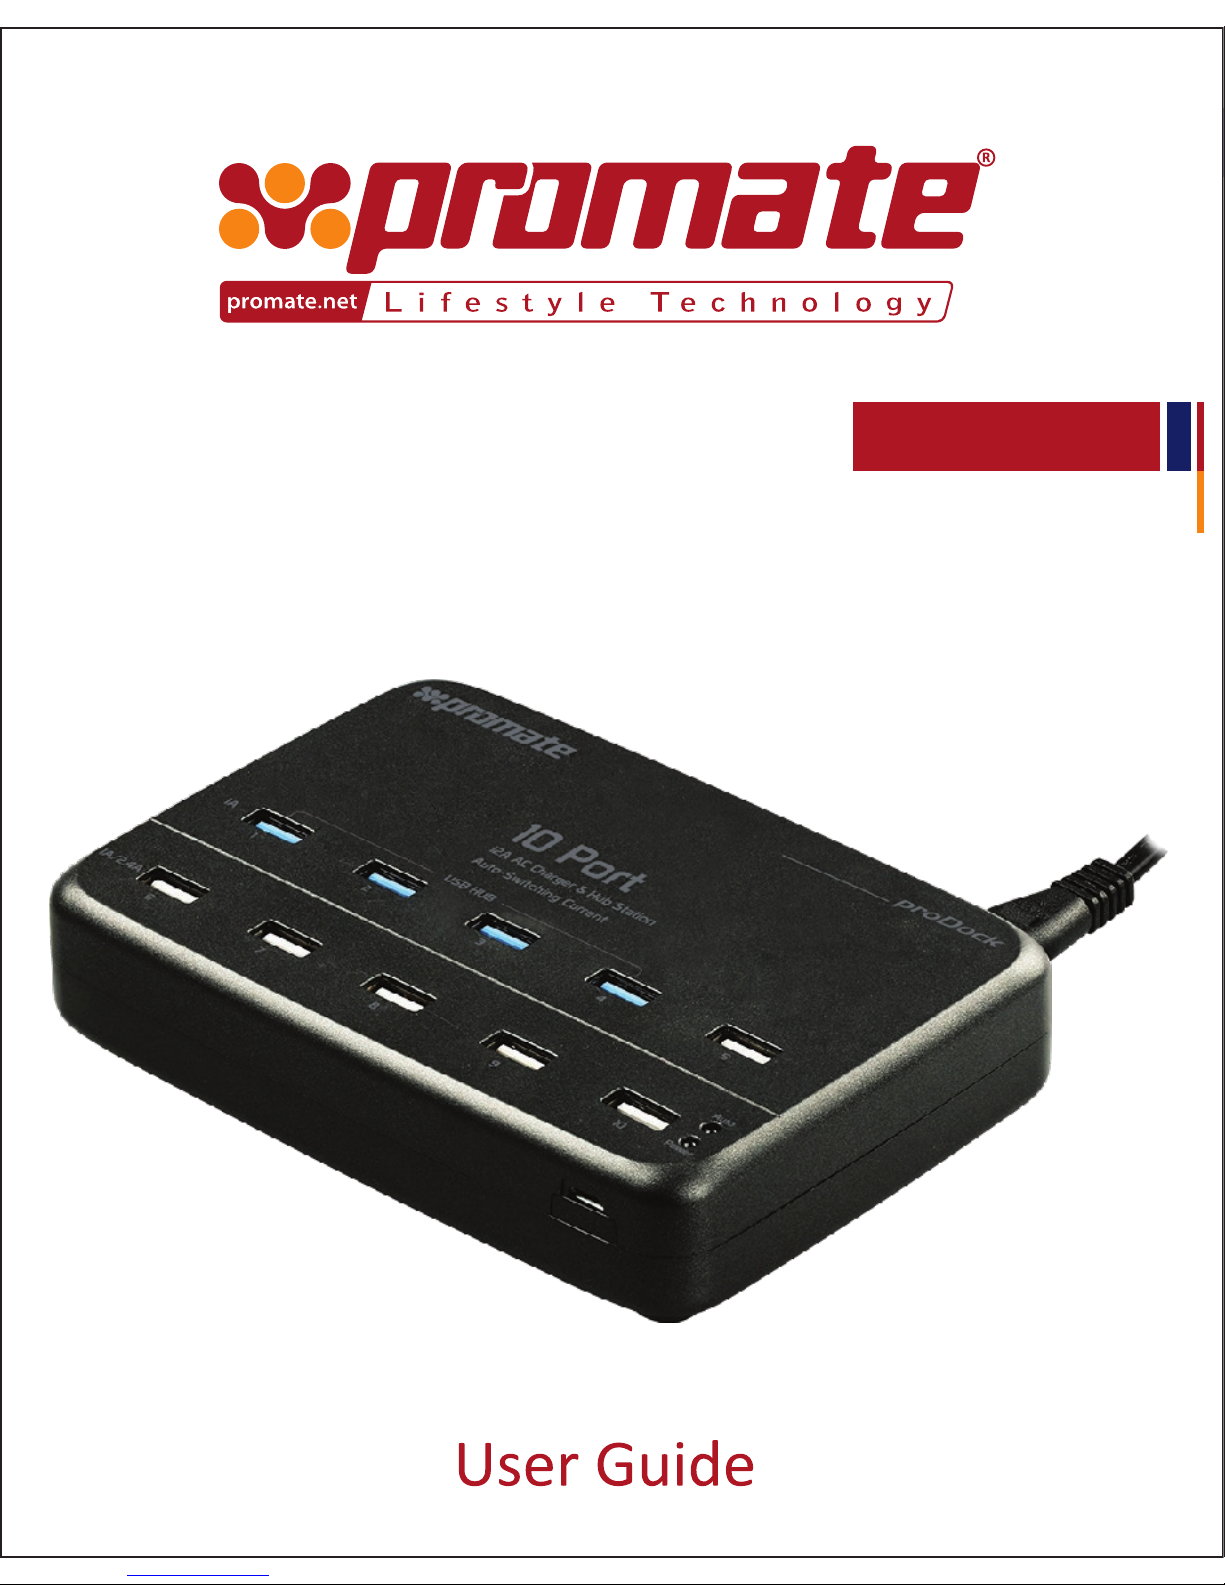
Thank you for choosing proDock. proDock, a 12000mA heavy duty sync and charge USB
power station allows you to charge up to 10 USB powered devices simultaneously. It has
a unique combination of 6 USB ports for charge and 4 USB 2.0 Ports for Sync and
Charge. It also features an intelligent multiple safety function to provide optimum
protection from over-current, over-voltage, short-circuit and over-temperature.
proDock is the ultimate solution to power your devices easily and simultaneously.
• proDock
• AC Charging Adapter
• User Guide
Introduction
Packaging Contents
• Input: 100-240V ~ 1.6A 50-60Hz
• Output: DC 5V 1A x 10 or DC 5V 2.4A x 5
• Input interface: AC Charger
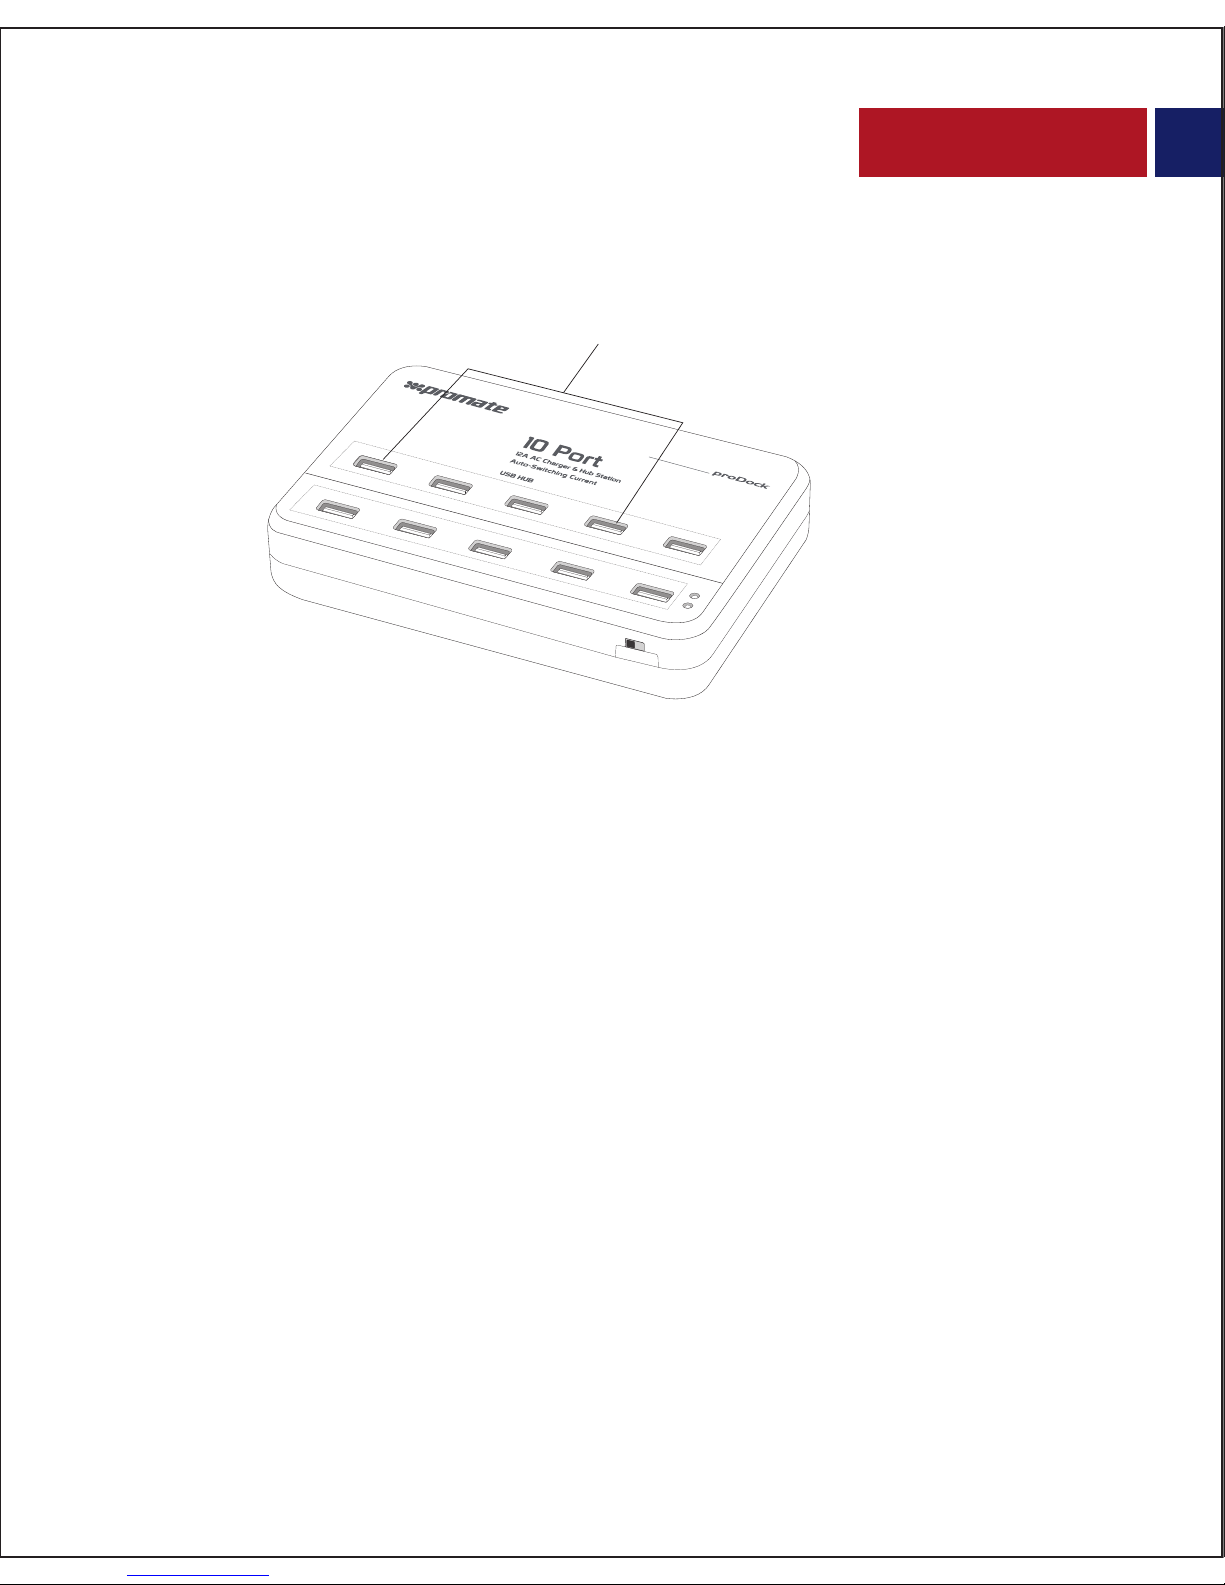
• Output interface: 6 USB Charging Ports and 4 USB 2.0 Sync and Charge Ports.
Specication
English
proDock can charge any USB enabled charging device.
Please read all safety instructions and warnings thoroughly before using this product.
Improper use of this product may result in damage to this or attached products.
1. Do not disassemble the device or attempt to x it.
2. Kindly use the included USB Cable to charge the product.
3. Do not attempt to replace any part of this case or battery inside.
4. Do not crush, puncture or dispose of in re.
5. Do not store or use the battery in a high temperature environment, including intense
sunlight or heat.
6. Avoid excessive drops, bumps, abrasions and impacts.
7. If there is any reason to believe that there is internal damage to the device,
discontinue use immediately.
8. If you nd that the device is too hot, is emitting an odor, or is deformed, punctured or
exhibits any suspicious or abnormal behavior, discontinue use immediately and contact
our customer service.
9. Always charge this product before extended storage.
• Universal Compatibility
• Smart Auto Protection
• Intelligent multiple safety protection function, over current protection, over voltage
protection, short circuit protection and over temperature protection
• Fits neatly into any classroom, home or oce
• Made of ABS+PC material.
Features
• Powerful 12000mA output
• Charge up to 10 USB powered devices simultaneously
• Unique combination of 6 USB Ports for charge and 4 USB 2.0 Ports for Sync and Charge
• 1-4 USB Ports are USB 2.0 for sync
• Auto charging for 1A and 2.4A output current
• Fast USB Charging interface
• Universal Compatibility
1