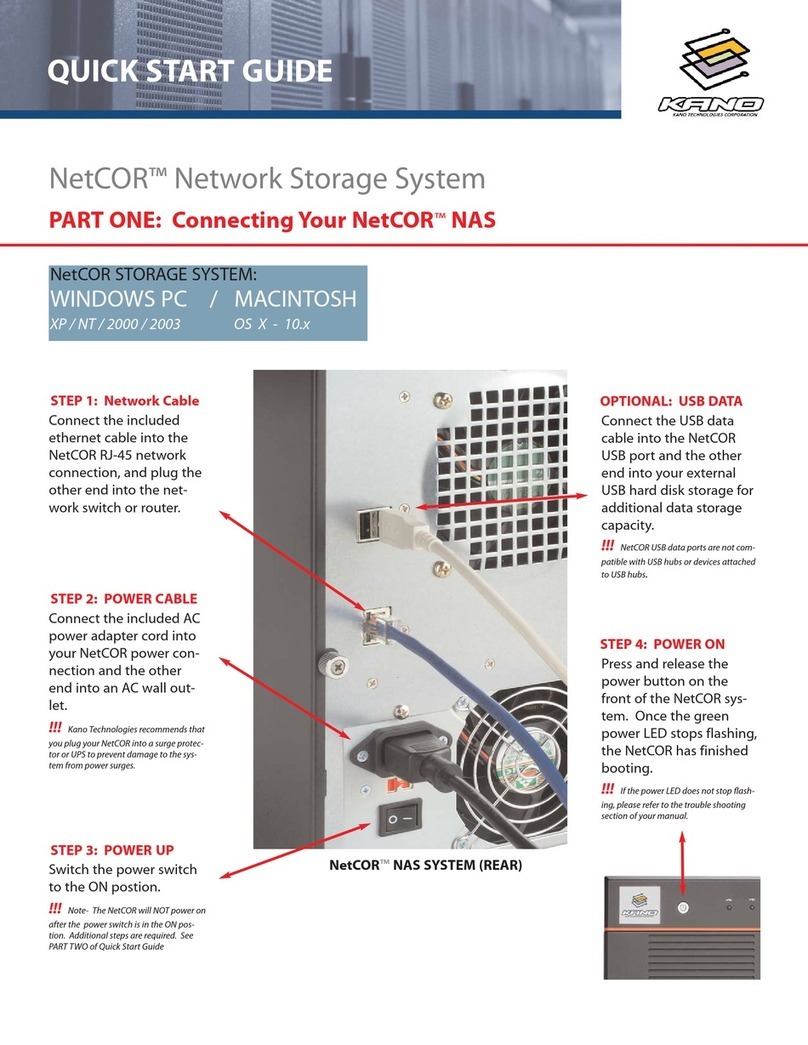
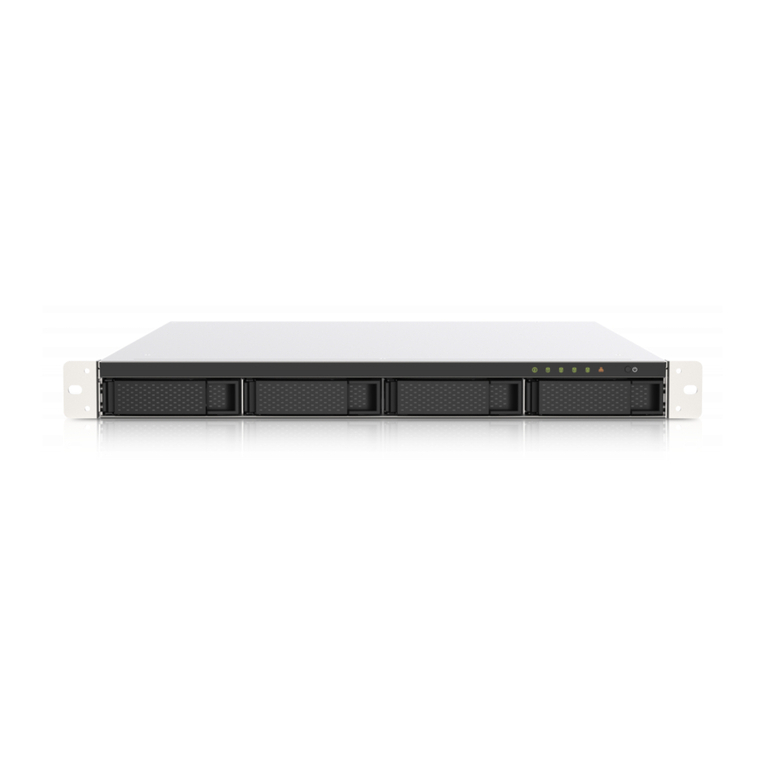
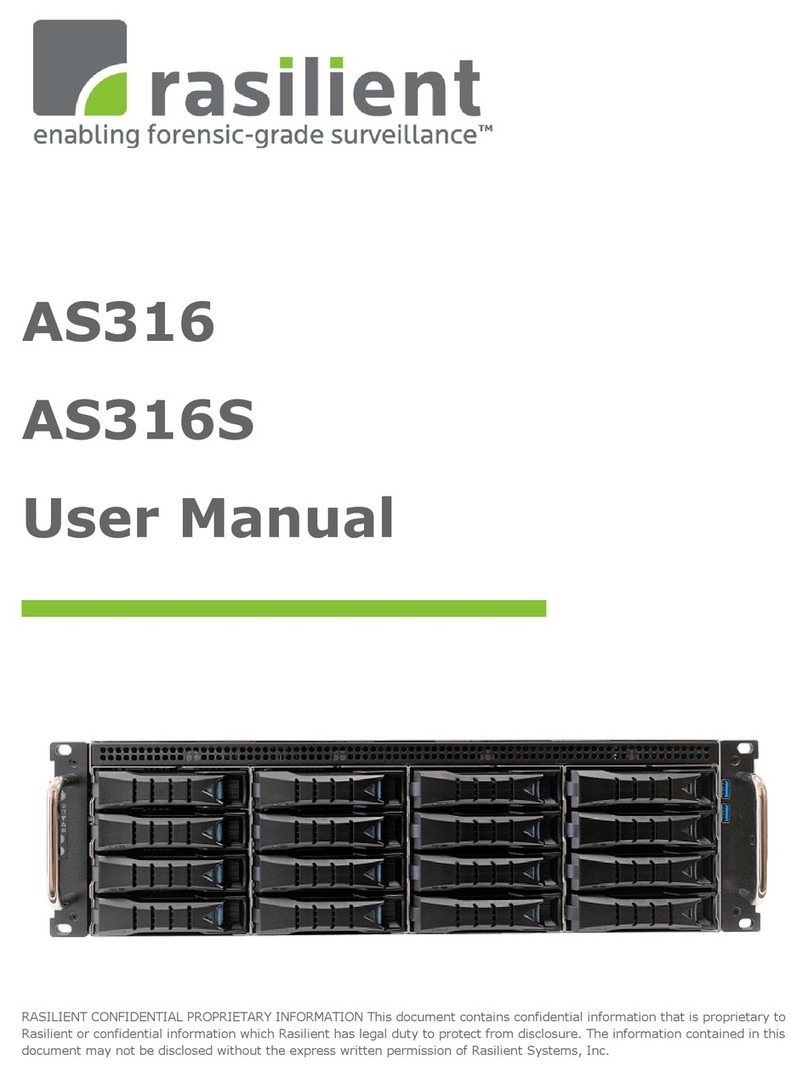
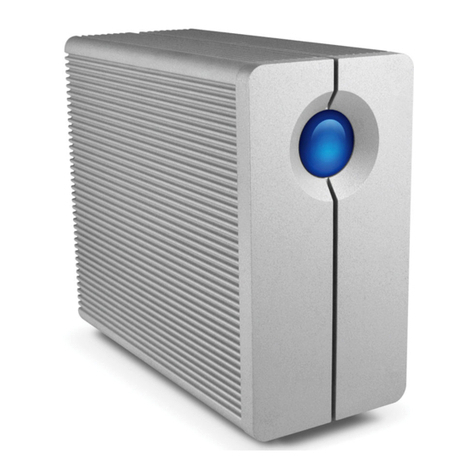
Promise PegasusPro R8 User manual

PegasusPro R8
Product Manual
Version 1.0
©2021 PROMISE Technology, Inc. All Rights Reserved.
Server Appliances

ii
Promise Technology
PegasusPro R8
Copyright
© 2021 PROMISE Technology, Inc. All Rights Reserved. PROMISE, the PROMISE logo, File Boost,
VTrak, Pegasus, SmartStor, SuperTrak, FastTrak, VessRAID, Vess, PerfectPATH, PerfectRAID,
SATA150, ULTRA133, VTrak S3000, BackTrak, HyperCache, HyperCache-R, HyperCache-W,
DeltaScan and GreenRAID are registered or pending trademarks of PROMISE Technology, Inc.
in the U.S. and other countries. All other trademarks are the property of their respective owners.
Information regarding products, services and offerings may be superseded by subsequent
documents and are subject to change without notice. For the latest information and specications
regarding PROMISE Technology, Inc. and any of its offerings or services, please contact your local
PROMISE ofce or the corporate headquarters. Visit www.promise.com for more information on
PROMISE products.
Important data protection information
You should back up all data before installing any drive controller or storage peripheral. PROMISE
Technology is not responsible for any loss of data resulting from the use, disuse or misuse of this or
any other PROMISE Technology product.
Notice
Although PROMISE Technology has attempted to ensure the accuracy of the content of this
document; it is possible that this document may contain technical inaccuracies, typographical, or
other errors. PROMISE Technology assumes no liability for any error in this publication, and for
damages, whether direct, indirect, incidental, consequential or otherwise, that may result from such
error, including, but not limited to loss of data or prots.
PROMISE Technology provides this publication “as is” without warranty of any kind, either express
or implied, including, but not limited to implied warranties of merchantability or tness for a
particular purpose. The published information in the manual is subject to change without notice.
PROMISE Technology reserves the right to make changes in the product design, layout, and driver
revisions without notication to its users. This version of this document supersedes all previous
versions.
Recommendations
In this Product Manual, the appearance of products made by other companies, including but not
limited to software, servers, and disk drives, is for the purpose of illustration and explanation only.
PROMISE Technology does not recommend, endorse, prefer, or support any product made by
another manufacturer.

iii
About this guidePegasusPro Product Manual
About this guide
This Product Manual describes how to setup, use, and maintain the PegasusPro R8. It also describes
how to use the PROMISE Utility Pro software that you install and run on your computer, as well as how
to perform advanced system management using the web-based user interface, WebPAM InSight.
This manual is written specically for the PegasusPro R8.
This manual includes a full table of contents, chapter task lists, and numerous cross-references to help
you nd the specic information you are looking for.
Also included are four levels of notices:

iv
Promise Technology
PegasusPro R8
Regulatory compliance identication numbers
For the purpose of regulatory compliance certications and identication, this product has been
assigned a unique regulatory model number. The regulatory model number can be found on the
product nameplate label, along with all required approval markings and information. When requesting
compliance information for this product, always refer to this regulatory model number. The regulatory
model number is not the marketing name or model number of the product.
Compliance information
Global notice for Class A equipment
Operation of this equipment in a residential environment could cause radio interference.

v
About this guidePegasusPro Product Manual
Federal Communications Commission notice
Class A equipment
This equipment has been tested and found to comply with the limits for a Class A digital device,
pursuant to part 15 of the FCC Rules. These limits are designed to provide reasonable protection
against harmful interference when the equipment is operated in a commercial environment. This
equipment generates, uses, and can radiate radio frequency energy and, if not installed and used in
accordance with the instruction manual, may cause harmful interference to radio communications.
Operation of this equipment in a residential area is likely to cause harmful interference in which case
the user will be required to correct the interference at his own expense.
This device complies with Part 15 of the FCC Rules. Operation is subject to the following two
conditions:
(1) this device may not cause harmful interference, and
(2) this device must accept any interference received, including interference that may cause undesired
operation.
For questions regarding this FCC SDoC, contact us by mail or telephone:
• PROMISE TECHNOLOGY USA
• 3241 Keller St., Santa Clara CA 95054, USA
• Email: [email protected]
For questions regarding this product, go to the PROMISE TECHNOLOGY INC. Support Center
Website: http://www.promise.com

vi
Promise Technology
PegasusPro R8
Canada (Avis Canadian)
Class A equipment
This Class A digital apparatus meets all requirements of the Canadian Interference-Causing Equipment
Regulations. CAN ICES-3(A)/NMB-3(A)
Cet appareil numérique de la class A respecte toutes les exigences du Règlement sur le matériel
brouilleur du Canada.CAN ICES-3(A)/NMB-3(A)
European Union Regulatory Notice
Class A device
A device that is marketed for use in a commercial, industrial or business environment.
A ‘Class A’ device should not be marketed for use by the general public .

vii
About this guidePegasusPro Product Manual
Safety precautions
Retain and follow all product safety and operating instructions. Always refer to the
documentation (printed or electronic) supplied with your product. If there is a conict between
this document and the product documentation, the product documentation takes precedence.
Observe all warnings on the product and in the operating instructions to reduce the risk of
bodily injury, electric shock, re, and damage to the equipment.
To reduce the risk of personal injury or damage to the product:
• Place the product away from radiators, heat registers, stoves, ampliers, or other products
that produce heat.
• Never use the product in a wet location.
• Avoid inserting foreign objects through openings in the product.
• Move products with casters carefully. Avoid quick stops and uneven surfaces.
The installation and maintenance of products must be carried out by qualied personnel.
If the product sustains damage requiring service, disconnect the product from all power
sources and refer servicing to a PROMISE TECHNOLOGY INC. authorized service provider.
Examples of damage requiring service include:
• The power cord, extension cord, or plug has been damaged.
• Liquid has been spilled on the product or an object has fallen into the product.
• The product has been exposed to rain or water.
• The product has been dropped or damaged.
• The product does not operate normally when you follow the operating instructions.

viii
Promise Technology
PegasusPro R8
Precautions for power products
Power cords
To reduce the risk of electric shock or damage to the equipment:
• Use an approved power cord. If you have questions about the type of power cord to use,
contact your PROMISE TECHNOLOGY INC. authorized service provider.
• If you have not been provided with a power cord for your product or for any AC-powered
option intended for your product, purchase a power cord that is approved for use in your
country.
• You must use a power cord rated for your product and for the voltage and current marked
on the electrical ratings label of the product. The voltage and current rating of the cord
must be greater than the voltage and current rating marked on the product.
• Do not place objects on AC power cords or cables. Arrange them so that no one may
accidentally step on or trip over them.
• Do not pull on a cord or cable. When unplugging from the electrical outlet, grasp the cord
by the plug.
• Make sure that the total ampere rating of all products plugged into an extension cord or
power strip does not exceed 80 percent of the ampere ratings limit for the extension cord
or power strip.

ix
About this guidePegasusPro Product Manual
Precautions for maintaining and servicing products
To reduce the risk of electric shock or damage to the equipment when installing, maintaining,
or servicing products, observe the following precautions:
• Some products contain power supplies that are capable of producing hazardous energy
levels. Refer to the documentation included with your product to determine whether it
contains these power supplies. The installation of internal options and routine maintenance
and service of this product should be performed by individuals who are knowledgeable
about the procedures, precautions, and hazards associated with equipment containing
hazardous energy levels.
• Allow the product to cool before removing covers and touching internal components.
• Do not use conductive tools that could bridge live parts.
• Remove all watches, rings, or loose jewelry when working in hot-plug areas of an
energized server, storage, networking, or rack product.
• Some products have covers or doors to access hot-plug components and may allow
access to hazardous energy circuits or moving fans.
• The doors should remain locked during normal operation.
OR
• • The server, storage, networking, or rack product should be installed in a controlled
access location where only qualied personnel have access.
• Power down the equipment and disconnect all power cords before removing any access
covers for non-hot-plug areas.
• Do not replace non-hot-plug components while power is applied to the product. First, shut
down the product and disconnect all power cords.
• Do not exceed the level of repair specied in the procedures in the product documentation.
All troubleshooting and repair procedures are detailed to allow only subassembly or
module-level repair. Because of the complexity of the individual boards and subassemblies,
do not attempt to make repairs at the component level or to make modications to any
printed wiring board. Improper repairs can create a safety hazard.

x
Promise Technology
PegasusPro R8
Batteries

xi
About this guidePegasusPro Product Manual
WEEE Information
For EU (European Union) member users:
According to the WEEE (Waste electrical and electronic equipment) Directive, do not dispose of
this product as household waste or commercial waste.
Waste electrical and electronic equipment should be appropriately collected and recycled as
required by practices established for your country.
For information on recycling of this product, please contact your local authorities, your
household waste disposal service or the shop where you purchased the product.

About this guide ������������������������������������������������������������������������������������������������������������������������������������������������������� iii
introduction ������������������������������������������������������������������������������������������������������������������������������������������������������������ 1
Packing List������������������������������������������������������������������������������������������������������������������������������������������������������������� 1
sPecifications���������������������������������������������������������������������������������������������������������������������������������������������������������� 2
Hardware ����������������������������������������������������������������������������������������������������������������������������������������������������������������� 3
Front PAnel ������������������������������������������������������������������������������������������������������������������������������������������������������������ 3
reAr PAnel ������������������������������������������������������������������������������������������������������������������������������������������������������������� 4
instAllAtion And setuP ������������������������������������������������������������������������������������������������������������������������������������������ 5
UnPacking����������������������������������������������������������������������������������������������������������������������������������������������������������������� 6
summAry oF the setuP Procedure������������������������������������������������������������������������������������������������������������������������������ 6
1 downloAd soFtwAre And driver���������������������������������������������������������������������������������������������������������������������������� 6
2 instAll PegAsusPro driver ����������������������������������������������������������������������������������������������������������������������������������� 7
instaLL driver on Mac ��������������������������������������������������������������������������������������������������������������������������������� 7
instaLL driver on windows �������������������������������������������������������������������������������������������������������������������������� 9
3 instAll Promise utilty Pro ����������������������������������������������������������������������������������������������������������������������������� 10
instaLL UtiLity on Mac ������������������������������������������������������������������������������������������������������������������������������� 10
instaLL UtiLity on windows ������������������������������������������������������������������������������������������������������������������������ 12
4 connect Power And Power on ����������������������������������������������������������������������������������������������������������������������������� 13
5 connect thunderbolt™ 3 (PrivAte Port)������������������������������������������������������������������������������������������������������������ 14
6 connect 10g network (shAre Port)������������������������������������������������������������������������������������������������������������������ 15
7 connect 1g network webPAm insight mAnAgement ������������������������������������������������������������������������������������������ 16
hdd rePlAcement ����������������������������������������������������������������������������������������������������������������������������������������������� 17
removing the drive cArrier ����������������������������������������������������������������������������������������������������������������������������������� 17
instAlling 3.5” disk drive in the cArrier ��������������������������������������������������������������������������������������������������������������� 18
using Promise utility Pro���������������������������������������������������������������������������������������������������������������������������� 19
ProMise UtiLity Pro���������������������������������������������������������������������������������������������������������������������������������������� 20
First time setuP ���������������������������������������������������������������������������������������������������������������������������������������������������� 20
members First time using Promise utility Pro on mAc�������������������������������������������������������������������������������������� 24
members First time using Promise utility Pro on windows������������������������������������������������������������������������������� 27
adding afoLder witH ProMise UtiLity Pro ��������������������������������������������������������������������������������������������� 30
Using fiLeBoost ��������������������������������������������������������������������������������������������������������������������������������������������������� 32
using webPAm insight�������������������������������������������������������������������������������������������������������������������������������������� 35
Accessing webPAm insight������������������������������������������������������������������������������������������������������������������������������������ 36
Perusing webPAm insight gui ������������������������������������������������������������������������������������������������������������������������������ 37
Promise Technology
PegasusPro R8

dasHBoard ������������������������������������������������������������������������������������������������������������������������������������������������������������� 38
MeMBer and groUP ManageMent ���������������������������������������������������������������������������������������������������������������������� 39
creAting Anew member Account ��������������������������������������������������������������������������������������������������������������������������� 40
deleting An existing Account��������������������������������������������������������������������������������������������������������������������������������� 41
creAting Anew member grouP ������������������������������������������������������������������������������������������������������������������������������ 42
Adding members to AgrouP����������������������������������������������������������������������������������������������������������������������������������� 43
network ManageMent ����������������������������������������������������������������������������������������������������������������������������������������� 44
network interFAce bonding ����������������������������������������������������������������������������������������������������������������������������������� 45
tyPes of network Bonding ����������������������������������������������������������������������������������������������������������������������� 45
teaM foLders �������������������������������������������������������������������������������������������������������������������������������������������������������� 46
creAting Anew teAm Folder ��������������������������������������������������������������������������������������������������������������������������������� 47
removing AteAm Folder ���������������������������������������������������������������������������������������������������������������������������������������� 47
Adding members to AteAm Folder������������������������������������������������������������������������������������������������������������������������� 48
editing/deleting members And Permission settings ������������������������������������������������������������������������������������������������ 49
device inforMation����������������������������������������������������������������������������������������������������������������������������������������������� 50
device inforMation ������������������������������������������������������������������������������������������������������������������������������������ 50
device settings ���������������������������������������������������������������������������������������������������������������������������������������� 51
device HeaLtH ������������������������������������������������������������������������������������������������������������������������������������������� 52
PHysicaL drive statUs ������������������������������������������������������������������������������������������������������������������������������� 53
adMinistration ������������������������������������������������������������������������������������������������������������������������������������������������������� 54
events Log ����������������������������������������������������������������������������������������������������������������������������������������������� 54
firMware UPdate ��������������������������������������������������������������������������������������������������������������������������������������� 54
iMPort/exPort settings fiLes �������������������������������������������������������������������������������������������������������������������� 54
service ����������������������������������������������������������������������������������������������������������������������������������������������������� 55
ProtocoL �������������������������������������������������������������������������������������������������������������������������������������������������� 55
registration ��������������������������������������������������������������������������������������������������������������������������������������������� 55
configUring a new storage voLUMe��������������������������������������������������������������������������������������������������������������� 56
contActing technicAl suPPort ������������������������������������������������������������������������������������������������������������������������ 58
LiMitations ������������������������������������������������������������������������������������������������������������������������������������������������� 58
rMa MetHods������������������������������������������������������������������������������������������������������������������������������������������� 58
limited wArrAnty ��������������������������������������������������������������������������������������������������������������������������������������������������� 62
discLaiMer of otHer warranties����������������������������������������������������������������������������������������������������������������� 63
yoUr resPonsiBiLities �������������������������������������������������������������������������������������������������������������������������������� 64
retUrning tHe ProdUct for rePair ����������������������������������������������������������������������������������������������������������� 64
ContentsPegasusPro Product Manual

1
IntroductionPegasusPro Product Manual
IntroductIon
This chapter covers the following topics:
• “Packing List”
• “Specications”
• “Hardware”
• “Front Panel”
• “Rear Panel”
Packing List
Check the shipping package to make sure you have the following items:
• PegasusPro R8 (includes 8 hard disk drives installed in drive carriers)
• One power cord (1.5 meter)
• Thunderbolt™ 3 cable
• Quick Start Guide

2
Promise Technology
PegasusPro R8
System
Power supply 100 ~ 240V AC, 60 ~ 50Hz, 8A Max, 350W
System Fan System fan: 2700RPM.12V
Hardware
monitoring Temperature, Enclosure, Physical drives, Logical drives, RAID controller
Temperature Operating: 5° ~ 35° C
Non-operating: -40° ~ 70° C
Humidity Operating: 10% ~ 95% non-condensing
Storage: 5% - 95% non-condensing
Dimensions 310 mm x 187 mm x 245 mm
Weight 15.58 Kg with HDD installed
Certication CB, CE, FCC, ICES-003, EMI Class A
Form Factor
CPU Intel CPU i5-8500.3.0 GHz.9M Cache.65W.6 Cores
Memory 32GB UDIMM DDR4 (2 x 16GB) up to 64GB
Memory Slot 2 x Long-DIMM DDR4
Drives The PegasusPro is shipped with eight 3.5 inch 7200 rpm SATA Hard Disk Drive (HDD)
Modules mounted in the drive bays.
Drive Support 3.5” & 2.5” ( SATA 6Gb/s) HDD/SSD
RAID RAID level support: RAID 0, 1, 5, 6
OS Support macOS 10.15 or newer, Windows 10 or newer
Interface
Thunderbolt Ports 2 Thunderbolt™ 3 ports
LAN Ports Four 10 GbE ports (Base-T or SFP)
USB Ports USB 2.0*2 / USB 3.2*4
Network 1 GbE RJ-45*2
Specications

3
IntroductionPegasusPro Product Manual
System
Power supply 100 ~ 240V AC, 60 ~ 50Hz, 8A Max, 350W
System Fan System fan: 2700RPM.12V
Hardware
monitoring Temperature, Enclosure, Physical drives, Logical drives, RAID controller
Temperature Operating: 5° ~ 35° C
Non-operating: -40° ~ 70° C
Humidity Operating: 10% ~ 95% non-condensing
Storage: 5% - 95% non-condensing
Dimensions 310 mm x 187 mm x 245 mm
Weight 15.58 Kg with HDD installed
Certication CB, CE, FCC, ICES-003, EMI Class A
Form Factor
CPU Intel CPU i5-8500.3.0 GHz.9M Cache.65W.6 Cores
Memory 32GB UDIMM DDR4 (2 x 16GB) up to 64GB
Memory Slot 2 x Long-DIMM DDR4
Drives The PegasusPro is shipped with eight 3.5 inch 7200 rpm SATA Hard Disk Drive (HDD)
Modules mounted in the drive bays.
Drive Support 3.5” & 2.5” ( SATA 6Gb/s) HDD/SSD
RAID RAID level support: RAID 0, 1, 5, 6
OS Support macOS 10.15 or newer, Windows 10 or newer
Interface
Thunderbolt Ports 2 Thunderbolt™ 3 ports
LAN Ports Four 10 GbE ports (Base-T or SFP)
USB Ports USB 2.0*2 / USB 3.2*4
Network 1 GbE RJ-45*2
Hardware
The following section provides a summary of the front and back panel hardware features of PegasusPro R8.
Front Panel
The front panel of PegasusPro R8 enclosures provide access to drives carriers. Defective drives can be
replacedwithoutinterruptionofdataavailabilitytothehostcomputer.Ifsocongured,ahotsparedrive
will automatically replace a failed drive, securing the fault-tolerant integrity of the logical drive. The self-
contained hardware-based RAID logical drive in the PegasusPro R8 provides maximum performance in a
compact external enclosure.
The PegasusPro R8 system power button located on the front includes the Power status LED.
Drive carrier LED behavior on PegasusPro R8
LED Description
Power
Lights BLUE to indicate the system is pow-
ered on. Blinks BLUE in shutdown mode.
Drive Status
Each drive carrier has two LEDs on the
right side of the front, the Drive Status
LED located above the Activity LED. The
Drive Status LED displays BLUE when
adriveisconguredandworkingprop-
erly. When the lights are RED the HDD
requires manual replacement. ORANGE
indicates background RAID activity on this
particular HDD, no user action is required.
Drive Activity Steady BLUE when HDD link is estab-
lished,ashesBLUEduringdriveactivity.
PegasusPro R8 Front Panel
Power button
Drive Status
one LED per carrier
Activity
one LED per carrier

4
Promise Technology
PegasusPro R8
Rear Panel
The rear panel of the PegasusPro R8 enclosure provides access to the power supply, Thunderbolt™ 3
DAS (Private) ports, 10G NAS (Share) ports, VGA and HDMI video monitor connections, 1G Ethernet
ports for device management over the local network, and USB 3.2 ports.
1USB 2.0 ports
2HDMI (technical support only)
3USB 3.2 ports (4 ports)
4VGA port (technical support only)
5LAN RJ-45 ports (LAN1/LAN2)
Use these ports to connect to a
1G network for system manage-
ment using WebPAM Insight.
1G port numbers are written in
white text in the illustration.
6Four 10G BASE-T NAS (Share)
ports
For collaborative accounts ac-
cessing over network. Ports are
numbered 1-4 starting from the
top. 10G port numbers are printed
in white text in the illustration.
7Two Thunderbolt™ 3 DAS (Pri-
vate) ports
For single user accessing DAS
volume
8System fan vents
9PSU fan vent
10 Power insert
PegasusPro R8 Rear Panel
1 2 3 4
6
7
8
5
9
10
#1
#2
#3
#4
#2 #1

5
Installation and SetupPegasusPro Product Manual
CAUTION
The electronic components within the PegasusPro unit are sensitive to damage from
Electro-Static Discharge (ESD). Observe appropriate precautions at all times when
handling the PegasusPro unit or its subassemblies.
InstallatIon and setup
This chapter contains the following topics:
• “Unpacking”
• “1 Download Software and Driver”
• “2 Install PegasusPro Driver on your Mac”
• “3 Install PROMISE Utilty Pro on your Mac”
• “4 Connect Power and power on”
• “5 Connect Thunderbolt™ 3 (Private Port)”
• “6 Connect 10G Network (Share Port)”
CAUTION
Make sure to protect the PegasusPro from dust, moisture, extreme temperatures
and sudden large changes in temperature at all times, even if the unit is not
installed.

6
Promise Technology
PegasusPro R8
Summary of the setup procedure
The setup procedure for the PegasusPro is simple and easy. The device is shipped with hard disk
drivesinstalledandaRAIDarraycongured,soitisjustnecessarytoplugitinandconnectthedevice.
However,youshouldinstallthePROMISEUtilityProsoftwareusedformonitoringandadministrationof
thesystem.Macusers,pleasefollowthesetupprocedurehereorintheQuickStartGuide.
The setup process is summarized below.
1. Download the latest PegasusPro hardware drivers on Mac computer connected via
Thunderbolt™3DAS(Private)interface,inparticularforthehostMaccomputerusedforsetup;
download and install the latest software package including PROMISE Utility Pro (download these
from PROMISE website) on the host Mac computer and any users that will use PegasusPro via
the 10G Ethernet (Public) interface.
2. Install the PegasusPro Driver
3. Install PROMISE Utility Pro.
4. Connect the power cord and power on the PegasusPro R8.
5. Connect the PegasusPro Private Port to your computer with a Thunderbolt™ 3 cable.
6. Connect the PegasusPro Share Port to the network.
1 Download Software and Driver
Make sure to download and install the hardware drivers for the PegasusPro before you connect the
Thunderbolt™ 3 cable.
Go to promise.com > Products > Pegasus > PegasusPro > Download > Drivers
Then download and install PROMISE Utility Pro on the host Mac computer and collaborative user
computers.ThesoftwaredownloadlesarethesameforallcomputersthatwillusethePegasusPro.
Go to promise.com > Products > Pegasus > PegasusPro > Download > Utilities
Unpacking
Carefullyremovecontentsofshippingpackage,unpackthedeviceandshippedcomponentsfromthe
protective packaging. The equipment contained in the shipment is sensitive to electrostatic discharge.
ThePegasusProisshippedwitheightharddiskdrives(HDD)installedindrivecarriers,sotheunitis
heavy. Be careful handling it and taking it out of the packaging.

7
Installation and SetupPegasusPro Product Manual
1. Double-clickthePKGleforinstallingthedriver.TheInstallerappears.ClickContinue to begin
the installation.
2. Click Install to perform a standard installation.
2 Install PegasusPro Driver
IfPegasusProisconnectedtoaThunderboltportonyourcomputer,aPROMISEPegasusProDriver
should be installed and loaded before you using PegasusPro on Mac or Windows system. Follow
instructionsforyourOSinthewizardtoinstallthePROMISEPegasusDriver.Thenalstepwillbeto
restart the computer in order to complete the installation.
Install Driver on Mac
Follow the instructions below for Mac users. Windows users skip ahead for instructions for WIndows.
Table of contents
Other Promise Network Storage Server manuals

Promise
Promise E310f User manual
Promise
Promise VSky H3970 User manual

Promise
Promise PegasusPro R16 User manual

Promise
Promise VTRAK J300S User manual

Promise
Promise VTRAK 15100 User manual
Promise
Promise ConnectStor II User manual

Promise
Promise VTrak J5960 User manual

Promise
Promise VessRAID 1740s User manual
Promise
Promise SmartStor NS4700 User manual
Promise
Promise Smartstor NS4600 User manual

