Promise Atlas S8+ User manual

Atlas
S8+
Product Manual
Version 1.0
©2018 Promise Technology, Inc. All Rights Reserved.

ii
Promise Technology
Atlas S8+
Copyright
© 2018 PROMISE Technology, Inc. All Rights Reserved.
Important data protection information
PROMISE Technology is not responsible for any loss of data resulting from the use, disuse or misuse of this or any other
PROMISE Technology product.
Notice
Although PROMISE Technology has attempted to ensure the accuracy of the content of this document; it is possible that
this document may contain technical inaccuracies, typographical, or other errors. PROMISE Technology assumes no
liability for any error in this publication, and for damages, whether direct, indirect, incidental, consequential or otherwise,
that may result from such error, including, but not limited to loss of data or prots.
PROMISE Technology provides this publication “as is” without warranty of any kind, either express or implied, including,
but not limited to implied warranties of merchantability or tness for a particular purpose. The published information in
the manual is subject to change without notice. PROMISE Technology reserves the right to make changes in the product
design, layout, and driver revisions without notication to its users. This version of this document supersedes all previous
versions.

iii
About this guideProduct Manual
FCC

iv
Promise Technology
Atlas S8+
Safety Warnings
1. The Atlas S8+ can operate normally in the temperature of 0ºC~40ºC
(31.99 ~ 103.99°F). Please make sure the environment is well-ventilated.
2. The power cord connected to the Atlas S8+ must provide a correct
supply voltage (100-127V~/ 4A, 50-60Hz, 200-240V~/ 2A, 50-60Hz).
3. Do not place the Atlas S8+ in direct sunlight or near chemicals. Make
sure the temperature and humidity of the environment are in the
optimized level.
4. Place the product right side up at all times.
5. Unplug the power cord and all connected cables before cleaning. Wipe
the Atlas S8+ with a dry towel. Do not use chemical or aerosol to clean
the NAS.
6. Do not place any objects on the Atlas S8+ for the server’s normal
operation and to avoid overheat.
7. Do not place the Atlas S8+ near any liquid.
8. Do not place the Atlas S8+ on an uneven surface as this may lead to a
fall and product damage.
9. Do not place the Atlas S8+ on the ground as this may create a trip
hazard with potential product damage.
10. Do not place any object on the power cord.
11. Do not attempt to repair the Atlas S8+, this will invalidate the warranty
and expose users to a shock hazard or other risks.

v
About this guideProduct Manual

vi
Promise Technology
Atlas S8+
About this guide
This Product Manual describes how to setup, use, and maintain the Atlas S8+ unit.
This manual includes a full table of contents, chapter task lists, and numerous cross-references to help
you nd the specic information you are looking for.
Four types of notices are used throughout the document:

About this guide �������������������������������������������������������������������������������������������������������������������������������������������������������vi
introduction to AtlAs s8+ �������������������������������������������������������������������������������������������������������������������������������������� 1
Packing List������������������������������������������������������������������������������������������������������������������������������������������������������������� 1
specificAtions ����������������������������������������������������������������������������������������������������������������������������������������������������������� 2
Hardware ����������������������������������������������������������������������������������������������������������������������������������������������������������������� 3
front pAnel ������������������������������������������������������������������������������������������������������������������������������������������������������������� 4
reAr pAnel �������������������������������������������������������������������������������������������������������������������������������������������������������������� 5
disk drive numbering ����������������������������������������������������������������������������������������������������������������������������������������������� 6
hArdwAre instAllAtion And initiAl setup ��������������������������������������������������������������������������������������������������������� 7
connect the AtlAs s8+ to the host ������������������������������������������������������������������������������������������������������������������������ 7
stArt upYour AtlAs s8+���������������������������������������������������������������������������������������������������������������������������������������� 9
discover AtlAs s8+�������������������������������������������������������������������������������������������������������������������������������������������� 10
cHange Password ������������������������������������������������������������������������������������������������������������������������������������������������ 13
restart/sHutdown/Logout �������������������������������������������������������������������������������������������������������������������������������� 15
choose lAnguAge��������������������������������������������������������������������������������������������������������������������������������������������������� 17
reset to defauLt�������������������������������������������������������������������������������������������������������������������������������������������������� 18
reset button ��������������������������������������������������������������������������������������������������������������������������������������������������������� 18
led indicAtors ������������������������������������������������������������������������������������������������������������������������������������������������������ 21
ContentsProduct Manual

1
IntroductionProduct Manual
IntroductIon to AtlAs s8+
The Promise Atlas S8+ is a high-performance storage solution that features reliability, exibility and
easy management. Before setting up your new Atlas S8+, please check the package contents to verify
those items below. Besides, make sure to read the safety instructions carefully.
Packing List
Check the shipping package to make sure you have the following items:
Promise Atlas S8+ features:
• With Intel® CoreTM i5 2.7GHz Quad-Core Processor.
• 16GB DDR4 SO-DIMM RAM that can be expanded up to 32GB.
• Built-in 1GbE Ethernet LAN ports x4.
• Service door for a memory upgrade.
• Screw-less design for HDD / SSD installation.
1. One Atlas S8+
2. One AC power cord
3. Two RJ45 network cables (For 1GBs version only)
4. Two Thunderbolt3™ cables (For Thunderbolt3™ version only)
5. Two lock keys (one for HDD tray lock, one for service door)
6. One Quick Start Guide

2
Promise Technology
Atlas S8+
Form Factor 8 bay (3.5”)+1 (2.5”)
CPU Intel® CoreTM i5 2.7GHz Quad-Core Processor
RAM
16GB DDR4 SO-DIMM (Max 32GB)
Note: The pre-install memory modules may need to be replaced when
expanding the memory.
USB USB 3.0 x5 (Front x1, Rear x4)
Flash 8GB USB DOM
HDMI 1
Tray type 3.5’’ HDD tray with key lock x8
2.5’’ SSD tray x1
Number of Hard Disks 8 (3.5” disk) + 1 (2.5” disk)
Hard Drive Interface SATA 6Gb/s (backward compatible with SATA 3Gb/s)
Ethernet Ports 1GbE LAN (RJ45) x4
PSU FLEX ATX 200W
Dimension (H x W x D) mm 177 x 310 x 235
Agency Certications FCC Class B
Specications

3
IntroductionProduct Manual
Form Factor 8 bay (3.5”)+1 (2.5”)
CPU Intel® CoreTM i5 2.7GHz Quad-Core Processor
RAM
16GB DDR4 SO-DIMM (Max 32GB)
Note: The pre-install memory modules may need to be replaced when
expanding the memory.
USB USB 3.0 x5 (Front x1, Rear x4)
Flash 8GB USB DOM
HDMI 1
Tray type 3.5’’ HDD tray with key lock x8
2.5’’ SSD tray x1
Number of Hard Disks 8 (3.5” disk) + 1 (2.5” disk)
Hard Drive Interface SATA 6Gb/s (backward compatible with SATA 3Gb/s)
Ethernet Ports 1GbE LAN (RJ45) x4
PSU FLEX ATX 200W
Dimension (H x W x D) mm 177 x 310 x 235
Agency Certications FCC Class B
Hardware
This chapter outlines the key hardware components of the Atlas S8+ system. After reading this chapter,
you will have a basic understanding of each Atlas S8+ hardware component and give you the ability to
congure and operate your system successfully. The key components of Atlas S8+ are:
• Front Panel
• Rear Panel
• Disk Drive Numbering

4
Promise Technology
Atlas S8+
1 53
2
4
6
Number Description
1Power button / LED Indicator for Power and System Status
2USB copy button / LED Indicator for USB Status
3USB 3.0 Port
4LED Indicator for LAN Status
5LED Indicator for HDD and SSD Status
6Service Door
Front Panel
The gure below contains the information about buttons and indicators modules.

5
IntroductionProduct Manual
7
8 9
10 11
12
13
Number Description
1Power button / LED Indicator for Power and System Status
2USB copy button / LED Indicator for USB Status
3USB 3.0 Port
4LED Indicator for LAN Status
5LED Indicator for HDD and SSD Status
6Service Door
Number Description
7Power Receptacle
8HBA (Thunderbolt 3 or 10G BaseT)
9HDMI Port
10 Gigabit LAN Port
11 USB 3.0 Port
12 Kensington Lock
13 Reset to Factory Default Button
Rear Panel
The gure below contains the information about buttons and indicators modules.

6
Promise Technology
Atlas S8+
1 532 4 6 7 8
Disk Drive Numbering
The gure illustrates the Atlas S8+ system disk drive numbering.

7
Hardware Installation and Initial SetupProduct Manual
HArdwAre InstAllAtIon And InItIAl setup
This chapter will show you the procedure of the Atlas S8+ hardware installation and initial conguration.
Connect the Atlas S8+ to the Host
Atlas S8+ has four onboard 1Gbps LAN ports for host connections. The images below illustrate
possible cable path congurations used for the Atlas S8+.
One LAN connection

8
Promise Technology
Atlas S8+
Multiple LAN connections
Direct attachment

9
Hardware Installation and Initial SetupProduct Manual
Start Up Your Atlas S8+
Before you power on your Atlas S8+ for the rst time, please make sure the following tasks are done:
1. Connect one end of the power cord to the power port located on the back of the Atlas S8+ and
the other end to a power outlet.
2. Connect a LAN cable to LAN 1 port and the other end to your switch, router, or hub. You can
likewise connect LAN2, LAN3 and LAN4 as desired, just make sure that LAN1 is connected so
the nder can locate the Atlas S8+.
3. Press the power button to turn on your Atlas S8+.
Your Atlas S8+ is now online and detectable from a network computer.

10
Promise Technology
Atlas S8+
dIscover AtlAs s8+
After hardware setup is nished, the next step is to discover the system on the network and start the
initial conguration.
1. Open a web browser on your computer connected to the same local area network as the Atlas
S8+, and use either of the following methods on the browser:
a. Use Web Finder: atlas.promise.com (Please make sure the Atlas S8+ has internet access
ability before using the Web Finder.)
b. If your Atlas S8+ cannot be connected to the internet, please try downloading and installing Atlas
Finder application (listed as AFinder) from the Promise website to your PC.
Use this link below to go to the download page for Windows and Mac (Note: Mac requires Java).
Or copy this URL and paste it in the address bar of your browser to go to the utility download
page:
2. Click “Connect” on the Web Finder or double click on your Atlas S8+ on the Atlas Finder, the
welcome page will be launched on your web browser.
https://www.promise.com/us/Support/downloadcenter/Atlas/S8-plus/S8-plus-Thunderbolt-3#Utilities

11
Hardware Installation and Initial SetupProduct Manual
3. Click Quick Setup to start the setup process and follow the onscreen instructions.

12
Promise Technology
Atlas S8+
4. If you accidentally leave the quick install page, you can always return to the setup page by go
through the steps above from step 1 again.
5. After quick setup is nished, login as “admin” (default account name) with the default password,
“password” - you can change the password in the General Settings menu in the Control Panel.
a. Login to Storage Manager as admin or a user that belongs to the administrator’s
group.
b. Find the memory status in About NAS
If your system does not recognize the expanded memory or failed to start up,
please check again and ensure the memory is properly installed.

13
Hardware Installation and Initial SetupProduct Manual
Change Password
After logging in for the rst time, it is a good idea to change the administrator password from the default
setting. Follow these instructions to change the login password:
1. Left click on the Promise logo in the upper left corner, select Control Panel to open the menu.
2. Click on the General Settings icon.
Table of contents
Other Promise Network Storage Server manuals
Promise
Promise PegasusPro R8 User manual
Promise
Promise VTRAK J300S User manual

Promise
Promise VessRAID 1740s User manual
Promise
Promise VTRAK M610i User manual
Promise
Promise VSky H3970 User manual
Promise
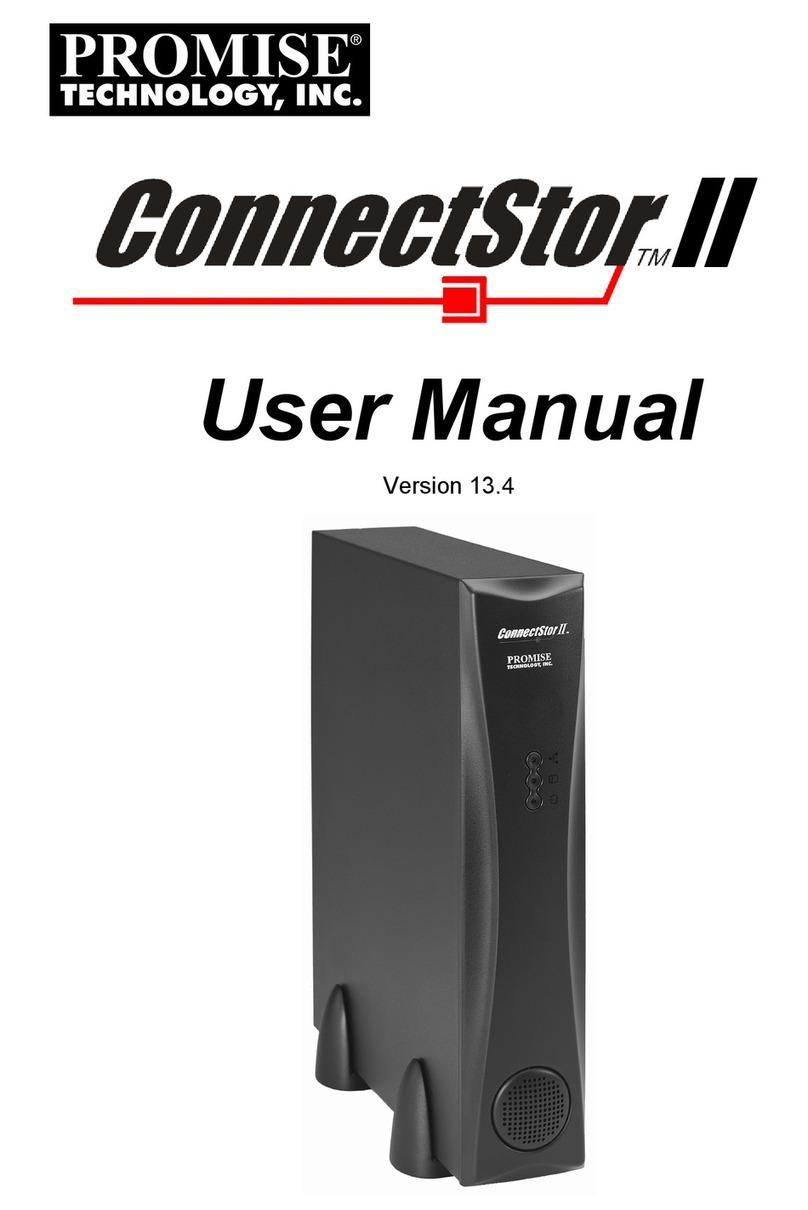
Promise ConnectStor II User manual
Promise
Promise VTRAK 15100 User manual
Promise
Promise SmartStor NS4700 User manual

Promise
Promise E310f User manual
Promise
Promise VTrak J5960 User manual


