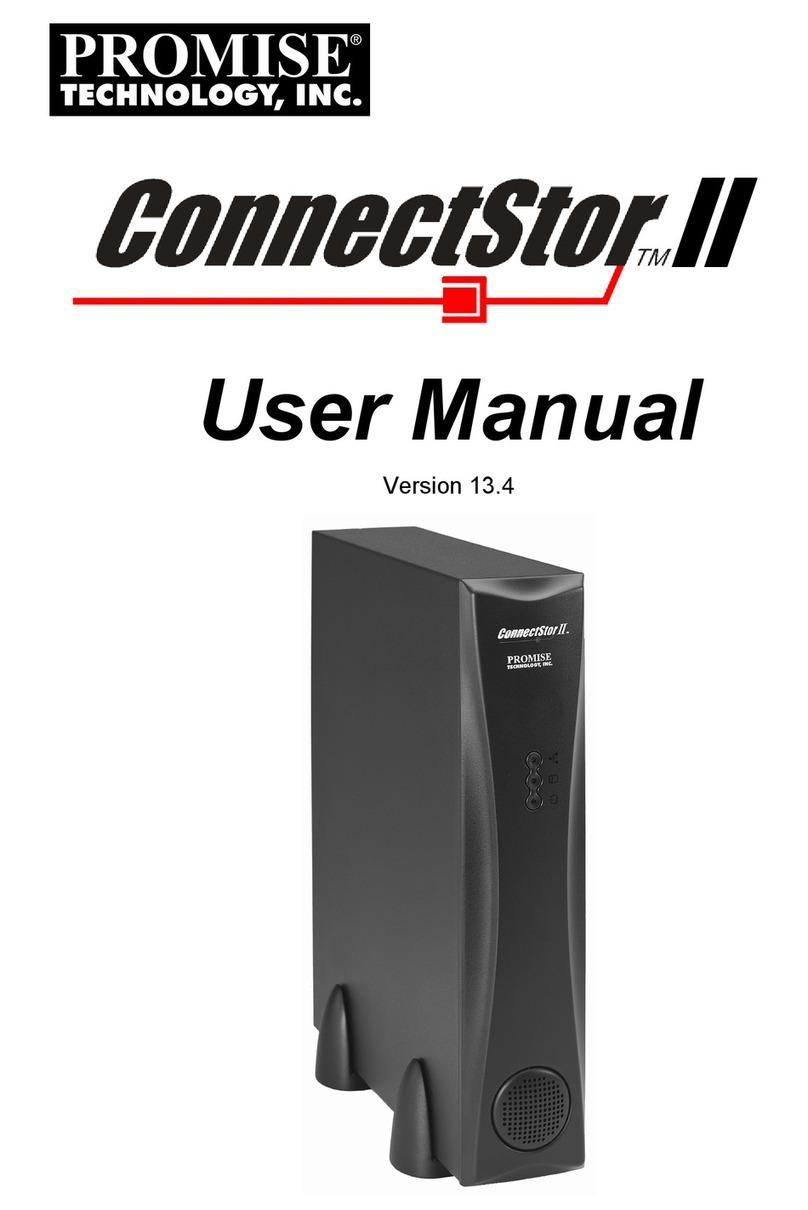
Promise ConnectStor II User manual

User’s Guide
II

Copyright
Copyright by Promise Technology, Inc. (“Promise”), 2001. No part of this manual
may be reproduced or transmitted in any form without the expressed, written
permission of Promise.
Trademarks
All trademarks are the property of their respective holders.
Important data protection information
You should back up all data before installing any drive controller or storage
peripheral. Promise is not responsible for any loss of data resulting from the use,
disuse or misuse of this or any other Promise product.
Notice
Although Promise has attempted to ensure the accuracy of the content of this
manual, it is possible that this document may contain technical inaccuracies,
typographical, or other errors. Promise Technology, Inc. assumes no liabilityfor any
error in this publication, and for damages, whether direct, indirect, incidental,
consequential or otherwise, that may result from such error, including, but not
limited to loss of data or profits.
Promise provides this publication “as is” without warrantyof any kind, either
express or implied, including, but not limited to implied warranties of
merchantability or fitness for a particular purpose.
The published information in the manual is subject to change without notice.
Promise reserves the right to make changes in the product design, layout, and driver
revisions without notification to its users.

Radio Frequency Interference Statement
This equipment has been tested and found to comply with the limits for a Class B
digital device, pursuant to Part 15 of the FCC Rules. These limits are designed to
provide reasonable protection against harmful interference in a residential
installation. This equipment generates, uses and can radiate radio frequency energy,
and, if not installed and used in accordance with the instruction may cause harmful
interference to radio communications. However, there is no guarantee that
interference will not occur in a particular installation. If this equipment does cause
harmful interference to radio or television reception, which can be determined by
turning the equipment off and on, the user is encouraged to try to correct the
interference by one or more of the following measures:
- Reorient or relocate the receiving antenna.
- Increase the separation between the equipment and receiver.
- Connect the equipment into an outlet on a circuit different from that to
which the receiver is connected.
- Consult Promise Technology, Inc. or an experienced radio/TV technician
for help.
This device complies with Part 5 of the FCC Rules. Operation is subject to the
following conditions: (1) This device may not cause harmful interference, and (2)
this device must accept any interference received, including interference that may
cause undesired operation.
NOTE: Only digital device equipment CERTIFIED CLASS B should be attached
to this equipment and that must have shielded cables.

Table of Contents
Copyright ____________________________________________ii
Trademarks___________________________________________ii
Important data protection information_____________________ii
Notice________________________________________________ii
Radio Frequency Interference Statement __________________ iii
Introduction _______________________________________ 1
Key Features__________________________________________2
Specifications__________________________________________3
Interface _________________________________________________3
Enclosure ________________________________________________3
Physical/Environmental_____________________________________3
Warranty_________________________________________________3
Getting Started_____________________________________ 5
Necessary Equipment for Installation______________________5
Unpacking ConnectStor II_______________________________7
Installing Hard Drives __________________________________8
Hooking Up ConnectStor II Hardware ___________________11
Install the Mounting Feet___________________________________11
Connect the Network Cable _________________________________11
Connect the Power Cord ___________________________________12
Power Switch ____________________________________________12
Configuring ConnectStor II IP Address___________________13
Configuring ConnectStor II _________________________ 15
Logging In___________________________________________16
About ConnectStor II's Configuration Menu_______________17
Changing or Viewing System Settings_____________________19

Changing Network Settings_________________________________19
Changing Date/Time Settings _______________________________21
Configuring UPS Support __________________________________23
Configuring E-Mail Notification Options ______________________24
Changing IP Address Assignment Mode __________________26
Changing Language Setting_________________________________28
Viewing Operating Status ______________________________29
User Options_________________________________________30
Viewing Current Users_____________________________________30
Creating a User __________________________________________31
Modifying a User _________________________________________32
Deleting a User___________________________________________34
File Sharing__________________________________________35
Viewing Current Shared Folders _____________________________35
Creating a New Shared Folder_______________________________36
Modifying Shared Folder Properties __________________________37
Deleting an Existing Shared Folder___________________________38
UNIX (NFS) Settings __________________________________39
Viewing Current Settings___________________________________39
Creating New UNIX/Linux Server Settings ____________________40
Deleting a UNIX/Linux Server ______________________________40
Password Server Options_______________________________41
Enabling Password Server Support ___________________________41
RAID Options________________________________________43
About RAID Arrays _______________________________________43
Viewing Current RAID Array Status__________________________44
Viewing Physical Drive Status_______________________________44
Selecting Another RAID Level ______________________________46
Halt / Reboot ConnectStor II ___________________________47
Halting ConnectStor II_____________________________________47
Remotely Rebooting ConnectStor II __________________________47
Advanced Configuration Commands _____________________48
Updating System _________________________________________48
Restoring ConnectStor II to Default Settings ___________________49

Exit Command _______________________________________50
Using ConnectStor II_______________________________ 52
Mapping ConnectStor II to Individual PCs ________________52
Using ConnectStor II For Storage _______________________55
Troubleshooting ConnectStor II______________________ 57
Using ConnectStor II's Front Panel Display________________57
Power Status LED Messages ________________________________57
General Troubleshooting Issues _________________________60
TCP/IP Is Not Enabled in Windows 95/98/ME__________________60
Cannot Find Workgroups in Windows 95/98/Me ________________60
Cannot See ConnectStor II Over Network______________________61
Cannot Find ConnectStor II in Network Neighborhood ___________61

Standard Conventions
Common identifiers:
↵- Press the Enter key
[Key] - Press the key(s) shown within the brackets
NOTE: Supplementary material containing important
information
Screen messages:
Type of text Display
Normal Looks like this
Messages appearing on screen Messages appearing on
screen
Typed commands or text “Text that you type”
Values you replace with type “Values that you replace”
File, path, and share names Filenames


ConnectStor II Chapter 1
- 1 -
Introduction
Thank you for purchasing Promise Technology’s ConnectStor network attached
storage (NAS) subsystem. ConnectStor II takes full advantage of Promise
Technology's leadership in ATA RAID product design by providing RAID 0, 1
support for the latest low-cost Ultra ATA/100 hard drives.
ConnectStor II offers users the ability to provide continuous data protection using
two-drive RAID 1 mirroring or to build increased storage capacity using RAID 0
striping of two drives. Either way, users take advantage of the increased economy,
performance, and capacity of Ultra ATA drives for their particular network
environment.
ConnectStor II houses file sharing protocols for Microsoft®Windows®95,
Windows®98, Windows NT®(v.4), Windows®2000, Windows®Me, NFS 2.0,
making it virtually a plug and work device with most major network operating
systems.
Best of all, you can easily manage and configure ConnectStor II from most major
web-based browsers (see Specifications). The password-protected management
utility lets users and/or network administrators customize ConnectStor II for direct
connection to UNIX (NFS), HTTP, and SMB/CIFS (Windows) network protocols
and includes a full suite of reporting and monitoring tools.

ConnectStor II Chapter 1
- 2 -
Key Features
The following are key features of the Promise ConnectStor II:
Drive Types
• Supports up to two 3.5” IDE drives (Ultra ATA, DMA, and EIDE)
• Supports Ultra ATA/100, Ultra ATA/66, Ultra ATA/33, EIDE, and Fast
ATA-2 speeds (UDMA 5/4/3/2/1/0 and DMA 2/1/0, respectively)
Status Indicators
• Power Status LED shows power on/off and system status
• Drive Activity LED displays drive activity (reads or writes)
• Network Activity LED displays individual network requests
Ultra ATA/100 Support
• 100MB/sec burst data transfers of Ultra ATA/100 drives
• Implements high-speed CRC error-checking
RAID 0, 1 Functions
• RAID 1 (mirroring) sends identical data to two installed drives
• RAID 1 maintains access to data if a single drive fails
• RAID 1 rebuilds data to replacement drive automatically
• RAID 0 (striping) links up to two drives as a single large capacity drive
volume (no fault protection)
• RAID 0 with two drives doubles sustained data transfer rate to speed up
large file transfers
Network Support
• Built-in 10/100Mb/s Ethernet controller for high data transfers
• Supports popular network protocols: TCP/IP, NFS, SMB/CIFS
Configuration & Monitoring
• Easy setup and monitoring of ConnectStor II unit via web browser
(requires MS Internet Explorer 5 or higher, Netscape Navigator 4 or
higher)
• IPassign™ utility to manually assign IP address IF network does not
support automatic IP address assignment (DHCP/BOOTP)

ConnectStor II Chapter 1
- 3 -
Specifications
Interface
• Fits most 3.5” form factor Ultra ATA hard disk drives
(ConnectStor II model may or may not include installed hard drives)
• Standard ATA/IDE interface
• Built-in power, network activity, and drive activity LEDs
Enclosure
• Dedicated cooling fan
• 10/100BaseT connector
• Serial port (COM2) for optional use of APC-compatible Uninterruptible
Power Supply (UPS)
• Power on/off switch
• Internal automatic 110/220 power selector
• Vertically (standard) or horizontal mounting
Physical/Environmental
Dimensions
• Enclosure: 8.5” x 5.75” x 1.625” (21.59cm x14.605cm x 4.128cm)
Operating Temperature
• 32°F to 122°F (0°C to 50°C)
Relative Humidity
• 10% to 95% (non-condensing)
Warranty
• Two years limited parts and labor

ConnectStor II Chapter 1
- 4 -
NOTES

ConnectStor II Chapter 2
- 5 -
Getting Started
This section is designed to help prepare ConnectStor II for installation into your
network. Please read through this chapter carefully before attempting to install
ConnectStor II.
Your ConnectStor II network attached storage system comes with all of the hardware
and software you need to connect it to your network quickly. It works on a 10Base-
T/100Base-TX Ethernet network.
Getting the ConnectStor II storage system up and running consists of the following
steps:
• Unpacking the ConnectStor II unit
• Installing Hard Drives
• Install ConnectStor II mounting hardware and cables
• Power on ConnectStor II unit
• Await hard drive initialization and bootup
• Assign IP address to unit (if necessary)
• Open web browser
• Customize ConnectStor II folders and/or user permissions
• Map individual PCs to ConnectStor II unit
• Begin saving and retrieving files to ConnectStor II
Necessary Equipment for Installation
You will need the following items before you can install and use your ConnectStor II
network attached storage system:
• A 10Base-T/100Base-TX Ethernet network.
• A Windows-based personal computer or workstation that has a 1.4 MB
floppy disk drive and is connected to your network. (Systems without a
floppydisk drive may download the installation utilities from the Promise
Technology website at http://www.promise.com.)
• A network hub, switch or router with a free port (for network connection)
OR a crossover cable if you are connecting ConnectStor II directly to a single
computer.
• An available IP (Internet Protocol) address to be used by the ConnectStor II
unit (this may be automatically assigned by some networks or you may need
to ask your network administrator).

ConnectStor II Chapter 2
- 6 -
• The netmask address used on your network (this may be automatically
assigned by some networks or you may need to ask your network
administrator).
• An assigned gateway address, if available (may be automatically assigned by
some networks or you may need to ask your network administrator).
For convenience, record your ConnectStor II network attached storage system
information as described below:
Table 1: ConnectStor II System Information
Information Type Location
TLA Number Back of ConnectStor II unit
Serial Number Back of ConnectStor II unit
IP Address for ConnectStor II Get from system administrator
Password Initial default is "password"
Net Mask Address Get from system administrator
Gateway Address Address for Internet or Intranet
access. Get from system admin.
Workgroup or Domain Name Get from system administrator
Server Name Initial default is
“PTICS2XXYYZZ” where the last
six numerals "XXYYZZ" represent
part of the Ethernet Address that is
factory-assigned to each
ConnectStor II unit. 1
1You can find the Ethernet Address on the back of the ConnectStor II unit. Its
format is 00-01-55-XX-YY-ZZ.

ConnectStor II Chapter 2
- 7 -
Unpacking ConnectStor II
The ConnectStor II package should contain the following items:
• ConnectStor II enclosure
• Two (2) mounting feet brackets for vertical footprint
• Four (4) rubber feet for horizontal footprint
• ConnectStor II User's Guide
• (1) Power cord
• (1) Category-5 Ethernet cable with RJ-45 connectors
If any of the contents are missing or damaged, please contact your dealer or
distributor immediately.
Please take a moment to visit the Promise website (www.promise.com/warranty) for
online registration of your ConnectStor II.
NOTE: ConnectStor II, like every other type of PC, is
subject to static electricity. Be sure that you are properly
grounded (Promise recommends that you wear an anti-
static strap, or place a free hand on a grounded object),
before installing.

ConnectStor II Chapter 2
- 8 -
Installing Hard Drives
ConnectStor II is designed for rapid user installation of two (or one) unformatted
Ultra ATA/100 hard drives. Check each drive to insure that they are jumpered
correctly as "master" or "single" drive (see manufacturer's instructions and/or
directions label on drive).
NOTE: Promise recommends use of identical drives for
best performance and compatibility.
1. Unscrew the mounting screws that secure the cover of your ConnectStor II unit
as shown below:

ConnectStor II Chapter 2
- 9 -
2. Unscrew and remove the drive mounting tray from the ConnectStor II chassis as
shown below:
Top of ConnectStor II Unit
Bottom of ConnectStor II Unit
Disk 1Disk 2

ConnectStor II Chapter 2
- 10 -
3. Position drive(s) over screw holes on platter. Secure using screws that go up
underneath and through the mounting tray and into the four screw holes on the
bottom of each drive as shown below:
4. Connect ATA cables and power supply connectors to each drive
5. Re-secure drive mounting tray to ConnectStor II with screws.
6. Replace the cover to your ConnectStor II unit and replace screws.
7. Power on ConnectStor II.
The first time the unit powers on with new drive(s), ConnectStor II will recognize
the presence of the unformatted drive(s). ConnectStor II will then proceed to format
the drive(s) and create the default RAID 0 array if there is only 1 drive, or Raid 1
array if there are 2 drives.
NOTE: Supervisors can change the default RAID 1
mirroring for a two-drive array to RAID 0 only AFTER this
initial configuration is complete (see changing RAID
setting on page 43).

ConnectStor II Chapter 2
- 11 -
Hooking Up ConnectStor II Hardware
Install the Mounting Feet
The ConnectStor II unit may be mounted upright, or it may be mounted on its side.
To mount upright, slip the two clip-on feet on to the bottom of the unit. Position one
mounting foot about one-inch from the front and place the other mounting foot about
one-inch from the back. To mount the ConnectStor II on its side, stick the four
rubber (button) feet on the side of the unit.
Connect the Network Cable
Connect one end of the (supplied) network cable to the Ethernet connector located
on the back of the ConnectStor II unit. Connect the other end of the network cable to
a network hub.

ConnectStor II Chapter 2
- 12 -
Connect the Power Cord
Connect one end of the power cord to the AC Power connector located on the back of
the ConnectStor II unit. Connect the other end of the power cable to a power source
or uninterruptible power supply.
NOTE: The ConnectStor II unit automatically recognizes
and switches to proper 110V or 220V settings.
Power Switch
Switch the ConnectStor II's power on.
Other manuals for ConnectStor II
1
Table of contents
Other Promise Network Storage Server manuals
Promise
Promise Smartstor NS4600 User manual

Promise
Promise VessRAID 1740s User manual

Promise
Promise VSky H3970 User manual
Promise
Promise VTRAK 15100 User manual

Promise
Promise VSky H3970rDM User manual
Promise
Promise VTrak J5960 User manual

Promise
Promise E310f User manual

Promise
Promise PegasusPro R16 User manual
Promise
Promise ConnectStor II User manual

Promise
Promise VTRAK M610i User manual
