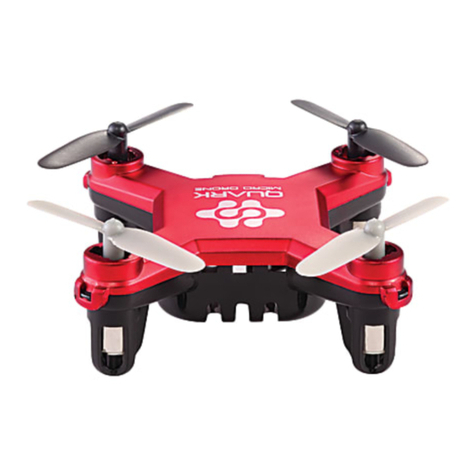
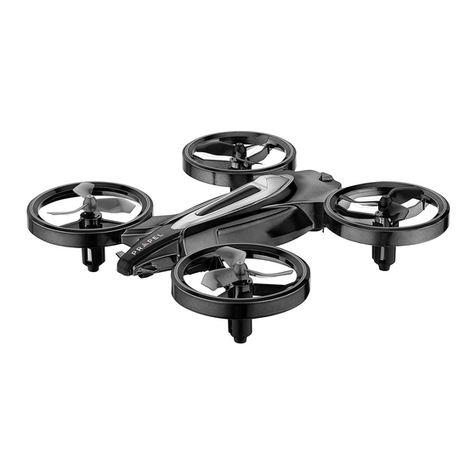
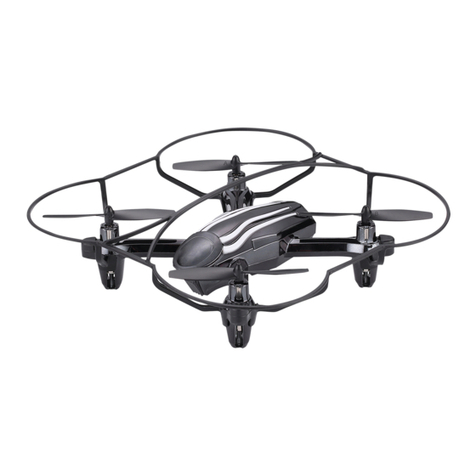
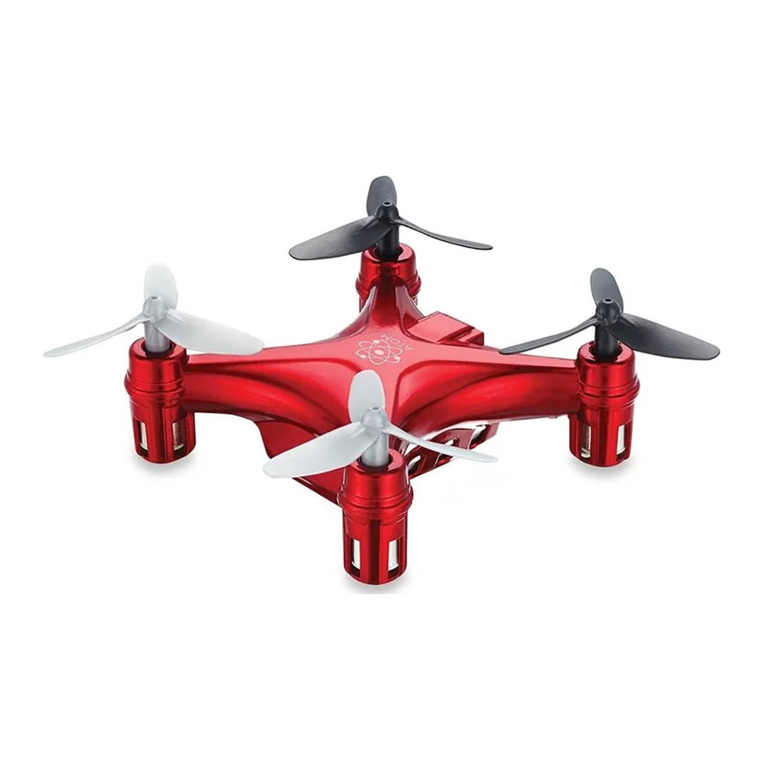
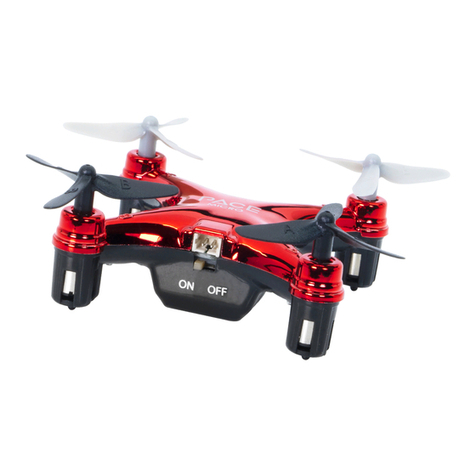
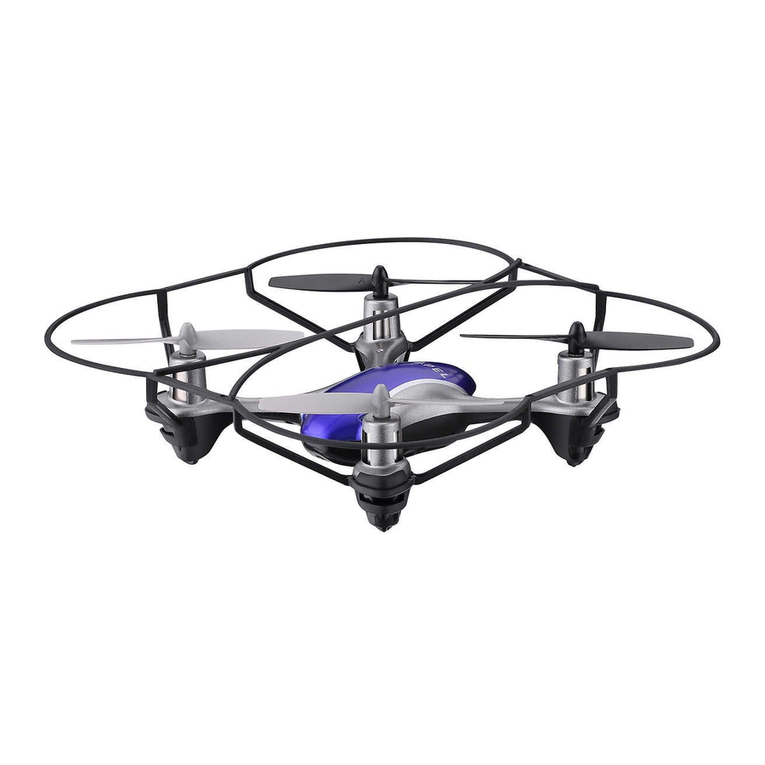
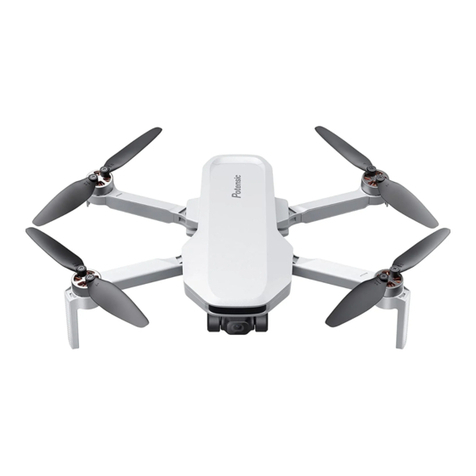
Thank you for purchasing the Quark™ 2.4Ghz Indoor/Outdoor Quadrocopter. Please read this instruction
booklet as it contains valuable information on how to properly fly and care for your Quark™.
FEATURES
• Built in 6 axis gyroscopic chip keeps the Quark™ extremely stable in all conditions.
• 4 channel flight controls allow for incredible maneuverability including 360˚ aerial stunts!
• LED directional lights makes the Quark™ easy to follow.
• On board 6 axis gyro keeps the Quark™ extremely stable in all conditions
• Patented switch-bladeTM technology allows you to operate in either 3ch or 4ch modes for beginner to
advanced pilots
REMOTE CONTROL BATTERY INSTALLATION
1. Unscrew and slide off the battery cover from the back of the controller.
2. Install 2 “AAA” alkaline batteries into the controller as shown in diagram A
3. Replace the battery cover and secure it.
4. Turn over the controller and turn the on/off switch to the on position to
check for an LED light indicator. If the indicator light turns on you have
installed your batteries properly.
TABLE OF CONTENTS
Features............................................................................................................ 2
Remote Battery Installation....................................................................................... 2
Charging the Quark™ Battery.................................................................................... 2
Quark™ Battery Installation...................................................................................... 2
Quark™ Diagram, Remote Diagram............................................................................. 3
Preparing For Flight...............................................................................................4
Syncing Your Quark™..............................................................................................4
Flying Tips........................................................................................................ 4
Recognizing the Front and Back of the copter................................................................... 5
Forward / Backward Trim........................................................................................ 5
Banking Left / Right Trim........................................................................................ 6
3/4 Channel Select................................................................................................. 6
Speed & Light button............................................................................................. 6
4 Channel Flight Control........................................................................................... 7
3 Channel Flight Control........................................................................................... 7
360˚ Stunt rolls.................................................................................................... 9
Replacing The Propeller Blade...................................................................................10
Battery Warnings, Care and Maintenance...................................................................... 10
FCC Part 15 B Notice............................................................................................ 11
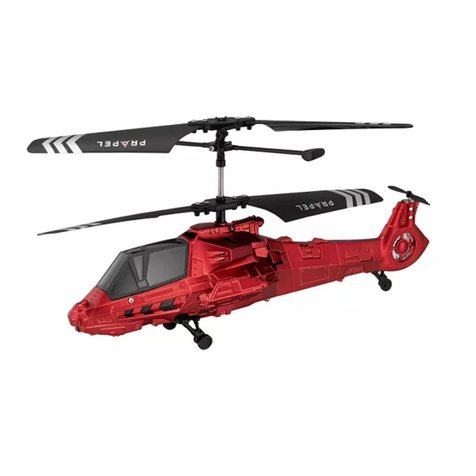
CHARGING THE HELICOPTER
1. Make sure the helicopter’s power switch is in the “OFF” position and plug the USB
charging cord into the charging socket of the helicopter(see diagram B ).
2.
Next, connect the USB charging cord to your computer’s USB port (see diagram C )
Note: The USB plug will show a RED charging indicator light. This lets you know that
Charging is in progress.
Note:You may also purchase a Propel USB wall charger from our online store at www.propelrc.com.
3. The red LED on the USB plug lights OFF when charging is complete (See diagram D).
4. The charging time will vary depending on the percentage of battery already charged. The average charging
time is approximately 30-40 minutes.
Charging socket is located on the backside of the
helicopter next to the power switch.
C.B. D.
IMPORTANT: ALWAYS DISCONNECT CHARGER CORD AFTER CHARGING. NEVER LEAVE CHARGER CONNECTED TO
HELICOPTER OVERNIGHT OR FOR EXTENDED PERIODS OF TIME.
The red LED on the USB
plug lights off when
charging is complete
1 2
Battery Compartment
(2 “AAA” batteries)
Battery Cover
A.
