manuals.online logo
Brands
  1. Home
  2. •
  3. Brands
  4. •
  5. Propel Trampolines
  6. •
  7. Toy
  8. •
  9. Propel Trampolines HOVERMAXX User manual

Propel Trampolines HOVERMAXX User manual

Other Propel Trampolines Toy manuals

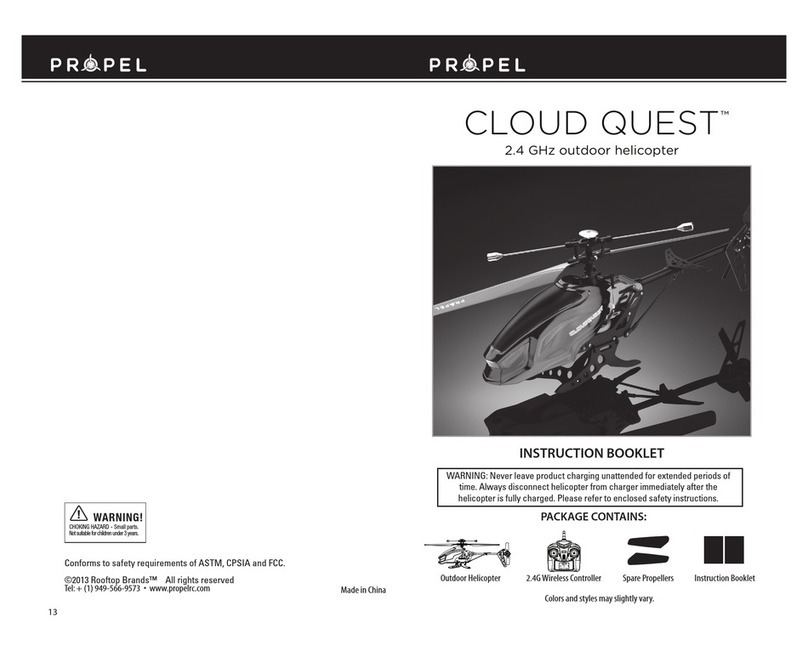
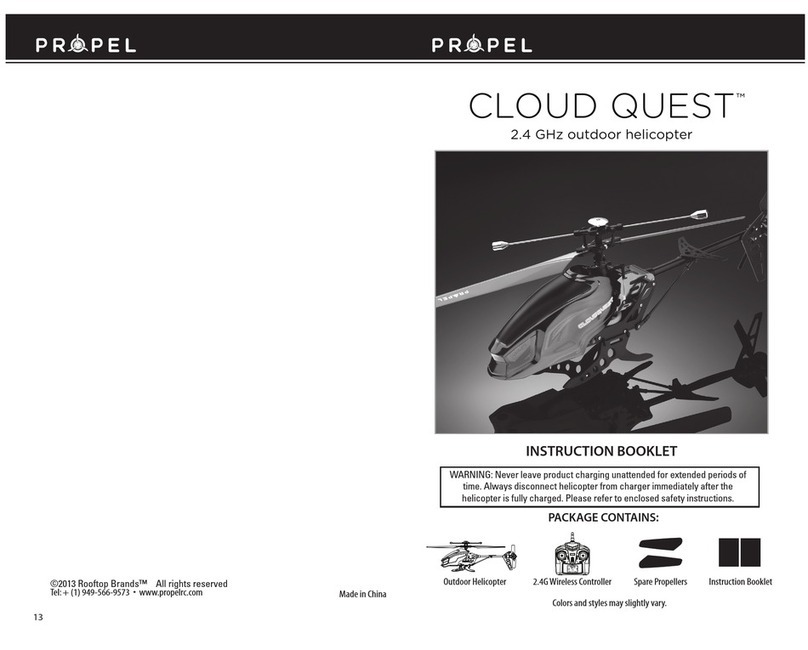
Propel Trampolines cloud quest User manual

Propel Trampolines

Propel Trampolines cloud quest User manual

Propel Trampolines SPEED STAR User manual

Propel Trampolines

Propel Trampolines SPEED STAR User manual

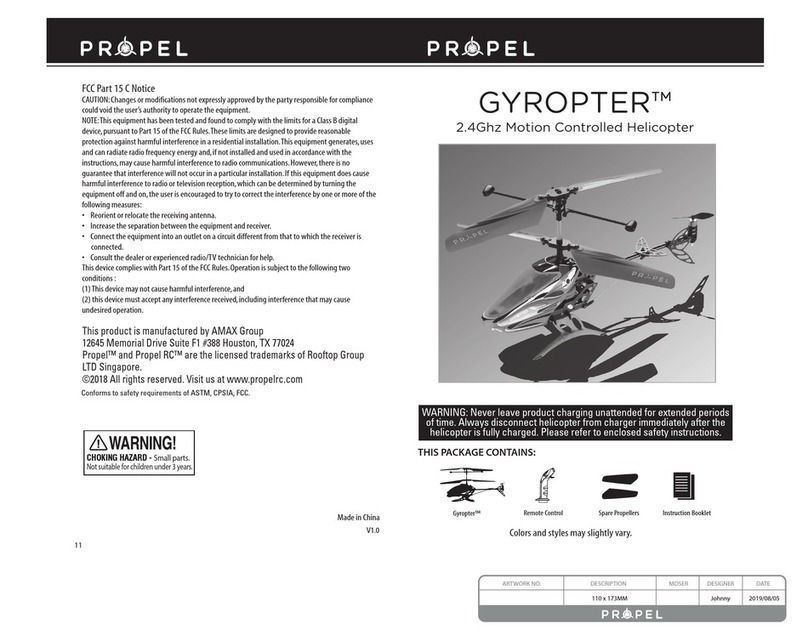
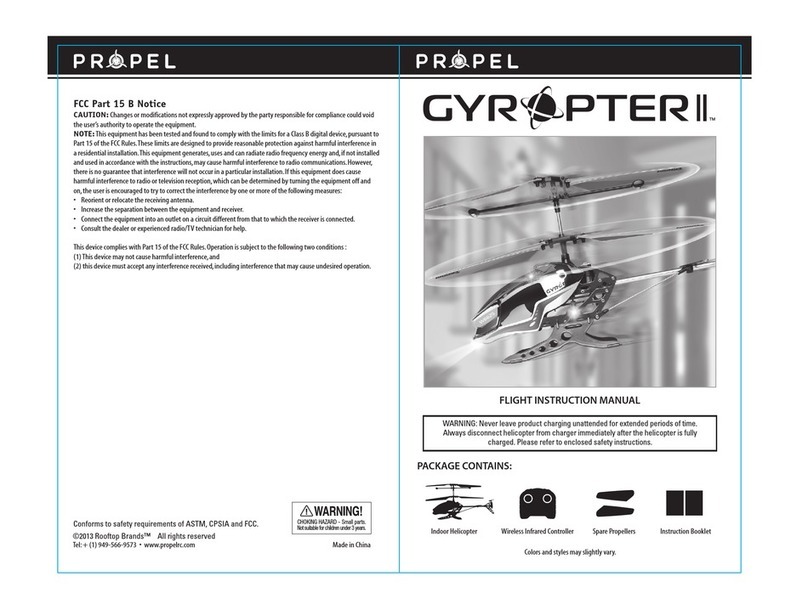
Propel Trampolines GYROPTER User manual

Propel Trampolines

Propel Trampolines GYROPTER User manual

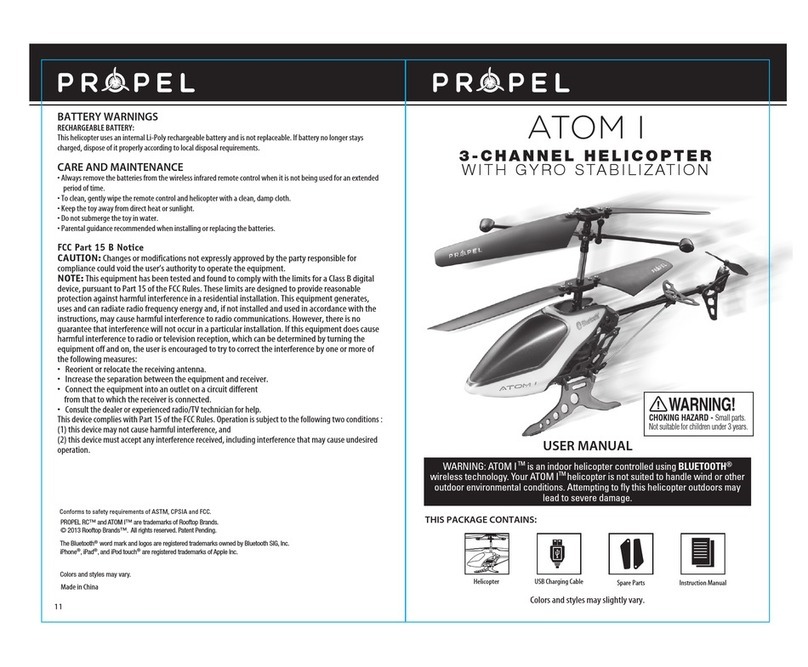
Propel Trampolines AROM I User manual

Propel Trampolines

Propel Trampolines AROM I User manual

Propel Trampolines AIR COMBAT User manual

Propel Trampolines

Propel Trampolines AIR COMBAT User manual

Propel Trampolines Air Combat User manual

Propel Trampolines

Propel Trampolines Air Combat User manual

Propel Trampolines Gyropter II User manual

Propel Trampolines

Propel Trampolines Gyropter II User manual

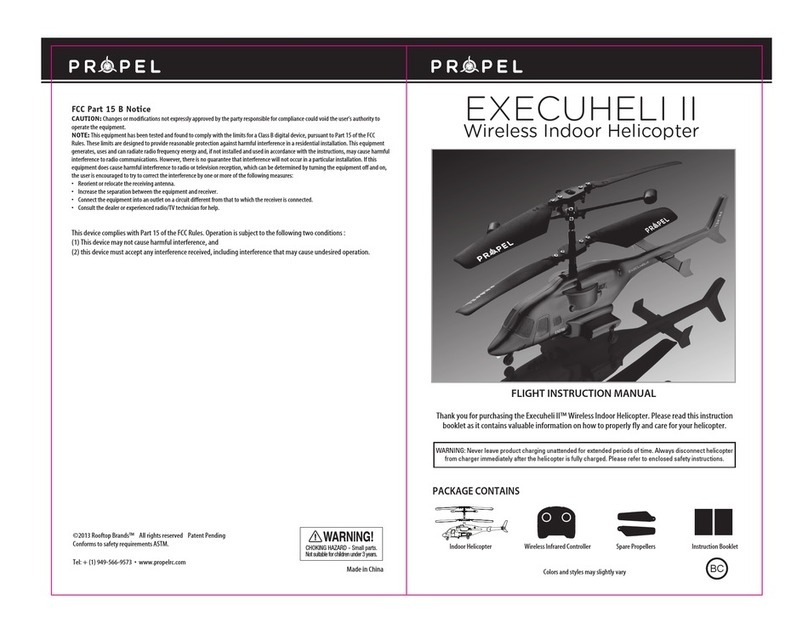
Propel Trampolines EXECUHELI II User manual

Propel Trampolines

Propel Trampolines EXECUHELI II User manual

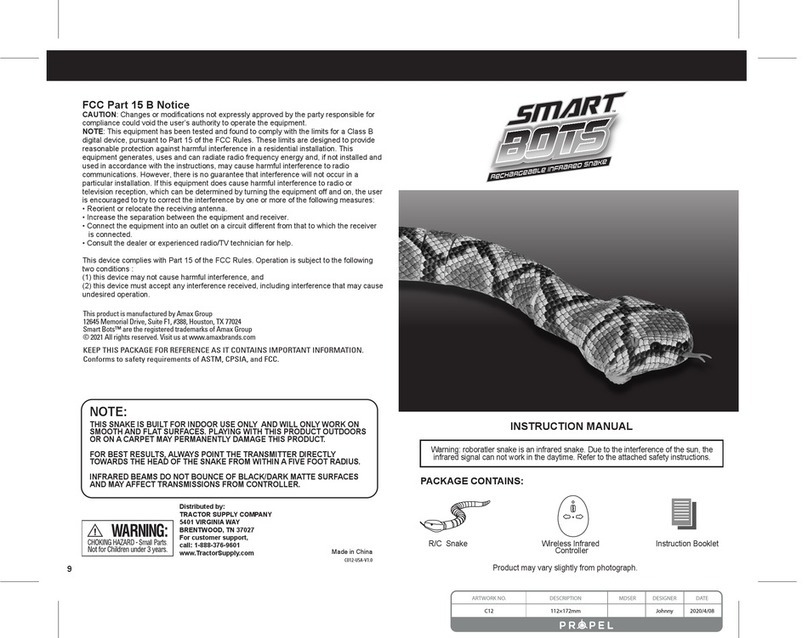
Propel Trampolines SMART BOTS User manual

Propel Trampolines

Propel Trampolines SMART BOTS User manual

Propel Trampolines cloud quest User manual

Propel Trampolines

Propel Trampolines cloud quest User manual

Popular Toy manuals by other brands

FUTABA GY470 instruction manual

FUTABA

FUTABA GY470 instruction manual

LEGO 41116 manual

LEGO

LEGO 41116 manual

Fisher-Price ColorMe Flowerz Bouquet Maker P9692 instruction sheet

Fisher-Price

Fisher-Price ColorMe Flowerz Bouquet Maker P9692 instruction sheet

Little Tikes LITTLE HANDIWORKER 0920 Assembly instructions

Little Tikes

Little Tikes LITTLE HANDIWORKER 0920 Assembly instructions

Eduard EF-2000 Two-seater exterior Assembly instructions

Eduard

Eduard EF-2000 Two-seater exterior Assembly instructions

USA Trains EXTENDED VISION CABOOSE instructions

USA Trains

USA Trains EXTENDED VISION CABOOSE instructions

Modellbau Laffont Z1601 Assembly instructions

Modellbau Laffont

Modellbau Laffont Z1601 Assembly instructions

NOCH 12905 instruction manual

NOCH

NOCH 12905 instruction manual

Eduard Ki-61-Id quick start guide

Eduard

Eduard Ki-61-Id quick start guide

Viessmann Vollmer 45616 Mounting instruction

Viessmann

Viessmann Vollmer 45616 Mounting instruction

Vollmer 42004 Mounting instruction

Vollmer

Vollmer 42004 Mounting instruction

Phoenix Model CLASSIC-EP instruction manual

Phoenix Model

Phoenix Model CLASSIC-EP instruction manual

H-KING Sopwith Camel British WW1 Fighter instruction manual

H-KING

H-KING Sopwith Camel British WW1 Fighter instruction manual

MODSTER Predator 4x4 Crawler user manual

MODSTER

MODSTER Predator 4x4 Crawler user manual

DHK Hobby 8136 User instruction manual

DHK Hobby

DHK Hobby 8136 User instruction manual

THUNDER TIGER Raptor 50 V2 kit manual

THUNDER TIGER

THUNDER TIGER Raptor 50 V2 kit manual

Timberkits Skateboarder instructions

Timberkits

Timberkits Skateboarder instructions

Hangar 9 Funtana 125 Assembly manual

Hangar 9

Hangar 9 Funtana 125 Assembly manual

manuals.online logo
manuals.online logoBrands
  • About & Mission
  • Contact us
  • Privacy Policy
  • Terms and Conditions

Copyright 2025 Manuals.Online. All Rights Reserved.

Please read this user manual as it contains valuable informa-
tion on how to properly fly and care for your HOVERMAXX.
BATTERY WARNINGS
RECHARGEABLE BATTERY:
This UFO uses an internal Li-Poly rechargeable battery and is not replaceable. If the battery no
longer stays charged, dispose of it properly according to local disposal requirements.
CAUTION: If the rechargeable battery leaks fluid, avoid contact with eyes and dispose of the UFO.
CONTROLLER BATTERIES:
The remote control requires 6 “AAA” batteries (not included). Please read the important battery
safety warnings below.
• Do not mix alkaline, standard (carbon-zinc), and rechargeable batteries (Nickel Metal Hydride).
• Do not mix old and new batteries.
• Non-rechargeable batteries are not to be recharged.
• Rechargeable batteries are to be removed from the item before being charged (if removable).
• Rechargeable batteries are only to be charged under adult supervision.
• Exhausted batteries should be removed immediately and must be recycled or disposed of
properly according to state or local government ordinances and regulations.
• The supply terminals are not to be short-circuited.
• Only batteries of the same or equivalent type as recommended are to be used.
• Batteries are to be inserted with the correct polarity (see inside booklet for diagram).
• Do not dispose batteries in a fire; batteries may leak or explode.
CARE AND MAINTENANCE
• Always remove the batteries from the remote control when it is not being used for an extended
period of time.
• To clean, gently wipe the remote control and UFO with a clean damp cloth.
• Keep the toy away from direct heat or sunlight.
• Do not submerge the toy into water. This can damage the unit beyond repair.
• Parental guidance is recommended when installing or replacing the batteries.
• Only use the remote control included with this UFO to charge the Lithium Polymer battery
installed in the helicopter.
• IMPORTANT SAFETY INFORMATION: Keep your UFO away from face and eyes.
Keep fingers away from moving rotors when power is turned on.
CHOKING HAZARD
-
Small parts.
Not for children under 3 years.
Tel: + (1) 949-566-9573 • www.propelrc.com
FCC Part 15 B Notice
CAUTION: Changes or modifications not expressly approved by the party responsible for
compliance could void the user’s authority to operate the equipment.
NOTE: This equipment has been tested and found to comply with the limits for a Class B
digital device, pursuant to Part 15 of the FCC Rules. These limits are designed to provide
reasonable protection against harmful interference in a residential installation. This
equipment generates, uses and can radiate radio frequency energy and, if not installed and
used in accordance with the instructions, may cause harmful interference to radio communi-
cations. However, there is no guarantee that interference will not occur in a particular
installation. If this equipment does cause harmful interference to radio or television reception,
which can be determined by turning the equipment off and on, the user is encouraged to try
to correct the interference by one or more of the following measures:
• Reorient or relocate the receiving antenna.
• Increase the separation between the equipment and receiver.
• Connect the equipment into an outlet on a circuit different from that to which the receiver
is connected.
• Consult the dealer or experienced radio/TV technician for help.
This device complies with Part 15 of the FCC Rules. Operation is subject to the following two
conditions :
(1) This device may not cause harmful interference, and
(2) This device must accept any interference received, including interference that may cause
undesired operation. Product may vary slightly from photograph.
USER MANUAL
©2013 Rooftop Brands™ All rights reserved Patent Pending
Conforms to safety requirements ASTM, CPSIA and FCC.
WARNING: HOVERMAXX is an indoor infrared flying toy. Infrared signals cannot function in daylight
due to interference from the sun. In addition, your LED UFO is not suited to handle wind or other
outdoor environmental conditions. Attempting to fly this toy outdoors may lead to severe damage.
HOVERMAXX
LED Remote Control UFO
30
FLAT SURFACE IS OK CARPET IS NOT OK
PREPARATION
• Verify that there are 6 “AAA” batteries inside the infrared remote control unit (see
diagram A) and the UFO has been fully charged.
• Make sure your UFO is turned on.
• Make sure the room has no obstacles and a high ceiling.
INFRARED MULTI-CHANNEL CONTROL SYSTEM
Your HOVERMAXX™ UFO utilizes an automatic multi-channel selection system that
allows up to 3 people to fly side-by-side in the same range.
FOR ONE PERSON PLAY:
1. Before starting, make sure that both controller and UFO are powered off.
2. Switch the channel selector to select a channel (see diagram A).
3. Place the UFO on a table or hold it in your hand. Make sure your hands and body are
away from the rotor blades.
4. Turn on the UFO and remote control. Slowly push the throttle upward to pair the UFO
and the remote control. When the rotor blades spins, pairing is completed. You can
start to play.
5. If you turn your UFO off or the battery runs out, you will need to do the pairing again.
FOR TWO- OR THREE-PERSON PLAY:
1. Before starting, make sure that all UFOs and controllers are powered off.
2. Each player must select a different flight channel (A, B or C) on his/her own
controller. If more than one person is on the same flight channel, there will be
interference.
3. Only one person should pair his/her UFO at a time by following steps 3 thru 4 above.
4. When a player’s UFO is paired and working it should be left on while the next
players pair their UFOs in turn.
5. If you turn your UFO off or the battery runs out, you will need to do the pairing again.
TROUBLESHOOTING
UFO DIAGRAM
REMOTE DIAGRAM
INSTALLING THE BATTERIES
1. Use a screwdriver to remove the battery compartment cover
from the back of the remote control.
2. Install 6 “AAA” alkaline batteries (see diagram A).
3. Replace the battery compartment cover and tighten the screw.
CHARGING THE UFO
1. Make sure the UFO power switch is set to the OFF position.
2. Connect the charging plug on the remote control to the
charging socket on the UFO (see diagram B).
NOTE: THE CHARGING PLUG FITS INTO THE CHARGING
SOCKET ONLY WAY. DO NOT FORCE THE UFO ONTO THE
REMOTE CONTROL. PLACE THE REMOTE CONTROL ON ITS
SIDE. (see diagram B for proper positioning).
3. Turn on the remote control (see diagram C). Both POWER and
CHARGE indicators light to indicate charging status.
4. When the CHARGE indicator is off, charging is completed.
Unplug the UFO. Average charging time is 20 - 35 minutes.
5. A full charge takes 20-35 minutes. When fully charged, the
UFO can fly 5-7 minutes.
Diagram A
Diagram B
Diagram D
Diagram C
Move the throttle control up to increase
the speed of the main rotor blade and the
UFO will climb.
FLYING YOUR UFO
TAKING OFF: Launch from your hand or from a flat smooth level surface. See Diagram D
below:
HOVERING YOUR UFO: Start to fly your UFO by slowly and consistently pushing the
throttle upward. Your UFO will climb. Slowly pushing the throttle down with your thumb will
cause your UFO to descend. Practice hovering in the center of the room by making small
adjustments on your throttle.
Move the throttle control down to
decrease the speed of the main rotor and
the UFO will descend.
Infrared Transmitter
POWER
Indicator
CHARGE
Indicator
Channel
Selector
Power ON/OFF
UFO Lamp
On/Off
Throttle
Charging Plug
AAA
AAA
AAA
AAA
AAA
AAA
Stabilizer
Landing Gear Charging Socket
Power Switch
Main Rotor Blade Connecting Rod
Flash Lamp
Battery
Compartment
Cover
(6 “AAA” batteries)
ONOFF
ONOFF
LAMP
LAMP
ONOFF ONOFF
LAMP BUTTON
Press the LAMP button on the controller to remotely switch the UFO lights on and off
(please refer to remote control diagram).
IMPORTANT: YOUR UFO is extremely sensitive to throttle movements: When flying
your UFO, always make slow, consistent movements up or down on the throttle.
Try not to move the throttle up and down rapidly as this will cause the UFO to fly
wildly and lose control.
CORRECT INCORRECT
PROBLEM SOLUTION
UFO does not
respond to controller
UFO is flying erratically
or can not “lift off”
1) Make sure the UFO is fully charged and the batteries in your controller are new.
2)
Turn your controller and UFO off and on again to reset the connection between the two devices.
3) Make sure you are indoors, away from sunlight and bright indoor lighting.
4) Make sure there is nothing blocking the infrared transmitter on the controller and that you
have not added decals or paint to the UFO body that can result in blocking signals.
1) Make sure that the connecting rods are intact and not broken.
Note: Find the two additional connecting rods and the instruction sheet for replacing a
broken rod in the package.
2) Make sure there is no hair or carpet fibers stuck in the metal rotor shaft or gears. If you
find hair carefully remove it with a tweezers. Never operate your UFO underwater. See care
instructions.
A B C
A B C
A B C