Propel Trampolines SMART BOTS User manual

FCC Part 15 B Notice
CAUTION: Changes or modifications not expressly approved by the party responsible for
compliance could void the user’s authority to operate the equipment.
NOTE: This equipment has been tested and found to comply with the limits for a Class B
digital device, pursuant to Part 15 of the FCC Rules. These limits are designed to provide
reasonable protection against harmful interference in a residential installation. This
equipment generates, uses and can radiate radio frequency energy and, if not installed and
used in accordance with the instructions, may cause harmful interference to radio
communications. However, there is no guarantee that interference will not occur in a
particular installation. If this equipment does cause harmful interference to radio or
television reception, which can be determined by turning the equipment off and on, the user
is encouraged to try to correct the interference by one or more of the following measures:
• Reorient or relocate the receiving antenna.
• Increase the separation between the equipment and receiver.
• Connect the equipment into an outlet on a circuit different from that to which the receiver
is connected.
• Consult the dealer or experienced radio/TV technician for help.
This device complies with Part 15 of the FCC Rules. Operation is subject to the following
two conditions :
(1) this device may not cause harmful interference, and
(2) this device must accept any interference received, including interference that may cause
undesired operation.
Product may vary slightly from photograph.
INSTRUCTION MANUAL
PACKAGE CONTAINS:
Wireless Infrared
Controller Instruction BookletR/C Snake
Warning: roboratler snake is an infrared snake. Due to the interference of the sun, the
infrared signal can not work in the daytime. Refer to the attached safety instructions.
9
NOTE:
THIS SNAKE IS BUILT FOR INDOOR USE ONLY AND WILL ONLY WORK ON
SMOOTH AND FLAT SURFACES. PLAYING WITH THIS PRODUCT OUTDOORS
OR ON A CARPET MAY PERMANENTLY DAMAGE THIS PRODUCT.
FOR BEST RESULTS, ALWAYS POINT THE TRANSMITTER DIRECTLY
TOWARDS THE HEAD OF THE SNAKE FROM WITHIN A FIVE FOOT RADIUS.
INFRARED BEAMS DO NOT BOUNCE OF BLACK/DARK MATTE SURFACES
AND MAY AFFECT TRANSMISSIONS FROM CONTROLLER.
Made in China
C012-USA-V1.0
KEEP THIS PACKAGE FOR REFERENCE AS IT CONTAINS IMPORTANT INFORMATION.
Conforms to safety requirements of ASTM, CPSIA, and FCC.
Distributed by:
TRACTOR SUPPLY COMPANY
5401 VIRGINIA WAY
BRENTWOOD, TN 37027
For customer support,
call: 1-888-376-9601
www.TractorSupply.com
This product is manufactured by Amax Group
12645 Memorial Drive, Suite F1, #388, Houston, TX 77024
Smart Bots™ are the registered trademarks of Amax Group
© 2021 All rights reserved. Visit us at www.amaxbrands.com
RECHARGEABLE Infrared SNAKE
ARTWORK NO. DESCRIPTION MDSER DESIGNER DATE
C12 112×172mm Johnny 2020/4/08

Transmitter Batteries Installation
Product battery installation
1. Use a Phillips head screwdriver to unscrew battery cover at the back of the
transmitter. In an counterclockwise direction, open the battery cover (Fig.1).
2. Place
2 “AAA” batteries ( not included)
according to the polarity (Fig.2).
3. Close the battery cover, use the screwdriver to screw it in clockwise direction
(Fig.3).
1. Screw off the battery cover on the back of the toy with a crosshead screwdriver.
Open the battery cover counterclockwise (Fig. 4).
2. Place
4 “AAA” batteries ( not included)
according to the polarity (Fig. 5).
3. Close the battery cover and screw it in clockwise with a screwdriver (Fig. 6).
(Fig. 1)
(Fig. 4) (Fig. 5) (Fig. 6)
(Fig. 2) (Fig. 3)
Features
• Realistic Slithering Motion
• Egg Shaped Remote Controller
• NEW Interactive Pet Mode Automatically Engages Pets
• NEW Sensors In The Eyes Detect Walls And Other Obstacles
Thank you for purchasing the ROBORATTLER Remote Control Snake. The
RoboRattler is an exciting action toy that requires user participation to properly
control the snake. Please read this instruction booklet as it contains valuable
information on how to properly use and care for your Snake.
Start by ensuring that the snake is fully charged and new batteries have been
properly installed in the snake’s included wireless "egg" shaped controller.
TABLE OF CONTENTS
Features
.................................................................................1
Transmitter Batteries Installation
.......................................................2
Product battery installation
..............................................................2
RC Snake Diagram
......................................................................3
Remote Control Diagram
................................................................3
Playing with Your Snake
.................................................................4
Invisible Leash Mode
....................................................................4
Interactive/pet Mode
.....................................................................4
Basic Controls
...........................................................................5
Adjusting the Trim
.......................................................................5
Battery Warnings
........................................................................6
Care and Maintenance
..................................................................6
Limited 90-Day Warranty
................................................................7
FCC Part 15 B Notice
....................................................................9
1 2
NOTE: THIS R/C TOY SNAKE IS BUILT FOR INDOOR USE ONLY AND WILL ONLY
WORK ON SMOOTH AND FLAT SURFACES. PLAYING WITH THIS PRODUCT
OUTDOORS OR ON A CARPET MAY PERMANENTLY DAMAGE THIS PRODUCT.

RC Snake Diagram
Remote Control Diagram
Bottom
ON/OFF Switch
Wheel
infrared sensor
Functional
indicator
Mode
Turn left key
(Additional adjustment
function Key)
Forward/Pause key
(Additional adjustment
function Key)
Turn right key
(Additional adjustment
function Key)
(Fig. 8)
(Fig. 9)
Playing with Your Snake
The Egg controller has 2 operation modes:
Mode 1: Invisible Leash mode (Red Indicator Light)
Mode 2: Interactive/Pet mode (Green Indicator Light)
Toggle between the two modes by short press the MODE button in the center of
the controller.
INVISIBLE LEASH MODE:
In invisible leash mode you magically control
the snake just like a pet! Simply point the
transmitting led at the front of the controller
directly at the head of your snake and follow
the snake around! The snake will respond to
your commands from up to 10 feet away!
Important: Remember to always point the egg
towards the snakes head and to stay within a
ten feet range (Fig. 9). If you go out of range,
point the egg in a different direction or stop
pushing the controls, the snake will go into
AUTONOMOUS MODE using its on-board
sensors to avoid most obstacles on its way.
INTERACTIVE/PET MODE:
Push the mode button on the snakes controller and use your hand or foot
crosses the sensors in its eyes and it will scurry around for 10 seconds and then
suddenly stop. The snake will lie there still until something crosses the sensors
in its eyes and then it will automatically scurry randomly again and stop! This is
a great mode for scaring unsuspecting people and playing with Pets!
Important! Remember to always turn off the On/Off switch on the bottom of the
snake when you finish playing to extend battery life.
*
20 FEET
20 FEET
Maximum wireless operational range is a 20 foot
diameter. Operator should stand in the center of wireless
range and allow a 10 feet circumference of unobstructed
space for best results. Environmental conditions and
battery strength may effect wireless range. Please review
usage diagram
*Distance is approximate, as environmental conditions may cause variations.
+10 FT
+10 FT
+10 FT
+10 FT
unsuspecting pet walks
towards snake
eye sensors activate snake
3 4

Battery Warnings
CAUTION: If the battery leaks fluid, avoid contact with eyes and dispose the SNAKE according
to the local law.
CONTROLLER BATTERIES:
The transmitter requires 2 “AAA” batteries (no included). Please read the important battery
safety warnings below.
• Do not mix alkaline, standard (carbon-zinc), and rechargeable batteries
(Nickel Metal Hydride).
• Do not mix old and new batteries.
• Non-rechargeable batteries are not to be recharged.
• Rechargeable batteries are only to be charged under adult supervision.
• Exhausted batteries should be removed immediately and must be recycled or disposed of
properly according to state or local government ordinances and regulations.
• The supply terminals are not to be short-circuited.
• Only batteries of the same or equivalent type as recommended are to be used.
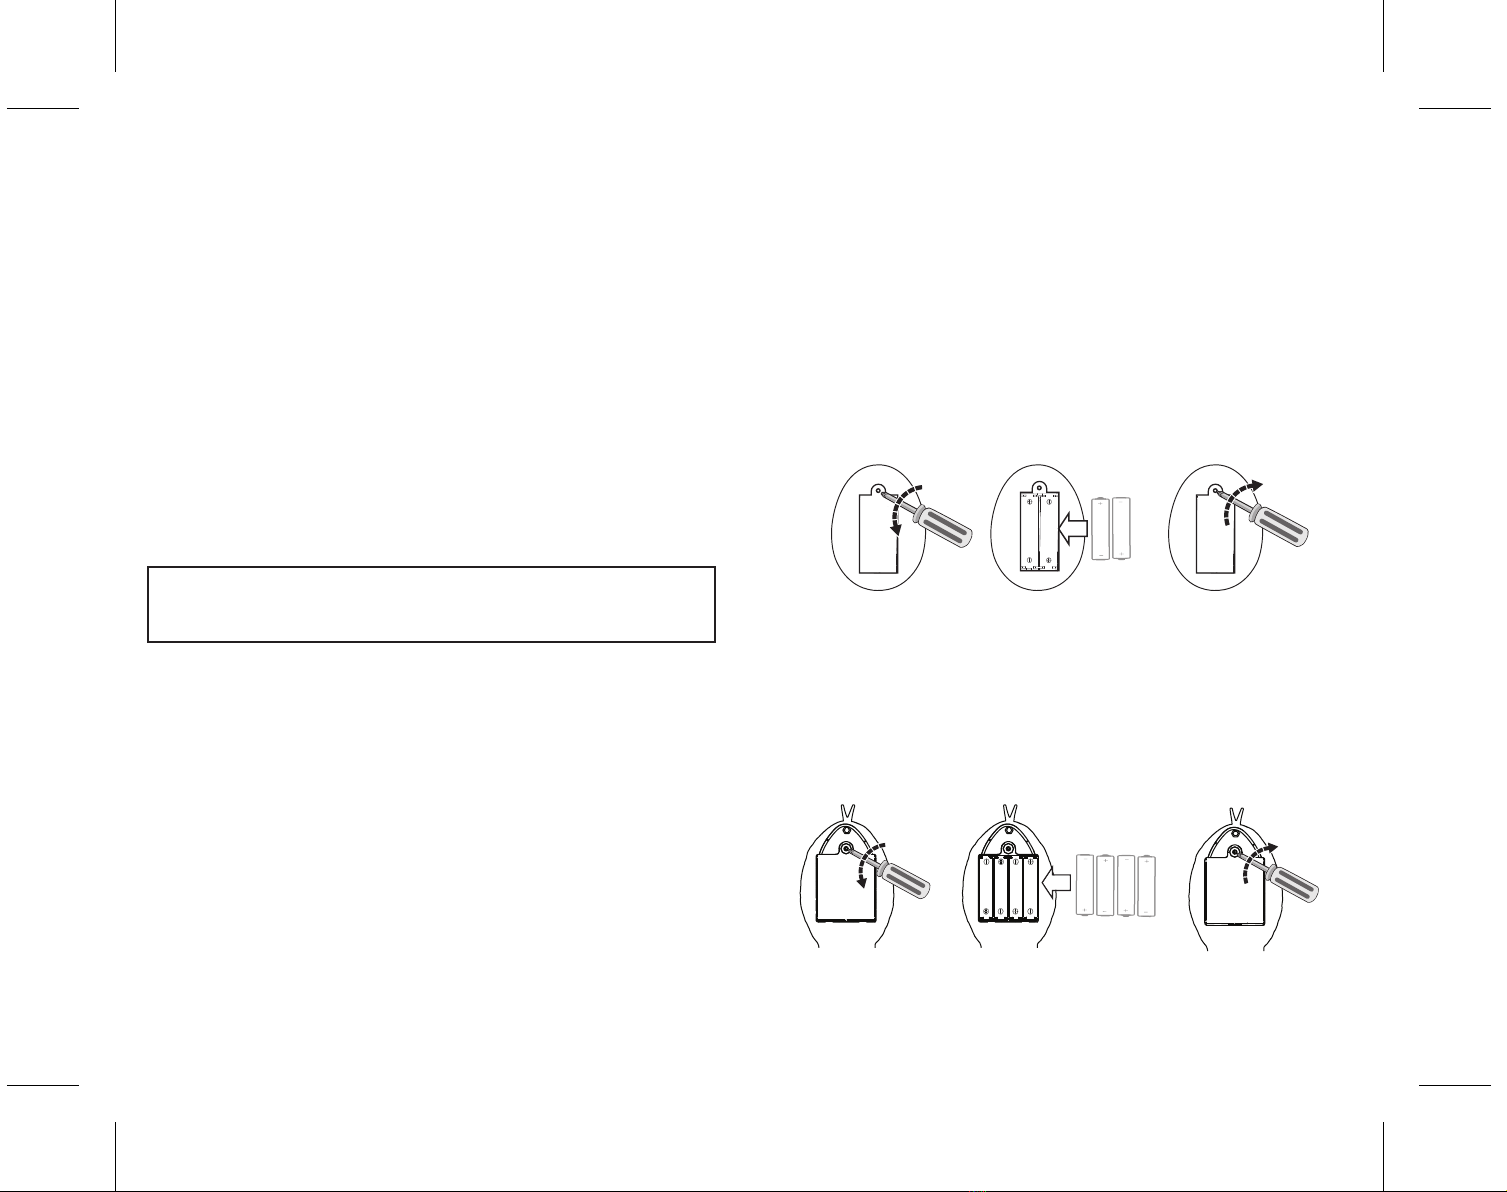
• Batteries are to be inserted with the correct polarity (see inside booklet for diagram).
• Do not dispose batteries in a fire; batteries may leak or explode.
Care and Maintenance
• Always remove the batteries from the remote control when it is not being used for an
extended period of time.
• To clean, gently wipe the remote control and SNAKE with a clean damp cloth.
• Keep the toy away from direct heat or sunlight.
• Do not submerge the toy into water. This can damage the unit beyond repair.
• Parental guidance is recommended when installing or replacing the batteries.
• IMPORTANT SAFETY INFORMATION: Keep your SNAKE away from face and eyes.
Adjusting the TrimAdjusting the Trim
Basic Controls
For a more realistic experience, the snake will slither from side to side in a continuous
random motion. If the snake tends to drift to the right or left, and you’d prefer to move it
in a more straight and forward motion, you may make an adjustment to “trim” or “tune”
the snake.
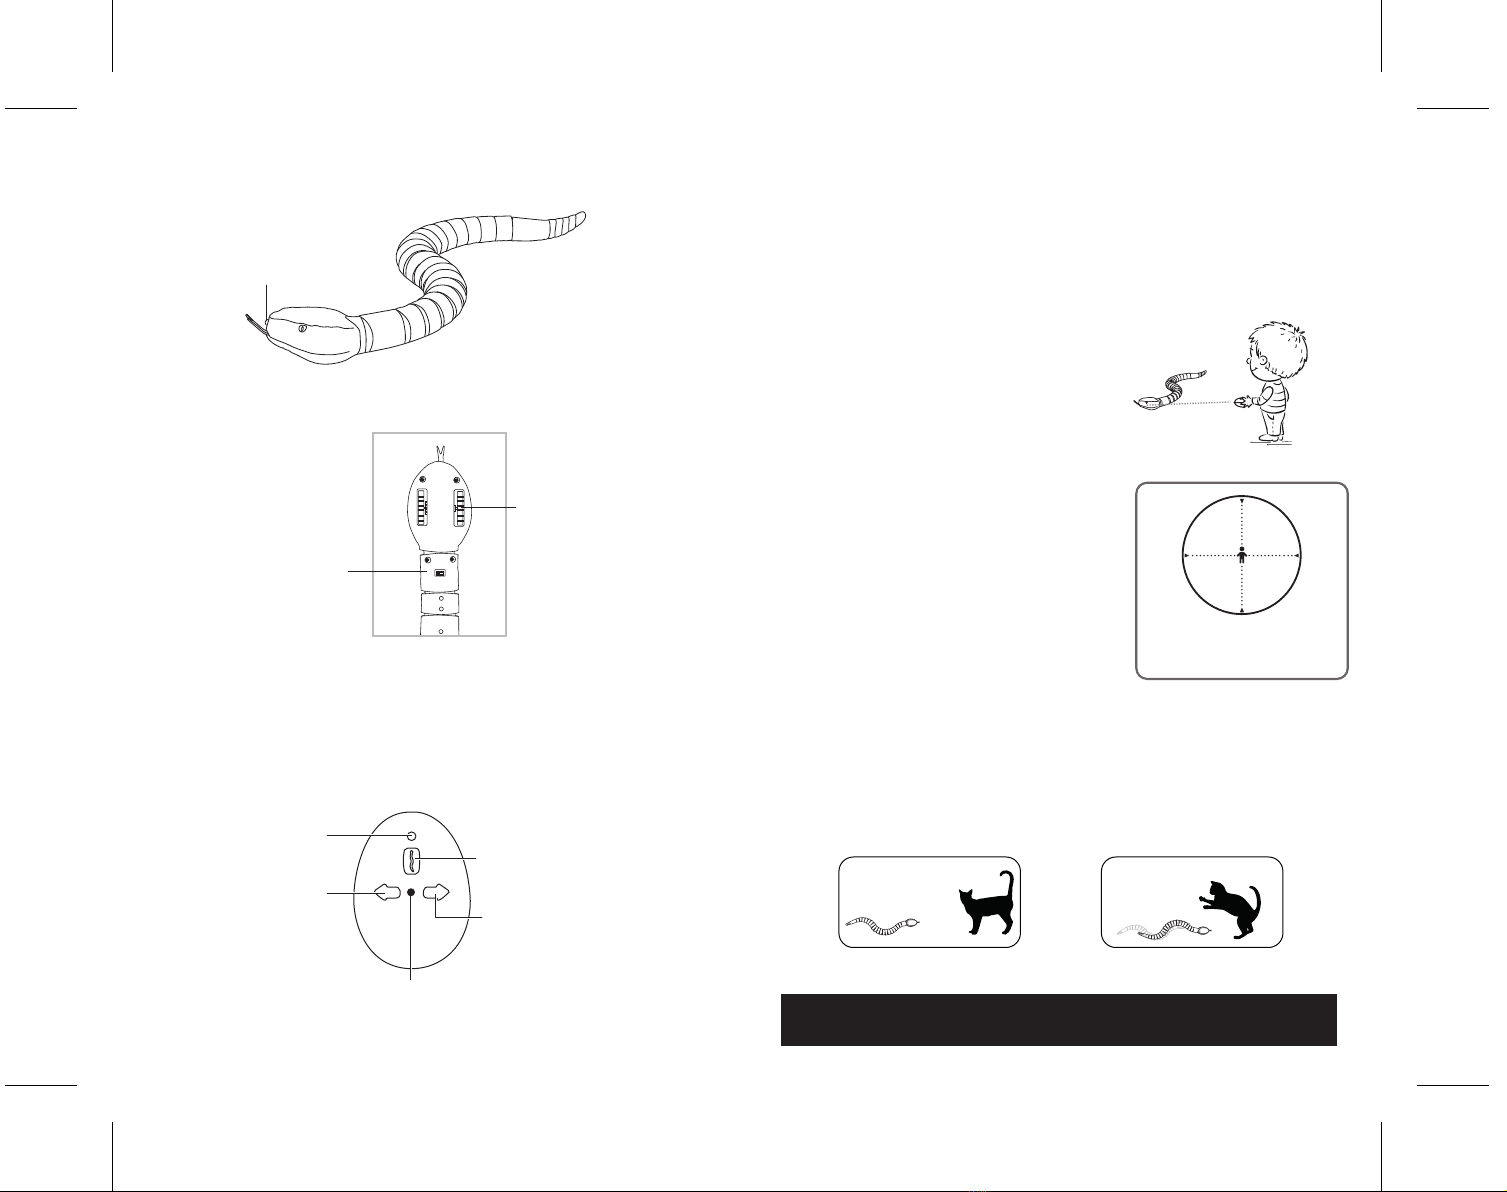
(1).Turn the snake ON by switching the “ON/OFF” switch on the underside of the
snake to the “ON” position. Then set the snake on the floor, belly down.
(2).Turn ON the Egg shaped transmitter and press the “forward/pause” button
once. The snake should begin to slither in a forward direction.
(3). If the Snake inadvertently drifts to the left or right while in slither mode, you
may ENTER the trim mode by holding down both the LEFT and RIGHT direction
buttons for 4 seconds. You will see the flashing indicator light on the front
of the transmitter change speed and rhythm. This signifies that you are in the
“Trim Adjustment Mode”.
(4).To counter balance a left drifting snake press the “RIGHT” turn arrow repeatedly
until the snake is moving in a generally straight direction.
(5).To counter balance a right drifting snake press the “LEFT” turn arrow repeatedly
until the snake is moving in a generally straight direction.
(6). When finished with the Trimming. You can exit the “Trim Adjustment Mode”
by pressing and holding the "Forward/Pause" button till the LED indicator on
the transmitter stop blinking.
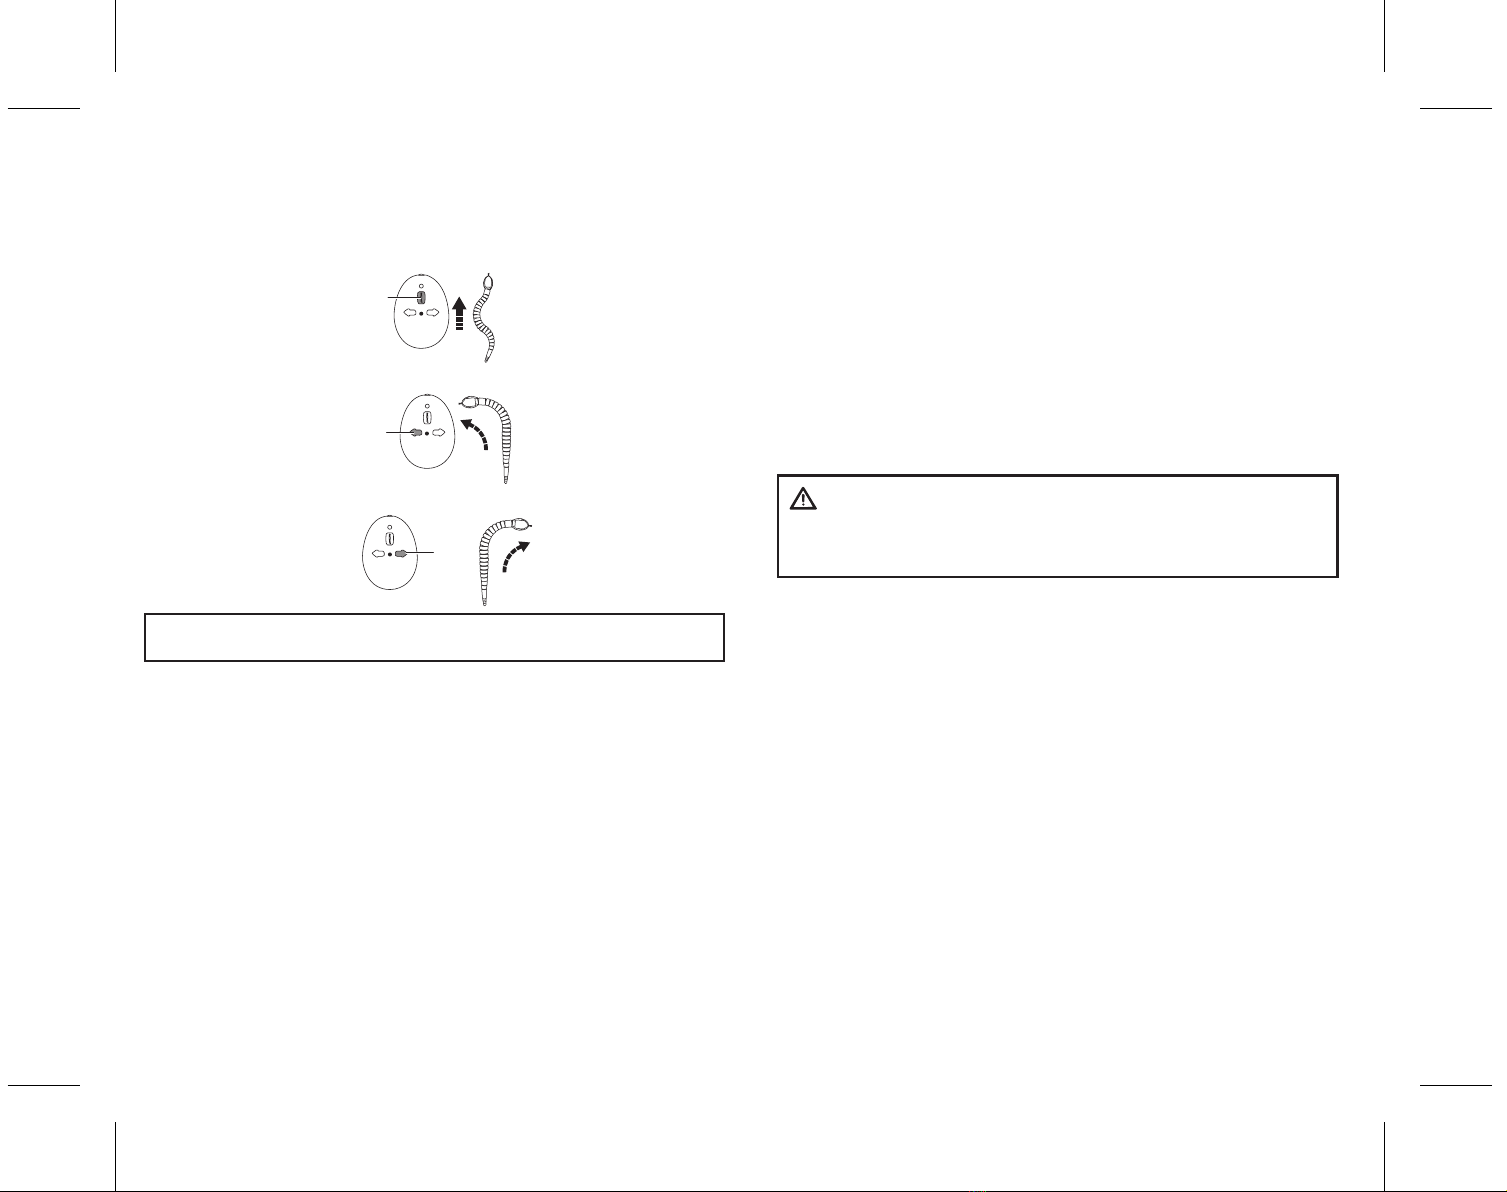
(1).Forward/Pause:
Press the Forward/Pause key to make the rattle snake move forward; Then press the
Forward/Pause key once again and the snake will pause from moving. (Fig.10)
(3).Turn right: press the turn right key on the transmitter. (Fig.12)
NOTE: FOR BEST RESULTS, ALWAYS POINT THE TRANSMITTER DIRECTLY
TOWARDS THE HEAD OF THE SNAKE
FROM WITHIN A FIVE FOOT RADIUS
.
(2).Turn left:press the turn left key on the transmitter. (Fig.11)
(Fig. 10)
(Fig. 11)
(Fig. 12)
Turn right
5 6
WARNING:
A swallowed Button or Coin Cell Battery can cause internal
chemical burns in as little as two hours and lead to death.Dispose
of used batteries immediately. Keep new and used batteries away from children. If you think
batteries might have been swallowed or placed inside any part of the body, seek immediate
medical attention.
turn left key
Forward/Pause
key

7 8
Limited 90-Day Warranty
NORTH AMERICA
AMAX Group USA warrants to the original consumer that this product is free from any
electrical or mechanical defects for a period of 90 DAYS from the date of purchase. If any such
defect is discovered within the warranty period, AMAX Group USA will repair or replace the
unit free of charge upon receipt of the unit,shipped postage prepaid and insured to our
warranty center ALONG WITH THE ORIGINAL RECEIPT evidencing that the product was
purchased from an approved AMAX retail partner and that the product is still within the 90
day warranty period.The warranty covers normal consumer use and does not cover damage
that occurs in shipment or failure that results from alterations, accident, misuse, abuse,
neglect, wear and tear, inadequate maintenance,commercial use or unreasonable use of the
unit. Removal of any parts/components voids all warranties.This warranty does not cover
cost of repairs made or attempted outside by third-party individuals or companies. Any
applicable implied warranties, including warranties of merchantability and fitness,are hereby
limited to 90 DAYS from the date of purchase. Consequential or incidental damages resulting
from a breach of any applicable express or implied warranties are hereby excluded. Some
states do not allow limitations on the duration of implied warranties and do not allow
exclusion of incidental or consequential damages, so the above limitations and exclusions in
these instances may not apply.
REPAIR/REPLACE PRODUCT
If your product begins to malfunction or stop working, immediately contact our warranty
center (contact details listed below).If it is determined that a return is necessary, our warranty
department will issue you an RMA number/form and an address to the nearest return center
for shipping the product to us.When honoring the warranty, AMAX reserves the right to
either repair, replace or refund the product.
IMPORTANT NOTICE:
We will reject and return to sender returns that are not accompanied by an AMAX issued
RMA form and RMA number so make sure to contact our warranty center before attempting
to return your product!
PREPARATION FOR SHIPPING YOUR PRODUCT:
Please repack your product in a durable box,preferably in the original carton, and send it
prepaid,and adequately insured. Include the RMA form that was issued by our warranty
department along with your daytime telephone number and email address inside the
shipping carton. If your warranty has expired and you still require service please contact our
customer care team For further information please send all inquiries to:
IMPORTANT NOTICE!
DO NOT ATTEMPT TO SHIP YOUR PRODUCT BACK
WITHOUT FIRST CONTACTING OUR WARRANTY
DEPARTMENT AT:
www.amaxbrands.com
Email: customercare@amaxbrands.com
Table of contents
Other Propel Trampolines Toy manuals

Propel Trampolines
Propel Trampolines EXECUHELI II User manual

Propel Trampolines
Propel Trampolines SPEED STAR User manual

Propel Trampolines
Propel Trampolines AIR COMBAT User manual

Propel Trampolines
Propel Trampolines cloud quest User manual

Propel Trampolines
Propel Trampolines GYROPTER User manual

Propel Trampolines
Propel Trampolines Air Combat User manual

Propel Trampolines
Propel Trampolines AROM I User manual

Propel Trampolines
Propel Trampolines cloud quest User manual

Propel Trampolines
Propel Trampolines Gyropter II User manual

Propel Trampolines
Propel Trampolines HOVERMAXX User manual