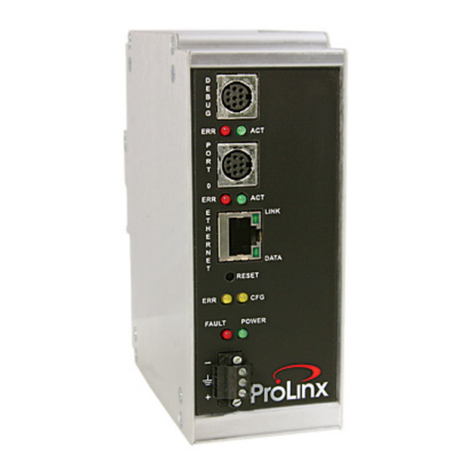
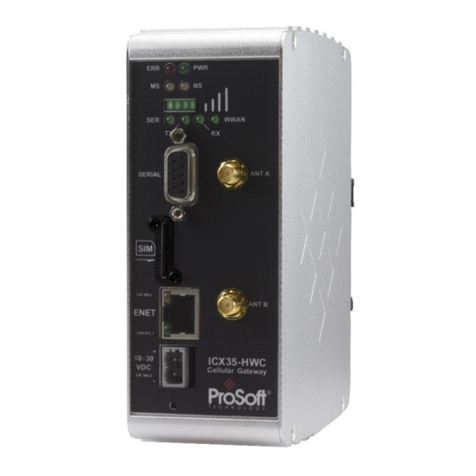
ProSoft Technology PLX51-PBS User manual

PLX51-PBS
PROFIBUS DP Slave to
EtherNet/IP™ Gateway
August 29, 2019
v1.0
USER MANUAL

Page 2 of 83

Page 3 of 83
CONTENTS
1. Preface ...............................................................................................................................7
Introduction.................................................................................................................7
Features.......................................................................................................................8
Additional Information................................................................................................9
Support........................................................................................................................9
2. Installation .......................................................................................................................11
Module Layout ..........................................................................................................11
Module Mounting .....................................................................................................13
PROFIBUS DP Port (RS485)........................................................................................14
3. Setup ................................................................................................................................15
Installing the Configuration Software .......................................................................15
Network Parameters.................................................................................................16
GSD File Management...............................................................................................20
Creating a New Project..............................................................................................23
PLX51-PBS Parameters..............................................................................................25
General...............................................................................................................25
PROFIBUS Slave Configuration...........................................................................26
Logix ...................................................................................................................27
Advanced ...........................................................................................................29
Module Download.....................................................................................................30
4. Operation.........................................................................................................................31
Logix Operation.........................................................................................................31
PROFIBUS DP - Slave ..........................................................................................31
General Status...........................................................................................................................31
General Control.........................................................................................................................34
Status and DPV0 Data Exchange...............................................................................................35
DPV1 Class 1 Messaging (MS1) .................................................................................................38
Alarming....................................................................................................................................39
Firmware upgrading..................................................................................................41
5. Diagnostics.......................................................................................................................43
LEDs ...........................................................................................................................43

Page 4 of 83
Module Status Monitoring........................................................................................45
PLX51-PBS ..........................................................................................................46
General......................................................................................................................................47
Slave Status...............................................................................................................................50
General Statistics ......................................................................................................................51
DPV1 Statistics ..........................................................................................................................54
Live List......................................................................................................................................56
Discovered Nodes .....................................................................................................................56
Ethernet Clients ........................................................................................................................57
TCP/ARP ....................................................................................................................................57
Device Status......................................................................................................58
General –Master Mode............................................................................................................59
Statistics....................................................................................................................................60
Standard Diagnostics.................................................................................................................63
Extended Diagnostics................................................................................................................64
PROFIBUS Packet Capture.........................................................................................65
Web Server................................................................................................................68
6. Technical Specifications...................................................................................................69
Dimensions................................................................................................................69
Electrical ....................................................................................................................70
Ethernet.....................................................................................................................70
PROFIBUS DP .............................................................................................................71
Agency Approvals and Certifications ........................................................................71
7. PROFIBUS DP....................................................................................................................73
Introduction...............................................................................................................73
PROFIBUS master and slave......................................................................................74
PROFIBUS master class 1 (DPM1) or class 2 (DPM2) ................................................75
Cyclic communication ...............................................................................................75
Acyclic communication..............................................................................................76
Topology of PROFIBUS DP.........................................................................................76
PROFIBUS DP cable description ................................................................................77
PROFIBUS DP connector description.........................................................................77
10. Support, Service & Warranty........................................................................................79
Contacting Technical Support................................................................................79
Page 6 of 83

Preface
Page 7 of 83
1. PREFACE
INTRODUCTION
This manual describes the installation, operation, and diagnostics of the PROFIBUS DP Slave
to EtherNet/IP™ Gateway module. The module will hereafter be collectively referred to as
PLX51-PBS.
The PLX51-PBS can operate only as one or more (emulates up to 10) PROFIBUS DPV0/DPV1
Slaves. This allows EtherNet/IP devices to exchange process, alarming, and diagnostic data
with other PROFIBUS DP Master(s).
Figure 1.1 –Typical PLX51-PBS PROFIBUS Slave Architecture

Preface
Page 8 of 83
FEATURES
The PLX51-PBS has two Ethernet ports allowing for either a Linear or Ring (Device Level Ring
–DLR) Ethernet topology. The Ethernet ports can also be set up for port mirroring allowing
for better fault analysis.
The PLX51-PBS can synchronize to an NTP Server, allowing for automatic time
synchronization. The PLX51-PBS also supports an onboard non-volatile event log for improved
fault finding.
PROFIBUS Slave
The PLX51-PBS can emulate up to 10 PROFIBUS slave devices, providing up to 1536 bytes of
Input and Output Cyclic I/O data between EtherNet/IP devices and a PROFIBUS DP master.
Each slave device emulated by the PLX51-PBS can be configured to provide DPV0 data
exchange with a PROFIBUS Master on the network.
The data is formatted into the engineering units for use in a Logix platform by using the
automatically generated mapping imports for Logix User Defined Data Types (UDTs).
Each emulated slave can also be configured to exchange DPV1 Class 1 data by mapping Logix
tags for the relevant DPV1 data exchange. Each emulated slave is able to provide DPV1
alarming for the PROFIBUS Master.
The PLX51-PBS provides a range of statistics and tools to provide a detailed diagnostic
overview of each emulated slave which speeds up fault finding. The PLX50 Configuration
Utility allows you to perform a PROFIBUS DP packet capture of the running Fieldbus which
can be used to analyze the bus behaviour and packets received. The PLX51-PBS also provides
global and device specific statistics.

Preface
Page 9 of 83
ADDITIONAL INFORMATION
The following documents contain additional information that can assist you with installation
and operation.
Resource
Link
PLX50 Configuration Utility
Installation
www.prosoft-technology.com
PLX51-PBS User Manual
PLX51-PBS Datasheet
www.prosoft-technology.com
Table 1.1 - Additional Information
SUPPORT
Technical support is provided via the Web (in the form of user manuals, FAQ, datasheets etc.)
to assist with installation, operation, and diagnostics.
For additional support, use either of the following:
Resource
Link
Contact Us link
www.prosoft-technology.com
Support email
support@prosoft-technology.com
Table 1.2 –Support Details

Page 10 of 83

Installation
Page 11 of 83
2. INSTALLATION
MODULE LAYOUT
The PLX51-PBS has one RS485 PROFIBUS DP port as well as two Ethernet. The Ethernet cable
must be wired according to industry standards, which can be found in the Additional
Information section of this document.
The module provides six diagnostic LEDs, as shown in the front view figure below. These LEDs
are used to provide information regarding the module system operation, the Ethernet
interface, and the PROFIBUS network status.
Figure 2.1 –PLX51-PBS Side and Front view

Installation
Page 12 of 83
At the bottom of the module, there is one 3-way power connector.
Figure 2.2 –PLX51-PBS Power connector
The PLX51-PBS has an input voltage range of 10 to 36 VDC, applied to the module via the
power connector. The power connector also provides an Earth connection for the PLX51-PBS.
NOTE: It is recommended to always have a good clean earth connected to the
module via the Earth connector on the power connector.
At the back of the module, there is slot for a SD memory card. The module provides four DIP
switches at the top of the enclosure as shown in the top view figure below.
Figure 2.3 –PLX51-PBS Top view
DIP Switch
Description
DIP 1
Used to force the module into “Safe Mode”. When in “Safe Mode”, the module will
not load the application firmware and will wait for new firmware to be downloaded.
This should only be used in the rare occasion when a firmware update was interrupted
at a critical stage.
DIP 2
This forces the module into DHCP mode which is useful when you have forgotten the
IP address of the module.
DIP 3
This is used to lock the configuration from being overwritten by the PLX50
Configuration Utility. When set, the PLX50 Configuration Utility will not be able to
download to the PLX51-PBS module.
DIP 4
When this is set, a module reboot will set the module Ethernet IP address to
192.168.1.100 and network mask 255.255.255.0. You can then switch the DIP switch
off and assign the module a static IP address if needed.
Table 2.1. - DIP Switch Settings

Installation
Page 13 of 83
MODULE MOUNTING
The PLX51-PBS provides a DIN rail clip to mount onto a 35mm DIN rail.
Figure 2.4 - DIN rail specification
The DIN rail clip is mounted at the back of the module as shown in the figure below. Use a flat
screw driver to pull the clip downward. Once the module is mounted onto the DIN rail, the
clip must be pushed upwards to lock the module onto the DIN rail.
Figure 2.5 - DIN rail mouting

Installation
Page 14 of 83
PROFIBUS DP PORT (RS485)
The PROFIBUS DP port uses a female DB9 connector. This provides connection for the
communication conductors, cable shielding, and +5Vdc output power.
Figure 2.6 –PLX51-PBS PROFIBUS DP (RS485) DB9 connector
Pin
Signal
Description
1
-
Not connected
2
-
Not connected
3
RxD/TxD-P
Data received and transmit (+)
4
CNTR-P
Control signal to repeater (+)
5
DGND
Reference potential for +5Vdc
6
VP
+5Vdc for terminating resistors (active termination)
7
-
Not connected
8
RxD/TxD-N
Data received and transmit (-)
9
-
Not connected
Table 2.2 –DB 9 Connector layout

Setup
Page 16 of 83
NETWORK PARAMETERS
The PLX51-PBS has DHCP (Dynamic Host Configuration Protocol) enabled as factory default.
Thus, a DHCP server must be used to provide the module with the required network
parameters (IP address, subnet mask, etc.). There are a number of DHCP utilities available,
however it is recommended that the DHCP server in the PLX50 Configuration Utility is used.
Within the PLX50 Configuration Utility environment, the DHCP server can be found under the
Tools menu.
Figure 3.2. - Selecting DHCP Server
Once opened, the DHCP server listens on all available network adapters for DHCP requests
and display their corresponding MAC addresses.
Figure 3.3. - DHCP Server
NOTE: If the DHCP requests are not displayed in the DHCP Server, it may be
due to the local PC’s firewall. During installation, the necessary firewall rules
are automatically created for the Windows firewall. Another possibility is that
another DHCP Server is operational on the network and it has assigned the IP
address.

Setup
Page 17 of 83
To assign an IP address, click on the corresponding ASSIGN button. The Assign IP Address for
MAC window opens.
Figure 3.4. - Assigning IP Address for MAC
The required IP address can be either entered, or a recently used IP address can be selected
by clicking on an item in the Recent list.
If the Enable Static checkbox is checked, the IP address will be set to static after the IP
assignment, thereby disabling future DHCP requests.
Once you click OK, the DHCP server will automatically assign the IP address to the module and
then read the Identity object product name from the device.
The successful assignment of the IP address by the device is indicated by the green
background of the associated row.
Figure 3.5. - Successful IP address assignment
It is possible to force the PLX51-PBS back into DHCP mode by powering up the device with DIP
switch 2 set to the On position.
A new IP address can then be assigned by repeating the previous steps.

Setup
Page 18 of 83
NOTE: It is important to return DIP switch 2 back to Off position, to avoid the
module returning to a DHCP mode after the power is cycled again.
In addition to the setting the IP address, a number of other network parameters can be set
during the DHCP process. These settings can be viewed and edited in the PLX50 Configuration
Utility Application Settings, in the DHCP Server tab.
Once the DHCP process is complete, the network settings can be set using the Ethernet Port
Configuration via the Target Browser.
The Target Browser can be accessed under the Tools menu.
Figure 3.6. - Selecting the Target Browser
The Target Browser automatically scans the Ethernet network for EtherNet/IP devices.
Figure 3.7. - Target Browser
Right-clicking on a device, reveals the context menu, including the Port Configuration option.

Setup
Page 19 of 83
Figure 3.8. - Selecting Port Configuration
The Ethernet port configuration parameters can be modified using the Ethernet Port
Configuration window.
Figure 3.9. - Port Configuration
Alternatively, these parameters can be modified using Rockwell Automation’s RSLinx
software.

Setup
Page 20 of 83
GSD FILE MANAGEMENT
Each PROFIBUS device has a GSD file that is required to provide information needed to
configure the device for data exchange. The PLX50 Configuration Utility manages the GSD
library which is used for adding devices to the PLX51-PBS.
1The GSD File Management Tool is opened by selecting GSD File Management under
the Tool menu in the configuration utility.
Figure 3.10 –Launching the GSD File Management Tool
2Once the tool opens, a list of registered slave devices are displayed, using their GSD
files.
Figure 3.11 –GSD File Management Tool
Table of contents
Other ProSoft Technology Gateway manuals

ProSoft Technology
ProSoft Technology PLX82-EIP-PNC User manual

ProSoft Technology
ProSoft Technology ProLinx 5604-RIO-PDPMV1 User manual

ProSoft Technology
ProSoft Technology ProLinx DNPS User manual

ProSoft Technology
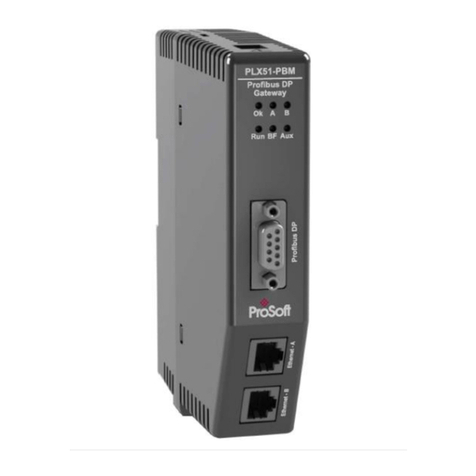
ProSoft Technology PLX51-PBM User manual

ProSoft Technology
ProSoft Technology ProLinx S3964R Release note

ProSoft Technology
ProSoft Technology PLX3 Series User manual

ProSoft Technology
ProSoft Technology ProLinx-HART Release note

ProSoft Technology
ProSoft Technology ICX30-HWC User manual

ProSoft Technology
ProSoft Technology PLX51-PBM User manual

ProSoft Technology
ProSoft Technology ICX35-HWC User manual