Prospera PM090 User manual

Instruction Manual PM090
Komfort Massage Chair

1
Table of Contents
Thank you for purchasing the PM090 Komfort Massage Chair.
Before using your massage chair, please read the contents of this
instruction manual and refer to it when needed.
Komfort Features ................................................. 2
Safety Precautions .............................................. 3-4
Chair Components .............................................. 5-6
Chair Installation & Moving .................................. 7-9
Grounding Instructions ........................................ 10
Chair Specifications ............................................. 11
Operation Guide ................................................... 12-16
Troubleshooting & Product Maintenance ............. 17
Warnings .............................................................. 18
Consumer Warranty ............................................. 18-20
Warranty Card (Attachment)

2
Komfort Features
01
Therapeutic massage includes: kneading, tapping, rolling, dual-action and
vibration techniques.
● Invigorating air pressure system in calves and feet.
● Three pre-programmed massage sessions.
● Partial massage options for any part of the back.
● Ability to manually adjust massage rollers to desired location for kneading and
tapping techniques.
● Extended footrest automatically adjusts to user’s height.
● Automatic angle adjustment for back and footrest.
● Backrest manually adjusts to fit user’s height.
● Fifteen-minute program duration with automatic shut-off.
● User-friendly LED remote controller.
● Ergonomically designed for optimum Komfort.
● Uniquely designed s-track to follow the contour of your back.
Prosepra PM090 Komfort Massage Chair
The Komfort Massage Chair is controlled by a microcomputer that performs a variety
of intelligent massage techniques and combinations that are designed to soothe sore
muscles, alleviate stress and fatigue, increase metabolism and energy, and improve
blood circulation.

3
Safety Precautions
02
When using the massage chair, basic precautions should always be followed to
reduce the risk of electric shock, burns, fire or injury to persons. Please read the
following precautions before using the massage chair.
*
Make sure the power plug is securely inserted into a proper electrical outlet to
reduce the risk of short-circuit and fire.
*
Always unplug the massage chair from the electrical outlet immediately after
using and before cleaning.
*
DO NOT use the massage chair in areas where the humidity is high such as a
sauna or steam room.
*
DO NOT use the massage chair outdoors and avoid areas with direct sunlight.
*
If the electricity is off, turn the power switch to the OFF position and unplug the
massage chair from the electrical outlet to prevent any damages to your chair
when the electricity comes back on.
*
Never plug/unplug the power cord plug socket with wet hands.
*
Close and continuous supervision is necessary when the massage chair is used
by, on or near children or disabled persons.
*
No more than one person should use the massage chair at a time.
*
The massage chair is intended for use as described in the Instruction Manual. Do
not use any attachments other than those recommended by the manufacturer.
*
DO NOT attempt to stand or sit on the backrest, armrest or footrest in order to
prevent accident, injury or damage to the chair.
*
Avoid falling asleep while using the massage chair.
*
Always keep the massage chair clean, and never insert any objects into or
around the gaps of the massage chair.
*
DO NOT move the massage chair by pulling on the power supply cord.
*
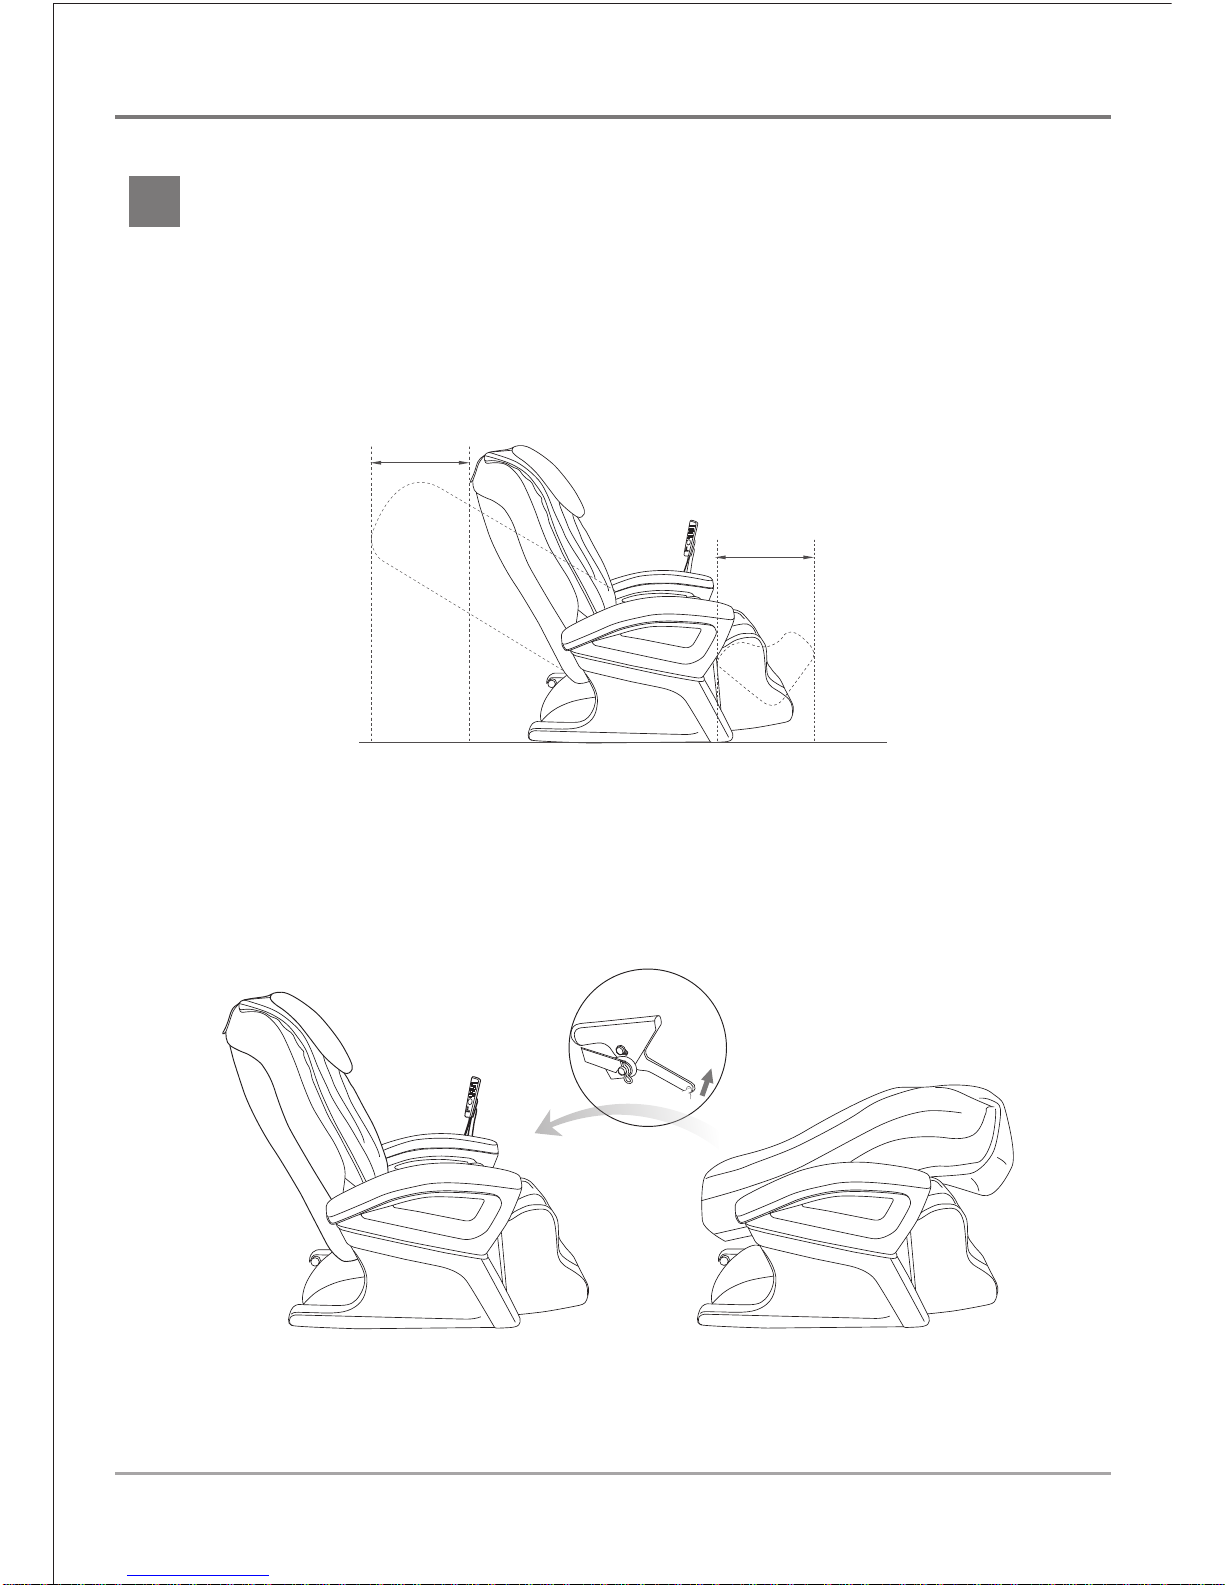
Make sure there are no children, pets or other obstacles behind or underneath
the massage chair.
*
If you find any rips or tears in the fabric of the massage chair contact the service
department and stop using the chair immediately.

4
*
This massage chair is designed for household use and should not be used in
non-residential settings.
*
Please consult your doctor if you are in doubt as to whether or not you should
use this massage chair.
*
Please consult a doctor before using the massage chair if you are pregnant,
undergoing any medical treatment, using a medical electronic device such as a
pacemaker, or are experiencing any of the following: Malignant tumor, heart
disease, back pain, abnormal or curved back bone, osteoporosis, or acute illness.
*
If you experience pain while using the massage chair, stop using the chair
immediately and consult your doctor.
*
Never use a massage function on swollen or inflamed parts of the body.
*
DO NOT use the massage chair for more than 30 minutes at a time.
*
DO NOT use the massage chair where aerosol (spray) products are being used
or where oxygen is being administered.
*
This massage chair is a non-professional product designed to provide a comfortable
massage and should not be substituted for appropriate medical treatment.

5
Chair Components
03
Side Panel
Wheels
Backrest
Spare pad
Remote Controller

6
MASSAGING POSITION
Roller

7
Chair Installation & Moving
04
Step 1:
When setting up the chair, make sure there is at least two feet of space behind the
backrest and two feet of space in front of the footrest.
Step 2:
Unfold the backrest until you hear a “click” sound.
Note: To refold the backrest, press the “stopper” as demonstrated in PIC 2.
at least 2 ft.
at least 2 ft.
PIC 2
PIC 1

8
Step 4:
Connect the wire plugs. See PIC 4.
Step 3:
Install the seat pad by connecting the vibration
socket point as demonstrated in PIC 3.
Step 5:
Install the remote controller stand by tightening
the screws as demonstrated in PIC 5.
Step 7: (optional)
Remove the spare pad located in the
backrest cover for a deeper massage.
PIC 5
PIC 6
PIC 3
PIC 4
Step 6:
Attach the backrest pad and the pillow pad as
demonstrated PIC 6.
a) Attached the backrest pad with the zipper.
b) Attached the pillow pad with using the hook and loop fasters.
A B

9
Moving the chair
wheels
wheels
1. Restore the footrest to its original position.
2. Hold down on the top of the backrest and tilt approximately 45 degrees. Move the
chair using the wheels as the fulcrum.
Note:
1) Always return the footrest to its original length and restore it to its original position
before moving the chair. Otherwise, injury during movement may result.
2) Do not move the chair while a person is seated on it.
3) Place a mat on the floor and gently roll the chair over it to avoid damaging the floor.

10
Grounding Instructions
05
Fully insert the plug into an appropriate outlet.
An improper equipment-grounding conductor may result in electric shock. Contact
a qualified electrician if you are not sure that the product is properly grounded. Do
not modify the plug that is included with the massage chair. If the plug does not fit
the outlet, contact a qualified electrician to install an outlet to fit the massage chair
plug.

11
Chair Specifications
06
Model No.
Rated Voltage
Rated Frequency
Rated Power Consumption
Timer
Max Time Rate
Dimensions(LxWxH)
PM090
120V AC
60Hz
180W
15 minutes
60 minutes
Shipping dimensions: 47.5" x 30" x 33"
Reclined dimensions:72" x 29.5" x 27.5"
Upright dimensions:53.5" x 29.5" x 45"
Gross weight: 183 Ibs
Net weight: 143 Ibs
Controller wire: 1 m
Power supply wire: 2.2 m
Temperature: 10°~40°
Humidity: 30-85 RH
Temperature: 20°~60°
Humidity: 30-85 RH
Weight
Length of Wire
Usage Condition
Storage Condition
Description Specifications

12
Operation Guide
07

13
Insert the power cord plug into an electrical outlet.
Turn the power switch to the “I” position for idle mode.
Three functions are available in idle mode: ON/OFF, Recline, Restore.
1. ON/OFF
Press this button to automatically recline the backrest and to automatically elevate
the footrest to a specified position. When the chair has stopped moving, any
massage function button may be pressed.
Press the ON/OFF button again to stop all massage functions and to return the
massage rollers to their original position.
Note: The angle of the backrest and the footrest may be adjusted by press or to the
desired position.
2/3. Recline/Restore
Angle Adjustment Control Button For Backrest and Footrest
Press this button once to adjust the backrest and the footrest to comfortable
position.
Press the button again to confirm the position.
4/5/6. Auto Program
The three pre-programmed massage sessions are activated by pressing the
buttons: RELAX,THERAPY,AIR.
Manual Back Massage Programming
7. Kneading
Kneading Function Start/Stop Control Button-3 levels of intensity.
Press this button once to activate the kneading function for a full back massage at
medium intensity.
Press the button again to stop the kneading massage function.
Press the INTENSITY button to adjust the kneading intensity while the kneading
function is activated.
8. Tapping
Tapping Function Start/Stop Control Button – 3 sizes of width & 3 levels of intensity

14
Press this button once to activate the tapping function for a full back massage at
medium width and intensity.
Press the button again to stop the tapping massage function.
Press the WIDTH button and the INTENSITY button to adjust the tapping width and
the tapping intensity while the tapping function is activated.
9. Dual-Action
Dual –Action Function Start/Stop Control Button-3 levels of intensity.
Press this button once to activate the dual-action function for a full back massage
at medium intensity.
Press the button again to stop the dual-action massage function.
Press the INTENSITY button to adjust the massage intensity while the dual-action
function is activated.
10. Swedish
Swedish Function Start/Stop Control Button-3 levels of intensity.
Press this button once to activate the Swedish function for a full back massage at
medium intensity.
Press the button again to stop the Swedish massage function.
Press the INTENSITY button to adjust the massage intensity while the Swedish
function is activated.
11. Rolling
Rolling Function Start/Stop Control Button – 3 sizes of width & 3 levels of intensity
Press this button once to activate the rolling function for a full back massage at
medium width and intensity.
Press the button again to stop the rolling massage function.
Press the WIDTH button to the INTENSITY button to adjust the rolling width and
rolling intensity while the rolling function is activated.
Note: kneading, tapping, dual-action and rolling functions cannot be combined.
12. Spot
Spot Back Massage
Press this button once to activate the massage rollers.
Setting Spot or Localized Back Massage

15
Press the▲/▼ button to select a spot massage for any part of the back.
Press the button again to stop the spot massage function and to resume the full
back massage function.
Note: The spot massage is not operable when the rolling function is activated
13. Partial
Partial Back Massage
Press this button once to activate the massage rollers. The massage rollers
perform the partial massage with an 8 cm (3.1”) range of movement.
Press the ▲ or ▼ button to select a partial massage for any part of the back.
Press the button again to stop the partial massage function and to resume the full
back massage function
14. ▲/▼
Position Adjustment Button for Spot or Partial Massage
When the spot or partial massage functions are activated these buttons will move
the massage rollers.
Press and hold the ▲ or ▼ button to move the massage rollers up or down.
Release the ▲ or ▼ button when the desired position is achieved.
15. Width
Width Adjustment Buttons for Tapping and Rolling Functions
When the tapping and rolling functions are activated this button will adjust the width
of movement to medium, narrow or wide in the following sequence: M<N<W
16. Intensity
Intensity Adjustment Button for Kneading, Tapping, Dual-Action, Swedish,
Rolling and Auto Program Mode
When the kneading, tapping, dual-action, rolling and auto program functions
are activated this button will adjust the intensity to high, medium or low in the
following sequence:
M<H<L<OFF<M.

16
17. Seat
Seat Vibration Control Button
Press this button to activate the seat vibration function.
Press the button again to stop the seat vibration function.
18. Calves
Calves Air Squeeze and Vibration Control Button
Press this button to adjust the air squeeze and vibration functions in the calves to
high, medium or low in the following sequence: M<H<L<OFF<M
19. Feet
Feet Air Squeeze Control Button
Press this button to adjust the air squeeze function in the feet to high, medium or
low in the following sequence: M<H<L<OFF<M
Note: The vibration and air squeeze functions can be combined with kneading,
tapping, dual-action, And rolling functions.
20. Pause
Pause Button
Press this button to stop all massage functions and to pause the chair to idle
mode.
Press the pause button again to resume the original massage function.
Note: The LED will display the time counter when a control button pressed, After
four minutes, The LED light will vanish unless another button is pressed.
21. Stop
ON/OFF Button
Press this button to stop all massage functions. The massage rollers will resume
their original position
Switch the power button under the chair to the “O” position and disconnect the
power cord plug from the electrical outlet.

17
Troubleshooting & Product Maintenance
08
This massage chair is controlled by a microcomputer and is susceptible to power
surges of +10 to -10%.
The following situations may display in the event of a power surge:
1. Make sure the chair is plugged
into a working outlet.
2. Turn the power OFF and then ON
again.
1. Check to see that the plug is well
connected and working.
2. Make sure that the massage chair
switch is turned to the “I” position.
The massage chair is connected
to the power supply but is not
functioning.
The remote control works, but the
massage chair is not functioning.
The massage chair may have
overheated due to prolonged use.
Turn off the power and allow the chair
to cool for 30-50 minutes.
Both the remote control and the
massage chair are not functioning.
Situation Solution
If you continue to have problems, please read the warranty card and contact the
service department.

18
09
* Do not use water and other cleaning detergents on the massage chair.
* Do not stack, stab, slit or harshly pull on the surface of the massage chair.
* Gently press the buttons during operation and avoid hitting the buttons with
hard objects.
* Pull out the power supply plug after each use.
* Do not use the massage chair for more than 30 minutes at a time.
Warnings
10 CONSUMER WARRANTY
Note: Prosepra has contracted service and repair program to Cozzia at
1-866-599-7788. You must call this number to report any malfunction and
service issues. Please do not call Prosepra for the mentioned issues. Please
mail you warranty card to Cozzia service center.
Our products have the following warranty:
massage chairs, motion upholstery
and home theater massage seating provide a one year in-home service warranty
and a two-year parts warranty. Customer service will not issue Return Material
Authorizations (RMAs) for products. Our products will be either repaired by the
consumer or by an in-home technician. Customer service will not issue Return
Material Authorizations (RMAs) for buyer’s remorse.
SERVICE AND TECHNICAL SUPPORT
Consumers may contact the customer service department at
1-866-599-7788
between
8:30 am and 6:00 pm EST, Monday through Friday for warranty or service issues.
Consumers are required to provide the unit serial number and dated proof of purchase
(sales receipt) when they contact the service department regarding a repair.
Customer service representative will attend to most consumer inquiries, but in some
cases a technical service specialist will provide advanced support.
Non-warranty repair is provided on a "per incident" basis. Customer service will verify
that the unit has failed and provide instructions for repairing a unit. All applicable
repairs, parts, shipping, handling, local tax and a "per incident" fee will be charged for
non-warranty repairs and support calls.

19
●
Floor Models and Demonstration Units
have a prorated warranty period
that begins the day the model is placed on the floor and connected to an
electrical outlet by the retail partner. Proof of purchase is required in order
to obtain warranty service and parts. Non-warranty parts and service are
available at a “per incident” charge.
●
Warranty Coverage Period
- Warranty coverage starts at the time that the
consumer PURCHASES their chair. Proof of purchase is required for all
warranty repairs. The warranty time period is measured by continuous
calendar days based on a seven-day week.
●
Field Service
–
Customer service department will diagnose and schedule an
authorized service provider to repair the chair in the consumer's residence.
●
Parts
- All parts deemed necessary for repairs will be shipped to the
consumer at no charge by the service department.
Proof of purchase (original receipt) is required for all warranty repairs or service.
PRODUCT REPAIRS
Many our product repairs may be performed by the consumer in their own home
with parts and instructions supplied by the manufactruer such as remote controller
replacements that don’t require a technician.
Canadian consumers may contact the customer service department at
1-866-599-7788
between 8:30 am and 6:00 pm EST, Monday through Friday for
warranty or service issues.
CONSUMER WARRANTY LIMITATIONS AND EXCLUSIONS
● Warranties are only valid in the 48 contiguous United States and Canada
and are contingent upon the consumer operating the chair according to the
corresponding instruction manual.
● The warranty only applies to our products and does not include any
accessories or enhancements.
● Field service requires pre-approval and must be performed by authorized
field service personnel. Field service is only available in the United States
and in major metropolitan areas in Canada.
Table of contents
Other Prospera Massager manuals

Prospera
Prospera PL027 User manual

Prospera
Prospera DL-002 User manual

Prospera
Prospera PL009 User manual

Prospera
Prospera Dolphin User manual

Prospera
Prospera PL002 User manual

Prospera
Prospera PL009 User manual

Prospera
Prospera PL029 User manual

Prospera
Prospera PL009 User manual

Prospera
Prospera Foot Spa Pro PL026 User manual

Prospera
Prospera PL021 User manual