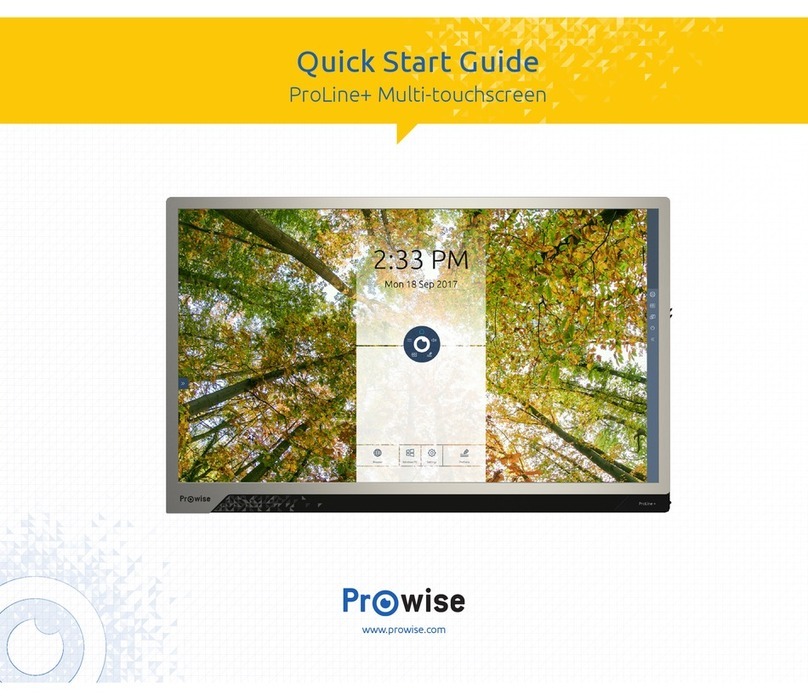
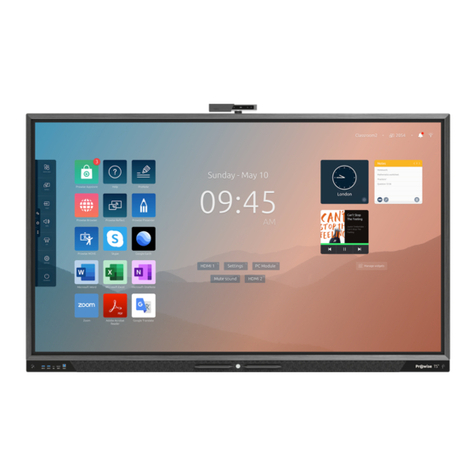
Prowise Touchscreen One User manual

This user manual applies to the Prowise Touchscreen One with the following model numbers:
- 65": PW.1.16065.0001
- 75": PW.1.16075.0001
- 86": PW.1.16086.0001

1. Index
1. Index 2
2. Important safety instructions 4
2.1. Safety 4
2.2. Placement 4
2.3. Repair 5
2.4. Environment 5
2.5. Recycling and disposal 6
Packaging 6
Device 6
Batteries 6
3. Installation 7
3.1. Place of installation 7
3.2. Cabling 8
3.3. Wi-Fi module 9
3.4. Installing the OPS PC module 10
4. Becoming familiar with your product 12
4.1. Product specifications 13
4.2. In the box 17
4.3. Product overview 19
4.4. Touchscreen operation 20
4.5. The control button 22
The control button 23
4.8. ProWrite® technology 24
4.9. Cleaning 25
5. Getting started 26
5.1. Turning the touchscreen on and off 26
Turning it on 26
Turning it off 27
Shut down automatically 28
5.2. Starting up your device for the first time 29
5.3. Connecting to a network 31
Ethernet 31
Wi-Fi connection 32
5.4. Adjusting the volume 33
6. Prowise Central 33
6.1. Prowise Central home 33
6.2. The Prowise Central menu 34
www.prowise.com
2 / 53

7. Changing the settings 35
8. OTA (Over the Air) updates 35
9. Remote control 37
9.1. Schematic overview and explanation of the buttons 37
9.2 Angle at which to use the remote control 39
9.3 Replacing the batteries of the remote control 40
10. Connecting auxiliary equipment 41
10.1.1. HDMI 41
10.1.2 VGA 42
10.1.3 DP 42
10.1.4 AV 42
10.1.5 YPBPR 42
10.2. Connecting the Prowise touchscreen to audio equipment 43
10.2.1. Connecting headphones 43
10.2.2. Connecting an amplifier 43
10.2.3. Connecting using the HDMI port (CEC) 44
Appendix 45
RS232 protocol and code list 45
Serial Port Settings 45
Protocol explanation 46
Command format 46
RS232 code list 46
Polling code list 51
www.prowise.com
3 / 53

2. Important safety instructions
2.1. Safety
●Never open the housing of the touchscreen! You can get an electric shock or cause a short circuit.
●Do not use the touchscreen during thunderstorms and unplug the power cable to avoid damage due to
a lightning strike.
●Make sure your touchscreen does not get wet! This could lead to a short circuit and electrocution
hazard. Do not install the device close to water and do not place objects containing liquid on or next to
it.
●A high volume level can cause permanent hearing damage. If the device is used at high sound volume
for an extended period of time, it can cause hearing damage to the listener.
●Use only the components and accessories supplied by Prowise.
●Always turn off the touchscreen and unplug it from the electrical outlet when changing a module.
●Do not insert objects into the openings of the touchscreen that are not intended for this purpose. This
can cause short-circuit or even fire.
2.2. Placement
●We recommend not to install the touchscreen yourself or by a third party. Let Prowise or a certified
Prowise partner install or mount the touchscreen to avoid possible damage. Prowise can not be held
responsible for any damage or injury caused by incorrect installation by third parties. Damage due to
incorrect installation by third parties will not be covered by the warranty.
●Do not install or place the touchscreen onto an unstable wall or floor.
●Do not use the touchscreen in an industrial environment where it is frequently exposed to vibrations
and/or dust.
●Do not place the touchscreen close to equipment that generates heat.
●Make sure that all ventilation openings, located at the back of the touchscreen, stay uncovered, so hot
air can escape.
●Only connect the touchscreen to an earthed electrical socket.
2.3 Repair
Never repair the touchscreen yourself!
Warning!
Please read this user manual and the safety instructions (separate document) carefully
before using the Prowise Touchscreen One. Follow the warnings stated on the device, the user
manual and the safety instructions. Always keep the safety instructions and the user manual within
reach.
www.prowise.com
4 / 53

Always contact Prowise or a certified partner in case of a defect, to avoid damage. Contact information can be
found at: www.prowise.com/en/contact.
2.4. Environment
●Unplug the power cable if the screen will not be used for an extended period of time.
●The power consumption in standby mode is <0.5 watts.
●The Prowise Touchscreen One is ENERGY STAR certified.
●When the touchscreen is no longer usable, it can be disposed of at a designated collection point.
WARNING!
Warning for electrified parts! Never open the housing of the touchscreen! You can get an
electric shock, cause a short circuit or even a fire. This can cause injuries or damage to yourself
and/or the touchscreen.
PLEASE NOTE!
When WOL (wake on LAN) and WOS (wake on source) are enabled, the energy
consumption in standby mode increases!
www.prowise.com
5 / 53

2.5 Recycling and disposal
If you have questions about the correct disposal of your touchscreen, please contact Prowise or a certified
partner.
Packaging
The device is packaged to prevent transport damage. Packaging is made of resources that can be reused or
recycled.
Device
Do not dispose of the device together with the household waste at the end of its lifespan. Enquire about the
possibilities for an environmentally friendly and responsible method of disposal.
Batteries
Depleted or defective batteries do not belong in the household waste. Dispose of them at a collection point for
empty batteries. The remote control uses 1.5V AAA batteries.
www.prowise.com
6 / 53

3. Installation
A Prowise certified mechanic will install the Prowise Touchscreen on delivery and will ensure the screen is ready
for use. We do not recommend it, but if you or someone else wants to install the screen, then please follow the
steps below:
●Do not install the touchscreen alone.
●Use a certified Prowise bracket (not supplied on default) to mount the Prowise touchscreen to the wall.
●Use a Prowise VESA bracket (supplied with a Prowise lift system) when assembling the screen to a
Prowise lift system.
●Please ensure the wall is strong enough to carry the weight of the touchscreen.
●Connect the cables (which cables you require depend on the external devices you use or other external
sources like a lift system).
●When using a PC module, make sure that the module is placed correctly and is locked. Install the PC
module as described in the chapter ‘Install OPS PC module’.
●Make sure to only connect the power cable when the above elements have been connected and only
use the power cable supplied by Prowise.
3.1. Place of installation
Please follow the instructions below, these will help guarantee reliable functioning and a long lifespan of your
touchscreen.
Keep the touchscreen and all connected devices away from water and avoid dust and heat. Do not place the
touchscreen near devices which produce heat or in the vicinity of water. Non-compliance with these instructions
can lead to faults or damage to the touchscreen.
The Prowise Touchscreen can be used at an ambient temperature from 0 °C to +38 °C (32 °F to 100,4 °F) and
relative humidity from 10% to 90% (without condensation). When switched off, the touchscreen can be stored at
a temperature from -20 °C to 60 °C (-4 °F to 140 °F) and relative humidity from 10% to 90% (without
condensation).
CAUTION!
Prowise can not be held responsible for any damage or injury caused by the incorrect installation
of the touchscreen done by third parties. Damage to the touchscreen, caused by incorrect installation by
third parties is not covered by the warranty. Always contact Prowise or a certified partner if you have any
questions about the installation.
www.prowise.com
7 / 53

Install the touchscreen on a stable, vibration-free floor/wall to avoid damage to the touchscreen. Make sure that
all of the ventilation openings, located at the back of the screen, stay uncovered, so hot air can escape.
3.2. Cabling
Only use the power cable supplied by Prowise to connect the Prowise Touchscreen to the mains power supply.
The touchscreen must be placed close to the electrical outlet and the electrical outlet should be easy to reach.
Cables should not be laid in the walkway to avoid anyone stepping on them or tripping over them. To avoid
damage to the cables, do not place any objects on the cables. Prevent electrical overloads when using a
distributing plug, as this can lead to a short circuit.
For extra safety, we recommend using a surge protector to prevent the touchscreen from sustaining damage as
a result of power surges or lightning strikes.
WARNING!
Disconnect the power cable during a thunderstorm. For extra safety, we recommend using an
overvoltage protection device, to prevent the touchscreen from sustaining damage as a result of power
surges or lightning strikes.
CAUTION!
Only plug the power cable into grounded electrical outlets with AC 100-240V ~50/60Hz. If you
are not sure about the power supply at the installation location, consult your energy company.
www.prowise.com
8 / 53

3.3. WiFi module
The Prowise Touchscreen is equipped with a WiFi module. Follow the steps below to successfully install the WiFi
module.
HAZARD WARNING!
Suffocation hazard. This product contains small parts that form a choking
hazard for children. Keep this product out of reach for children when not installed into the
touchscreen.
WARNING!
Please make sure the power cable of the Prowise Touchscreen is disconnected before
installation.
www.prowise.com
9 / 53

3.4 Install the OPS PC module
Follow the steps below to install the OPS PC module:
(Please note the OPS PC module is optional)
CAUTION!
Please ensure the power cable is not connected to the main power supply while installing
the OPS PC module.
1. Unscrew the screws
www.prowise.com
10 / 53

2. Remove the cover plate
3. Insert the OPS PC module into the slot
www.prowise.com
11 / 53

4. Becoming familiar with your product
We recommend not to install the touchscreen yourself or by a third party. Have Prowise or a certified partner
install or mount your touchscreen to avoid possible damage.
Always adjust the screen to the correct height before use. Avoid standing in a stooped or bent posture and
ensure that the ends of the screen are located within arm’s reach.
The screen is in an optimal position if you can touch both the top and the bottom without bending down or
reaching up high. By putting the screen in the right position you can prevent physical complaints caused by an
incorrect posture. Avoid physical complaints caused by a poor posture.
4. Tighten the lock screw of the PC module
www.prowise.com
12 / 53

4.1. Product Specifications
DANGER!
Risk of injury. Do not stand on a chair, stool or other object to operate the touchscreen. This
especially applies to children! This involves a risk of falling that could result in serious injury. Ensure that the
screen is installed at the correct height or that the lift is set to the correct height when the screen is used.
Display
Bezel colour
Matte black aluminium
Screen dimensions (inches)
65", 75", 86"
Screen type
Ultra HD LED - IPS
Resolution
3840 x 2160 @ 60Hz
Glass panel
Tempered, anti-glare
Thickness of glass panel
3.2 mm
0.13 inches
Hardness of glass panel
Mohs 7
Aspect ratio
16:9
Contrast ratio
1200:1
Dynamic contrast ratio
5000:1
Brightness
350 cd/m2 (65”)
400 cd/m2 (75” and 86”)
Number of colours
10 Bit (1.07B)
Viewing angle
178º
Refresh rate
60Hz
PC module slot
Yes, OPS module
LIfespan
50,000 hours
www.prowise.com
13 / 53

Touch type
Type
Exceptionally accurate IR technology
Multi-touch
Yes (20 points)
Multi-writing
Yes (10 points)
Auto-calibration
Yes
Resistant to sunlight
Yes
Supported OS
Windows 7, 8.1 & 10/Mac OS/Linux/Android and Chrome OS
Audio
Speakers
2.0 audio (2 front speakers)
Front speaker power
2 x 16W (8Ω)
Max. output amplifier
2 x 16W
ProWrite
Number of pens
2
Simultaneous writing with multiple colours
Yes
Simultaneous writing with multiple line thicknesses
Yes
Windows Ink support
Yes
Prowise Central (4K)
Android version
Android 8.0
Storage
16GB/32GB
Memory
3GB
www.prowise.com
14 / 53

Over-the-air updates (OTA)
Yes
Ports on the motherboard
Video input
2 HDMI (HDMI 2.0 Type A HDCP2.2 CEC)
1 DP (DP 1.2)
1 VGA input 1920x1080p @60Hz
1 AV 567i
1 YPBPR 1080P
Audio input
1 PC Audio in
Video output
1 HDMI OUT 2.0
1 AV OUT
Audio output
1 (3.5mm headphone Jack female
)
1 Optical audio output; S/PDIF
USB 2.0 A
2
USB 2.0 B
1
RS232 Control (DB9 Female)
1 (Straight connection)
LAN (RJ45)
2
Front ports
Video Input
1 HDMI (HDMI 2.0 Type A HDCP2.2)
1 TYPE-C (HDMI 2.0+ 15W +Touch USB2.0)
USB 2.0 A
1
USB 2.0 B (Touch)
1
USB 3.0 A
1
www.prowise.com
15 / 53

Ambient factors
Ambient temperature during use
0°C - 40°C
32 - 100°F
Ambient temperature when stored
-20°C - 60°C
-4 - 140°F
Humidity during use (no condensation)
10% - 90%
Humidity when stored (no condensation)
10% - 90%
General information
Voltage
~ 100-240 V (50/60Hz)
Nominal power consumption (without
modules)
65": 250 W
75": 400 W
86": 440 W
Energy consumption in ECO mode
65": 84.7 W
75": 134 W
86": 170 W
Energy consumption in on mode
65": 124.4W
75": 151.2W
86": 179W
Energy consumption in standby mode
≤ 0,5 Watt
Gross weight
65": 54±1.5 kg / 119.05lb ±3.5 lb
75": 74±1.5 kg/ 163.14lb ±3.5 lb
86": 94±1.5 kg / 207.23lb ±3.5 lb
Net weight
65": 39 kg±1.5kg / 85.98lb ±3.5 lb
75": 54 kg±1.5kg / 119.05lb ±3.5 lb
86": 74 kg±1.5kg / 163.14lb ±3.5 lb
Dimensions of the screen (W x H x D)
65": 1518.3 x 113.8 x 934.3 mm
59.78 x 4.48 x 36.78 inches
75": 1744.61 x 110.7 x x1063.16 mm
68.68 x 4.36 x 41.86 inches
86": 2241.7 x 116.4 x 1337.8 mm
88.26 x 4.59 x 52.67 inches
Dimensions of the packaging (W x H x D)
65": 1660 x 240 x 1045 mm
65.35 x 41.14 x 9.45 inches
75": 1895 x 240 x 1160 mm
74.61 x 45.67 x 9.45 inches
www.prowise.com
16 / 53

86": 2140 x 240 x 1310 mm
84.25 x 51.57 x 9.45 inches
VESA standard
65": 600 x 400 mm
75": 600 x 400 mm
86": 700 x 400 mm
VESA arrangement for external devices
VESA 100 x 100 mm
Certification
CE: EMC + LVD + RED / FCC-IC- VOC / RoHS / REACH/ RCM /
WEEE and Energy Star
Warranty
5 years
www.prowise.com
17 / 53

4.2. In the box
1. Prowise Touchscreen
www.prowise.com
18 / 53

2. Accessory box:
3. Remote control
4. 1.5V AAA batteries (2x)
5. Wi-Fi module
6. Wi-Fi antenna (2x)
7. ProWrite® pen dual writing pen including pen points (2x)
8. Pen tips (4x)
9. Quick start guide and safety instructions Prowise Touchscreen One
10. Power cord - EU
11. USB touch cable
12. HDMI cable
13. VESA plate 100 x 100 mm
14. RS232 adapter
15. Camera mount plate
Installing camera mount plate:
1. Place the plate on the bezel (align with screw holes)
2. Mount the plate to the back wall with a screw.
3. Secure the camera with the ¼ inch screw thread
WARNING!
Keep the packaging material, such as plastic foil, away from children. Improper use of
packaging materials can result in a choking hazard.
www.prowise.com
19 / 53

4.3. Product overview
Side ports (left - motherboard)
1 HDMI output 2.0
2 Optical Audio input; S/PDIF
3 USB 2.0 Type B (Touch port)
4 USB 2.0 Type A
PLEASE NOTE!
Check whether the supplied package is complete in case anything is missing, please
contact our service desk within 5 days after delivery. Please provide the serial number and a copy of
the invoice.
www.prowise.com
20 / 53
This manual suits for next models
3
Table of contents
Other Prowise Touchscreen manuals
Popular Touchscreen manuals by other brands
Elo Touch Solutions
Elo Touch Solutions B-Series Quick installation guide
BeiJer
BeiJer X2 pro 21-B2 installation manual
Johnson Controls
Johnson Controls Tyco HS2TCHP E user manual
XtendLan
XtendLan DPM-IP71R Operation manual

Elo TouchSystems
Elo TouchSystems 1938L user guide
Smartbox
Smartbox Grid Pad manual
