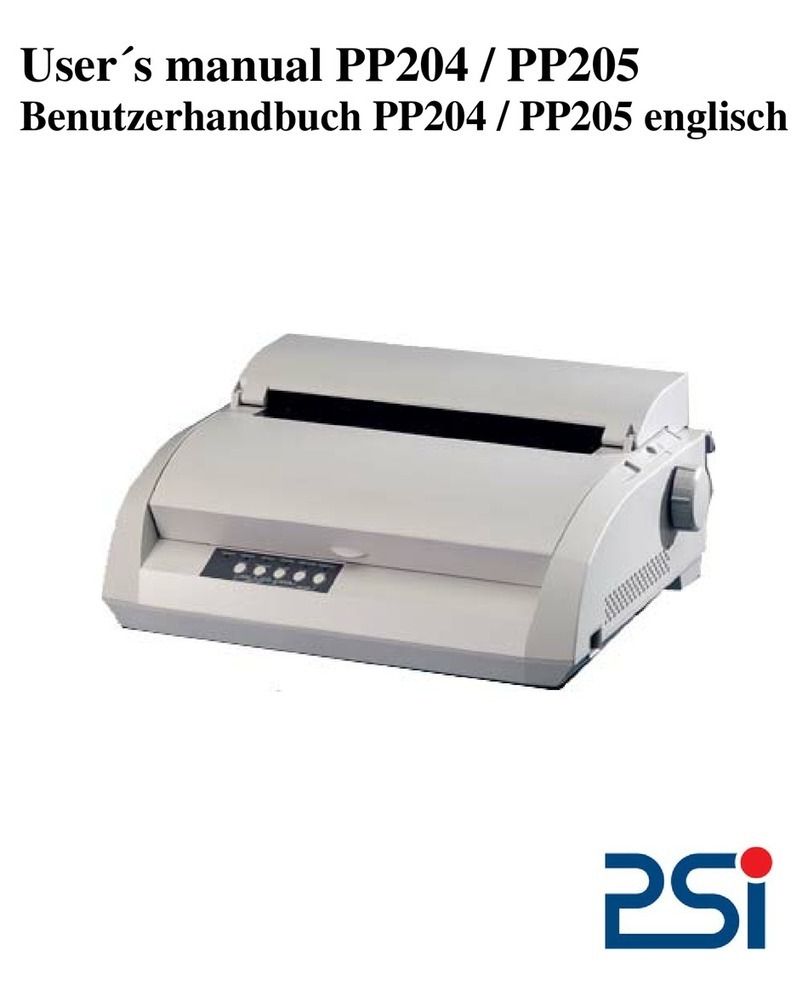
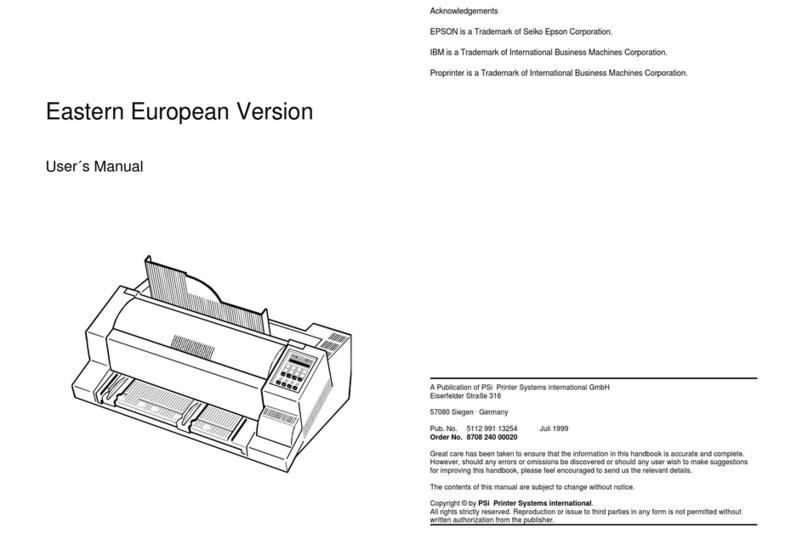
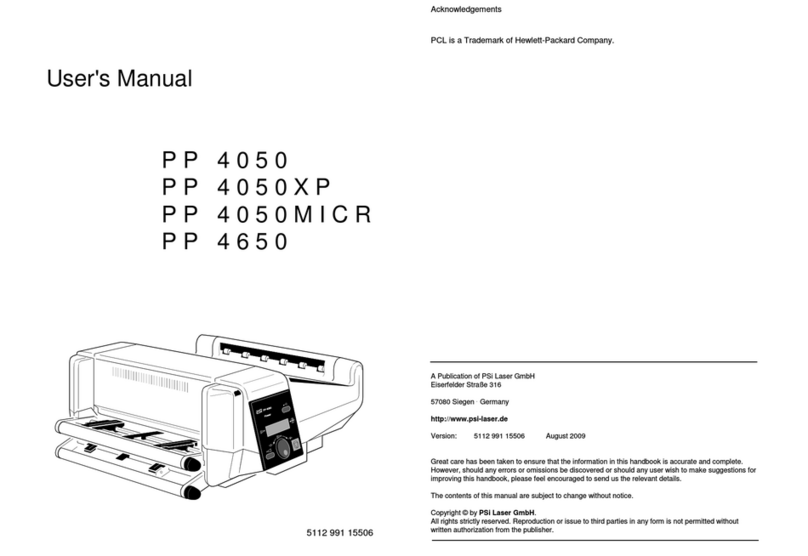
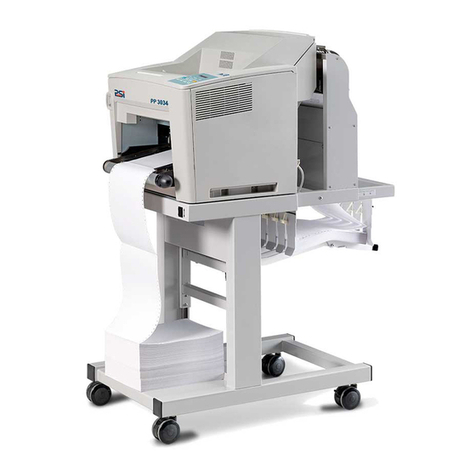
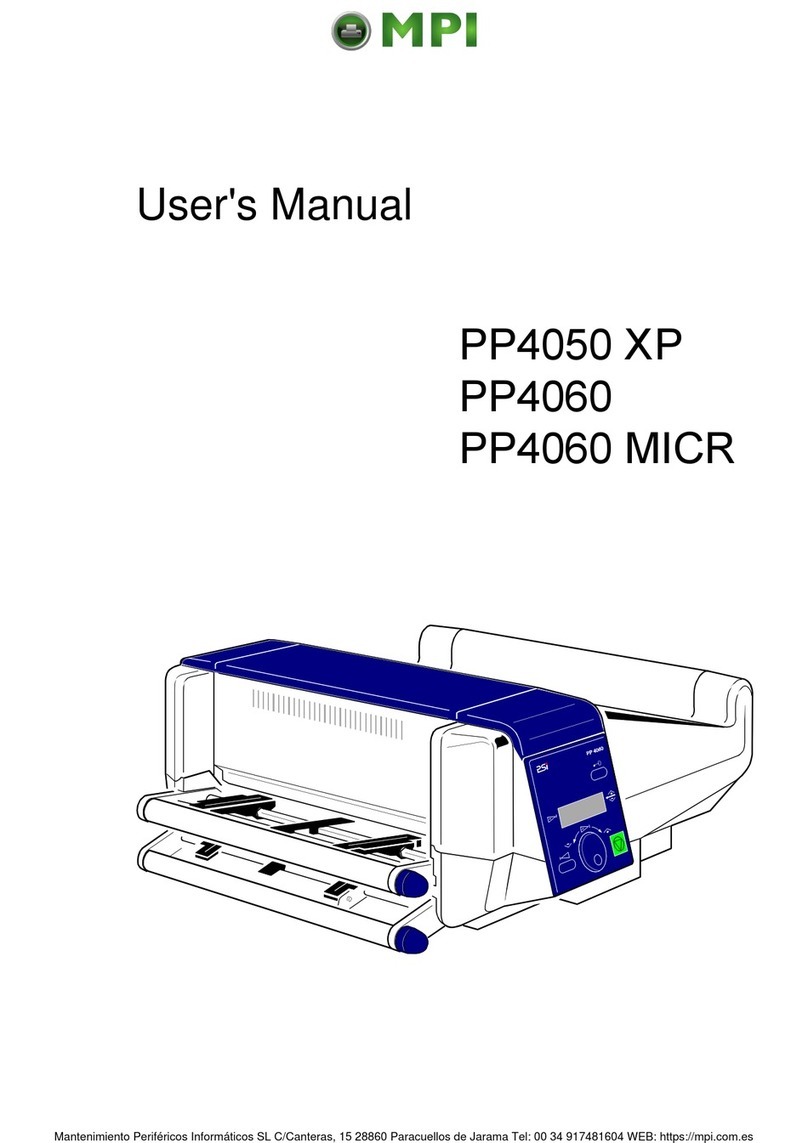
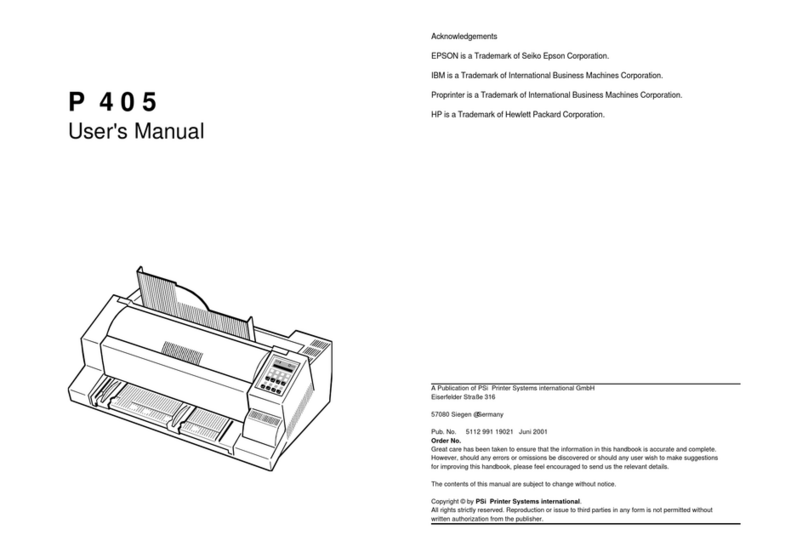
PSI PP 2024 User manual

User's Manual
P P 2 0 2 4
5112 991 14564
Acknowledgements
PCL is a Trademark of Hewlett-Packard Corporation.
A Publication of PSi Printer Systems international GmbH
Eiserfelder Straße 316
57080 Siegen @Germany
http://www.psi-si.de
Version: 5112 991 14564 January 2000
Order No.: 8708 294 00010
Great care has been taken to ensure that the information in this handbook is accurate and complete.
However, should any errors or omissions be discovered or should any user wish to make suggestions
for improving this handbook, please feel encouraged to send us the relevant details.
The contents of this manual are subject to change without notice.
Copyright © by PSi Printer Systems international.
All rights strictly reserved. Reproduction or issue to third parties in any form is not permitted without
written authorization from the publisher.

III
Safety Regulations for the Laser Printer PP 2024 Electromagnetic Compatibility
The laser printer PP 2024 fulfils the safety regulations according to IEC and Type: Printer PP 2024
TÜV/GS for computer systems (EN 60950) and laser products (EN 60825-1).
UL 1950 3rd Edition / CAN/CSA C22.2 No 950-95; 21 CFR 1040.10 and corresponds to the law regulations ruling electromagnetic compatibility of
1040.11. appliances (89/336/EWG) and, therefore, fulfils the requirements for conformity
The mains cable must be connected to a ground protected wall-socket. The
selected voltage of the printer needs to be in accordance with the local mains
voltage.
The power plug must be easily accessible at any time so that it can be
disconnected immediately in case of danger or for maintenance purposes.
Before installing the printer, check the surrounding conditions in which the
printer is intended to be used (see next page, Operating Environment).
During thunderstorm you should never attempt to connect or disconnect any
data transfer cable.
The power supply should only be opened and checked by authorized personnel.
Repairs and maintenance beyond the descriptions of chapter 5 may only be
attempted by authorized personnel as well. Repairs done inappropriately may
cause damage to the device and severe danger for the user.
Caution: The use of controls or adjustments or performance of procedures
other than those specified herein may result in hazardous radiation
exposure.
During the printing process ozone will be produced. Take care that
the printer is standing in a room with good ventilation. The limt of
ozone concentration should be 0,1 ppm (0,2 mg/m). Note that the
3
specific gravity of ozone is higher than that of air.
We certify that the equipment at issue,
marking with the CE-sign.
Note: This equipment has bee tested and found to comply with the limits for a
CLASS A digital device pursuant to Part 15 of the FCC Rules. These
limits are designed to provide reasonable protection against harmful
interference when the equipment is operated in a commercial
environment. This equipment generates, uses, and can radiate radio
frequency energy and, if not installed and used in accordance with the
instruction manual, may cause harmful interference to radio
communications. Operation of this equipment in a residential area is
likely to cause harmful interference in wich case the user will be required
to correct the interference at his own expense.
To guarantee that the device stays within the limits according to the approval
regulations for conducted and radiated emission (EN 55022, Class B) and
immunity according to EN 50081-1, Generic Standard in any case shielded
interface cables are to be used only.
Changes and modifications not explicitly allowed by the equipment's
manufacturer could void the user's authority to operate the equipment.
Operating Environment
Avoid installing the printer where it is exposed to moisture or heat (eg. direct sun
light).
-Temperature: + 10EC to + 32.5EC (+50EF to +90.5EF)
-Humidity: 20% to 80%
Slots and openings in the printer's housing are provided for ventilation. Always
ensure that these openings are not obstructed.
Also ensure that the cables at the rear of the printer do not interfere with the
output paper path.

III IV
Safety Regulations for the intelligent Paper Stacker iPS 2024
The intelligent Paper Stacker iPS 2024 fulfils the safety regulations according
to IEC and VDE/GS for computer systems (EN 60950);
UL 1950 3rd Edition, CAN/CSA C22.2 No.950-95.
The mains cable must be connected to a ground protected wall-socket. The
selected voltage of the intelligent paper stacker needs to be in accordance with
the local mains voltage.
The power plug must be easily accessible at any time so that it can be
disconnected immediately in case of danger or for maintenance purposes.
Before installing the intelligent paper stacker, check the surrounding conditions
in which the intelligent paper stacker is intended to be used (see next page,
Operating Environment).
During thunderstorm you should never attempt to connect or disconnect any
power cable.
The power supply should only be opened and checked by authorized personnel.
Repairs may only be attempted by authorized personnel as well. Repairs done
inappropriately may cause damage to the device and severe danger for the
user.
Caution, the chain of the motor to move the paper exit tray
up and down will start automatically or after pushing the
key at the left side of the table.
Electromagnetic Compatibility
We certify that the equipment at issue,
Type: intelligent Paper Stacker iPS 2024
corresponds to the law regulations ruling electromagnetic compatibility of
appliances (89/336/EWG) and, therefore, fulfils the requirements for conformity
marking with the CE-sign.
Note: This equipment has been tested and found to comply with the limits for a
CLASS A digital device pursuant to Part 15 of the FCC Rules. These
limits are designed to provide reasonable protection against harmful
interference when the equipment is operated in a commercial
environment. This equipment generates, uses, and can radiate radio
frequency energy and, if not installed and used in accordance with the
instruction manual, may cause harmful interference to radio
communications. Operation of this equipment in a residential area is
likely to cause harmful interference in wich case the user will be required
to correct the interference at his own expense.
To guarantee that the device stays within the limits according to the approval
regulations for conducted and radiated emission (EN 55022, Class B) and
immunity according to EN 50081-1, Generic Standard in any case shielded
interface cables are to be used only.
Changes and modifications not explicitly allowed by the equipment's
manufacturer could void the user's authority to operate the equipment.
The intelligent Paper Stacker can only be used in conjunction with the printer
PP 2024.
Operating Environment
Avoid installing the intelligent paper stacker where it is exposed to moisture or
heat (e.g. direct sun light).
-Temperature: + 10EC to + 32.5EC (+50EF to +90.5EF)
-Humidity: 20% to 80%
Also ensure that the cables at the rear of the printer do not interfere with the
output paper path. The feet of the laser printer PP 2024 should be positioned
over the four screws on the stacker's table.

Table of Contents
VVI
Table of Contents 2. Printer Operation .............................................2-1
Preface ....................................................... XIV
About this Manual ............................................... XIV
Conventions used in this guide ..................................... XVI
1. Getting Started ...............................................1-1
1.1 Unpacking ................................................1-1
-Printer Package .........................................1-1
-Contents of Starter Kit Box .................................1-2
-Transportation Hints ......................................1-4
1.2 Installing the Consumables ...................................1-5
-Installing the Developer Unit ................................1-6
-Filling in Starter Toner ....................................1-8
-Inserting the Ozone Filter .................................1-10
-Installing the Waste Toner Container ........................1-11
-Inserting the Cleaner Felt .................................1-12
-Installing the OPC Drum ..................................1-13
1.3 The Power Supply .........................................1-14
1.4 Power ON/OFF Switch .....................................1-15
1.5 Inserting Fanfold Paper .....................................1-17
1.6 Connection to the Computer .................................1-21
1.7 Connecting the Stacker System ..............................1-22
2.1 Control Panel ..............................................2-1
2.1.1 Description of the Four Indicators ...........................2-1
2.1.2 description of the LCD Display ..............................2-2
2.1.3 Function Keys ...........................................2-3
2.2 Menu Mode ................................................2-4
2.2.1 Activate the Menu ........................................2-5
2.2.2 Confirm a new Selection ...................................2-6
2.3 Status and Error Messages ...................................2-7
3. Configuring the Printer ........................................3-1
3.1 What is Configuring .........................................3-1
3.1.1 Profiles ................................................3-1
SProfiler .................................................3-2
3.1.2 Basic Printer Settings .....................................3-2
3.1.3 Test Mode ..............................................3-2
3.2 Printout of Standard Configuration ..............................3-3
3.2.1 How to Start a SELF TEST ................................3-4
SSELF TEST Sample ......................................3-5
3.3 Printout of the 10 Profiles .....................................3-6
3.4 Menu Structure .............................................3-7
3.5 Menu Item Description .......................................3-9
SSELECT PROFILE ..........................................3-9
SPAPER MENU ........................................... 3-10
SPCL MENU .............................................. 3-11
SHEXDUMP MENU ........................................ 3-12
SGENERAL MENU ........................................ 3-13
SCONFIG MENU .......................................... 3-14
STEST MENU ............................................. 3-15
SINFO MENU ............................................. 3-16

Table of Contents
VII VIII
3.6 Configuration Programs .....................................3-17
SProfiler ...................................................3-17
SProfile Selector ............................................3-17
3.6.1 Installation .............................................3-17
3.6.2 Profiler ................................................3-18
3.6.3 Selector ...............................................3-23
4Explanation of Individual Menu Items ...........................4-1
4.1 Menu Mode SELECT PROFILE ...............................4-2
4.2 Menu Mode CHANGE PROFILE ..............................4-2
4.2.1 PAPER MENU ..........................................4-2
SPAPER .............................................4-2
SPAPER LENGTH .....................................4-3
SLENGTH FACTOR ....................................4-3
SIMAGE WIDTH .......................................4-4
SORIENTATION .......................................4-4
SLANDSCAPE MODE ..................................4-5
SORIENT. MODE ......................................4-6
SPAPER EXTENDED ..................................4-7
SPAPER SELECTION ..................................4-7
SFUSER TEMP. .......................................4-7
SVER SHIFT ..........................................4-7
SHOR SHIFT .........................................4-7
4.2.2 PCL MENU .............................................4-8
SFONT NUMBER ......................................4-8
SPITCH ..............................................4-8
SPOINT SIZE .........................................4-8
SSYMBOL SET .......................................4-9
SLINE SPACING .....................................4-10
STOP MARGIN .......................................4-10
SLEFT MARGIN ......................................4-10
SRIGHT MARGIN .....................................4-10
STEXT LENGTH .....................................4-10
SPERF. SKIP ........................................4-10
4.2.3 HEXDUMP MENU ..................................... 4-11
SUEL COMMAND .................................... 4-11
4.2.4 GENERAL MENU ..................................... 4-12
SEMULATION ....................................... 4-12
SAUTO FORM FEED ................................. 4-12
SPAPER RETRACT .................................. 4-12
4.3 Menu Mode BASIC SETTINGS .............................. 4-13
4.3.1 CONFIG. MENU ....................................... 4-13
SPOWER SAVE ..................................... 4-13
SALARM BELL ...................................... 4-13
SLANGUAGE ....................................... 4-13
SMENU ACCESSS ................................... 4-14
SRECALL FACTORY ................................. 4-14
4.4 Menu Mode TEST MODE .................................. 4-15
4.4.1 TEST MENU .......................................... 4-15
SPANEL TEST ...................................... 4-15
SSELF TEST ........................................ 4-15
SCONT SELF TEST .................................. 4-15
SCONFIG. PRINT .................................... 4-15
SPCL TYPEFACE LIST ............................... 4-16
4.4.2 INFO MENU .......................................... 4-18
SMACHINE COUNT .................................. 4-18
SENGINE ID ........................................ 4-18
SFIRMWARE VERSION .............................. 4-18
SSTACKER VERSION ................................ 4-18

Table of Contents
IX X
5Maintenance .................................................5-1
5.1 Installing the Parts of the Toner Kit .............................5-1
-Filling in Toner ..........................................5-2
-Replacing the Waste Toner Container .......................5-4
-Changing the Cleaner Felt .................................5-6
5.2 Replacement of the OPC Drum ................................5-7
5.3 Replacement of the Developer Unit .............................5-9
-Filling in Starter Toner ...................................5-11
-Inserting the Ozone Filter .................................5-13
5.4 Replacement of the Fuser Unit ...............................5-14
5.5 Exchanging the Control Unit .................................5-15
6. Trouble Shooting and Diagnostics ..............................6-1
-How to Use this Section ......................................6-1
6.1 Power-related Problems ......................................6-2
6.2 Error Messages ............................................6-2
7. Intelligent Paper Stacker iPS 2024 ..............................7-1
7.1. Assembling the Intelligent Paper Stacker ........................7-1
7.1.1 Unpacking .............................................7-1
-Delivery Contents ........................................7-1
7.1.2 To Mount the Tear Off Bar .................................7-2
7.1.3 Paper Exit Tray Assembly .................................7-3
7.1.4 The Pendulum ..........................................7-4
7.1.5 Put the Printer onto the Table ..............................7-5
7.1.6 The Power Supply .......................................7-6
7.2. Operating the intelligent Paper Stacker ..........................7-7
7.2.1 Inserting Paper ..........................................7-7
7.2.2 Adjusting the Paper Length ................................7-8
7.2.3 Power On the intelligent Paper Stacker .......................7-9
7.2.4 Tear Off and Remove Paper ............................. 7-10
7.3. Troubleshooting and Diagnostics ............................. 7-11
7.3.1 Printer stops because of wrong page length selection ......... 7-11
7.3.2 Printer stops when the paper exit tray is full .................. 7-11
7.3.3 Paper not stacked in Right Order .......................... 7-11
7.3.4 Proceeding after Power Down or Inadvertently Power Off ...... 7-12
8. Technical Data ...............................................8-1
8.1 Printer Specification .........................................8-1
8.2 Paper Specification ..........................................8-3
8.3 Connectivity ................................................8-4
8.4 Consumables ..............................................8-5
8.5 Specification of Intelligent Paper Stacker .........................8-6
8.6 Paper Specification for Intelligent Paper Stacker iPS 2024 ...........8-7

Table of Contents
XI XII
9Paper Specification ...........................................9-1
9.1 Basic Theory of Operation ..................................9-1
9.2 Storing Media .............................................9-1
9.3 Environmental Considerations ..............................9-2
9.4 Guidelines and Specification for Selected Fanfold Paper ........9-2
9.4.1 General Guidelines .......................................9-3
SQuality .................................................9-3
SBasic weight ............................................9-3
STransport holes ..........................................9-4
SPerforation .............................................9-5
9.4.2 Typical Paper Properties for Laser Printer .....................9-6
9.4.3 Paper / Form Properties ...................................9-7
9.4.4 Label Carrier Properties ...................................9-9
9.4.5 Label Properties ........................................9-10
10 Maintenance / Logbook ......................................10-1
10.1 Toner Kit .................................................10-1
10.2 OPC Drum ...............................................10-3
10.3 Developer Unit ............................................10-4
10.4 Fuser Unit ................................................10-5
10.5 Inspection Report ..........................................10-6
10.6 Customer Remarks ........................................10.7
Appendix A Programming Guide .................................A-1
A-1 Support of Printer Specific Features and Functions ................A-2
A-1.1 Profiles ................................................A-2
A-1.2 Paper Size Select ........................................A-2
A-1.3 Semigraphics Support under SAP R/3 .......................A-3
A-1.4 EURO Symbol Support ...................................A-3
A-1.5 Support of Logical and Physical Pages ........................A-4
A-1.7 Conventions ............................................A-5
A-2 List of Supported PJL Control Function ......................... A-6
A-2.1 Basic Rules for PJL Programming .......................... A-6
A-2.1.1 PJL Syntax Rules ................................. A-6
A-2.1.2 PJL Environments ................................. A-7
A-2.1.3 List of Supported PJL Commands .................... A-8
A-2.1.4 List of Supported PJL Variables and Values ........... A-10
A-2.1.5 List of Supported PJL Variables and Values for PCL
Personality ...................................... A-13
A-3 List of Supported PCL5 Control Functions ..................... A-14
A-3.1 Job Control Commands ................................. A-14
A-3.2 Page Control Commands ................................ A-15
A-3.3 Cursor Positioning Commands ........................... A-17
A-3.4 Font Selection Commands ............................... A-19
A-3.5 Font Management Commands ........................... A-20
A-3.6 Macro Control Commands ............................... A-21
A-3.7 Graphic Commands .................................... A-22
A-4 Support of Semigraphics for SAP/R3 ......................... A-23
A-5 Barcode Programming ..................................... A-24
A-5.1 Resident Barcode Font Code 39 HP Compatible ............. A-24
A-5.2 Resident Barcode Controlled by Private Command Sequence ... A-25
A-5.2.1 Programming ................................... A-26
SBarcode Print Position ............................... A-26
SBarcode Print Orientation ............................. A-26
SBarcode Type ...................................... A-27
SBarcode Height ..................................... A-28
SBarcode Data ...................................... A-28
SBarcode Text Control ................................ A-29
SBarcode Module Width ............................... A-29
SBarcode Ratio ...................................... A-30
SStart and Stop Characters ............................ A-31
SError Checking Characters ............................ A-31
SUnprinted Areas .................................... A-31
A-5.3 Barcode Programming Examples .......................... A-32

Table of Contents
XIII XIV
Appendix B Symbol Sets ........................................B-1
Appendix C Miscellaneous ...................................... C-1
C-1 Order Numbers ......................................... C-1
C-2 Printer Drivers .......................................... C-1
Preface
About this Manual
This manual covers the printer including the Control Unit. The Control Unit is an
integral part of the printer which determines the functionality of the printer
especially regarding the user and system interface. Due to the variety of Control
Units different printer models are defined which, with respect to the user
interface however, all behave the same.
The structure of this manual is such that the operator is led step-by-step through
the various procedures. Starting with unpacking and installation of the
consumables it moves on to setting-up configuration parameters and ends with
the mounting of options.
The manual is divided into the following chapters:
1. Getting Started
This chapter covers the unpacking and setting-up of the printer and the
installation of the consumables. By the end of this chapter the printer should
be fully functional and tested in its primary form. It is not yet connected to
the host computer system and no options are mounted.
2. Operating the Printer
This chapter discusses in great detail the operation of the operator panel, all
menu functions, and the general operation of the menu. General status
messages are also described.
3. Configuring the Printer
This chapter explains how to use the Profiles and to configure the printer so
that it can communicate with the corresponding system environment.
Furtheron this chapter includes a view of the Menu Structure and thoroughly
describes in a short form the printer's operating controls. Finally you will find
a description of the Configuration Programs Profiler and Profile Selector .
The Profiler is a menu controlled program and supports the printer
configuration via PC. Different configurations can be downloaded into the
printer.
Profile Selector is a program for quick access to a profile.

Preface Preface
XV XVI
4. Explanation of Individual Menu Items Appendix A Programming Guide
In this chapter are the individual menu items are explained in detail. This appendix describes command extension of PCL5 and PJL in section
5Maintenance
This chapter explains how to replace the consumables. Appendix B Symbol Sets
6. Trouble Shooting and Diagnostics
suggests how to identify and correct simple problems. Appendix C Miscellaneous
7. Intelligent Paper Stacker iPS 2024 SPrinter Driver
Description of assembling and operating the printer PP2024 in combination
with the Intelligent Paper Stacker iPS 2024
8. Technical Data
All technical details or data about the printer and the Intelligent Paper Conventions Used in this Guide
Stacker can be found here. The following conventions are used:
9. Paper Specification Bold Headlines and important information.
Guidelines, Specification, Paper and Label properties are defined in this
chapter. Note: Contains special advice to facilitate handling.
10. Maintenance / Logbook Caution: Contains important information to prevent damage
All activities of maintenance should be written down here. of the equipment.
A-1, A-2, and A-3. Bar Code Programming is decribed in section A-5.
All supported Symbol Sets are listed.
SOrder Numbers
[ENTER] Key functions are always depicted in brackets or
indicated by the corresponding symbol.

Getting started
1-1 1-2
1. Getting Started Contents of Starter Kit Box
1.1 Unpacking Sone spout (9)
The Laser Printer is delivered in two boxes, the larger one contains the printer Sone Cleaning Kit (10)
itself, the smaller one contains the Starter Kit. Check each box contents against
the list below. Contact your delivery agent immediately if any item is missing or
damaged.
Printer Package
SLaser Printer (1)
SControl Unit (already mounted)
Sthis User's Manual (2)
another small box contains:
Sone (plastic) front paper guide (3)
Sone (plastic) exit paper guide (4)
Sone power cord (5)
Note: Printer Driver for Windows® are available - (see Appendix C)
Sone Developer Kit consisting of:
Sone Developer Unit (6)
Sone Ozone Filter (7)
Sone bottle with Starter Toner (8)
Sone OPC Drum (11)

Getting started Getting started
1-3 1-4
Sone Toner Kit consisting of: Transportation Hints
Stwo Toner bottles (12) Save all packing material and boxes for future transportation of the printer.
Sone spout (13)
Stwo Waste Toner Containers (14) To ensure maximum protection when transporting the printer, please pay
Stwo Cleaner Felts (15) attention to the following:
Note: Do not connect the printer to the mains until the mains voltage selection
has been checked and the consumables have been installed (see the
following pages).
1. always remove the plastic paper guides and the power cord
2. remove the Developer Unit
3. empty the Toner box
4. remove the OPC Drum
5. remove the Waste Toner Container and lock it with the green cap
6. put the printer into its original packing material and ship it in its original box
7. put the Developer Unit into its original packing box.
8. Wrap the OPC Drum with stuffed antistatic and lightproof foil and pack it into
its orginal packing box.

Getting started Getting started
1-5 1-6
1.2 Installing the Consumables Installing the Developer Unit
Open the cover (20) by firmly pressing the button (21) at the left top corner of Gently lift the plastic tabs (24) inside the printer, at the left and at the right side
the printer and swinging the cover up. of the cover, and pull the front cover (23) in forward direction. The front cover
Remove the polyfoam transport lock (22) inside the printer underneath the degree angle.
Fuser Unit.
will only open to a 45 degree angle. Please do not force this cover beyond a 45
Now the rail guides inside the cabinet are free to accept the Developer Unit.
Remove the Developer Unit (6) from its foil package and turn it so that the
sleeve roller (26) is toward the back of the printer.
Slide the Developer Unit fully into the printer along the plastic rails on the left
and right. To lock push down the two green plastic tabs.

Getting started Getting started
1-7 1-8
Filling in Starter Toner
Before using the Developer Unit for the first time, you have to fill it with Starter
Toner. One bottle of Starter Toner (8) with a spout (9) is in the box of the
Developer Unit. Shake the bottle several times to mix the carrier and the toner.
Carefully open the seal underneath the cap of the toner bottle and attach the
spout to the bottle. Open the top cover (28) of the Developer Unit. Spread the
toner evenly across the opening.
Note: Do not squeeze the toner bottle since the toner could be blown out of the
hopper and contaminate the printer. If the toner bottle does not completely
empty, gently tap the end of the bottle while holding it upside down over
the hopper.
This first filling only allows Starter Toner to be used. Refilling any other toner is
not allowed before the message "Toner Low" appears on the display.

Getting started Getting started
1-9 1-10
Close the top cover (28) of the Developer Unit. If you hear a "click" the shutter is
closed completely.
Inserting the Ozone Filter
The box of the Developer Unit also contains an Ozone Filter (7), a black
rectangular block. On one of the narrow sides there is a small tab to hold the
filter. Insert the Ozone Filter into the slot immediately behind the operator panel
and besides the Developer Unit.
Firmly close the front cover (23).

Getting started Getting started
1-11 1-12
Installing the Waste Toner Container Inserting the Cleaner Felt
The toner box contains two Waste Toner Containers (14). Take one of them and The toner box also contains two Cleaner Felts (15). Take one of them and put it
insert it into its opening at the inner left side of the printer immediately behind under the top cover of the Fuser Unit in the back of the printer. After inserting
the Developer Unit. Be sure the green cap is on the cap hoder and not blocking the felt the top cover does not lock completely. Don't worry about this, the
the filling hole of the container. printer top cover will provide the necessary pressure to keep the cleaner felt
cover tight.

Getting started Getting started
1-13 1-14
Installing the OPC Drum 1.3 The Power Supply
The OPC Drum (11) is packed seperately in the Starter Kit. The OPC Drum is Since an incorrect voltage selection can seriously damage the printer, please
very light-sensitive, so it is wrapped up in lightproof foil. Carefully remove the pay special attention to the following:
drum from its foil container.
Note: Do not touch the green part of the OPC Drum with your fingers. Oil and mains voltage:
dirt degrade print quality. 230 V for 220 to 240 V alternating current
Do not expose the light-sensitive OPC Drum to room lighting or sunlight
any longer than necessary.
Insert the OPC Drum into the printer behind the Developer Unit. Gently press
the top of the OPC unit to make sure it is fully down. The opening for toner
waste is now just over the Waste Toner Container (14).
SMake sure that the specified voltage on the type plate corresponds to your
SConnect the printer to the mains using the power cord (34). First connect the
cable to the power cord socket and then to the mains.
Note: As the power cord serves as a safety cut-off, its connection to the
printer must be accessible any time.

Getting started Getting started
1-15 1-16
1.4 Power ON/OFF Switch
The power ON/OFF switch (35), at the right side at the rear of the printer, turns The display signals the message:
the printer's power supply ON or OFF.
When switched ON shortly the revision level of the Bootstrap software that is
installed in the printer appears on the display:
PP2 0 2 4 BOOTSTRA P
REVISION2.0 0
MEMORYTE S T
PLEASE WAIT...
After successful completion the following message appears:
INITIALTE S TOK
STARTINGP P OS. . .
Further tests are performed now. The indicators READY, DATA, and ONLINE
are switched off; all fields of the display shortly show black squares and a short
beep sounds.
On the display two messages pop up shortly after each other:
ONLINE(1)
PCL
After WARMING UP the display changes into:
ONLINE(1)
Now the printer is ready for operation, the indicators READY und ONLINE light
up.

right
wrong
Getting started Getting started
1-17 1-18
1.5 Inserting Fanfold Paper Insert the smaller Exit Paper Guide (4) at the rear of the printer so that the
The printer has a tractor which can handle fanfold paper of a minimum width of edge of this paper guide also serves as tear-off edge.
4inch and a maximum width of 10 inch.
Ensure that the printer is placed on its printer stand (option) to guarantee an
optimal paper run. If you do not use the printer stand align the printer with the
front edge of the table.
Depending on paper property it would be helpful to use the printer together with
the Stacker System (option).
The cables at the rear of the printer should not block the paper path.
Installation of Paper Guides
Use the delivered paper guides to ensure a straight paper path. The paper
guides are in the same box as the power cord. Note: A correct paper operation of the printer together with the intelligent Paper
Insert the larger Entry Paper Guide (3) into the front of the printer so that the the fold points to the operator. If the fold is negative (it points to the printer)
plastic hooks fit just inside the right and left edges of the paper entry slot. the first page must be torn off (see also chapter 7.2.1 Inserting Paper).
plastic hooks fit just inside the right and left edges of the paper exit slot. The
Stacker (iPS) is only assured if the fold behind the first page is positive i.e.

Getting started Getting started
1-19 1-20
Inserting paper for the first time or changing to another paper width: 3. Unlock the tractors (40) by moving the two green locking levers (42) to their
1. Power on the printer and open the top cover 4. Roughly adjust the tractors (40) to the paper width, and space out the paper
2. Insert the paper into the slot at the front of the printer. Press and hold the supports (43) evenly.
button (36) on the center front of the printer. The button releases the paper 5. Open the tractor covers (41) and place the paper evenly on the pins. Close
rollers for paper insertion. Shift the paper into the slot until it appears behind the tractor covers (41). Be sure the top edge of the paper does not extend the
the OPC unit near to the tractors. If you now release the button the paper is tractors.
kept by the rollers and your hands are free to adjust the tractor. 6. Adjust the width of the tractors that the paper is taut between the tractors and
upright position.
secure the tractors using the locking levers (42).
Note: The pins of the tractor (40) must be centered into the transport punches of
the paper.

Getting started Getting started
1-21 1-22
1.6 Connection to the Computer 1.7 Connecting the Stacker System
Parallel/serial Interface As an option to the printer there is also an active Stacker System available.
-Switch the printer and the computer OFF.
-Connect the interface cable coming from the computer to the printer's parallel For installation please follow the instructions in chapter 7 . These instructions
port (32) . also explain how to connect the stacker and the printer to the mains.
Note: The serial interface is not supported in the Firmware rev. 1.20 or higher. left side of the Control Unit's cover at the rear.
The datatransmission rate of the serial interface is not fast enough to
ensure continuous printing in typical PCL applications. Connect the stacker to the printer by means of the cable that comes with the
The Control Unit of the printer has a stacker interface. This is a 9-pin plug at the
stacker. The printer now takes care that the motors of the stacker are only
activated in case of paper movement.
Table of contents
Other PSI Printer manuals
