manuals.online logo
Brands
  1. Home
  2. •
  3. Brands
  4. •
  5. PTZOptics
  6. •
  7. Security Camera
  8. •
  9. PTZOptics PT-WC-G1 Specification sheet

PTZOptics PT-WC-G1 Specification sheet

Quick Setup Information
Congratulations and thank you for purchasing a Wireless NDI Camera bundle from
PTZOptics!
This bundle includes:
● One pair of wireless transmitter/receivers (two PT-WC-G1)
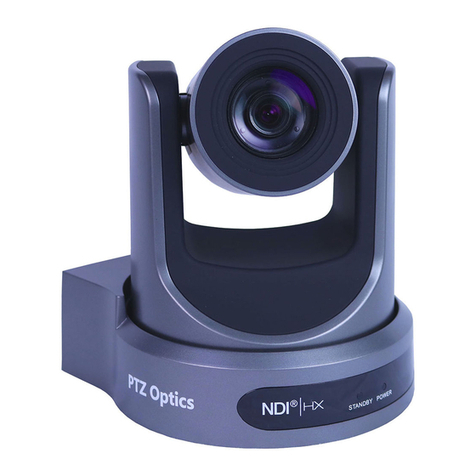
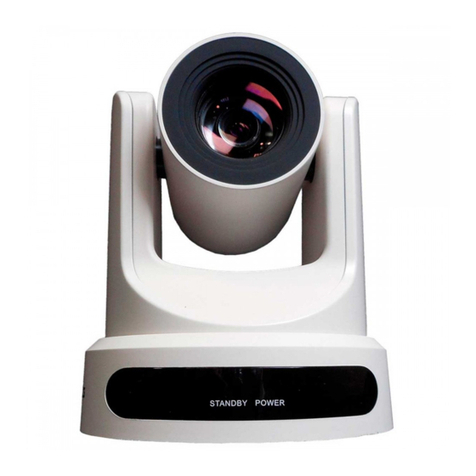
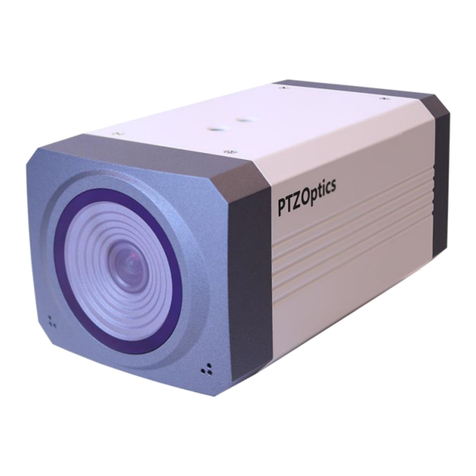
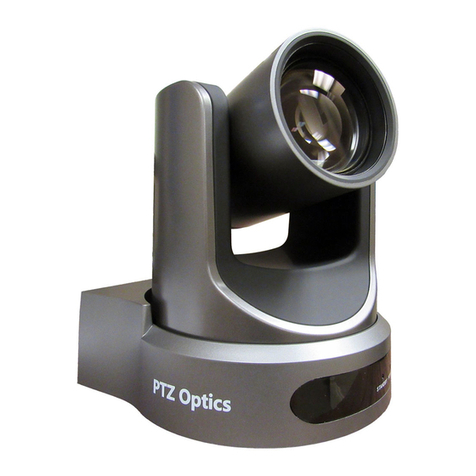
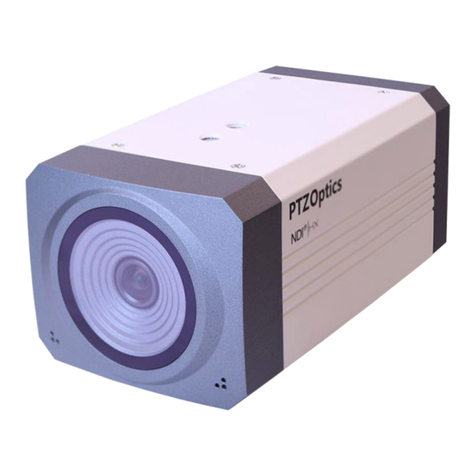
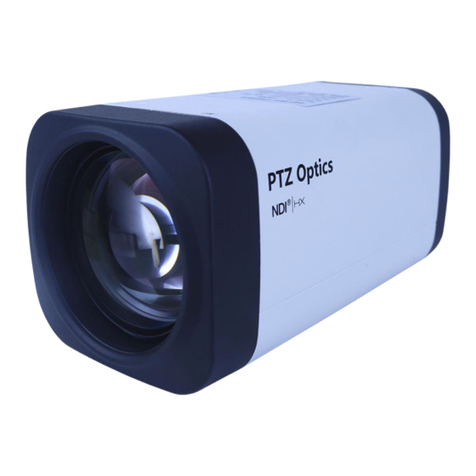
● One IP/NDI|HX capable, professional, 1080p-60, video broadcast camera.
Your Wireless Cable Units are already Pre-Paired - To make things easy for you to get
started right away, the two PT-WC-G1 units have been pre-configured to work together as a
linked pair and are also pre-configured to connect your IP device (in this case, the camera) to
either a DHCP enabled network (i.e. auto-IP addressing) or a static IP network (i.e. manual-IP
addressing) without any additional configuration.
Using a DHCP Enabled Network - Since all of our PTZ cameras come preset with a default
‘static’ IP address of 192.168.100.88 and all of our ZCAMs come preset with a default ‘static’ IP
address of 192.168.100.99, if you wish to use DHCP, you will have to reset your camera to
DHCP to connect them immediately using the Wireless Cable.
To reset a PTZ model camera to DHCP (models PT12X-NDI-xx, PT20X-NDI-xx or
PT30X-NDI-xx, where ‘xx’ = color of camera), you can easily switch the camera from its
currently set (in this case default) manual IP addressing to automatic addressing
(DHCP). To do this, power up your camera, make sure your IR remote has batteries and
is able to control the camera (This may require you to press the “Camera Select” buttons
at the top, by default this should be “1”). To switch the camera’s addressing mode to
DHCP, press the sequence of 3 buttons (* # 4) on the remote while pointing at the
camera. You will now see the camera restart, moving its PTZ head to each of its limits.
When it has completed its dance, you are ready to go in DHCP mode.
Note: If you wish to return the camera to Static IP addressing use the IR remote
control and press the sequence of 3 buttons (* # MANUAL) returning the camera
to the default Static IP.
To reset a ZCAM model camera to DHCP (models PTVL-NDI-ZCAM, PT12X-ZCAM,
PT20X-NDI-ZCAM or PTEPTZ-NDI-ZCAM-G2), unfortunately there is no IR remote for
these cameras and you will have to use the PTZOptics ‘IP Address Setting Tool’ to
toggle between DHCP and Static IP addressing modes. This tool can be found for both
Windows and Mac Operating Systems in the second group of thumbnails on our
PTZOptics Downloads page https://ptzoptics.com/download/.
Plug the ZCAM network port into the same network that your PC or MAC is connected to
and plug the camera power supply into the camera and an AC power outlet (If you have
POE ethernet, you can skip the camera’s power supply ;-). Run the ‘IP Address Setting
Tool’ (upgrade.exe), that you just downloaded, on your PC. On the ‘Search’ Tab, press
the ‘Search’ button on the far right. The tool will locate ALL PTZOptics devices on your
PC’s network and show you the current settings for those cameras. You may have to
expand the columns with your mouse, depending upon your display resolution and
window scaling. The ‘DHCP’ column shows you whether the camera is currently set for
DHCP (true) or for a Static IP (false). The ‘IP Address’ column shows you the currently
set IP address that has been either set statically or that has been ‘leased’ to the camera
by your network’s DHCP server. If you have multiple PTZOptics cameras on the
network, you can find the camera, that you are trying to toggle the network mode on, by
checking the last 6 numbers in the MAC Address column (DC:ED:84:xx:xx:xx) and
comparing them to the label on the bottom of your camera. To toggle the addressing
mode to DHCP, right click on your ZCAM in the list and select ‘configure’. Change the
‘Mode’ dropdown selection from ‘Manual’ to ‘DHCP’ and then hit the ‘Set’ button, below.
You should then get a confirmation box that shows ‘Set Success’. You can press the
‘OK’ button to clear the message box and then exit the ‘IP Address Setting Tool’. If you
receive any other message besides ‘Set Success’, clear the message box, select the
‘Search’ tab again and click the ‘Search’ button again to repeat the process. Once you
succeed, your camera is now set for DHCP and will receive its IP address from your
network’s DHCP server.
Using a Static IP Network - If you already have a production network that is set up with a
192.168.100.xxx compatible subnet range, your PTZOptics camera is already to go. Just plug
one PT-WC-G1 into your network switch. Plug it into AC power and power it on. Plug the other
PT-WC-G1 into your camera’s IP port, plug both into AC power and power both on. Your
PTZOptics camera should now be connected to your network wirelessly for any NDI or other IP
video streaming. Please note that you will see a conflict if any existing devices on the network
already are assigned either 192.168.100.88 (if adding a PTZ cam) or 192.168.100.989 (if adding
a ZCam). However, if your existing network uses static IP addressing and is not currently
compatible with the 192.168.100.xxx subnet range, please see the instructions below.
To reset a PTZOptics camera to a new Static IP address, you can use the PTZOptics
‘IP Address Setting Tool’ to toggle between DHCP and Static IP addressing modes and
to set that IP address information. This tool can be found for both Windows and Mac
Operating Systems in the second group of thumbnails on our PTZOptics Downloads
page https://ptzoptics.com/download/.
Plug the camera’s network port into the same network that your PC or MAC is connected
to and plug the camera power supply into the camera and an AC power outlet (If you
have POE ethernet, you can skip the camera’s power supply ;-). Run the ‘IP Address
Setting Tool’ (upgrade.exe), that you just downloaded, on your PC. On the ‘Search’ Tab,
press the ‘Search’ button on the far right. The tool will locate ALL PTZOptics devices on
your PC’s network and show you the current settings for those cameras. You may have
to expand the columns with your mouse, depending upon your display resolution and
window scaling. The ‘DHCP’ column shows you whether the camera is currently set for
DHCP (true) or for a Static IP (false). The ‘IP Address’ column shows you the currently
set IP address that has been either set statically or that has been ‘leased’ to the camera
by your network’s DHCP server. If you have multiple PTZOptics cameras on the
network, you can find the camera, that you are trying to toggle the network mode on, by
checking the last 6 numbers in the MAC Address column (D4:E0:8E:xx:xx:xx) and
comparing them to the label on the bottom of your camera. To confirm or set the
addressing mode to ‘Static’, right click on your PTZOptics camera in the list and select
‘configure’. Confirm or change the ‘Mode’ dropdown selection to ‘Manual’. Enter the
desired network information for IP address, subnet mask and default gateway. Press the
‘Set’ button, below. You should then get a confirmation box that shows ‘Set Success’.
You can press the ‘OK’ button to clear the message box and then exit the ‘IP Address
Setting Tool’. If you receive any other message besides ‘Set Success’, clear the
message box, select the ‘Search’ tab again and click the ‘Search’ button again to repeat
the process. Once you succeed, your camera is now set for static addressing with the
info that you have input. After the camera reboots with the new IP settings, you can
repeat the ‘search’ process in the ‘IP Address Setting Tool’ to confirm your new settings.
Other Configurations - If you desire a different Wireless Cable and/or Camera setup, please
consult both the PT-WC-G1 Wireless Cable Users Manual and the specific Camera User
Manual directly. They can all be found in our resource library at
https://ptzoptics.com/resource-library/
Wireless Communications Tips:
This system uses Radio Frequency (RF) signals in the 5GHz frequency range. Since it uses
radio waves, it is subject to similar phenomenon to any cellular, FM, cordless phone or WiFi
signal. Direct line of sight, with fewest obstructions between the paired units will result in the
best performance. Obstructions that are particularly deft at ‘blocking’ your wireless signal
include: metal objects, masonry and stone walls, liquids, electronics and human or animal
bodies. Any reflecting or absorbing materials between the 2 units must have holes of at least
1.5cm in size to allow 5GHz signals to pass through (e.g. metal window screens can block
5GHz signals...and so can low-e and multi-pane window glass). Radio signals are also very
dependent upon antenna length. The antennae on your PT-WC-G1 are specifically tuned for the
wavelength that they use and should not normally be replaced with other antennae or with
cabled antenna extensions.
Here are a few simple examples
to help illustrate some of the ways
you can use the WirelessCable…
The WirelessCable connecting
one (1) PC
with one (1) camera
The WirelessCable connecting
one (1) PC
with two (2) cameras on a switch
The WirelessCable connecting
one (1) PC and two (2) cameras on a switch
with one (1) camera
The WirelessCable connecting
one (1) PC and one (1) cameras on a switch
with three (3) cameras on a switch
The WirelessCable connecting
one (1) PC and two (2) cameras on a switch
with one (1) PC and two (2) cameras on a
switch

Other manuals for PT-WC-G1

1

This manual suits for next models

10

Other PTZOptics Security Camera manuals

PTZOptics PT30X-SDI-GY-G2 User manual

PTZOptics

PTZOptics PT30X-SDI-GY-G2 User manual

PTZOptics PTEPTZ-ZCAM-G2 User manual

PTZOptics

PTZOptics PTEPTZ-ZCAM-G2 User manual

PTZOptics PT20X-NDI-GY User manual

PTZOptics

PTZOptics PT20X-NDI-GY User manual

PTZOptics PT12X-SE-GY-G3 User manual

PTZOptics

PTZOptics PT12X-SE-GY-G3 User manual

PTZOptics ZCAM G2 User manual

PTZOptics

PTZOptics ZCAM G2 User manual

PTZOptics Link PT12X-LINK-4K-GY User manual

PTZOptics

PTZOptics Link PT12X-LINK-4K-GY User manual

PTZOptics PT12X-NDI-GY-G2 User manual

PTZOptics

PTZOptics PT12X-NDI-GY-G2 User manual

PTZOptics PTEPTZ-NDI-ZCAM-G2 User manual

PTZOptics

PTZOptics PTEPTZ-NDI-ZCAM-G2 User manual

PTZOptics EPTZ-ZCAM-G2 User manual

PTZOptics

PTZOptics EPTZ-ZCAM-G2 User manual

PTZOptics PTVL-NDI-ZCAM User manual

PTZOptics

PTZOptics PTVL-NDI-ZCAM User manual

PTZOptics Move 4K User manual

PTZOptics

PTZOptics Move 4K User manual

PTZOptics PT20X-USB-GY-G2 User manual

PTZOptics

PTZOptics PT20X-USB-GY-G2 User manual

PTZOptics PT12X-NDI-GY User manual

PTZOptics

PTZOptics PT12X-NDI-GY User manual

PTZOptics PT12X-USB-GY-G2 User manual

PTZOptics

PTZOptics PT12X-USB-GY-G2 User manual

PTZOptics Move 4K User manual

PTZOptics

PTZOptics Move 4K User manual

PTZOptics PT12X-NDI-ZCAM User manual

PTZOptics

PTZOptics PT12X-NDI-ZCAM User manual

PTZOptics PT20X-USB-GY-G2 User manual

PTZOptics

PTZOptics PT20X-USB-GY-G2 User manual

PTZOptics PTZOptics 20x NDI HX ZCAM User manual

PTZOptics

PTZOptics PTZOptics 20x NDI HX ZCAM User manual

PTZOptics EPTZ NDI HX ZCAM G2 User manual

PTZOptics

PTZOptics EPTZ NDI HX ZCAM G2 User manual

PTZOptics Move PT12X-4K-GY User manual

PTZOptics

PTZOptics Move PT12X-4K-GY User manual

PTZOptics NDI HX ZCAM G2 User manual

PTZOptics

PTZOptics NDI HX ZCAM G2 User manual

PTZOptics PT12X-SDI-WH-G2 User manual

PTZOptics

PTZOptics PT12X-SDI-WH-G2 User manual

Popular Security Camera manuals by other brands

ICP DAS USA iCAM-721F user manual

ICP DAS USA

ICP DAS USA iCAM-721F user manual

Asoni CAM627M user manual

Asoni

Asoni CAM627M user manual

Digimerge DNP5220E Hardware manual

Digimerge

Digimerge DNP5220E Hardware manual

Axis M5000-G user manual

Axis

Axis M5000-G user manual

Vivotek FD8164 Technical specifications

Vivotek

Vivotek FD8164 Technical specifications

Axis P1365 Mk II user manual

Axis

Axis P1365 Mk II user manual

Commax 388027030 instruction manual

Commax

Commax 388027030 instruction manual

Amcrest IP8M-VD2893EW-AI user manual

Amcrest

Amcrest IP8M-VD2893EW-AI user manual

FLIR Ariel Gen II CC-3103 Quick install guide

FLIR

FLIR Ariel Gen II CC-3103 Quick install guide

Axis AXIS M-1004W user manual

Axis

Axis AXIS M-1004W user manual

switel COIP202B user manual

switel

switel COIP202B user manual

HIK VISION DS-2CD7133-E installation manual

HIK VISION

HIK VISION DS-2CD7133-E installation manual

ESP Fort ECSPCAM quick start guide

ESP

ESP Fort ECSPCAM quick start guide

Vivotek FD9369 user manual

Vivotek

Vivotek FD9369 user manual

Hawking Net-Vision HNC700PT Specification sheet

Hawking

Hawking Net-Vision HNC700PT Specification sheet

SVAT ISC203 Specifications

SVAT

SVAT ISC203 Specifications

Fortinet FortiCam 20A quick start guide

Fortinet

Fortinet FortiCam 20A quick start guide

Speco O4T9M quick start guide

Speco

Speco O4T9M quick start guide

manuals.online logo
manuals.online logoBrands
  • About & Mission
  • Contact us
  • Privacy Policy
  • Terms and Conditions

Copyright 2025 Manuals.Online. All Rights Reserved.