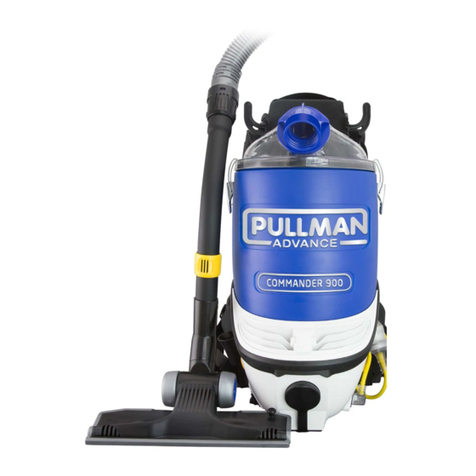
Pullman PV 14 User manual


2. Waist back pad adjustments
(see Fig. 10)
a) To unfasten hip belt pull Velcro flaps apart.
b) To tighten waist belt pull both flaps until firm tension is felt from the
supporting side elastic and make sure that the flap with the Velcro (right
side) is against the body. Then fasten the left side flap to the right side firmly.
10
N.B. Important
-
the unit is ergonomically correct when the
weight is distributed over the hips and not on the shoulders.
e) Now pull on the lower shoulder straps to make a final adjustment (see fig 11).
to shoulder pads so that the unit does not "pull" backwards but make sure no con-
tact is made with the upper back. (see fig 12)
Operating the Vac
A removable extension cable is supplied with this vacuum cleaner to allow ease of replacement for damaged ca-
bles. PLEASE make sure that you follow the instructions to properly fit this extension cable through the cable
protector fitted to the vacuum cleaner (see Cable sheet). Release cable ties from the extension cable and ensure
that the cable is not coiled when in use.
a) Plug in electric cable into a safe socket. To switch on, reach back with your left hand to the lower side of the
unit and flick the switch. (see fig. 13)
Remember to bend at the knees when plugging in the cord or when bending to pick something up.
b) Stand upright as much as possible, (see fig. 14) your arm on the
handle grip should be almost straight, this will ensure that your arm is more relaxed and the angle of the floor tool
to the floor will make it easier to push.
14
11
B
A
8
9
Fitting Unit to the Operators Back
The unit comes with straps fastened for ease of packing. There
are
three distinct types of support pads. 1. Contour shoulder pads; 2. Ad-
justable secondary shoulder pads; 3. Waist pads.
Before fitting the
unit become familiar with various adjustments for safe and comfort-
able operation.
1. Shoulder strap adjustments
(see Fig. 8)
a) Fitted to the shoulder pads (A) are the adjustable secondary pads
(B). These pads add extra comfort and support. The secondary pads
can be moved along the shoulder pad to suit your comfort.
a)
To loosen the shoulder pads tilt up strap lock and allow webbing to
slide. To tighten pull down on the bottom straps. (see Fig. 9)
Now that adjustments are understood proceed to fit unit for operation
a) Preferably lift the vac onto a table or countertop for ease of fitting.
b) Loosen the shoulder straps (do not detach) slide arms under straps
so that padding is over the shoulders. Make sure straps
do not
twist. Adjust secondary
pads to suit.
c) Sit the vac on your back so that the
Back Support
is
on top of the hips
into the lower back.
d) Tighten hip pad so that the unit is snug into the lower back on top of
the hips. This requires pulling so that the elastic is stretched to a comfortable position.
12
13

Remember this vacuum has powerful suction and can pull fine dust out
of a carpet that other vacs may not have been able to do. This can
mean that fine dust will coat the inside of the filter bag effecting the
vacuum performance. It could takeaweek or two to get all the fine dust
out of commercial carpets.
5. If fine dust, like talc, cement/plaster or clay is picked up
-
the filter bag will be clogged
and reduce the suction. Therefore gently brush clean the inside of the filter bag after use
with a soft brush. Alternatively, on commercial sites useaspare vacuum cleaner to vacuum
the bag. However for the best results in this type of environment fit a paper bag inside the
cloth filter bag.
6.
Never wash the filter bag.
7. After use detach hose from the lid and clean around the outside of the swivel cuff
-
this
can be done by tilting and rotating detached cuff at the
vacuum inlet with vac switchedon.
Check hose, tubes, floor tool and lid regularly for blockages.
8. When electric cord is
unplugged
check for any damage
-
especially cuts. If damaged replace cord. See below under servicing.
9. Store unit upright on its base or hang by the carry handle. Always store cable as in Fig. 15.
DO NOT
wrap cable around the machine or behind the vac between the body and the
carry handle.
MOTORISED POWER FLOOR BRUSH
This unit may be fitted with a receptacle for a motorised power floor brush. Most power
-
heads can be adapted to this receptacle. See your supplier to ensure that the proper plug
andhose fittings are used.
Servicing
Make sure this vacuum cleaner is serviced regularly. Frequency of service depends on use,
however carbon brushes must be checked the first time within 300 hours of use. Clean out or
replace internal foam insulation and replace cloth filter bag every 300 hours unless you are
using paper bags inside the cloth bag. Replace damaged cable with a 7.5 Amp2core cable.
Bag Support
Filter Bag
Maintenance and storage
1. Always empty the filter bag when full.
2. Make sure the bag support stand is in position at the bottom of the
canister under the filter bag (see Fig. 16).
N.B.
This support stand
must
always
be in position to maintain vacuuming performance. The secondary
filter disc must be on top of the bag support.
3. Check filter bag for holes or tears. Replace if torn or damaged.
Failure to do so could result in motor damage.
16
1. Flick off switch.
2. Unfasten Flaps on hip belt .
3. Loosen shoulder straps slightly. Slide pad off
one
shoulderand then off the other
shoulder
-
grabbing the handle or lower the unit onto a table.
4. Unplug electric cord and wind the cord
starting from the machine
end of cord
-
not the plug end.
This
will help prevent the cable from
twisting and causing premature failure. When the cable is wound, place over
the hook
on the carry handle
-
DO NOT
wrap cable around the machine or place between
the body and the carry handle. (
see fig. 15)
15
Removal of The Vac
WARNING
This vacuum cleaner is double insulated and is flame retardant for your safety and protection
.
However, a shock can occur if the electric cable is damaged. If the supply cable is damaged, it
must be replaced by the manufacturer or its agent or retailer to ensure the correct type of
approved cable is supplied in order to avoid a hazard.
DO NOT expose to rain and DO NOT pick up water or other liquids.
This appliance is not intended for use by persons (including children) with reduced
physical, sensory or mental capabilities, or lack of experience and knowledge, unless
they have been given supervision or instruction concerning use of the appliance by a
person responsible for their safety.
Children should be supervised to ensure they do not play with the appliance.

CAUTION: Make sure cable is secured to the Cable Protector.
DISPOSABLE PAPER FILTER BAGS
Although your vacuum cleaner is designed to be used without paper bags, there are some advantages to using them. This open end b
ag design
allows them to be re
-
used. If the paper bag is fitted with the ring supplied then it can be lifted
and emptied and fitted back into place. However the cloth bag must be in place. Unlike other paper bag designs this one can be
re
-
used as the
negative pressure is supported by the cloth bag.
1.
Using a paper bag allows ease of emptying and keeps the cloth bag clean and a clean bag helps vacuum performance.
2.
Using a paper filter bag also offers another stage of dust filtration.
3.
Packs of 10 are available from our dealers
—
part no. 20190
FITTING THE PAPER FILTER BAGS
Remove the Lid
Open the paper bag and fit inside the cloth filter bag. (see Fig. 17)
Then fit the paper bag ring inside the paper bag.
Gently rest the paper bag ring on the lip of the clothe filter bag. (see Fig. 18)
Gently fold the top of the paper bag inwards over the paper bag ring. (see Fig. 19)
17
18
19
REMOVING THE PAPER FILTER BAGS
Remove the Lid
Grab the paper bag with the paper bag ring. (see Fig. 20)
Hold over a rubbish bin and pull out the paper bag ring and
then dispose the paper bag. (see Fig. 21)
The paper bag can be re
-
used
a number of times
-
if to be
re
-
used then remove with the ring attached and shakeout the
dust by holding the ring in place then re
-
fit to the machine.
DO NOT THROW OUT THE PAPER BAG RING
-
IT IS TO BE RE
-
USED.
21
20

Table of contents
Other Pullman Vacuum Cleaner manuals
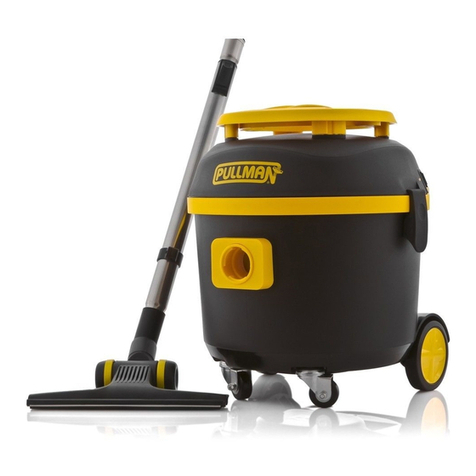
Pullman
Pullman PC4.0 User manual
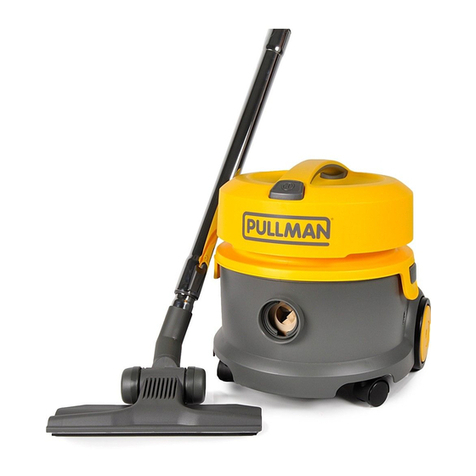
Pullman
Pullman PULL10LD User manual
Pullman
Pullman CB60 User manual
Pullman
Pullman LITHIUM 950 User manual
Pullman
Pullman A-031b User manual

Pullman
Pullman CB80 User manual
Pullman
Pullman WD30BV1 User manual
Pullman
Pullman WD20LSSO User manual

Pullman
Pullman PV500 User manual
Pullman
Pullman S20 User manual
