Pulsar Ultra S User manual

Ultra S IR
illuminator
Manual

Description
Attachable and interchangeable Pulsar Ultra-X850S/-X940SInfrared
Illuminators are designed for use with Digisight Ultra N450/ N455, Digisight
Ultra N450/N455 LRF digital riflescopes and other compatible Pulsar digital
devices.
The IR Illuminators provide additional infrared (IR) illumination during
observation with night vision devices in low light conditions (no moon, night,
thick cloud etc.) and ensure across the whole field of view.
The design of the illuminator provides the ability to adjust the position of the
light spot in the field of view.
Pulsar Ultra-X940S operates in an invisible range providing covert
observation.

Package Contents
IR illuminator
Pin protective cover
Carrying case
Operating manual

Specifications
X850S
Model X850S
SKU 79079
Type LED
Wavelength, nm 850
Lens diameter,
mm 28
Optical power of
IR illuminator, mW Up to 800
Beam divergence
angle, degrees 13
The possibility of
spot alignment in
the field of view Yes
Operating
temperature
range, °С (°F) -25 °С ...+50 (-13...+122)
Riflescope
compatibility
Digisight Ultra N450/N455, Digisight Ultra
N450/N455 LRF, Forward F455, Forward
FN455
Dimensions
(L/H/W), mm
inch
108/45/54 (51 without IR illuminator cover)
4.25/1.77/2.12 (2 without IR illuminator
cover)

Weight (with
battery), g (oz) 142 (5)

X940S
Model X850S
SKU 79199
Type LED
Wavelength, nm 940
Lens diameter,
mm 28
Optical power of
IR illuminator, mW Up to 700
Beam divergence
angle, degrees 13
The possibility of
spot alignment in
the field of view Yes
Operating
temperature
range, °С (°F) -25 °С ...+50 (-13...+122)
Riflescope
compatibility
Digisight Ultra N450/N455, Digisight Ultra
N450/N455 LRF, Forward F455, Forward
FN455
Dimensions
(L/H/W), mm
inch
108/45/54 (51 without IR illuminator cover)
4.25/1.77/2.12 (2 without IR illuminator
cover)
Weight (with
battery), g (oz) 142 (5)


Features
Pulsar Ultra-X850S/-X940S illuminators make it possible to:
identify the observed object;
see the selected object in detail;
increase the observation range;
adjust the power of the illuminator depending on the observation
conditions;
adjust the position of the light spot in the field of view.
Pulsar Ultra-X850S/-X940Silluminators have a high-power IR diode
providing a better observer-target range.

Installing the IR
Illuminator
1. If a standard IR illuminator is installed on the device, remove it
according to the operations manual.
2. If the device does not have an IR illuminator, turn the plug (6)
according to the image and pull it in the opposite direction from the
device/ batter (Digisight Ultra LRF digital riflescopes).
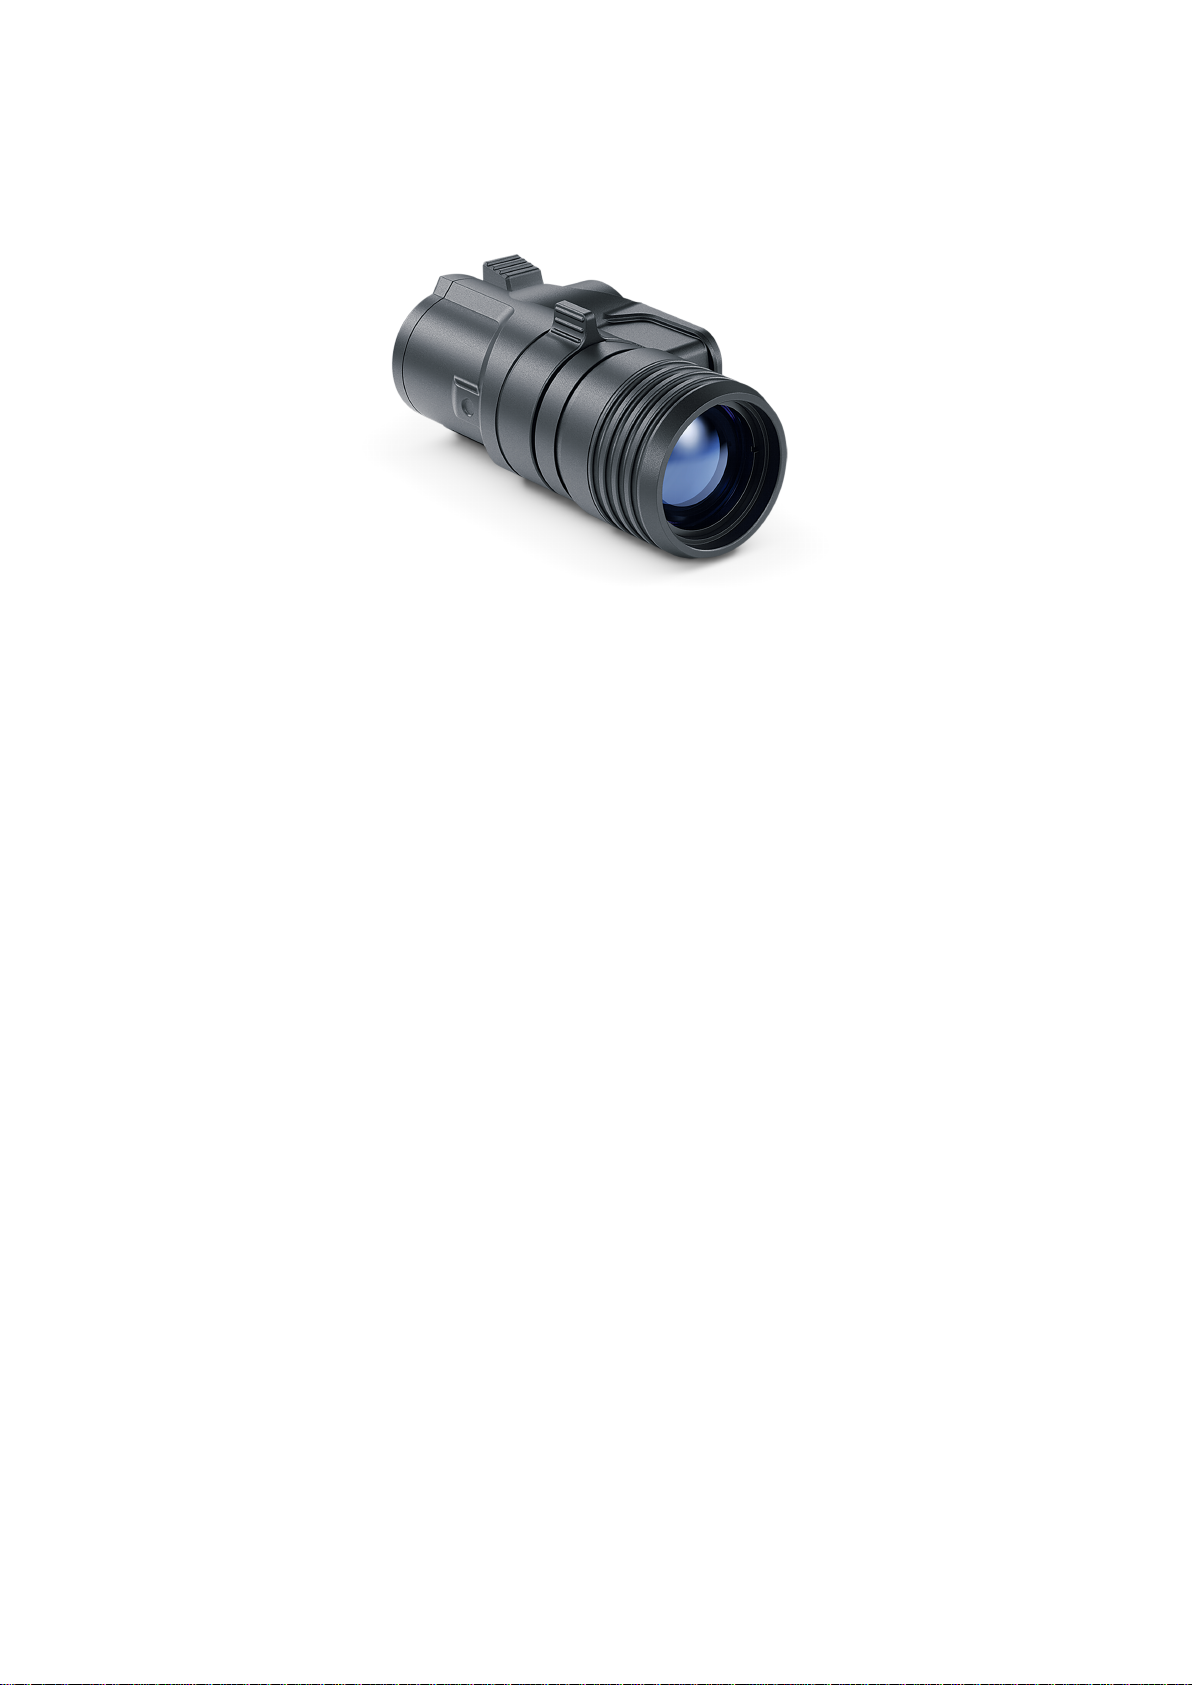
3. Remove the cover (1) of the quick-release IR illuminator.
4. To do this, lift up the lever (3) gently holding the illuminator cover for
the Digisight Ultra N450/N455 LRF digital riflescopes, Forward F455
attachments and Forward FN455 devices. For Digisight Ultra
N450/N455 digital riflescopes – pull down the lever (3).
5. Lift up the lever (3) of the IR illuminator.
6. Firmly attach the Pulsar Ultra-X850S/-X940S IR illuminator to the
connector (5) in the device or battery (Digisight Ultra LRF riflescope).
7. Pull down/lift up the lever (3) (depending on the model of the device)
to fix the IR illuminator on the device.

Powering on and
Adjusting the IR
Illuminator
1. Make sure that the illuminator is mounted and connected to the device.
To do this, turn on the device and check that there is no icon on the
display.
2. To turn on the IR illuminator, briefly press the ON/OFF (2) button on
the end of the illuminator. When turning on the power level is minimum
(
Image not found or type unknown
).
3.
To switch the power level (
Image not found or type unknown
,
Image not found or type unknown
or
Image not found or type unknown
), briefly press
the ON/OFF (2) button of the IR illuminator.
4. The IR illuminator icon showing the appropriate power level (
Image not found or type unknown
,

Image not found or type unknown
or
Image not found or type unknown
) is displayed in the status bar on the display of the
digital device.
5. To align the position of the light spot in the field of view, turn the lens
lock knob (4) of the IR illuminator to the OPEN position.
6. By rotating the lens of the IR illuminator, achieve the required position
of the light spot in the field of view. After successful adjustment, rotate
the lock knob towards the CLOSE while holding the lens in the desired
direction to lock the IR illuminator lens.
7. To turn off the illuminator, press and hold the ON/OFF (2) button on
the end of the illuminator.
Notes:
When the IR illuminator is turned off or removed, the power level is not
saved in the memory of the device.
The infrared illuminator is powered by the digital device.

Removing the IR
Illuminator
1. To remove the Pulsar Ultra-X850S/-X940S illuminator, lift up or
lower down the lever (3) (depending on the type of the device). Gently
pull the illuminator away from the device.
2. Mount the connector plug (6) of the IR illuminator on the digital device.
3. Mount the cover (1) on the IR illuminator. To do this, insert the cover
and lock it by lifting up the lever (3).
4. The status bar will show an icon of the disconnected IR Illuminator ( ).

Precautions
Keep water away from the device. This can disable it.
Independent alterations or repair of the illuminator are prohibited.
Contact the manufacturer for qualified support if any issues arise.

Maintenance
Clean the outer surface with a cloth slightly soaked in synthetic
detergent.
Flick the dust off the lenses with a soft brush.
If necessary, clean the lens with a soft cotton cloth moistened with ethyl
alcohol or special multi-layer lens liquid.
Condensation may form on optical surfaces when moving the illuminator
from cold to warm. It is a common occurrence and the condensate
should disappear within an hour.

Troubleshooting
The illuminator is not working
Possible cause
No contact with the device.
Solution
Make sure that the illuminator is firmly fixed on the device.
Check that the floating contacts of the illuminator and the device are
not become jammed.
Uneven light emission of IR spot
Possible cause
Dirty lens.
Solution
Clean the lens as described in the Maintenance section.

Legal Compliances and
Disclaimers
This product is subject to change in line with improvements to its design.
The device repair is possible within five years.
This manual suits for next models
2
Table of contents
Other Pulsar Lighting Equipment manuals
Popular Lighting Equipment manuals by other brands

Ansult
Ansult 422-576 User instructions

Recom
Recom RACT25 Installation and operating instructions

ONFORU
ONFORU CTB48RGBU product manual

SloanLED
SloanLED BendLUX 701960-6WS241 installation guide

Skil
Skil LH552301 owner's manual

Whelen Engineering Company
Whelen Engineering Company CSH-250 installation guide