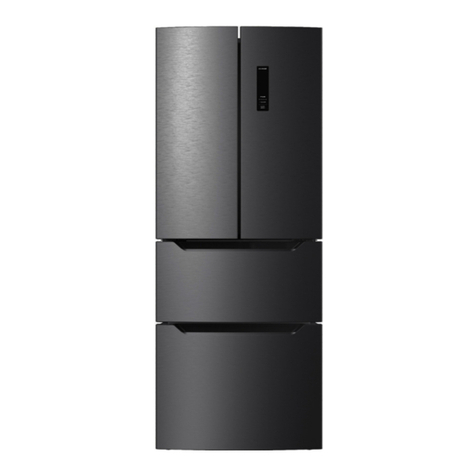
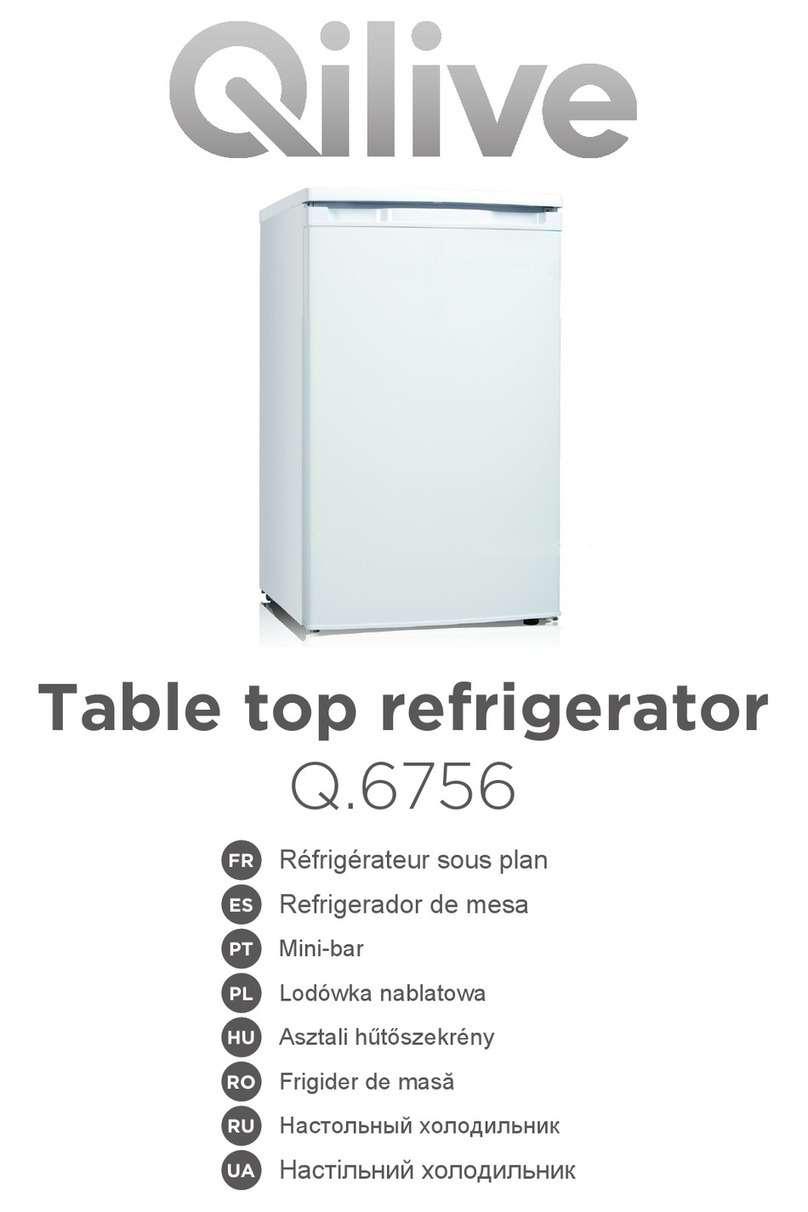
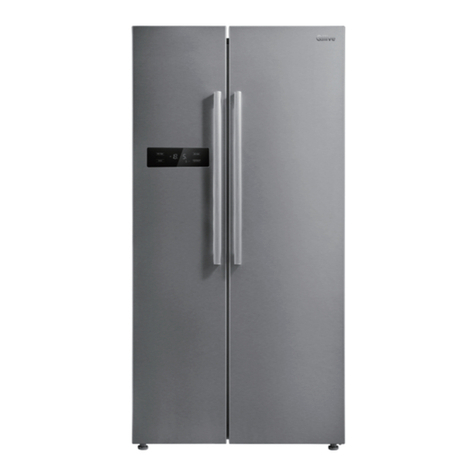
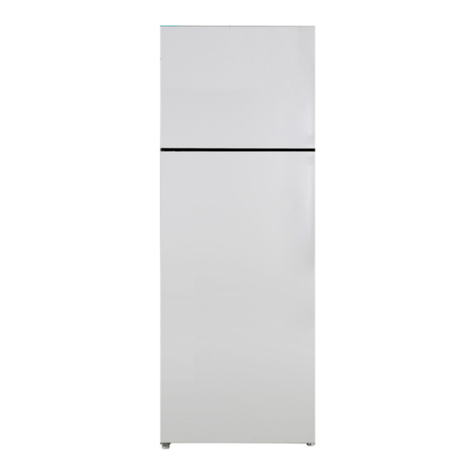
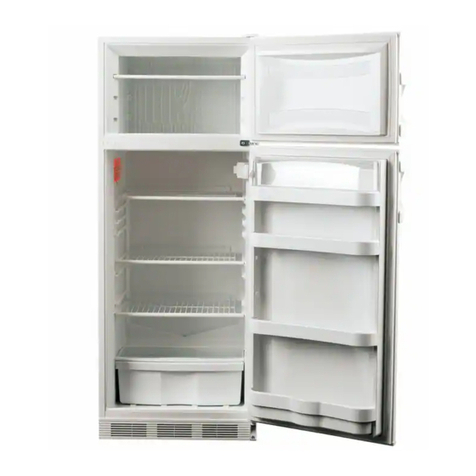
Qilive Q.6364 User manual

2 Doors refrigerator
Q.6364
FR Réfrigérateur 2 portes
ES Refrigerador de 2 puertas
PT Frigoríco de 2 portas, capacidade
PL Chłodziarka 2-drzwiowa
HU Kétajtós hűtőszekrény
RO Frigider cu 2 uși
RU Двухдверный холодильник емкостью
UA 2-дверний холодильник

EN
FRFR
ESES
PTPT
PLPL
HUHU
RURU
RORO
UAUA
User manual P. 6
Manuel d’utilisation P. 18
Manual del usuario P. 31
Manual do utilizador P. 45
Instrukcja użytkownika S. 58
Használati útmutató 71. o.
Manual de utilizare P. 84
Руководство пользователя C. 97
Посібник користувача C. 111

EN
1
2
3
4
5
6
7
FR
ES
PT
PL
HU
RU
RO
UA

EN
1 2 3
4 5 6
78
910 11
FRFR
ESES
PT
PL
HU
RU
RO
PT
PL
HU
RU
RO
UAUA

EN
13 14
5
7
15 16 17
12
18 19
FR
ES
PT
PL
HU
RU
RO
UA
Optional
Optional
6

6
EN
1. SAFETY INFORMATION
Before using this electrical appliance, read the instructions
below and keep these instructions for future reference:
1. This appliance can be used by children aged from
8 years and above and persons with reduce physical,
sensory or mental capabilities or lack of experience
and knowledge if they have been given supervision
or instruction concerning the use of the appliance in
a safe way and understand the hazards involved.
2. Children shall not play with the appliance.
3. Cleaning and user maintenance shall not be made
by children without supervision.
4. This appliance is intended to be used in household
and similar applications such as
- staff kitchen areas in shops, ofces and other
working environments;
- farm houses and by clients in hotels, motels and
other residential type environments;
- bed and breakfast type environments;
- catering and similar non-retail applications.
5. This product is a household refrigerator and shall be
only suitable for the storage of food and beverage.
According to national standards, household
refrigerators shall not be used for other purposes,
such as storage of blood, drugs or biological products.
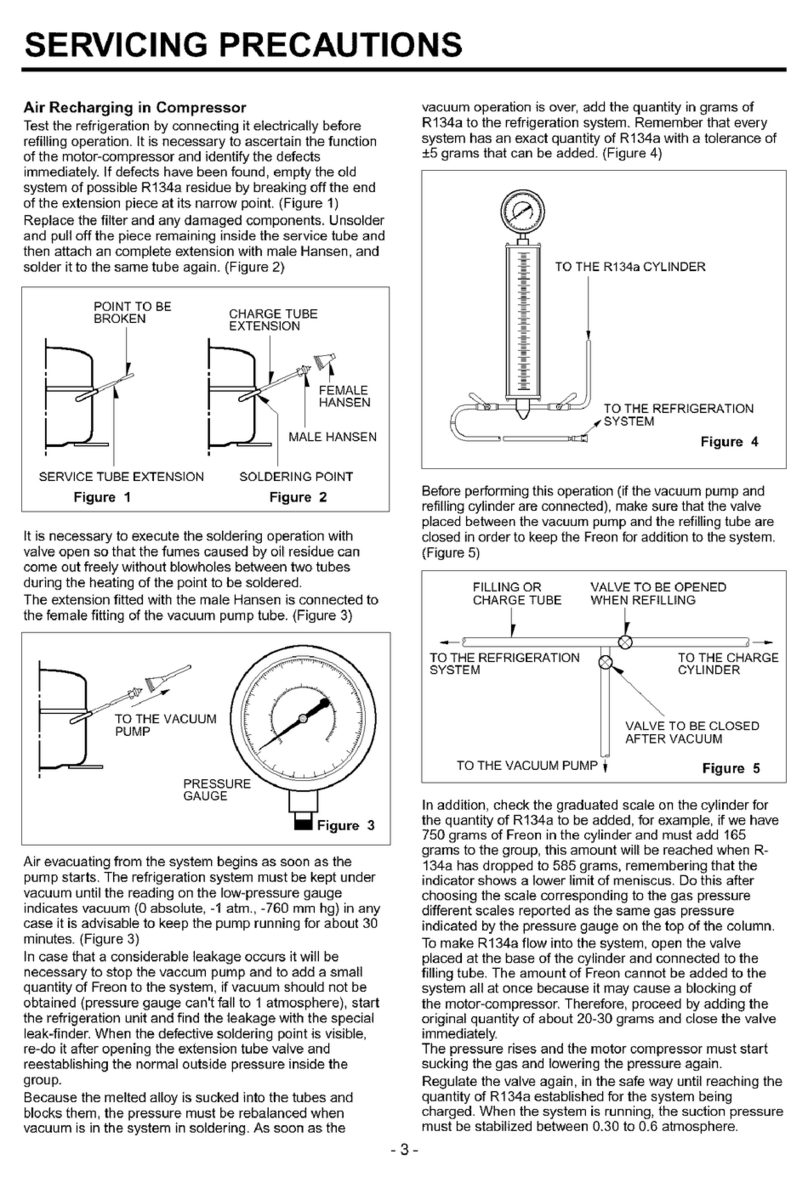
TABLE OF CONTENTS:
1. SAFETY INFORMATION P. 6
2. TECHNICAL DATA P. 10
3. DESCRIPTION P. 10
4. INSTALLATION P. 10
5. USE P. 12
6. MAINTENANCE AND CLEANING P. 14
7. TROUBLESHOOTING P. 16
8. WARRANTY AND LIMITATIONS OF LIABILITY P. 17

7
EN
6. Warning: When positioning the appliance, ensure
the supply cord is not trapped or damaged.
7. The appliance cannot be built into furniture, wall or
similar locations.
8. Before connecting the appliance to an electrical outlet,
make sure that the local power supply corresponds
to that indicated on the rating label afxed to the
appliance.
9. A special plug is installed to the power cable of
your appliance. This plug must be plugged into a
grounded wall outlet with at least 16 A. If you should
not have such a wall outlet, have it installed by a
qualied electrician.
10. Warning – Do not damage the refrigerant circuit.
11. The refrigerant gas R600a that is contained in the
refrigerator is a natural gas. It is not harmful to
the environment, but combustible. It is therefore
important to transport and install your refrigerator
carefully so as not to damage the refrigerant ducts.
In the event of a gas leak, avoid contact with nearby
ames or res and ventilate the room.
12. Risk of electric shock! Do not try to repair the
appliance yourself. In case of malfunction, repairs
must be carried out by qualied personnel.
13. If the supply cord is damaged, it must be replaced
by the manufacturer, its service agent or similarly
qualied persons in order to avoid a hazard.
14. Warning – Keep ventilation openings, in the
appliance enclosure or in the built-in structure, clear
of obstruction.
15. Warning – Do not use mechanical devices or other
means to accelerate the defrosting process, other
than those recommended by the manufacturer.
16. Warning – Do not use electrical appliances inside
the food storage compartments of the appliance,
unless they are of the type recommended by the
manufacturer.

8
EN 17. Do not store explosive substances such as aerosol
cans with a ammable propellant in this appliance.
18. Do not put ammable, explosive, volatile and highly
corrosive items in the refrigerator to prevent damages
to the product or re accidents.
19. Do not place ammable items near the refrigerator
to avoid res.
20. Do not place items such as bottled or sealed container
of uid such as bottled beers and beverages in the
freezer compartment to prevent bursts and other
losses.
21. The appliance has to be unplugged after use and
before carrying out user maintenance on the
appliance.
22. Tips for cleaning the appliance can be found in the
“MAINTENANCE AND CLEANING” chapter.
23. This marking indicates that this product should
not be disposed with other household wastes
throughout the EU. To prevent possible harm
to the environment or human health from
uncontrolled waste disposal, recycle it responsibly to
promote the sustainable reuse of material resources.
To return your used device, please use the return
and collection systems or contact the retailer where
the product was purchased. They can take this
product for environmental safe recycling.
24. Dispose of the appliance according to local regulations
as it uses ammable blowing gas and refrigerant.
25. Before scrapping the appliance, remove the doors to
prevent children from becoming trapped.
26. Risk of suffocation! Keep all packaging materials out
of the reach of children and babies!
27. Recycle packaging materials in accordance with
regulations. Ask your local authorities where collection
centres or waste disposal centres are located.
28. To avoid contamination of food, please respect the
following instructions:

9
EN
- Opening the door for long periods can cause
a signicant increase of the temperature in the
compartments of the appliance.
- Clean regularly surfaces that can come in contact
with food and accessible drainage systems.
- Clean water tanks if they have not been used for
48 h; ush the water system connected to a water
supply if water has not been drawn for 5 days.
- Store raw meat and sh in suitable containers in
the refrigerator, so that it is not in contact with or
drip onto other food.
- Two-star frozen-food compartments are suitable
for storing pre-frozen food, storing or making ice
cream and making ice cubes.
- One-, two- and three-star compartments are not
suitable for the freezing of fresh food.
- If the refrigerating appliance is left empty for long
periods, switch off, defrost, clean, dry, and leave
the door open to prevent mould developing within
the appliance.
29. Children aged from 3 to 8 years are allowed to load
and unload refrigerating appliances.
30. WARNING: Do not locate multiple portable
socket-outlets or portable power supplies at the rear
of the appliance.
This symbol shows that this appliance used a
ammable refrigerant. If the refrigerant is leaked
and exposed to an external ignition source, there
is a risk of re.
This symbol indicates the coldest part of the
appliance. It denes the highest level of this zone.
WARNING: ll with potable water only.

10
EN 2. TECHNICAL DATA
Brand name Qilive
Model number 154597 / DF2-34B-2
Protection class Class I
Power supply 220 - 240 V~, 50 Hz
Power consumption 186 kWh/y
Exterior dimensions (H x L x W) 170.1 x 57.7 × 64.5 cm
Net weight 46 kg
3. DESCRIPTION
1. Racks in door
2. Levelling foot
3. Crisper
4. Crisper cover
5. Glass shelves
6. Thermostat and light
7. Freezer shelf
4. INSTALLATION
Warning!
Disconnect the appliance from the wall outlet before you install the appliance.
4.1 Unpack all parts.
After unpacking, check for completeness of delivery and for shipping damage. If your
delivery is damaged or incomplete, please contact our after-sales service.
4.2 Choose an appropriate location
Warning!
Position the appliance so that it is not exposed to direct sunlight. This appliance
should not be used outdoors or exposed to rain.
Warning!
The appliance must be separated by a distance of at least 50 cm from heat sources
(such as stoves, ovens, radiators, etc.) and at least 5 cm from electric ovens.
Warning!
Install the appliance in a place where the power plug is easily accessible for
power disconnection.
1. Place the appliance in a well ventilated room on a dry, stable and level surface, away
from direct sunlight and other heat sources.
2. Ensure sufcient air circulation at the rear of the appliance. Do not place the
appliance against a wall to avoid noise caused by vibration. Make sure that the air
can still circulate freely around the appliance. Insufcient ventilation would result in
malfunction and increased energy consumption. Leave a space of at least 10 cm
between the appliance and the wall, and at least 30 cm between the top of the
appliance and the ceiling.
3. Leave enough space to access and open the door easily. If necessary, change the
direction of door opening as described below.

11
EN
4.3 Level feet
If the appliance tilts in some way, adjust the height of the left/right foot (2) of the appliance
to be in a horizontal level ( Fig. 14).
Turn the foot (2) clockwise or counter clockwise to adjust the height.
Note: If the appliance is not level, the door and the door seal will not be closed properly.
4.4 Reverse door
Ensure the appliance is unplugged and empty. To take the door off, it is necessary to tilt
the appliance backwards. You should rest the appliance on something solid so that it will
not slip during the door reversing process. All parts removed must be saved to do the
reinstallation of the door. Do not lay the appliance at as this may damage the coolant
system. It is better that 2 people handle the appliance during assembly.
1. Remove two screws at the rear of the top cover ( Fig. 1).
2. Remove the top cover and place it aside ( Fig. 2).
3. Unscrew the top hinge and then remove the upper door. Place it on a soft pad to
avoid scratches ( Fig. 3).
4. Unscrew the middle hinge and then lift the lower door to remove it. Place it on a soft
pad to avoid scratches ( Fig. 4).
5. Move the hinge hole covers from the left side to the right side ( Fig. 5).
6. Unscrew and remove the bottom hinge. Then remove the adjustable feet from both
sides ( Fig. 6).
7. Unscrew and remove the bottom hinge pin and, turn the bracket over and replace it
( Fig. 7a and Fig. 7b).
8. Ret the bracket tting and the bottom hinge pin. Replace both adjustable feet
( Fig. 8).
9. Reverse the middle pin 180° and replace it in the left position in the upper hole of the
lower door. Then tighten the screws ( Fig. 9).
10. Place the upper door back on. Ensure the door is aligned horizontally and vertically
so that the seals are closed on all sides before nally tightening the top hinge
( Fig. 10).
11. Replace the top cover and x it with 2 screws on the back ( Fig. 11).
12. Use a spanner to tighten it if necessary.
4.5 Install door handle
Fig. 12.
4.6 Rear spacer
Screw the rear spacers at the rear of the unit ( Fig. 13).
4.7 Positioning
Install this appliance at a location where the ambient temperature corresponds to the
climate class indicated on the rating plate of the appliance. This ensures the correct
operation of the appliance.
Climate class Ambient temperature
SN +10°C to +32°C
N +16°C to +32°C
ST +16°C to +38°C
T+16°C to +43°C

12
EN 4.8 Electrical connection
Before plugging in, ensure that the voltage and frequency shown on the rating plate
correspond to your domestic power supply. The appliance must be earthed. The power
supply cable plug is provided with a contact for this purpose. If the domestic power
supply socket is not earthed, connect the appliance to a separate earth in compliance
with current regulations, consulting a qualied electrician.
The manufacturer declines all responsibility if the above safety precautions are not
observed.
5. USE
5.1 First use
Before using the appliance for the rst time, wash the interior and all internal accessories
with lukewarm water and some neutral soap so as to remove the typical smell of a brand
new product, then dry thoroughly.
Important!
• Do not use detergents or abrasive powders, as these will damage the nish.
• After transport, unpacking and installation, let the appliance rest at least 2 hours in
vertical position before connecting to the power supply.
• Let the appliance run for at least 2 hours before inserting fresh or frozen foods.
5.2 Temperature Setting
Connect your appliance to mains power. The internal temperature is controlled by a
thermostat (6) with 8 settings. 1 is warmest setting, 7 is coldest setting and 0 is off
( Fig. 15).
The appliance may not operate at the correct temperature if it is in a particularly hot
position, if you open the door very often or leave it standing open.
5.3 Freezing fresh food
The freezer compartment is suitable for freezing fresh food and storing frozen and
deep-frozen food for a long time.
Place the fresh food to be frozen in the freezer compartment.
The maximum amount of food that can be frozen in 24 hours is specied on the rating
plate of the appliance.
The freezing process lasts 24 hours: during this period do not add other food to be frozen.
5.4 Storing frozen food
When rst starting-up or after a period out of use, before putting the product in the
compartment let the appliance run at least 2 hours on a higher setting.
WARNING: In the event of accidental defrosting, for example the power has been off
for longer than the temperature rise time shown on the rating plate of the appliance, the
defrosted food must be consumed quickly or cooked immediately and then re-frozen
(after being cooked).
5.5 Thawing food
Frozen food can be thawed in the refrigerator compartment or at room temperature before
being cooked, depending on your needs. Follow the food manufacturer’s instructions on
the packaging.
WARNING: Thawed foods cannot be re-frozen. Consume quickly.
5.6 Ice cubes
This appliance may be equipped with one or more ice cube makers to produce ice cubes.

13
EN
5.7 Accessories
The walls of the refrigerator are equipped with a series of runners so that the shelves (5)
can be positioned as desired ( Fig. 16).
5.8 Positioning the door racks
To permit storage of food packages of various sizes, the door racks (1) can be placed
at different heights. To make these adjustments proceed as follows: gradually pull the
door rack in the direction of the arrows until it comes free, then reposition as required
( Fig. 17).
5.9 Hints and tips for freezing and storing frozen food
To obtain the best performance, observe the followings.
• The maximum quantity of food which can be frozen in 24 hours is shown on the rating
plate of the appliance.
• The freezing process takes 24 hours. No further food to be frozen should be added
during this period;
• Only freeze top quality, fresh and thoroughly cleaned, foodstuffs;
• Prepare food in small portions to enable it to be rapidly and completely frozen and to
make it possible subsequently to thaw only the quantity required;
• Wrap up the food in tin foil or polythene and make sure that the packages are airtight;
• Do not allow fresh, unfrozen food to touch food which is already frozen, thus avoiding
a rise in temperature of the latter.
• Lean foods store better and longer than fatty ones; salt reduces the storage life of
food;
• Water ices, if consumed immediately after removal from the freezer compartment,
can possibly cause the skin to be freeze burnt.
• It is advisable to show the freezing in date on each individual pack to enable you to
keep tab of the storage time.
• Be sure that frozen foodstuffs are transferred from the food store to the freezer in the
shortest possible time.
• Do not open the door frequently or leave it open longer than absolutely necessary.
Once defrosted, food deteriorates rapidly and cannot be re-frozen.
• Do not exceed the storage period indicated by the food manufacturer.
• Do not store bottled drink in the freezer compartment to prevent burst or other losses.
5.10 Hints for fresh food refrigeration
To obtain the best performance, observe the followings.
• Do not store warm food or evaporating liquids in the refrigerator.
• Cover or wrap the food, particularly if it has a strong avour. Wrap in polythene bags
and place on the glass shelves above the vegetable drawer.
• For safety, store in this way only one or two days at the most.
• Cooked foods, cold dishes should be covered and may be placed on any shelf.
• Fruit and vegetables should be thoroughly cleaned and placed in the special drawer
(crisper) provided.
• Butter and cheese should be placed in special airtight containers or wrapped in tin foil
or polythene bags to exclude as much air as possible.
• Milk bottles should have a cap and should be stored in the door racks.
• Bananas, potatoes, onions and garlic, if not packed, must not be kept in the fridge.

14
EN 6. MAINTENANCE AND CLEANING
For hygienic reasons, the appliance interior (including interior
accessories) should be cleaned regularly.
Caution! Always disconnect the mains plug from the wall
outlet before cleaning.
Important! Never use detergent, solvents/abrasive products, sharp
objects or wire brushes for cleaning, as this will damage the nish.
6.1 Cleaning
1. Remove all interior accessories (e.g. shelves and drawers)
from the compartment of the appliance. Clean them with
lukewarm water and some neutral soap. Rinse with water and
dry thoroughly.
2. Wipe the inside of the appliance with a damp cloth and some
neutral soapy water. Wipe with a warm damp cloth and then
dry thoroughly before replacing the accessories inside the
appliance.
3. Wipe the outside of the appliance with a soft dry cloth. Never
use solvents.
• Regularly check the door seals and wipe clean to ensure they
are free from debris.
• Dust off the back of the appliance regularly. This will improve the
performance of the appliance and save electricity consumption.
• To avoid defrost water overowing into the appliance, periodically
clean the drain hole at the back of the appliance compartment
( Fig. 18).
6.2 Defrosting
Due to seasonal changes, a thick layer of frost may form. To
defrost manually, unplug the appliance from the power supply,
then remove excess frost with a dry cloth.
Defrosting regularly helps to lower the energy consumption of the
appliance.
6.3 Lamp
This product contains a lamp. In the event of a fault, contact a
qualied technician to inspect and/ or replace the lamp.
Before replacing the lamp, disconnect the appliance from mains
power supply. The lamp specication is listed on the rating label of
the appliance.

15
EN
1. Set the thermostat to “0” position to switch the appliance off
( Fig. 15).
2. Unplug the appliance to make sure the appliance is disconnected
from mains power supply.
3. Remove the screw of the lamp cover ( Fig. 19).
4. Remove the lamp cover.
5. Unscrew the lamp.
6. Fit the new lamp and replace the lamp cover and screw.
7. Reconnect the appliance to mains power supply and set the
thermostat again.
6.4 Transportation
Caution! Do not place the appliance upside down or
sideways. During transportation, the appliance inclination
must not exceed 45°.
• Do not lift the appliance by holding the top edges of the appliance.
Hold the appliance by its base or sides.
• Before moving the appliance, remove all food and secure the
components properly.
• Tape the door to secure them.
• Tape the power cord to the side of the appliance to prevent
damage during transportation.
6.5 Storage
• If the appliance is not used for an extended period, unplug it
from the power supply, remove all food and clean the appliance.
• During storage, leave the door slightly open to prevent the
formation of unpleasant odours.

16
EN 7. TROUBLESHOOTING
Warning!
Refer to the Safety section.
If the malfunction persists, contact an authorised service centre or a similarly
qualied specialist.
Problem Possible cause Solution
Appliance does not
operate. Not connected to power
supply. Plug the appliance into a suitable
power outlet.
Blown or defective fuse. Check fuse and replace it if
necessary.
Defective power cord or
plug. Check and repair by a qualied
electrician.
Appliance freezes
or cools too much. Inappropriate temperature
settings Adjust the temperature to a lower
setting.
Appliance does
not freeze or cool
enough.
Inappropriate temperature
settings Adjust the temperature to a
higher setting.
Large quantity of hot/
warm food placed in the
appliance
Allow food to cool down before
placing it in the appliance.
Heat source placed near
the appliance Move the heat source further
from the appliance.
Door opened for an
extended period of time. Close the door as soon as possible.
Ensure the door is properly closed.
Appliance emits
loud noises. Appliance not level Adjust feet to level the appliance.
Appliance touching a wall
or furniture. Move the appliance and leave
enough free space around it.
Odorous food not
wrapped Closely wrap the odorous food.
Appliance has
peculiar smell. Food spoiled Remove the spoiled food.
Interior not clean Clean the interior.

17
EN
8. WARRANTY AND LIMITATIONS OF LIABILITY
This product is guaranteed for a period of 36 months (dened by local law, as per the
period on the receipt) from the date of purchase against any failures resulting from
manufacturing or material defects.
This warranty does not cover damage caused by improper installation, improper use, or
normal wear and tear of the product.
More specically, the warranty does not cover:
- Damage or problems caused by improper use, accident, alteration or electrical
connection of improper intensity or voltage.
- Modied products, those whose warranty seal or serial number have been damaged,
altered, removed or oxidised.
- Replaceable batteries and accessories are guaranteed for a period of 6 months.
- Battery failure, due to overcharging or failure to comply with the safety instructions
in the manual.
- Cosmetic damage, including scratches, dents, or any other element.
- Damage caused by any intervention carried out by an unauthorised person.
- Defects caused by normal wear and tear or due to normal ageing of the product.
- Software updates due to a change in network settings.
- Product failures due to the use of third party software to modify, change or adapt the
existing software.
- Product failures caused by use without accessories approved by the manufacturer.
- Oxidised products.
Under no circumstances can the manufacturer be held responsible for the loss of data
stored on the disk. Similarly, the manufacturer is not required to verify that the SIM/SD
cards are removed from the returned products.
Repaired or replaced products may include new and/or reconditioned components and
equipment.
TERMS AND CONDITIONS OF IMPLEMENTATION
To obtain a warranty service, you are requested to return your product to the customer
service desk of your retail outlet with your proof of purchase (receipt, invoice, …), the
product and its supplied accessories, with its original packaging.
It is important to have the date of purchase, the model and the serial or IMEI number on
hand as information (this information usually appears on the product, the packaging or
your proof of purchase).
Failing this, you must return the product with the accessories necessary for its proper
operation (power supply, adaptor, etc.).
In the event that your claim is covered by the warranty, the after-sales service may, within
the limits of local law, either:
- Repair or replace defective parts.
- Exchange the returned product with a product that has at least the same functionality
and that is equivalent in terms of performance.
- Refund the product at the purchase price of the product mentioned on the proof of
purchase.
If one of these 3 solutions is made use of, this does not extend or renew the warranty
period.

18
FRFR
1. CONSIGNES DE SÉCURITÉ
Avantd’utilisercetappareilélectrique,lisezlesinstructions
ci-dessous et conservez le mode d’emploi pour un usage
ultérieur :
1. Cet appareil peut être utilisé par des enfants âgés de
8 ans et plus ainsi que par des personnes dont les
capacités physiques, sensorielles et mentales sont
réduites, ou des personnes dénuées d’expérience
ou de connaissance, si ceux-ci ont bénécié d’une
surveillance ou d’instructions préalables concernant
l’utilisation de l’appareil en toute sécurité et
comprennent les dangers encourus.
2. Les enfants ne doivent pas prendre cet appareil pour
un jouet.
3. Lenettoyageetl’entretienusuelparl’utilisateurnedoivent
pas être effectués par des enfants sans surveillance.
4. Cet appareil est destiné à un usage domestique et
pour des applications similaires telles que :
- coincuisinedédié aux employés dans une boutique,
un bureau et tout autre environnement de travail ;
- dans des fermes, par les clients d’hôtels, motels et
autres endroits résidentiels ;
- environnements de type bed-and-breakfast ;
- restauration et autres applications excluant la
vente au détail.
SOMMAIRE :
1. CONSIGNES DE SÉCURITÉ P. 18
2. CARACTÉRISTIQUES TECHNIQUES P. 23
3. DESCRIPTION P. 23
4. INSTALLATION P. 23
5. UTILISATION P. 25
6. ENTRETIEN ET NETTOYAGE P. 27
7. DÉPANNAGE P. 29
8. GARANTIE ET LIMITES DE RESPONSABILITÉ P. 30

19
FR
5. Cet appareil électroménager est un réfrigérateur et doit
uniquement être utilisé pour conserver des aliments
et des boissons. D'après les normes nationales, les
réfrigérateurs à usage domestique ne doivent pas être
utilisés à d'autres ns, comme le stockage de sang,
de médicaments ou de produits biologiques.
6. Mise en garde : Lorsque vous placez l'appareil,
assurez-vous que le câble d'alimentation n'est pas
coincé ou endommagé.
7. Il ne peut être encastré dans un meuble, un mur ou
similaire.
8. Avant de brancher l'appareil à une prise secteur,
assurez-vous que l'alimentation électrique locale
correspondàcelleindiquéesurl'étiquettesignalétique
collée à l'appareil.
9. Une che spéciale est installée sur le câble
d'alimentation de votre appareil. Cette che doit être
branchée dans une prise murale mise à la terre d'au
moins 16 A. Si vous ne disposez pas d'une telle prise
murale, faites-la installer par un électricien qualié.
10. Mise en garde – N'endommagez pas le circuit de
refroidissement.
11. Le gaz frigorigène R600a contenu dans le
réfrigérateur est un gaz naturel. Il n'est pas néfaste
pour l'environnement, mais il est inammable.
Par conséquent, il est important de transporter et
d'installer votre réfrigérateur avec précaution, an
de ne pas endommager les conduits réfrigérants.
En cas de fuite de gaz, évitez tout contact avec des
ammes ou feux proches, et aérez la pièce.
12. Risque d'électrocution ! N’essayez pas de réparer
vous-même l’appareil. En cas de dysfonctionnement,
l’appareil doit être réparé par un professionnel
qualié.
13. Si le cordon est endommagé, il doit être remplacé par
le fabricant, son agent d’entretien ou une personne
qualiée pour éviter tout danger.

20
FRFR
14. Mise en garde – les ouvertures d'aération doivent
rester exemptes de toute obstruction, à l'intérieur ou
à l'extérieur de l'appareil.
15. Mise en garde ― n'utilisez pas de dispositifs mécaniques
ou d'autres moyens pour accélérer le processus de
dégivrage, autres que ceux conseillés par le fabricant.
16. Mise en garde – n'utilisez pas d'appareils électriques
à l'intérieur des compartiments dédiés au stockage
des aliments, sauf s'ils font partie de ceux conseillés
par le fabricant.
17. Ne stockez pas de substances explosives comme
des bombes aérosol contenant du gaz inammable
dans cet appareil.
18. Ne placez pas d'objets inammables, explosifs,
volatiles ou hautement corrosifs dans le
réfrigérateur, pour prévenir tout risque d'incendie ou
d'endommagement du produit.
19. Ne placez pas d'objet inammable à proximité du
réfrigérateur, pour éviter les incendies.
20. Nemettezpasdebouteillesouderécipientscontenantdes
boissons gazeuses dans le compartiment congélateur,
car ils risqueraient d’éclater et d’endommager l’appareil.
21. L'appareil doit être débranché après utilisation et avant
d'effectuer toute opération d'entretien sur l'appareil.
22. Voustrouverezdesconseilspourlenettoyagedel'appareil
dans le chapitre « ENTRETIEN ET NETTOYAGE ».
23. Ce symbole indique que ce produit ne doit
pasêtrejetéaveclesautresorduresménagères
au sein de l’UE. Par mesure de prévention
pour l’environnement et pour la santé humaine,
veuillez le recycler de façon responsable,
conformément au principe de réutilisation des
ressources matérielles. Pour renvoyer votre ancien
appareil, veuillez utiliser les systèmes de renvoi et
de collecte ou contacter le revendeur auprès duquel
vous avez acheté le produit. Ils pourront procéder au
recyclage de ce produit en toute sécurité.
Table of contents
Languages:
Other Qilive Refrigerator manuals

Qilive
Qilive Q6663 User manual

Qilive
Qilive Q.6252 User manual

Qilive
Qilive Q.6597 User manual

Qilive
Qilive Q6663 User manual

Qilive
Qilive Q.6623 User manual

Qilive
Qilive Q.6252 User manual

Qilive
Qilive Q.6950 User manual

Qilive
Qilive Q.6916 User manual

Qilive
Qilive Q.6756 User manual

Qilive
Qilive Q.6756 User manual