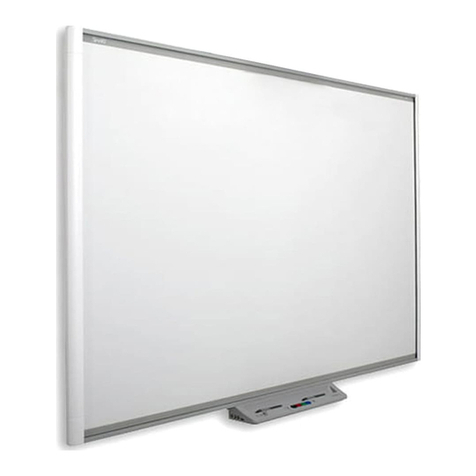
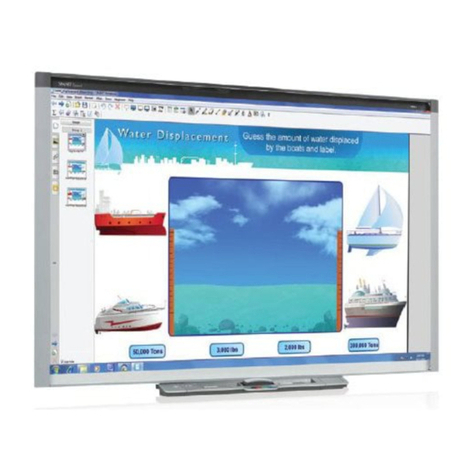
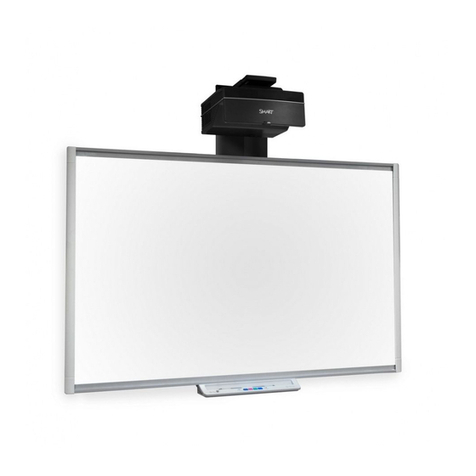
Qomo QIT 300 User manual

QIT
300 & 500
User Manual

Table of Contents
Chapter 1. What is in the box...........................................................2
Chapter 2. System Requirements....................................................4
Chapter 3. Product Introduction......................................................4
Chapter 4. Setup................................................................................5
Chapter 5. Electromagnetic Pen......................................................6
Chapter 6. Features...........................................................................7
Chapter 7. Software Operation Basics............................................8
Chapter 1. What is in the box
Electromagnetic LCD Writing Panel (1)
USB Cable (1)
VGA Cable (QIT300) or Built -in (QIT500)
2

Power Cord (QIT300) or Power Brick (QIT500)
AAA Battery for Pen (1)
Electromagnetic Pen (1)
Pen Holder (QIT500)
Installation CD (1)
Owner’s Manual (1)
If any items are missing or damaged, contact the dealer where you purchased
the panel immediately.
Chapter 2. System Requirements
Please check the contents of the box to make sure that the following parts are
included.
Software:
Installation CD-ROM, it contains application Software setup and driver setup.
Hardware:
Electromagnetic LCD Writing Panel (1)
Electromagnetic Pen (1)
Power Cord (1)
VGA Cable (1)
USB Cable (1)
Additional Hardware:
If the user uses a single VGA output display card and wants to connect the LCD
Writing Panel system to an external projection device, the following additional
components are required.
VGA Distribution Amplifier (1) (not supplied by QIT-500)
Additional VGA cables (2) (not supplied by QIT-500)
System Requirements:
3

Operation System
Windows 98SE, Windows Me, Windows 2000,
Windows XP
CPU
Pentium III 500MHz, Pentium III 1GHz as recommended
Peripherals
CD-ROM Drive, Sound Card, and Microphone
RAM
Minimum 128MB,256MB as recommended
Display Card
Support 1024 x 768 (16-bit true color),
Data Port
USB ports (2)
Note: The LCD Writing Panel is only designed for 1024x768 or1440x900
resolution depending on your model. Please make sure that your display
resolution is set to 1024x768 or1440x900 with 16-bit or 32-bit color depth.
Chapter 3. Product Introduction
The LCD Writing Panel is a breakthrough presentation product that incorporates
the most advanced writing and demonstration technology to make presentation
more powerful and interactive.
Central to the LCD Writing Panel system is the Electromagnetic LCD Writing
Panel. Electromagnetic pen can be used to write on the surface of the panel and
the written contents can be seen on the monitor immediately. All writings,
drawings, predefined templates and the PC application screen are projected in
real time to the output monitor or screen, making the LCD Writing Panel system a
revolutionary and powerful presentation tool.
The LCD Writing Panel seamlessly works with projector, plasma screen, TV and
other equipment to provide more convenient, interactive and effective
presentation. It is perfect for school auditoriums, conference rooms, trade shows,
symposiums and lecture halls.
The monitor of the LCD Writing Panel has an internal pressure sensor that reads
the pressure from the user’s pen. When used as a brush, the thickness of the
4

pen stroke shown on the monitor is in correspondence with the pressure level
placed on the monitor. The penmanship is reproduced in a digital format and it
makes the user’s writing looks smooth and even.
Chapter 4. Setup
A. Connection Chart
B. Setup steps
STEP 1:
Installing the driver and application software.
1) Insert the Installation CD into your computer’s CD-
ROM drive, a dialog-box appears
2) Double-click “Writing panel software” for start installation, follow dialog-
box messages and click “Next” to finish installation.
3) Double-click “Writing panel Driver” for start installation, follow dialog-box
messages and click “Next” to finish installation..
4) Double-click “Microsoft DirectX9.0” for start installation, follow dialog-box
messages and click “Next” to finish installation..
5
USB
VGA

After installation is finished, restart your computer.
5)Connect the USB cable of the LCD writing panel to one of your
computer’s USB ports.
6): Starting Application Software
Double-click the software icon on the desktop to start the application
software.
STEP 7: Place the battery (comes with the LCD writing panel package) into
the electromagnetic pen. Make sure that the positive end (+) of the battery
is pointing toward the pen tip.
STEP 8: Calibrating the LCD Writing Panel (Optional).
If you decide to calibrate the LCD Writing Panel, use your right mouse button to
click the “Calibration” icon located in the system tray . Click
the icon with the writing pen and follow the on-screen instructions to finish
the panel calibration.
Chapter 5. Electromagnetic Pen
The LCD writing panel’s electromagnetic pen is your magic wand when delivering
your presentation or lecture. It can totally replace the mouse and also act as your
digital writing instrument. The electromagnetic pen is powered by an AAA battery.
Before using the pen, please install a battery into the pen. Be noted that the
6

positive end (+) of the battery should point toward the pen tip. A battery lasts for
around 5 months. However, we suggest to change the battery every 3 months to
keep it from slowing down in the midst of a presentation.
Operation Mode of the Electromagnetic Pen
· When the pen is used to write on the whiteboard/template, it functions as a pen,
brush, or eraser depending on the selected function.
· When the pen is used to press the buttons on the application software toolbar, it
functions as “clicking” the buttons.
· When the pen is used as a drawing tool (straight line, square, or circle), just tap
the pen on the screen and drag it onto the desired location and then lift it up
at the end point to create an image.
PC Mode of the Electromagnetic Pen
· When the pen is held close to the screen but not touching the screen, it
operates like the movement of your mouse.
· When the pen touches/taps the screen, it functions as the “Left Click” of a
mouse.
· When you tap and drag the pen, it functions as the “Dragging” action of a
mouse.
· When you hold the pen close to the screen, and click the bottom of the switch
on the side of the electromagnetic pen (1), it functions as the “Right Click” of
a mouse.
· When you hold the pen close to the screen, and click the top of the switch on
the side of the electromagnetic pen (2), it functions as the “Double Left Click”
of a mouse.
7

(1) Mouse “Right Click” (2) Mouse “Double Left Click”
Chapter 6. Features
1. Writes on All Applications
You can write on any computer application, such as lecture programs,
Internet web documents, and Office applications, etc.
2. Easy & Intuitive Interface
The LCD writing panel offers an easy and intuitive “Tool Bar”. Any user,
regardless his or her computer proficiency level, will find that the writing panel
Retrieve any files you want, just like you would while using a mouse. You can use
the electromagnetic pen as a magic wand to touch any icon and write notes on
the panel as naturally as using a traditional pen and a piece of paper.
3. Real Time Demonstration
The LCD writing panel provides powerful functions that can display your written
contents on the panel and projector screen almost at the same time to make the
LCD monitor or projector screen function as an electronic whiteboard.
Chapter 7. Software Operation Basics
Notes: Please See separate Flow!Works Manual
8

Copyright©2010 Qomo HiteVision, LLC. All rights reserved. This document may not be
copied in any form without the permssion from Qomo HiteVision, LLC. Information in this
document is subject to change without notice.
9
This manual suits for next models
1
Table of contents
Other Qomo Interactive Whiteboard manuals
Qomo
Qomo QWB200-BW User manual

Qomo
Qomo HiteVision QRF 700 User manual

Qomo
Qomo Interactive Whiteboard User manual
Qomo
Qomo Interactive Whiteboard User manual

Qomo
Qomo HiteVision QRF 900 User manual

Qomo
Qomo QRF600 User manual

Qomo
Qomo Quest 84 Operation manual

Qomo
Qomo Hite Vision User manual

Qomo
Qomo HiteVision QRF 500 User manual