Qualitel QT2511 User manual

QT2511
Slim Corded Telephone

1
INTRODUCTION
Thank you for purchasing the Qualitel QT2511 Slim Corded telephone which adopts excellent workmanship and
exceptional reliability.
Your telephone is designed to give you flexibility in use and high quality performance. To get the most from your new
telephone, we suggest that you take a few minutes to read through this instruction manual to familiarize yourself with
all the features of the product.
The product is guaranteed for 12 months from the date of purchase shown on your sales receipt. The guarantee
does not cover damage caused by misuse or negligence or by excessive voltage. For example, faults on the
telephone line or lightning.
SAFETY INSTRUCTIONS
When using your telephone instrument, the following basic safety precautions should always be followed to reduce
the risk of fire, electric shock and injury to persons:
1. Read, understand and follow all warnings and instructions.
2. Unplug the product from the wall outlet before cleaning. Do not use liquid cleaning materials nor aerosols. Use a
soft, damp cloth for cleaning.
3. Do not place this product on unstable surfaces. The product may drop, causing damage to the product or injury
to persons.
4. Do not overload wall outlets and extension cords as this can result in fire or electric shock.
5. Never push foreign objects of any kind into this product through the cabinet slots as it may affect dangerous
voltage points or short circuit parts that could result in fire or electric shock. Never spill any liquids on the
product.
6. Avoid moving or disconnecting this instrument during a heavy storm, as there may be a risk of electric shock from
lightning. Avoid conversations during electric storms.
7. Do not use this product in the vicinity of a gas leak.
8. Connect all leads / cords to the intended sockets.
9. Stow the line cord in a way that it cannot cause injury to persons. When using your telephone instrument, the
following basic safety precautions should always be followed to reduce the risk of fire, electric shock and injury
to persons.
FEATURES
¾Battery free operation (no backlight display in this case)
¾Hearing aid compatible
¾FSK/DTMF caller identification with auto-detection
¾Records 38 incoming and 5 outgoing numbers which can be reviewed, called back and deleted
¾2-digit PABX code can be set
¾5-digit local area code can be set with automatic filtration of local area code
¾Adjustable LCD contrast
¾Pulse and Tone dialing mode
¾Mute with music on hold
¾Adjustable ring volume
¾Flash and redial function
¾LCD backlight (batteries must be inserted)
¾Visual ring indicator
¾Desk/wall mountable

2
LOCATIONDESCRIPTION

3
GETSTARTED
1. Insert 3×1.5V AAA batteries into the battery compartment. Take note of the polarity as indicated. The
LCD will display year, month, date and time.
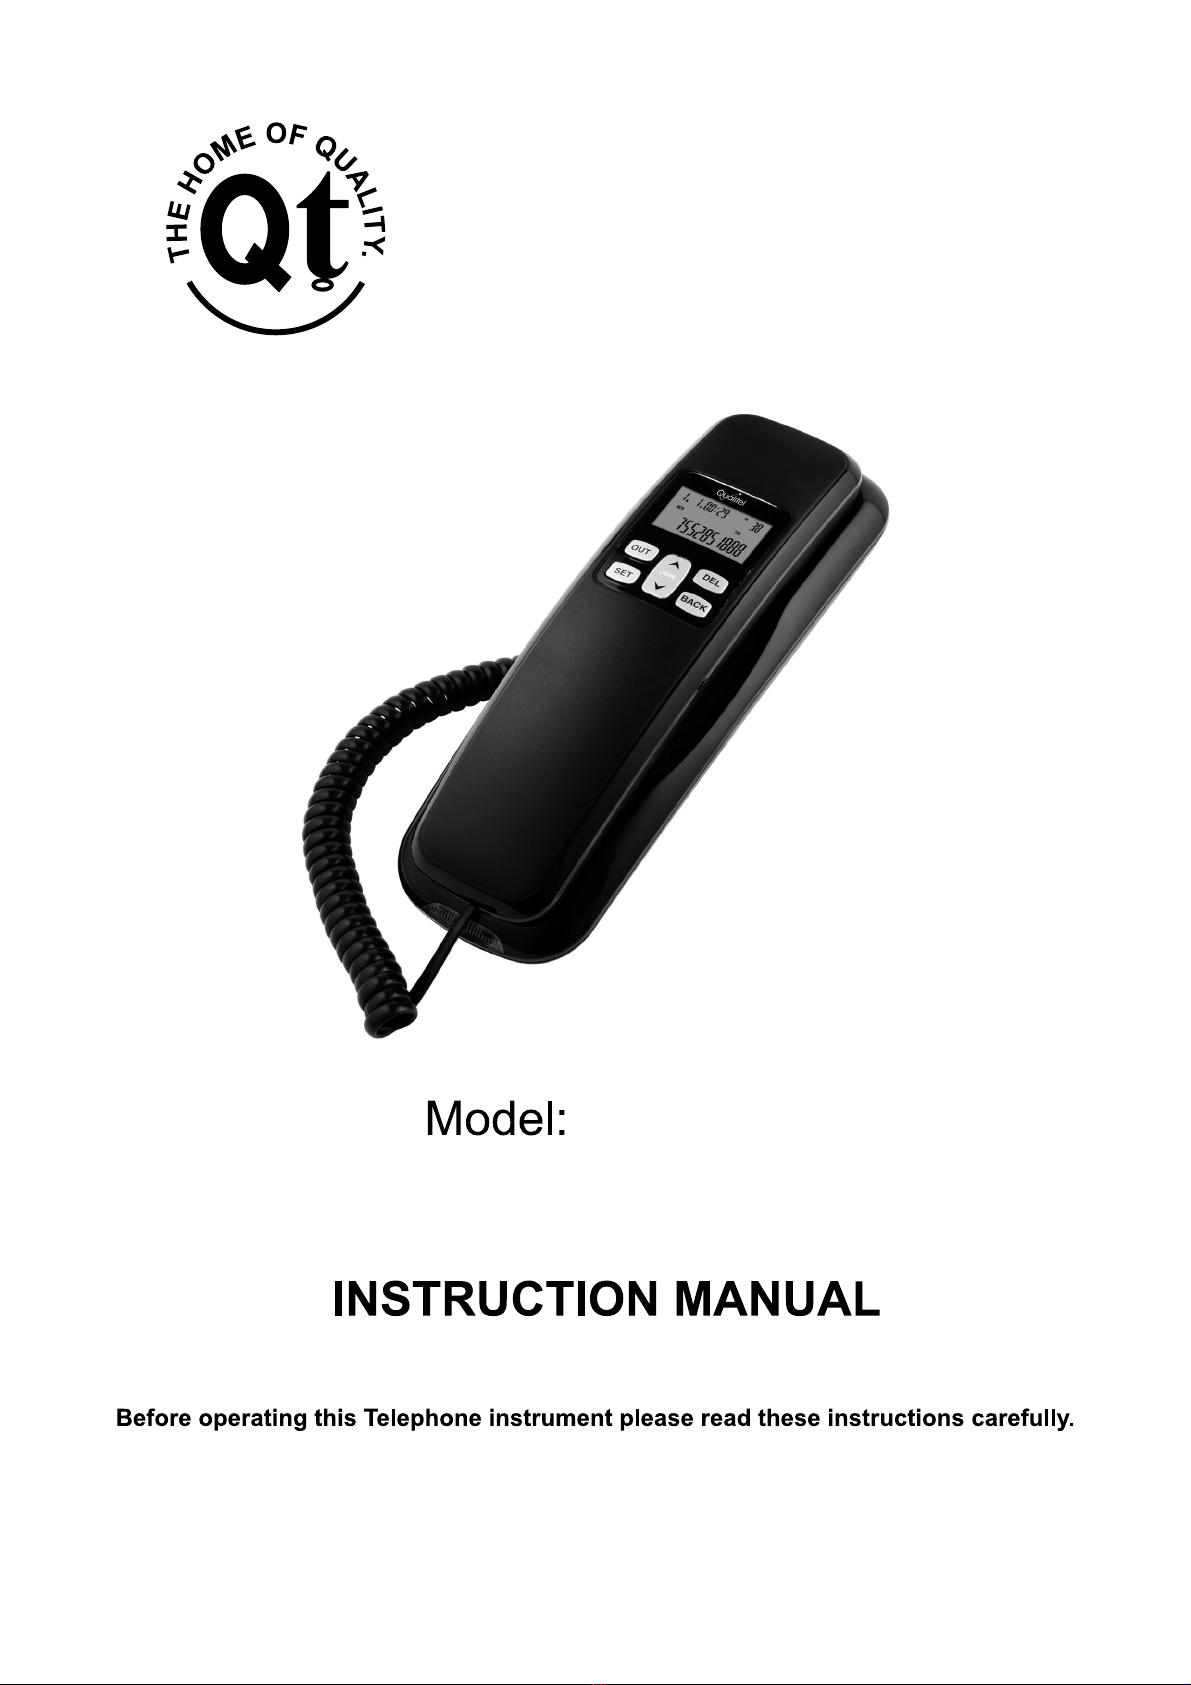
2. Connect the handset to the base of the telephone by means of the curly cord. Refer to the previous page,
No. 14, to ensure that the curly cord is plugged into the correct connector on the base of the phone.
3. Insert one end of the line cord into the line socket underneath the base and the other end to the wall
socket from the service provider. Refer to the previous page, No.15, to ensure that the line cord is
plugged into the correct connector on the base of the phone.
RECEIVINGACALL
1. Upon receipt of an incoming call, the telephone will ring and automatically detect the callers’ number (*).
The LCD displays the phone number together with the date & time, NEW icon and a serial number. For
repeat incoming calls, the LCD displays “REP”. When a callers’ number is withheld the LCD displays
“…p…”. When an error is detected the LCD displays “…E…”. If the incoming call is from an area
without Caller ID service, LCD displays “…o…”. The OUT is displayed when reviewing the outgoing
number. When the incoming memory is full, the latest incoming number is always replaced by the oldest
number.
2. Pick up the handset and talk to the other party.
3. Return the handset to the base to end the conversation.
Notes: Generally the Caller ID signal from the service provider is between the first ring and the second ring.
Answer the phone after the second ring.
(*) For the phone to display incoming numbers and other information, you must have an active Caller ID
subscription with your local service provider.
INITIATINGACALL
1. Pick up the handset;
2. Upon receipt of dial tone, dial the desired number. The call duration timer will start after 6 seconds;
3. To end the conversation, return the handset to the base.
Redial function
Press [REDIAL], the previously dialed number will be dialed again.
REVIEWING, CALLING BACK AND DELETING INCOMING CALLS
Call Back Received Calls
Review the desired number and press the [BACK] or [REDIAL] key to dial back the number displayed on the
LCD, then pick up the handset to converse. If the line is busy, press the [REDIAL] key to dial out the number
repeatedly.
Review Incoming Call Numbers
1. In on-hook state.
2. Press the [UP] key, the LCD displays the last incoming call number.
3. Press the [UP] or [DOWN] key to review the incoming call numbers, LCD displays …END… after all
records have been displayed.
Note: Press and hold the [UP] or [DOWN] key for 3 seconds, to quickly browse through the incoming call list.
Calling Back a Long Distance Number
If the LCD displays a number which is known to be a long distance call, press the [BACK] key twice, the phone
will automatically add “0” before the number and dial out the number and display it on the LCD, pick up the
handset to converse. If the line is busy, press the [REDIAL] key to dial the number repeatedly.

4
Delete Incoming Call Number
1. Review the incoming number you wish to delete.
2. Press the [DEL] key to delete the number, the LCD displays the next number.
Note: Press and hold the [DEL] key for 3 seconds, all the stored incoming numbers will be erased.
REVIEW, CALL BACK AND DELETE OUTGOING CALL NUMBERS
The phone can store the last 5 dialed numbers sequentially with the conversation time. You may review, call
back and delete outgoing call numbers. Once the memory is full the first dialed number will be replaced by the
last dialed number. The LCD will not display real date and time, but display the conversation time.
Review Outgoing Call Numbers
1. In on-hook or off-hook state
2. Press the [OUT] key, the LCD displays the last dialed number.
3. Press the [OUT] key continuously, the LCD displays …END…
Dial Back Outgoing Call Numbers
1. In on-hook state.
2. Press the [OUT] key to select the desired number.
3. Press the [BACK] key and the number will be dialed out automatically, then pick up the handset to
converse. If the line is busy, press the [REDIAL] key to dial out the number repeatedly.
Delete Outgoing Call Numbers
1. In on-hook state, press the [OUT] key to display the desired number.
2. Press the [DEL] key to erase the number the LCD displays the next number.
Note: Press and hold the [DEL] key for 3 seconds, all the outgoing call numbers will be deleted.
MENUSETTINGS
SET DATE AND TIME
1. In on-hook state, press the [SET] key, the LCD displays SET 1 DATE
2. Press the [SET] key, the last two digits of the year flash.
3. Press the [UP] or [DOWN] key to edit the year, Press the [SET] key to confirm. Use the same procedure
to set the month, date, hour and minutes.
The date and time settings will be saved and the display will return to normal within 12 seconds.
SET LOCAL AREA CODE
1. In on-hook state, press the [SET] key and then press the [UP] key, the LCD displays SET 2 CODE
2. Press the [SET] key again, LCD displays CODE - - - - -
3. Press the [UP] or [DOWN] key to set the first digit of the local area code;
4. Press the [SET] key to confirm then enter the second digit, use the same procedure to set further digits.
5. The area code will be saved and the display returns to normal after 12 seconds.
Note: Once a local area code is stored and a call is received with the same area code as the stored area code,
the phone will automatically filter the area code and only the telephone number will be displayed.

5
SET PABX CODE
1. In on hook state, press the [SET] key
2. Press the [UP] key twice, the LCD displays SET 3 PCODE.
3. Press the [SET] key to confirm, LCD displays PCODE --
4. The first “-” flashes denoting the first digit of the PABX code.
5. Press the [UP] or [DOWN] key to set the first digit of the code, Press the [SET] key to confirm and to
proceed to the next digit.
Note: Once a PABX code is set then the PABX code will automatically be inserted before the telephone
number when dialing back a number from the saved incoming call list. This feature is used only when the
telephone is connected behind a PABX.
SET AUTO IP
Note: This function is not available.
SET PULSE/TONE DIALING MODE
1. In on-hook state, press the [SET] key and then press the [UP] key four times, LCD will display SET 5 P/T
2. Press the [SET] key to confirm, then press the [UP] or [DOWN] key to select PULSE or TONE
3. Press the [SET] key to confirm.
SET ANTI-DIALING FUNCTION
1. In on-hook state, press the SET key and then press the [UP] key 5 times, the LCD displays SET 6 ALAR
2. Press the SET key to confirm, the LCD displays ALAR OFF, press the [UP] key to select ON or OFF.
3. Press the SET key to confirm.
If there is another QT2511 telephone connected to the same telephone line (in parallel), and the anti-dialing
function is activated (set to ON), then the other user will not be able to dial a number and will hear a “DI-DI,
DI-DI” tone continuously.
SET LCD CONTRAST
1 In on hook state, press the [SET] key
2 Press the [UP] key five times, the LCD displays SET 7 LCD
3 Press the [SET] to confirm, the LCD displays LCD 3
4 Press the [UP] or [DOWN] key to select a comfortable level, there are 5 levels in total.
5 Press the [SET] to confirm.
FLASH
When the called party’s line is busy (busy tone from exchange), press the FLASH key and then press the
REDIAL key to redial the number.
HOLD WITH MUSIC FUNCTION
During a conversation, press the [HOLD] key to activate the hold mode. The other party will hear music and
will not be able to hear you as the microphone is muted.
Press the [HOLD] key once again to release hold mode and continue with the conversation.

6
SETRINGERVOLUME
There are three selectable ringer volume levels: HIGH,LOW and OFF. At the back of the base of the phone,
locate the ring switch and set it to the required ring level.
LCDBACKLIGHTFUNCTION
The backlight is turned on upon receiving calls, dialing, pressing any key or in HOLD mode. It will fade off if the
telephone is left idle for 6 seconds.
Note: This feature is available only if batteries are inserted in the battery compartment located at the back of
the base of the telephone. (3 x AAA / 1.5V batteries required)
WALLMOUNTABLE
The telephone can be wall-mounted.
NOTES
Please unplug the telephone line cord when installing or replacing batteries.
MAINTENANCE
The instrument should be stowed in a dry and clean environment to avoid damage to the inner parts.
Use a damp cloth for cleaning. Do not use liquid cleaning material nor an aerosol.
Should this product become faulty, do not disassemble the product. Refer servicing to a qualified service
facility.
GENERALINFORMATION
This analogue telephone complies with the following harmonized standards and directives for
telecommunication terminal equipment.
Safety: EN60950-1 : 2006
+ A11 : 2009
+ A1 : 2010
+ A12 : 2011
+ A2 : 2013
EMI: EN55022 : 2010
EN55024 : 2010
The CE symbol may be applied to this product.
For further information on this product visit the following website:
www.qualitel.co.za
Table of contents
Other Qualitel Telephone manuals