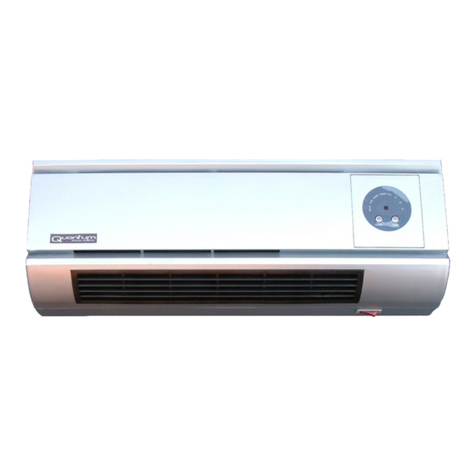
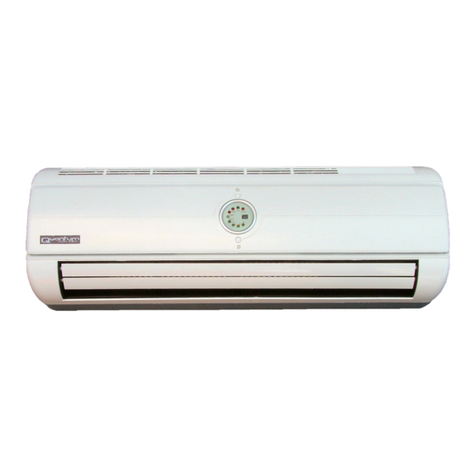
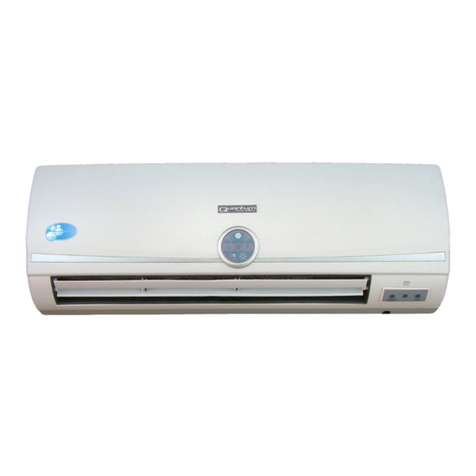
Quantum Ecoelec QE-7040 User manual

QE7040
USER INSTRUCTIONS
CERAMIC ELEMENT ROOM HEATER WITH REMOTE CONTROL AND IONIZER
MODEL No. QE-7040
Thank You very much for your custom
You have purchased one of he mos modern and reliable elec rical appliances curren ly available, which we know will
give you long and reliable service.
As wi h all elec rical appliances, i is impor an ha all safeguards are followed. We herefore ask you o read hrough
hese ins ruc ions carefully and o keep hem in a safe place for fu ure reference.
This manual can be downloaded from he Quan um Ecoelec websi e a
www. uantum-ecoelec.com/support
IN THE BOX
Along wi h hese ins ruc ions he box should also con ain he following i ems
The mos impor an i em is a QE-7040 wall hea er
1 - Remo e con rol
2 - Woodscrews, 35 mm long
2 - plas ic wall-plugs used for fixing he hea er o a brick or concre e wall
If here is any hing missing or you have any ques ions, please call 05602-045420 be ween 8:00am and 4:00pm Mon o
Fri and we will do our bes o help you.
We can be con ac ed by email a :- support@ uantum-ecoelec.com
CONFORMITY
This produc is CE, TÜV & RoHS marked and conforms o hese s andards.
ENVIRONMENTAL PROCTECTION
European direc ive 2002/96/EC on was e elec rical and elec ronic equipmen (WEEE), requires ha
old household elec rical appliances mus no be disposed of in he normal unsor ed household was e.
Please recycle where facili ies exis .
Check wi h your local Au hori y on recycling advice and disposal si es in your area.

INSTALLATION INSTRUCTIONS
ALL ELECTRICAL WORK SHOULD BE CARRIED OUT BY A COMP
1 Decide on a sui able loca ion.
2 Mark he posi ion for he 2
No.8 Woodscrews
3
Fi he screws leaving he screws pro ruding 15mm from he wall.
4
Mark he posi ion on he wall for he 13A Fused Spur connec ion
5 Ins all he fused spur back box
and supply cable
6
Moun he hea er on o he 2 off No.8 Woodscrews
7 Ensure ha he mains supply is
urned
8 Connec he supply
o he fused spur fron pla e.
9 Connec he uni o he
fron pla e as described below
10 Replace he fron pla e.
11 Ins alla ion is now comple e.
CONNECTION DETAILS
THIS UNIT MUST BE CONNECTED TO THE MAINS SUPPLY BY A SWITCHED SPUR
The wires in he cable a ached o his uni are coloured in accordance wi h he following code:
BROWN
GREEN/YELLOW
BLUE
THIS APPLIANCE MUST BE EARTHED
As he colours may no correspond wi h he markings inden ifying he erminals in he fused spur proceed as follows.
•Blue wire mus be connec ed o he er
minal marked ‘N LOAD’
•
Brown wire mus be connec ed o he erminal marked ‘L LOAD’
•
Green/Yellow wire mus be connec ed o he erminal ‘E’ or marked
ALL ELECTRICAL WORK SHOULD BE CARRIED OUT BY A COMP
E
TENT ELECTRICIAN
No.8 Woodscrews
. (supplied)
Fi he screws leaving he screws pro ruding 15mm from he wall.
Mark he posi ion on he wall for he 13A Fused Spur connec ion
.
and supply cable
. (Surface moun or sunken)
Moun he hea er on o he 2 off No.8 Woodscrews
.
urned
off.
o he fused spur fron pla e.
fron pla e as described below
.
THIS UNIT MUST BE CONNECTED TO THE MAINS SUPPLY BY A SWITCHED SPUR
The wires in he cable a ached o his uni are coloured in accordance wi h he following code:
====================== LIVE
====================== EARTH
==================== NEUTRAL
THIS APPLIANCE MUST BE EARTHED
As he colours may no correspond wi h he markings inden ifying he erminals in he fused spur proceed as follows.
minal marked ‘N LOAD’
Brown wire mus be connec ed o he erminal marked ‘L LOAD’
Green/Yellow wire mus be connec ed o he erminal ‘E’ or marked
TENT ELECTRICIAN
THIS UNIT MUST BE CONNECTED TO THE MAINS SUPPLY BY A SWITCHED SPUR
The wires in he cable a ached o his uni are coloured in accordance wi h he following code:
-
As he colours may no correspond wi h he markings inden ifying he erminals in he fused spur proceed as follows.

QE7040
OPERATION
There may be a race of smoke or odour during he firs few minu es of ini ial use or when he uni has no been used
for a period of ime. This is qui e normal and will quickly disappear.
FROM THE FRONT PANEL
To swi ch on he uni press he ON/OFF bu on on he fron panel of he hea er. This will swi ch he FAN on and open
he vanes.
Pressing he ON/OFF again selec s 1000W low hea se ing.
Press he ON/OFF bu on again o selec he 2000W high hea se ing.
Press again o urn vane swing ON.
Pressing he ON/OFF bu on again urns ON he IONIZER func ion.
Press again o urn he uni OFF.
The imer can be se from ½ hour o 7 ½ hours by pressing he TIMER bu on which s eps up ½ hour wi h
each press.
FROM THE REMOTE CONTROL
The remo e con rol requires wo AAA ba eries. (no supplied)
To swi ch on he appliance press he ON/OFF bu on on he remo e con rol o swi ch on he FAN and open he vanes.
Pressing he HEATER bu on will selec he low hea se ing. (1000W)
Press he HEATER bu on o selec he high hea se ing.(2000W)
The ambien empera ure of he room can be con rolled from 18C o 30C by pressing he UP or DOWN o selec he
required empera ure.
The imer can be se from ½ hour o 7 ½ hours by pressing he TIMER bu on which s eps up ½ hour wi h each press.
Press he swing bu on o s ar he vane swinging.
To urn off he uni press he ON/OFF bu on.
IONIZER
The ionizer will neu ralize any airbourne pollu an s (pollen e c..) To urn on he IONIZER press he IONIZER bu on.
ATTENTION. When he uni is swi ched off he uni will con inue o blow cool air for 60 seconds before shu ing down.
A hermal overload pro ec or is buil in o he uni o preven overhea ing. If he uni overhea s i will shu down
au oma ically.
As he uni senses he air being drawn in o he uni and he fac ha hea rises, he uni may swi ch off before all of he
room is fully up o empera ure.

QE7040
CARE AND CLEANING
•
The uni should be cleaned regularly.
•
Isola e from he mains supply and allow he uni o cool. Wipe over wi h a damp clo h.
•
Do no use de ergen s or abrasives.
•
Do no scrape he surfaces wi h sharp hand ools.
•
Use a vacuum cleaner o remove dus and fluff from he ven s.
SAFETY WARNINGS
•
This produc is no a oy. I should no be used by children or infirm persons wi hou supervision.
•
The appliance mus be fas ened o a wall wi h he air ou le o he bo om. DO NOT moun he uni any o her way.
•
Isola e from he mains supply when no in use or when cleaning he uni .
•
DO NOT opera e he appliance wi h a damaged cord. If he supply cord is damaged i mus be replaced o avoid any
hazard.
•
Par s of he hea er casing may ge ho when in use. Do no le bare skin ouch any ho surface as hey could burn.
•
Do no allow he uni o ge we .
•
Do no use he hea er in dus y environmen s or where flammable vapours are presen .
•
Do no place he hea er near any o her source of hea .
•
Do no cover he hea er. A fire may occur if he hea er comes in o con ac wi h any flammable ma erial (Cur ains,
Drapes, Bedding e c...) when in use.
•
Do no use he uni in he immedia e vicini y of ba h ubs, showers, wash basins or swimming pools.
•
Do no leave swi ched on una ended overnigh .
•
Do no use ou doors.
•
Do no use his appliance for o her han i s in ended purpose. This appliance is for in erior use only.
•
Do no a emp o repair, disassemble or modify he appliance in any way. There are no user-serviceable par s
inside.
•
Do no inser , or allow o be inser ed any foreign objec s in o he inle or ou pu openings as his may cause an
elec ric shock, fire or damage o he uni .
•
I is no possible use an ex ernal programmer, imer or any o her device o swi ch he hea er on au oma ically, as a
fire risk exis s, a posi ive manual press of a bu on is needed o swi ch he uni ON.
•
Only use he buil in au o imer while he uni is supervised.
GUARANTEE & WARRANTY
This produc is covered wi h a 12 mon h manufac urer’s warran y from he da e of purchase agains faul y
workmanship and componen s. Proof of da e of purchase will be required.
Should you need o re urn he uni please call QUANTUM ECOELEC on 05602-045420 for a Re urns Au hori y Number
(RAN) along wi h our full pos al address for any repairs ha may be necessary?
TECHNICAL SPECIFICATION
Supply Vol age
230
-
240V
Timer Con rol
0.5
–
7.5 Hours
Power ra ing
10A MAX
Remo e Con rol Range
7 me res MAX
Frequency
50Hz
Remo e power source
2 x AAA Ba eries
Ou pu Power
1000 or 2000 Wa s
QE©
QE-7040 ISS.2
Table of contents
Other Quantum Ecoelec Heater manuals
Popular Heater manuals by other brands

Tylo
Tylo CROWN COMBI ELITE user guide

Circontrol
Circontrol Post eVolve Smart Series Service manual

Finnleo
Finnleo Fonda Series Installation and operating instructions

Kermi
Kermi SGE1A Series Instructions for installation and use

BRINKMAN
BRINKMAN PORTABLE CATALYTIC SPACE HEATER owner's manual

KING
KING PGH2440TB Installation and Maintenance