Quick Charge C1600 plus User manual

C1600 PLUS BATTERY LOAD TESTER
INTRODUCTION:
The C1600 is designed for high volume testing of 6, 8 and 12 volt starting, and deep cycle lead
acid batteries.
IMPORTANT: DO NOT USE THIS TESTER UNTIL YOU HAVE READ ALL THE
INSTRUCTIONS.
CAUTION: Always wear protective eye shields and clothing when working with
batteries. Batteries contain acids which can cause bodily harm. Do not put
wrenches or other metal objects across the battery terminal or battery top.
Arcing or explosion of the battery can result. Do not wear jewelry when
working around batteries. Arcing can cause sever burns.
Do not operate this tester if it shows any signs of physical damage.
Provide adequate ventilation for the batteries and tester. Do not obstruct the flow of cooling air
around the tester. Provide at least 10" of space around tester. Do not allow clothing, blankets
or other material to cover the tester. Certain parts of the tester will become hot when testing large
volumes of batteries.
DO NOT USE THIS TESTER IF:
The DC output clamps, or connector is loose, worn or does not make good contact; The leads are
cut or have exposed wires; The DC output leads or connector/clamps feel hot when used, or if
one or both fans do not come on when clamps are connected to battery.

NORMAL OPERATION:
6, 8, & 12 VOLT BATTERIES
NOTE: Only load test batteries at or above 75% state of charge.
1). Throughly clean post’s with a wire brush. This is important for volt meter accuracy. Observing
polarity, connect clamps to battery per illustration. Both fans should come on, if they don’t,
have them replaced by a qualified person.
2). Press the START button.
3). Adjust the knob so that the ammeter matches the CCA rating of the battery. For deep cycle
batteries with no CCA rating, adjust the knob to 3X the 20 hr. amp hour rate. For example, a
golf car battery rated at 225AH, adjust the knob to 675 on the ammeter.
NOTE: The actual current flow will be ½ of that registered on the ammeter.
4). For 12 volt batteries the minimum acceptable voltage is 9.6 volts @ 70F (21C). For 8 volt
batteries the minimum is 6.41 volts, for 6 volt batteries the minimum is 4.8 volts @ 70F (21C)
5). When the timer times out, you will see the lowest voltage freezes in the display, if you want to
see how the voltage recovers, push the START button again. Remove clamps and connect
another battery. Repeat. NOTE: As the carbon pile heats up the resistance will change and the
setting will drift, small knob adjustments will be needed to keep the amps at the battery CCA
rating.
6). The C1600 is equipped with a timer override button. Should you need to interrupt a test,
simply push the button.
SETTING TIMER:
The timer is factory set at 15 seconds. To adjust:
1). Connect the positive clamp to battery

2.) Press and hold the STOP button. Connect the negative clamp to battery. The time is shown in
the display. Release button.
3). Locate the 1/4" hole in back of tester. Using a miniature screwdriver, turn the potentiometer to
the desired time. Resetting the clamp will make the tester run on this time until it is changed.
Careful when turning the pot, it is made of plastic and is easily chewed up if too large a
screwdriver is used.
CARE & MAINTENANCE:
1). Heat is the enemy of your tester. To prolong component life; When testing large volumes of
batteries, leave tester connected to last battery for a minimum of 5 minutes to allow fans to
exhaust residual heat from cabinet. When using a setting higher than 600CCA, allow 30
second cooling off period between batteries.
2). The aluminum cabinet is susceptible to acid fume corrosion, and staining as are all surfaces,
periodically wipe the unit down with a damp cloth. Use water only. Take care to keep
electrolyte off the unit as it will cause rapid deterioration, especially the volt meter lens.
3). Keep the clamp jaws clean with a wire brush. High resistance connections can give a low volt
reading, and cause cracking and popping and intermittent connections under load.
3). Periodically remove load screw and flush with silicon lubricant spray to remove grit and
assure smooth operation.
TROUBLE SHOOTING:
1). Voltmeter does not work, or reads low.
Sense lead to clamps broken. Weak corroded clamps, or dirty battery post’s can cause a
resistance and make the meter read off. Clean clamp jaws, and post’s with a wire brush. If
you replaced the clamps, they MUST be crimped and soldered.
2). Solenoid drops out prematurely, or cannot pack a load.
Check clamp condition, weak clamps will not hold, or defective solenoid.

3). Times out too soon.
Check timer setting.
Digital voltmeter accuracy
On 12 volt batteries the meter is accurate to ± .05 volts. To check accuracy, first clean the load
clamp jaws with a wire brush, then connect to battery. Connect the leads of a secondary digital
voltmeter with minimum accuracy of ± .01 volts to the jaws of the clamps. As an example, if the
load tester meter reads 12.00, the secondary volt meter should read between11.94 - 12.06. If the
reading falls outside this range, the load tester meter should be re-calibrated or replaced. If you
replaced the clamps, they MUST be crimped and soldered. Contact Quick Charge for illustrative
instructions on re-calibrating and replacing meter.
The meter requires 5 volts to operate accurately. A load test on a 6 volt battery where the voltage
falls below 5 volts will cause the meter to register inaccurately.
Analog ammeter accuracy
Keep the needle zeroed on meter. NOTE: The actual current flowing through the battery and tester,
is ½ the current showing on the meter.

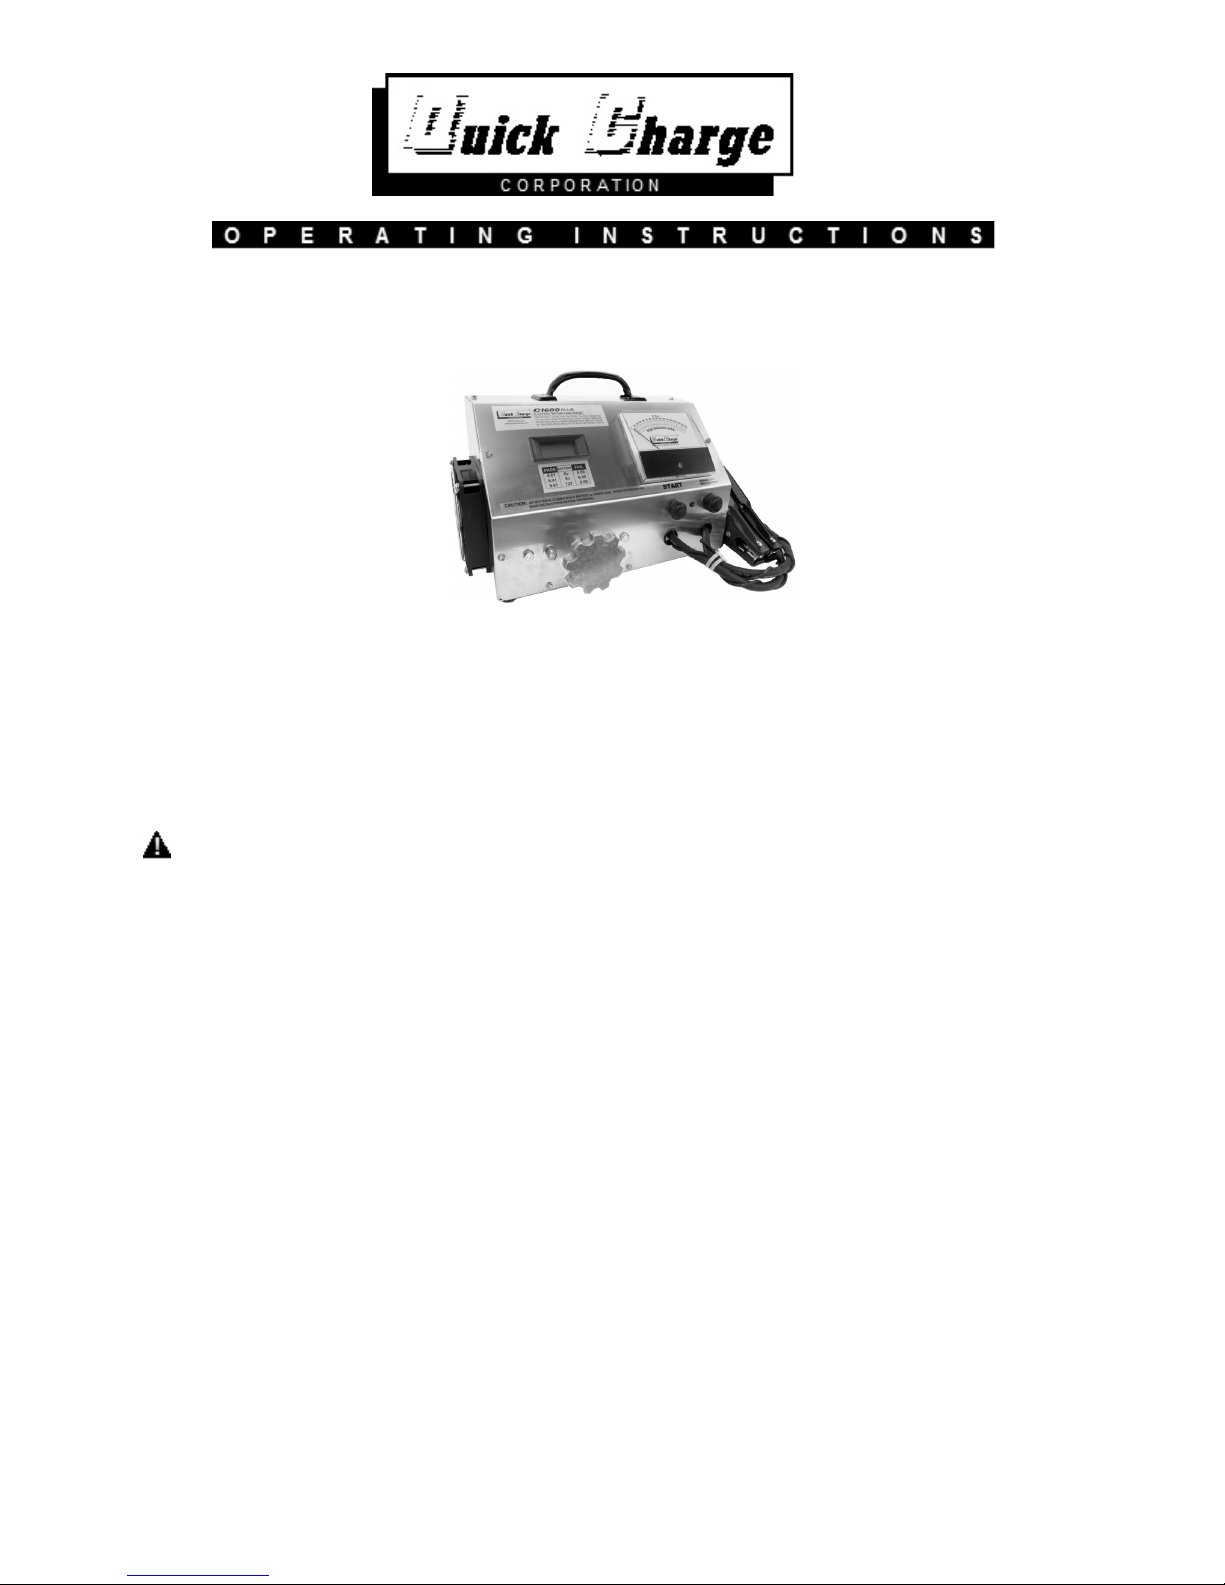
QUICK CHARGE C1600 PLUS LOAD TESTER
“LIMITED WARRANTY”
Quick Charge corporation warrants the C1600 load tester for (1) year from the date of purchase.
After the warranty period, chargers returned to the factory for repair will be charged a minimum rate of $25.00. Charger will be returned, freight and
repair charges, C.O.D. unless other arrangements have been made
This warranty covers all defects in manufacture and performance, provided the unit is operated in compliance with manufacture’s operating
instructions.
For repairs to be made at the Quick Charge factory, a charger and/or component(s) should be sent, freight prepaid to Quick Charge at:
Quick Charge Corp.
1032 S.W. 22nd St.
Oklahoma City, OK. 73109
Quick Charge, will at it’s option, repair or replace the charger or component in question. The repaired item will then be returned, freight prepaid by Quick
Charge. This warranty is void if the charger or component have been altered, changed, or repaired by anyone not authorized by Quick Charge, or if the
charger or component, have been subjected to misuse, negligence, or harsh environmental conditions. (Except those chargers designed for such
conditions)
If returning the charger to the factory is not practical, replacement parts may be shipped to the customer for field repair at no charge. On parts such
as circuit boards, the customer will be required to return the board suspected to be defective to Quick Charge, freight prepaid. If such defective parts
are not returned, the customer will be invoiced for the repair parts.
Field repairs are made at the user’s own risk. “Authorization” by Quick Charge to repair refers to maintaining the warranty only. Quick Charge
assumes no responsibility or liability for field servicing, and shall not be responsible for incurred travel or labor charges.
Quick Charge corporation shall not in any event be liable for the cost of any special, indirect or consequential damages to anyone, product or thing.
This warranty is in lieu of all other warranties expressed or implied. Quick Charge neither assumes nor authorizes any representative or other person
to assume for us any liability in connection with the sale of this product.
1032 S.W. 22 St. Oklahoma City, OK. 73109 800 658-2841 Fax (405) 632-5667 www.quickcharge.com
nd
Table of contents
Popular Test Equipment manuals by other brands

Fluke Calibration
Fluke Calibration CalPower 6331 user guide

pico Technology
pico Technology PicoScope 2000 Series user guide

Sennheiser
Sennheiser ZP 2 Scheinwiderstandsprüfer Bedienungsanleitung

Besantek
Besantek BST-ELC06 instruction manual

Black Box
Black Box TD115V-R4 Specifications

Extech Instruments
Extech Instruments 382357-NIST user manual