manuals.online logo
Brands
  1. Home
  2. •
  3. Brands
  4. •
  5. R.V.R. Elettronica
  6. •
  7. Industrial Equipment
  8. •
  9. R.V.R. Elettronica RXRL-NV/2 User manual

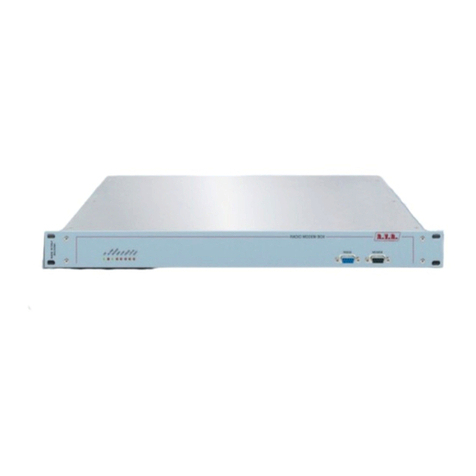
R.V.R. Elettronica RXRL-NV/2 User manual

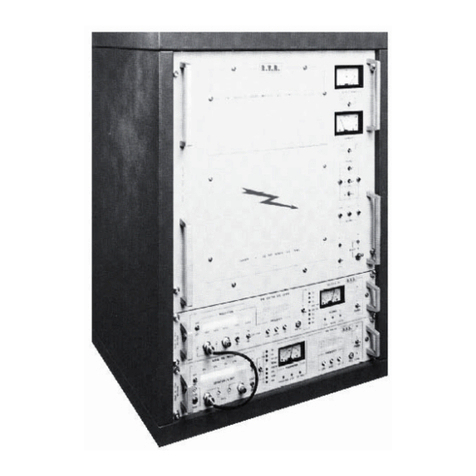
Manufactured by R.V.R. Elettronica - Italy
TECHNICAL AND MAINTENANCE MANUAL
MANUALE TECNICO E DI MANUTENZIONE
RXRL-NV/2
RXRL-NV/2 Technical and Maintenance Manual
R.V.R. Elettronica S.r.l. (Bo) Pag. 2
RXRL-NV/2
Studio Receiver Link 1400-
2600 MHz
Technical and Maintenance Manual
Manuale Tecnico e di Manutenzione
English Pag. 3
Italiano Pag. 47
RXRL-NV/2 Technical and Maintenance Manual
R.V.R. Elettronica S.r.l. (Bo) Pag. 3
INDEX
Preliminary Instructions and Warranty Information Pag. 5
Safety Regulations Pag. 7
SECTION 1
General Description Pag. 10
Electrical Specifications (Table A) Pag. 12
Dimensional & Environmental Specifications (Table B) Pag. 13
SECTION 2
Electrical Description Pag. 14
Front Panel View Description Pag. 17
Front Panel View (Fig.1) Pag. 19
Rear Panel View Description Pag. 20
Rear Panel View (Fig.2) Pag. 21
Top View Description Pag. 22
Top View (Fig.3) Pag. 23
Block Diagram (Fig.4) Pag. 24
SECTION 3
Installation Procedures Pag. 25
Recommended Test Equipment (Table C) Pag. 28
SECTION 4
Maintenance Pag. 29
SECTION 5
Internal Adjustments Pag. 34
SECTION 6
Alignment of the Radio Link Pag. 41
APPENDIX A
Circuit Diagrams, Layouts and Bill of Material Pag. 92
Wiring Diagram Pag. 93
Power Supply Pag. 94
Muting Card Pag. 98
RXRL-NV/2 Technical and Maintenance Manual
R.V.R. Elettronica S.r.l. (Bo) Pag. 4
C.P.U. Pag. 102
Modmeter Card Pag. 111
Anameter Card Pag. 116
Audio Process Card Pag. 124
P.L.L. Card Pag. 130
V.C.O. Pag. 135
I.F. 70MHz Card (I.F. 10.7MHz) Pag. 140
Front-End & Mixer Pag. 146
Doubler Pag. 151
Inverter Card (Optional) Pag. 155
U.S.A. Audio Output Card (Optional) Pag. 159
Mono-Balance Card (Optional) Pag. 163
Stereo Decoder Card (Optional) Pag. 167
RXRL-NV/2 Technical and Maintenance Manual
R.V.R. Elettronica S.r.l. (Bo) Pag. 5
PRELIMINARY INSTRUCTIONS AND WARRANTY INFORMATION
Please observe safety precautions when handling this unit. This equipment
contains dangerous currents and high voltages.
This manual is written as a general guide for those having previous knowledge
and experience with this kind of equipment. It is not intended to contain a
complete statement of all safety warnings which should be observed by personnel
in using this or other electronic equipment.
R.V.R. doesn’t assume responsibility for injury or damage resulting from
improper procedures or practices by untrained/unqualified personnel in the
handling of this unit.
Please observe all local codes and fire protection standards in the operations
of this unit.
CAUTION: always disconnect power before opening covers or removing any
part of this unit. Use appropriate grounding procedures to
short out capacitors and high voltage points before servicing.
Any damage to the goods must be reported to the carrier in writing on the
shipment receipt.
Any discrepancy or damage discovered subsequent to delivery, shall be reported
to R.V.R. within five (5) days from its receipt.
R.V.R. extends to the original end-user purchaser all original manufacturers
warranties which are transferable and all claims are to be made directly to
R.V.R. per indicated procedures.
All manufacturers warranties will be supported by R.V.R. to ensure precise
and speedy service where possible.
R.V.R. shall not be liable for any damage of whatsoever nature, arising out
of or in connection with the product or its use thereof.
R.V.R.'s warranty shall not include:
1) Re-shipment of the unit to R.V.R. for repair purposes
2) Any unauthorized repair/modification
3) Incidental/consequential damages as a result of any defect
4) Nominal non-incidental defects
5) Re-shipment costs or insurance of the unit or replacement
units/parts
Warranty shall come into force from invoice date and for the period of the
manufactures warranty.
RXRL-NV/2 Technical and Maintenance Manual
R.V.R. Elettronica S.r.l. (Bo) Pag. 6
To claim your rights under this warranty:
a. Contact the dealer or distributor where you purchased the unit.
Describe the problem and ask if he has an easy solution. Dealers
and Distributors are supplied with all the information about prob-
lems that may occur and usually they can repair the unit quicker
than what the manufacturer could do. Very often installing errors
are discovered by dealers.
b. If your dealer cannot help you, contact R.V.R. in Bologna and explain
the problem. If it is decided to return the unit to the factory,
R.V.R. will mail you a regular authorization with all the necessary
instructions to send back the goods.
c. When you receive the authorization, you can return the unit. Pack
it carefully for the shipment, preferably using the original packing
and seal the package perfectly. The customer always assumes the
risks of loss (i.e., R.V.R. is never responsible for damage or loss),
until the package reaches R.V.R. premises. For this reason, we sug-
gest you to insure the goods for the whole value. Shipment must be
effected C.I.F. (PREPAID) to the address specified by R.V.R.’s ser-
vice manager on the authorization.
DO NOT RETURN UNITS WITHOUT OUR AUTHORIZATION AS THEY WILL BE
REFUSED.
Be sure to enclose a written technical report where mention all the problems
found and a copy of your original invoice establishing the starting date of
the warranty.
Replacement and warranty parts may be order from the following address. Be
sure to include the equipment model and serial number as well as part
description and part number.
R.V.R. Elettronica S.r.l. -
Broadcasting Equipment -
Via del Fonditore, 2/2c
40138 Bologna - Italy
R.V.R. reserves the right to modify the design and specifications of the
equipment in this manual without previous notice.
RXRL-NV/2 Technical and Maintenance Manual
R.V.R. Elettronica S.r.l. (Bo) Pag. 7
WARNING!
The currents and voltages in this equipment are dangerous!
Personnel must at all times observe safety regulation!
This manual is intended as a general guide for trained and qualified personnel
who are aware of the dangers inherent in handling potentially hazardous
electrical and electronic circuits.
It is not intended to contain a complete statement of all safety precautions
which should be observed by personnel in using this or other electronic
equipment.
The installation, operation, maintenance and service of this equipment
involves risks both to personnel and equipment, and must be performed only
by qualified personnel exercising due care.
R.V.R. ELETTRONICA S.r.l. shall not be responsible for injury or damage
resulting from improper procedures or from the use of improperly trained or
inexperienced personnel performing such tasks.
During installation and operation of this equipment, local building codes and
fire protection standards must be observed.
WARNING!
Always disconnect power before opening covers,
doors, enclosures, gates, panels or shields.
Always use grounding sticks and short out high
voltage points before servicing. Never make
internal adjustments, perform maintenance or
service when alone or when fatigued.
Do not remove, short-circuit or tamper with interlock switches on access
covers, doors, enclosures, gates, panels or shields.
Keep away from live circuits, know your equipment and don’t take chances.
WARNING!
In case of emergency ensure that power has been disconnected
RXRL-NV/2 Technical and Maintenance Manual
R.V.R. Elettronica S.r.l. (Bo) Pag. 8
Treatment of electrical Shock
1) If victim is not responsive follow the A-B-C's of basic life support.
PLACE VICTIM FLAT ON HIS BACK ON A HARD SURFACE
A AIRWAY B BREATHING
IF UNCONSCIOUS, IF NOT BREATHING,
OPEN AIRWAY BEGIN ARTIFICIAL
BREATHING.
LIFT UP NECK, TILT HEAD,
PUSH FOREHEAD BACK, PINCH NOSTRILS,
CLEAR OUT MOUTH IF NECESSARY, MAKE AIRTIGHT SEAL,
OBSERVE FOR BREATHING 4 QUICK FULL BREATHS.
REMEMBER MOUTH TO MOUTH
RESUSCITATION MUST BE
COMMENCED AS SOON AS
POSSIBLE.
C CIRCULATION
CHECK CAROTID PULSE DEPRESS STERNUM 1 1/2" TO 2"
IF PULSE ABSENT, APPROX. 80 SEC. : ONE RESCUER, 15 COMPRESSIONS,
BEGIN ARTIFICIAL 2 QUICK BREATHS.
CIRCULATION APPROX. 60 SEC. : TWO RESCUERS, 5 COMPRESSIONS,
1 BREATH
NOTE: DO NOT INTERRUPT RHYTHM OF COMPRES-
SIONS WHEN SECOND PERSON IS GIVING BREATH.
Call for medical assistance as soon as possible.
2) If victim is responsive:
a. Keep them warm.
b. Keep them as quiet as possible.
c. Loosen their clothing (a reclining position is recommended).
RXRL-NV/2 Technical and Maintenance Manual
R.V.R. Elettronica S.r.l. (Bo) Pag. 9
FIRST-AID
Personnel engaged in the installation, operation,
maintenance or servicing of this equipment are urged
to become familiar with first-aid theory and practices.
The following information is not intended to be a
complete first-aid procedure, it is brief and is only
to be used as a reference. It is the duty of all
personnel using the equipment to be prepared to give
adequate Emergency First Aid and thereby prevent
avoidable loss of life.
Treatment of electrical Burns
1) Extensive burned and broken skin.
a. Cover area with clean sheet or cloth.
(Cleansed available cloth article).
b. Do not break blisters, remove tissue, remove adhered particles of
clothing, or apply any salve or ointment.
c. Treat victim for shock as required.
d. Arrange transportation to a hospital as quickly as possible
e. If arms or legs are affected keep them elevated.
NOTE
If medical help will not be available within an hour and the victim is conscious
and not vomiting, give him a weak solution of salt and soda: 1 level teaspoonful
of salt and 1/2 level teaspoonful of baking soda to each quart of water (neither
hot or cold).
Allow victim to sip slowly about 4 ounces (half a glass) over a period of 15
minutes.
Discontinue fluid if vomiting occurs (Do not give alcohol).
2) Less severe burns - (1st & 2nd degree)
a. Apply cool (not ice cold) compresses using the cleansed available
cloth article.
b. Do not break blisters, remove tissue, remove adhered
particles of clothing, or apply salve or ointment.
c. Apply clean dry dressing if necessary.
d. Treat victim for shock as required.
e. Arrange transportation to a hospital as quickly as possible.
f. If arms or legs are affected keep them elevated.
RXRL-NV/2 Technical and Maintenance Manual
R.V.R. Elettronica S.r.l. (Bo) Pag. 10
SECTION 1
GENERAL DESCRIPTION
1.1 MECHANICAL DESCRIPTION
The RXRL-NV/2 is housed in a 2U, 19" rack-mounting chassis comprising a
number of interconnected modules mounted internally on the base of the unit.
This allows easy removal and replacement of each module.
The audio output level controls (Mono and Stereo) and meters for various
operating parameters are situated on the front panel.
Mains power, II° I.F. Monitorial Output and R.F. input connectors are mounted
on the rear panel.
1.2 ELECTRICAL DESCRIPTION
The RXRL-NV/2 is a high quality, broadband, FM receiver with a harmonic
distortion better than 0.3%.
The receiver is microprocessor-controlled and synthesized with steps of 100KHz
in the 1400-2600MHz band.
Furthermore, a 15KHz low-pass filter is provided which may be inserted in the
MPX output (always setted on Mono output).
1.3 METERS AND INDICATORS
The receiver’s operating parameters can be measured with the analog
multimeter (21 Fig.1) and the led bar-graph display (18 Fig.1) situated on
the front panel.
The measurement being made by the analog multimeter is indicated by a led
indicator (8 Fig.1) and selectable via the corresponding control
(20 Fig.1).
Peak deviation can be measured with the bar-graph display in steps of 6.6KHz.
The five-figure display (22 Fig.1), mounted centrally, indicates the operating
frequency selected by the UP (14 Fig.1) and DOWN (12 Fig.1) controls and
saveable with the ENTER (13 Fig.1) control.
Three leds provide indication of VCO locked (10 Fig.1), the presence of a stereo
signal (9 Fig.1) and the presence of an SCA signal (11 Fig.1) if the optional
decoder is fitted.
1.4 REMOTE CONTROL (OPTIONAL)
In this equipment an optional serial port (9 pin D-type) is available
allowing remote control of operating frequency and audio muting.
1.5 SPECIFICATIONS
RXRL-NV/2 Technical and Maintenance Manual
R.V.R. Elettronica S.r.l. (Bo) Pag. 11
Please refer to Table A for the Electrical Specifications and
Table B for the Dimensional and Environmental Specifications.
TABLE A
RXRL-NV/2 Technical and Maintenance Manual
R.V.R. Elettronica S.r.l. (Bo) Pag. 12
ELECTRICAL SPECIFICATIONS
A.C. Power 100,120,220 and 240 V ±10%
50-60 Hz, single phase 22W
24 Vdc optional
Cooling Forced ventilation
Operating frequency from 1400 to 2600 MHz in
Sub-Bands of 50MHz
Sensitivity MPX: 1.00mV or less for
60dB SNR
(measured on each
single channel)
Mono: 100µV or less for
65dB SNR
Selectivity ±100 KHz at -3dB
±350 KHz at -70dB
Total harmonic distortion < or = at 0.3%
Stereo separation 45 dB, from 40Hz to 15KHz
Audio outputs MPX: +13 dBm, 600 Ohm
unbalancedMono: +13 dBm, 600 Ohm
unbalanced
TABLE B
RXRL-NV/2 Technical and Maintenance Manual
R.V.R. Elettronica S.r.l. (Bo) Pag. 13
DIMENSIONAL AND
ENVIRONMENTAL
SPECIFICATIONS
Chassis Dimensions 82mm (3.22") H
326mm (12.83") D
445mm (17.51") W
Panel Dimensions 483mm (19") W
88mm (3.47") H
Ambient Operating Temperature from -10°C to +50°C
Humidity 95% maximum, non-condensing
Weight 22,2 Lbs (10 Kg)
RXRL-NV/2 Technical and Maintenance Manual
R.V.R. Elettronica S.r.l. (Bo) Pag. 14
SECTION 2
ELECTRICAL DESCRIPTION
2.1 INTRODUCTION
This section describes, in detail, the operating theory of the
RXRL-NV/2.
To aid understanding, the unit has been subdivided into blocks, each of which
is fully described below.
A block diagram is shown in Fig.4.
2.2 POWER SUPPLY
This circuit consists of 1 board mounted on the right side of the chassis
base (7 Fig.3).
The supply is designed to accept line voltages of 100V, 120V, 220V and 240V
±10% (24Vdc optional) at a frequency of 50-60Hz.
The power supply generates the stabilized voltages required by the various
modules comprising the RXRL-NV/2.
After having undergone filtering for mains-borne interference, the supply is
transformed to lower voltages, rectified, smoothed and stabilized for the
following outputs: +5V, +15V and -15V.
The +5V output supplies the CPU card and the PLL card, while the ±15V outputs
supply the CPU card, the Modmeter card, the Anameter cards 1 and 2, the Front-
end/Mixer, the Audio Process card, the 70MHz IF card, the PLL, the Muting card
and the Doubler.
All supply voltages may be monitored by the analog multimeter.
2.3 CPU
The CPU is housed in a metal box and mounted on the right side of the front
panel (4 Fig.3).
This circuit converts the number corresponding to the selected operating
frequency into binary code which is written to the programmable dividers of
the PLL.
This allows the VCO to lock to the desired operating frequency.
Several of the receiver’s parameters may be remotely controlled via an optional
9 pin D-type serial port.
In the absence of mains power, a non-volatile memory maintains indefinitely
the last frequency that was programmed.
2.4 MODMETER CARD
RXRL-NV/2 Technical and Maintenance Manual
R.V.R. Elettronica S.r.l. (Bo) Pag. 15
This card is mounted on the left side of the front panel (1 Fig.3). This
circuit allows the deviation of the signal received by the Audio Process card
(Mono, MPX or SCA).
The card has two BNC connectors; one for the mono signal and the other for
the stereo signal.
A switch allows the gain of the measuring circuit to be set to 10% or 100%
for a more precise reading of low-level deviation (eg. SCA, RDS, pilot tones).
Another switch sets the display mode to bar-graph or peak mode.
The display comprises 14 green leds and 6 red leds.
In the 100% display mode, each led represents 6.66KHz of deviation with the
first red led representing 100KHz and FSD at 130KHz.
In the 10% mode, each led represents 0.66KHz of deviation.
2.5 ANAMETER CARD
This circuit comprises two cards and a meter mounted centrally on the front
panel (3 Fig.3).
This sub-assembly displays the values of various operating parameters of the
receiver: internal voltages and signal levels of MONO, MPX, STEREO, SCA, CENTER
(signal centering) and SIGNAL (signal amplitude).
The parameters are selected by a lever switch (20 Fig.1) and the selection
is indicated by the legend of the green led (8 Fig.1).
The readings are taken using the corresponding scale:
MEASUREMENT SCALE FDS
Internal voltages V 30V
Signal levels V 1mV
Three green leds indicate the presence of a STEREO signal, P.L.L. lock and
the presence of a SCA signal (SCA PRES. and STEREO PRES. leds are working only
with the option decoder fitted).
2.6 FRONT-END & MIXER
These cards are housed in an aluminum billet (2 Fig.3) and are mounted
on the front part of the metal container enclosing the Audio Process and 70
MHz IF cards.
The Front-End section receives the RF signal from the RF cavity, filters and
amplifies it.
The Mixer section receives the RF signal from the Front-End circuit and mixes
it with the signal generated by the Doubler.
The difference signal obtained is supplied to the 70 MHz IF card.
2.7 CAVITY FILTER
This cavity filter (9 Fig.3) is screwed to cover of the metal container
RXRL-NV/2 Technical and Maintenance Manual
R.V.R. Elettronica S.r.l. (Bo) Pag. 16
housing the Audio Process and 70MHz IF cards.
The receiver's RF cavity is used to privilege its working frequency.
2.8 PLL
This card (13 Fig.3) is mounted on the left side of the base of the unit.
The VCO (12 Fig.3) is mounted on this card, enclosed in a metal container.
This circuit receives the R.F. signal and reads the binary equivalent of the
frequency supplied by the CPU.
The PLL compares the reference signal to the VCO signal and uses the difference
to lock the VCO to the operating frequency.
2.9 AUDIO PROCESS CARD
This card is mounted in the rear of the metal container situated in the
center of the unit.
The Audio Process card processes the various audio signals such as MONO, MPX,
SCA and RDS coming from the 70 MHz IF card.
Furthermore, it supplies these processed signals to the various instruments
found on the Anameter and Modmeter cards.
The card also provides a signal for the Muting card which displays the muting
status and allows the adjustment of the threshold (factory calibrated to
approx. -83 dBm).
2.10 70MHz IF CARD
This card is mounted at the front of the metal container situated in the
center of the unit.
The circuit receives a 70MHz input which is filtered, amplified and then mixed
with a 59.3MHz signal generated by a crystal oscillator.
The resultant 10.7MHz signal, being the difference of the above card for
processing.
2.11 MUTING CARD
This card is mounted on the right side of the front panel and allows
adjustment of the receiver’s muting threshold (= -83 dBm of default) and
displays the muting status with a led (16 Fig.1).
2.12 DOUBLER
This circuit (6 Fig.3) is screwed to the cover of the metal container
housing the Audio Process and 70 MHz IF cards. The circuit doubles the frequency
of the VCO output at a level of about +7 dBm, and the output is supplied to
the input of the Mixer which combines it with the R.F. signal.
The resultant 70 MHz signal is then supplied to the 70 MHz IF card.
RXRL-NV/2 Technical and Maintenance Manual
R.V.R. Elettronica S.r.l. (Bo) Pag. 17
FRONT PANEL VIEW DESCRIPTION (FIG.1)
1 LEVEL HEAR Hear level trimmer
2 HEAR Hear jack
3 MONO Mono output connector, BNC type
4 MONO LEVEL TRIMMER Mono Level Trimmer
5 STEREO LEVEL TRIMMER Stereo Level Trimmer
6 MPX Stereo output connector, BNC type
7 ON/OFF LPF\15KHz ON/OFF Low Pass Filter selector
8 LEDS Light indicator indicated which
parameter of the receiver is being
displayed on the analog meter
9 STEREO PRES. STEREO signal led indicator (only
with STEREO internal decoder
included)
10 LOCK This indicator will light when the
VCO is locked to the reference
frequency
11 SCA PRES. SCA signal led indicator (only
with SCA internal decoder
included)
12 DOWN Control frequency display.
Any momentary pushes causes the
digit to go down 100KHz a time
13 ENTER Enters the frequency on the
display into microprocessor and
memory. Once entered, the
frequency is stored until a new frequency
is entered on the front panel even if the
power is turned off for several days
14 UP Controls the display frequency in
the same way as the "DOWN" button,
except that the frequency goes up
in 100KHz steps
15 LEVEL MUTING Muting Level Trimmer
RXRL-NV/2 Technical and Maintenance Manual
R.V.R. Elettronica S.r.l. (Bo) Pag. 18
16 MUTING Muting led indicator
17 BAR/DOT Selector of operation mode
(BAR/DOT) for deviation meter
18 DEVIATION Deviation meter by "Led Diode Bar"
19 x1/x10 Expansion of modulation meter
scale: Pos. X1 - Full scale shows 100%
Pos. X10 - Full scale shows 10%
20 METER SELECTOR Pushing the switch each time will
light on led at a time in upward
direction
21 METER Analog meter used to monitor the
parameters of the receiver such
as: +15V
+5V
EXT 24V
SIGNAL
CENTER
SCA
MONO
MPX
22 FREQUENCY DISPLAY Frequency indicator
23 ON ON/OFF Power Switch Led
24 POWER ON/OFF Power Switch
RXRL-NV/2 Technical and Maintenance Manual
R.V.R. Elettronica S.r.l. (Bo) Pag. 19
FIG.1
RXRL-NV/2 Technical and Maintenance Manual
R.V.R. Elettronica S.r.l. (Bo) Pag. 20
REAR PANEL VIEW DESCRIPTION (FIG.2)
1 PLUG A.C. power plug
2 FUSE BLOCK Fuse Block & Voltage Changer. Use
a small screwdriver to change fuse
or volt age setting. Turn block
and place desired operating voltage
next to arrow
3 REMOTE CONTROL DB9 communication line to control
or receive status of the receiver.
Baud rate is 1200 Baud. On request, it may be changed to
300, 600 or 2400 baud.
A program is available on 5 1/4"
or 3 1/2" disk for IBM ® or
compatible. Plug is a standard DB9 female.
Pin 1 Not Connected
Pin 2 TXD
Pin 3 RXD
Pin 4 DSR *
Pin 5 GND
Pin 6 DTR *
Pin 7 CTS $
Pin 8 RTS $
Pin 9 Not Connected
* DTR and DSR are connected
together $ CTS and RTS are connected
together
4 (+) EXT 24V (Optional) Positive terminal for EXT 24
5 (-) EXT 24V (Optional) Negative terminal for EXT 24V
6 U.S.A. Audio Output (Optional) U.S.A. audio outputs for telemetry
7 FAN Cooling fan
8 TEST POINT 10.7MHz Test point connector 10.7MHz
9 VOLTAGE REGULATOR 1 Voltage regulator for +5V
10 VOLTAGE REGULATOR 2 Voltage regulator for +15V
11 R.F. INPUT 50 Ohm, "N" Connector

Other R.V.R. Elettronica Industrial Equipment manuals
R.V.R. Elettronica SDC20 User manual

R.V.R. Elettronica

R.V.R. Elettronica SDC20 User manual

R.V.R. Elettronica RXRL-NV User manual

R.V.R. Elettronica

R.V.R. Elettronica RXRL-NV User manual

R.V.R. Elettronica PJRL250 User manual

R.V.R. Elettronica

R.V.R. Elettronica PJRL250 User manual

R.V.R. Elettronica TEX300LCD User manual

R.V.R. Elettronica

R.V.R. Elettronica TEX300LCD User manual

R.V.R. Elettronica PTRL-NV/2/S3 User manual

R.V.R. Elettronica

R.V.R. Elettronica PTRL-NV/2/S3 User manual

R.V.R. Elettronica PTRL NV/3 User manual

R.V.R. Elettronica

R.V.R. Elettronica PTRL NV/3 User manual

R.V.R. Elettronica TEX150-LCD/S User manual

R.V.R. Elettronica

R.V.R. Elettronica TEX150-LCD/S User manual

R.V.R. Elettronica PJ5KPS User manual

R.V.R. Elettronica

R.V.R. Elettronica PJ5KPS User manual

R.V.R. Elettronica TEX150 User manual

R.V.R. Elettronica

R.V.R. Elettronica TEX150 User manual

R.V.R. Elettronica URP User manual

R.V.R. Elettronica

R.V.R. Elettronica URP User manual

R.V.R. Elettronica HC5-10 User manual

R.V.R. Elettronica

R.V.R. Elettronica HC5-10 User manual

R.V.R. Elettronica RDMODWEB User manual

R.V.R. Elettronica

R.V.R. Elettronica RDMODWEB User manual

R.V.R. Elettronica TRDS4001 User manual

R.V.R. Elettronica

R.V.R. Elettronica TRDS4001 User manual

R.V.R. Elettronica VJ2000 User manual

R.V.R. Elettronica

R.V.R. Elettronica VJ2000 User manual

R.V.R. Elettronica IBJECT12K10A User manual

R.V.R. Elettronica

R.V.R. Elettronica IBJECT12K10A User manual

R.V.R. Elettronica URPT/MIC User manual

R.V.R. Elettronica

R.V.R. Elettronica URPT/MIC User manual

R.V.R. Elettronica SDC100 User manual

R.V.R. Elettronica

R.V.R. Elettronica SDC100 User manual

R.V.R. Elettronica TEX20-NV User manual

R.V.R. Elettronica

R.V.R. Elettronica TEX20-NV User manual

R.V.R. Elettronica TEX100 User manual

R.V.R. Elettronica

R.V.R. Elettronica TEX100 User manual

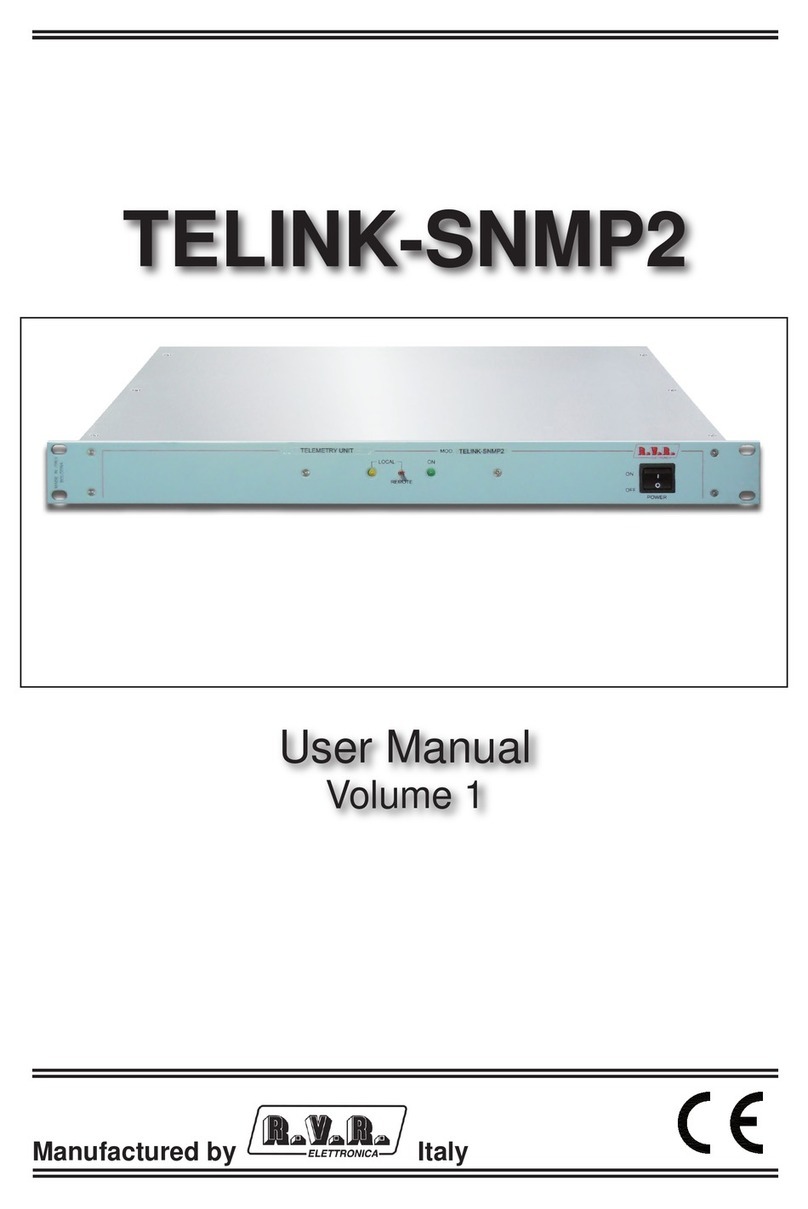
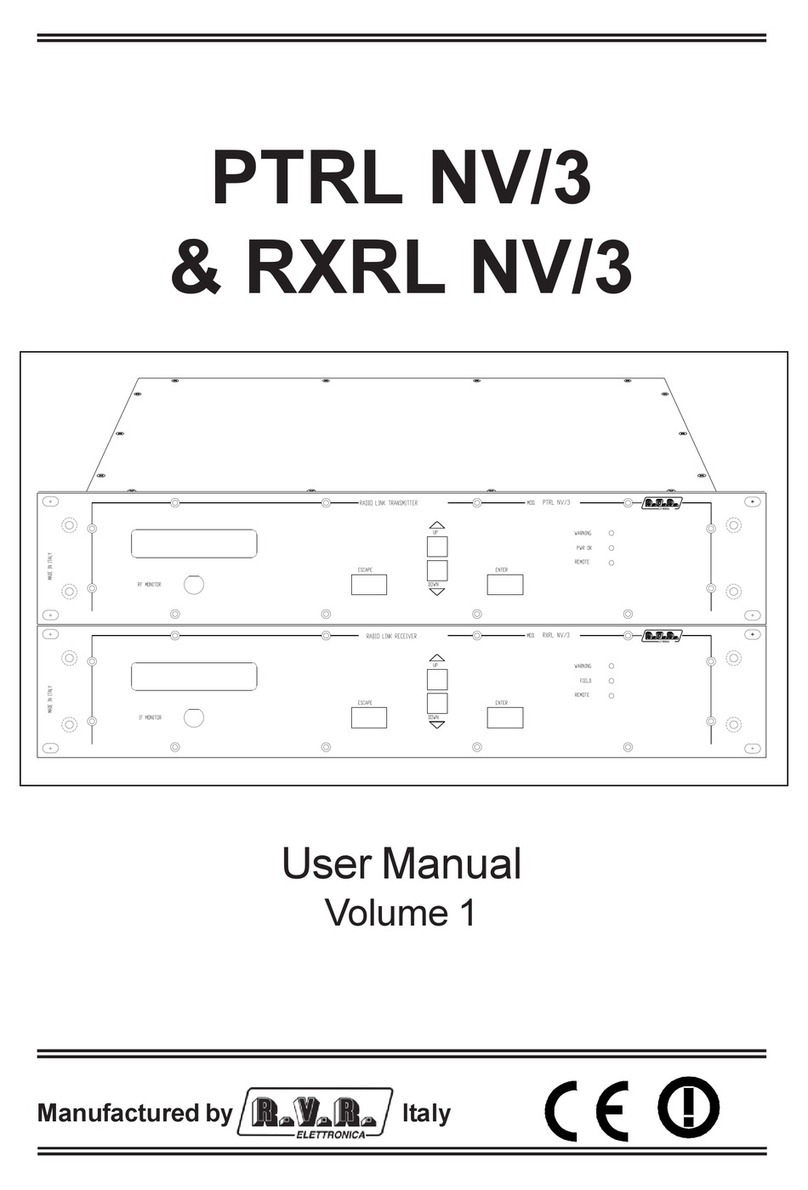
R.V.R. Elettronica TELINK-SNMP2 User manual
R.V.R. Elettronica

R.V.R. Elettronica TELINK-SNMP2 User manual

R.V.R. Elettronica TOUCH30S User manual
R.V.R. Elettronica

R.V.R. Elettronica TOUCH30S User manual

R.V.R. Elettronica TCP/IP-INT-TEX User manual

R.V.R. Elettronica

R.V.R. Elettronica TCP/IP-INT-TEX User manual

R.V.R. Elettronica PJ20KPS-C User manual

R.V.R. Elettronica

R.V.R. Elettronica PJ20KPS-C User manual

R.V.R. Elettronica BLUES 30 User manual
R.V.R. Elettronica

R.V.R. Elettronica BLUES 30 User manual
Popular Industrial Equipment manuals by other brands

Festo KSK Series operating instructions

Festo

Festo KSK Series operating instructions

Ulvac EGL-206M instruction manual

Ulvac

Ulvac EGL-206M instruction manual

Parker LORD Use and maintenance manual

Parker

Parker LORD Use and maintenance manual

Vogt Tube-Ice HFO-10-SYS450 Service manual

Vogt

Vogt Tube-Ice HFO-10-SYS450 Service manual

NPK DG-4 instruction manual

NPK

NPK DG-4 instruction manual

SUHNER ABRASIVE LWC 21 Technical document

SUHNER ABRASIVE

SUHNER ABRASIVE LWC 21 Technical document

Stark 5030 Operating and maintenance manual

Stark

Stark 5030 Operating and maintenance manual

Bosch Rexroth IndraMotion MLC operating instructions

Bosch

Bosch Rexroth IndraMotion MLC operating instructions

Pepperl+Fuchs PGV100RS-F200-B16-1,5M manual

Pepperl+Fuchs

Pepperl+Fuchs PGV100RS-F200-B16-1,5M manual

CMCO TIGRIP THM 120 operating instructions

CMCO

CMCO TIGRIP THM 120 operating instructions

MoldMaker MMC-11 user manual

MoldMaker

MoldMaker MMC-11 user manual

EMUGE FRANKEN Softsynchro 6 Operating	 instruction

EMUGE

EMUGE FRANKEN Softsynchro 6 Operating instruction

Coremorrow P77 user manual

Coremorrow

Coremorrow P77 user manual

CRH Leviat HALFEN HDB-Z Assembly instructions

CRH

CRH Leviat HALFEN HDB-Z Assembly instructions

AFL Hyperscale 20RU installation guide

AFL Hyperscale

AFL Hyperscale 20RU installation guide

ABB UniMix Installation, service and maintenance instructions

ABB

ABB UniMix Installation, service and maintenance instructions

Tyco A quick start guide

Tyco

Tyco A quick start guide

Eaton Cutler-Hammer S801N Quick setup guide

Eaton

Eaton Cutler-Hammer S801N Quick setup guide

manuals.online logo
manuals.online logoBrands
  • About & Mission
  • Contact us
  • Privacy Policy
  • Terms and Conditions

Copyright 2025 Manuals.Online. All Rights Reserved.