manuals.online logo
Brands
  1. Home
  2. •
  3. Brands
  4. •
  5. Radio Shack
  6. •
  7. Desktop
  8. •
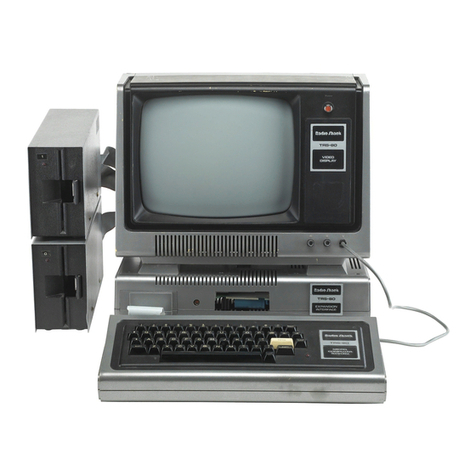
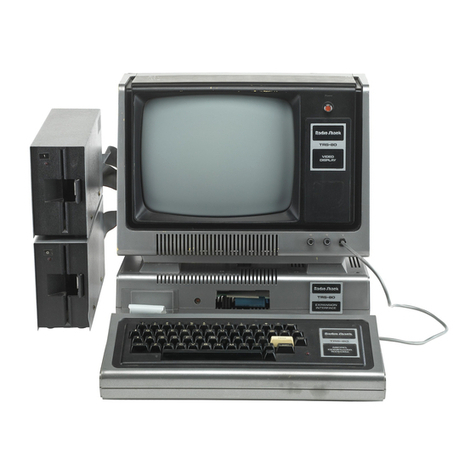
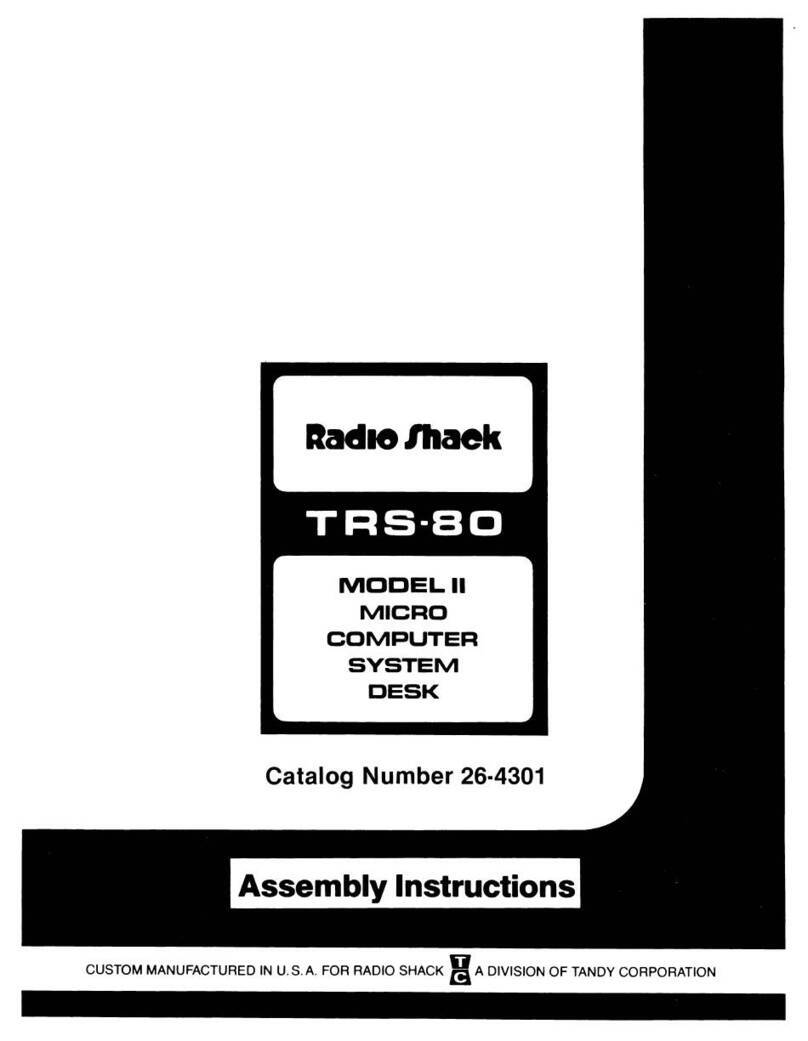
  9. Radio Shack TRS-80 III User manual

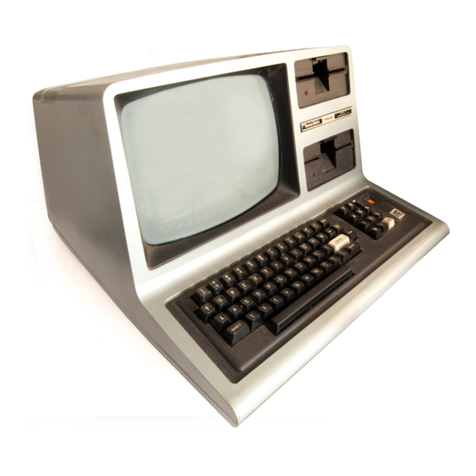
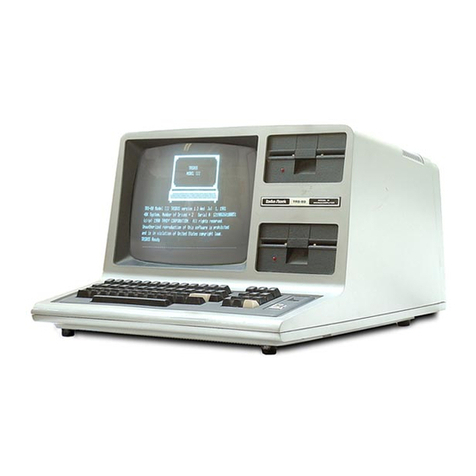
Radio Shack TRS-80 III User manual

CAT. NO. 26-2112 $5.95
®
Model m
Operation and
BASIC Language
Reference Manual
Radio /haek
The biggest name in little computersTV
CUSTOM MANUFACTURED IN THE USA BY RADIO SHACK 53 ADIVISION OF TANDY CORPORATION
The FCC Wants You to Know . .
.
This equipment generates and uses radio frequency energy. It not installed and used prop-
erly, that is, in strict accordance with the manufacturer's instructions, it may cause interfer-
ence to radio and television reception.
It has been type tested and found to comply with the limits for aClass Bcomputing
device in accordance with the specifications in Subpart Jof Part 15 of FCC Rules, which are
designed to provide reasonable protection against such interference in aresidential instal-
lation. However, there is no guarantee that interference will not occur in aparticular
installation.
If this equipment does cause interference to radio or television reception, which can be
determined by turning the equipment off and on, the user is encouraged to try to correct the
interference by one or more of the following measures:
•Reorient the receiving antenna
•Relocate the computer with respect to the receiver
•Move the computer away from the receiver
•Plug the computer into adifferent outlet so that computer and receiver are on different
branch circuits.
If necessary, you should consult the dealer or an experienced radio/television technician for
additional suggestions. You may find the following booklet prepared by the Federal Com-
munications Commission helpful: How to Identify and Resolve Radio-TV Interference
Problems.
This booklet is available from the US Government Printing Office, Washington, DC
20402, Stock No. 004-000-00345-4.
Warning
This equipment has been certified to comply with the limits for aClass Bcomputing device,
pursuant to Subpart Jof Part 15 of FCC Rules. Only peripherals (computer input/output
devices, terminals, printers, etc.) certified to comply with the Class Blimits may be attached
to this computer. Operation with non-certified peripherals is likely to result in interference to
radio and TV reception.
®
Model III
Operation
and BASIC
Manual
Radio /hack®
MADIVISION OF TANDY CORPORATION
FORT WORTH, TEXAS 76102
TRS-80® Model III Operation and BASIC
Language Reference Manual: ©1980 Tandy
Corporation, Fort Worth, Texas 76102
U.S.A. All Rights Reserved.
Reproduction or use, without express written
permission from Tandy Corporation, of any
portion of this manual is prohibited. While
reasonable efforts have been taken in the
preparation of this manual to assure its accuracy,
Tandy Corporation assumes no liability resulting
from any errors or omissions in this manual, or
from the use of the information obtained herein.
Model III System Software: ©1980 Tandy
Corporation and Microsoft. All Rights
Reserved.
The system software in the Model 111
microcomputer is retained in aread-only memory
(ROM) format. All portions of this system
software, whether in the ROM format or other
source code form format, and the ROM circuitry,
are copyrighted and are the proprietary and trade
secret information of Tandy Corporation and
Microsoft. Use, reproduction or publication of any
portion of this material without the prior written
authorization by Tandy Corporation is strictly
prohibited.
Second Edition: 10 98765432
To Our Customers. ..
The TRS-80® Model III Computer is avery powerful tool for business ,home and
recreation. Twenty years ago, this capability would have cost hundreds of times as
much as your Model III cost, and would have taken up an entire room.
In spite of its power and internal complexity ,the Model III can be quite simple to
operate. In fact, you can determine just how "technical" amachine you want it to
be.
At the simplest level of operation, you can use Radio Shack prepared cassette
programs .All you will need to know is how to load and run acassette program, and
how to operate the cassette recorder. If this is where you want to start, read
Chapters 1through 6in the Operation Section. You may also want to read about
CLOAD and SYSTEM in Chapter 16 in the Language Section.
If you want to write your own programs and you are abeginner, read Chapters 1
through 6in the Operation Section, then start reading the book, Getting Started
with TRS-80 BASIC. That, plus several other Radio Shack books, can guide you to
becoming aprogrammer in BASIC and Z-80 language ('
'machine code")
.
If you already know BASIC ,and especially if you have experience on aTRS-80
Model I, read the entire Operation Section of this manual, as well as the Appendix
which compares the Model Iand Model III. The Model III has many unique
features and some very important differences .Afew minutes spent before you
press (ENTER) could save you hours later.
About This Manual
This manual contains operating instructions and adescription of Model III BASIC. It
is arranged for easy reference, whether you are seeking simple or technical
information. Pages are numbered sequentially, and there is acomprehensive Index
at the end of the book.
If you are a beginner, don't worry about the technical parts in the Operation
Section. The beginning of each chapter is for you .(When you get to the POKE
statements ,you can skip ahead to the next chapter. ..)You don'tneed to read past
Chapter 6. Then, when you learn simple BASIC programming, you can return and
try out all the "goodies" packed into your Model III.
Very Important Note
Before you even plug in your Model III. read Chapters 2and 3—no
matter how much you think you know. This applies whether you
have acassette- or disk-based system
.
Remember, when all else fails, read the instructions!
TRS-80 MODEL III
Contents
Operation Section
1/ ABrief Description of the Computer 1
2/ Installation 5
3/ Operation 9
Power-On RESET Switch Power-Off DStart-Up Dialog
Modes of Operation Sample Session
4/ Using the Keyboard 19
Capitals and Lowercase Special Keys Control Codes
5/ Using the Video Display 23
Character Size Cursor Scroll Protection Text
Graphics Space Compression Special Characters
6/ Using the Cassette Interface 29
Cassette Transfer Speed Loading Errors Saving aBASIC
Program on Tape Loading aBASIC Program from Tape D
How to Search for aProgram Loading aSYSTEM Tape
Searching for aProgram
7/ Using aLine Printer 35
Line Printer vs Video Display Output Printer Control
Features Print Screen Function
8/ Using the RS-232-C Interface 41
What is an Interface? Using the Model III as aTerminal
Programming the RS-232-C
9/ Routing Input/Output 49
To Route from One Device to Another Routing Multiple
Devices
10/ Real-Time Clock 53
To Set the Clock To Read the Clock To Display the Clock
11/ Input/Output Initialization 57
12/ Technical Information 59
To Protect High RAM ROM Subroutines DMemory Map
Summary of Important ROM Addresses Summary of
Important RAM Addresses
13/ Troubleshooting and Maintenance 85
Symptom/Cure Table AC Power Sources DMaintenance
14/ Specifications 89
Power Supply Microprocessor \J RS-232-C Interface
DParallel (Printer) Interface DCassette Interface
BASIC Language Section
15/ BASIC Concepts 95
16/ Commands 125
17/ Input-Output Statements 133
18/ Program Statements 147
19/ Strings 163
20/ Arrays 173
21/ Arithmetic Functions 179
22/ Special Features 185
23/ Editing 195
Appendices
A/ Model III Summary 205
Special Characters and Abbreviations Commands
Statements Functions Reserved Words Program
Limits Memory Use Accuracy
B/ Error Codes 223
C/ TRS-80 Model III Character Codes 227
Keyboard/Display Characters Graphics Special
Characters Video Display Worksheet
D/ Internal Codes for BASIC Keywords 237
E/ Derived Functions 239
F/ Base Conversions 241
GModel Ito Model III Program Conversion Hints 245
H/ Glossary 247
I/ RS-232-C Technical Information 251
Index 255
For Warranty and Customer Information, see the back cover and
inside back cover.
in
OPERATION
1/ABrief Description
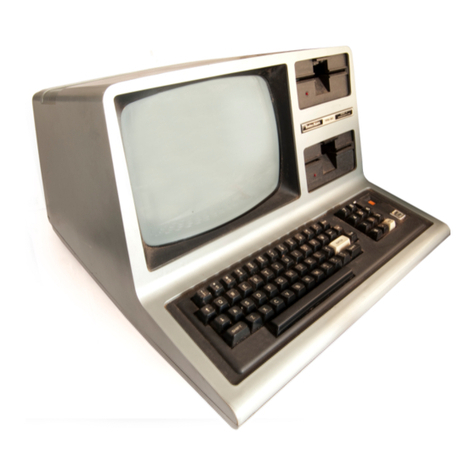
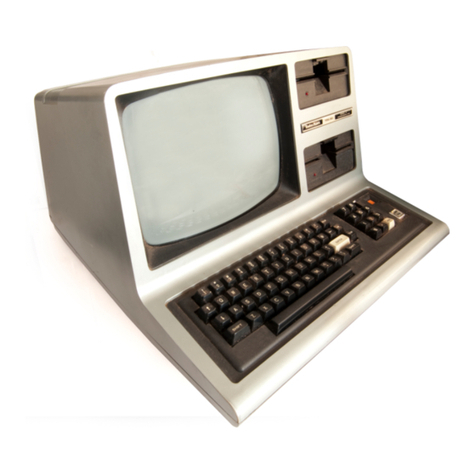
The Radio Shack TRS-80« Model III is aROM-based computer system consisting of:
•A12-inch screen to display results and other information
•A65-key console keyboard for inputting programs and data to the Computer
•AZ-80 Microprocessor, the "brains" of the system
•AReal-Time Clock
•Read Only Memory (ROM) containing the Model III BASIC Language (fully
compatible with most Model IBASIC programs)
•Random Access Memory (RAM) for storage of programs and data while the
Computer is on (amount is expandable from "16K" to "48K", optional extra)
•ACassette Interface for long-term storage of programs and data (requires a
separate cassette recorder, optional/extra)
•APrinter Interface for hard-copy output of programs and data (requires a
separate line printer, optional/extra)
•Expansion area for upgrading to adisk-based system (optional/extra)
•Expansion area for an RS-232-C serial communications interface (optional/extra)
All these components are contained in asingle molded case, and all are powered via
one power cord.
Video Display Screen
Displayable characters include the standard 96 text-characters with the upper and
lowercase alphabet; 64 graphics characters; and 160 special TRS-80 characters .In
addition, there are numerous control and space-compression characters. Some of
the character sets can be switched in and out by BASIC and other programs
.
Keyboard
The keyboard allows entry of all the standard text and control characters. It also
includes a12-key section for convenient numeric entry. From the keyboard, you
can select either all-capitals or upper and lowercase entry. The (BREAK) key is
designed to return control to you during any operation, including cassette
input/output or line printer output. Every key has an auto-repeat feature.
TRS-80 MODEL til
Z-80 Microprocessor
This is the central processing unit—where all the "thinking" is done. In the Mode!
Ill, the microprocessor operates at aspeed of over two million cycles per second.
Read Only Memory (ROM)
This is where the Computer's built-in programs are stored, including the TRS-80
BASIC language. TRS-80 BASIC is fully compatible with the Level II language used in
Model ITRS-80's. Each time you power-on the Computer, this ROM program takes
charge of the microprocessor, enabling you to type in simple BASIC-language
instructions.
The Model III contains a"14K" ROM, meaning it contains 14* 1024 =14336
characters ('
'bytes '
')of permanently programmed memory
.
Random Access Memory (RAM)
This is where your programs and results are stored while the Computer is on .It is
erased when you turn the Computer off.
The Model III can be equipped with 16K, 32K or48K of RAM (IK =1024 bytes).
Peripherals
These are devices you can add to your Computer to increase its usefulness in
programming and data storage. The Model III contains the necessary "interfaces"
to simplify the addition of many peripherals.
Cassette
For long-term storage of programs and data, simply connect acassette recorder to
the Computer, and save the information on tape.
For program storage, you may select either High or Low transfer rates (use Low for
compatibility with Model I, High for faster saves and loads).
OPERATION
Printer
You may connect any Radio Shack "parallel interface" printer to the Model III;
this will give you "hard-copy" capability for program listings, reports, mailing
lists, invoices, etc.
Other Enhancements
The Model III contains space for amini-disk controller and one or two mini-disk
drive units .The Computer will accommodate one or two external drive units as
well.
With aone- ,two- ,three- or four-drive system ,you will be able to store and retrieve
programs and data both quickly and reliably. Your Computer will then be under the
control of TRSDOS®, the powerful Radio Shack Disk Operating System.
You can also add an internal RS-232-C serial interface. This will allow your
computer to communicate with an RS-232-C equipped computer, serial line printer
or other serial device.
OPERATION
2/Installation
Carefully unpack the Computer. Remove all packing material and save it in case
you ever need to transport the Computer. Be sure to locate all cables, papers, etc.
,
that may be included in the shipping carton.
Place the Computer on the surface where you'll be using it. An appropriate power
source should be nearby, so that no extension cord will be required.
Do not connect the Computer to the AC power source yet.
Connection of Peripherals
Before connecting any peripherals (for example, line printer and cassette recorder),
make sure the Computer and the peripheral devices are turned off.
Connect all peripherals to the appropriate jacks on the bottom and rear of the
Computer. Refer to Figure 1for location of connection points. For interconnections
between cables and peripherals, refer to the Owner's Manual supplied with the
peripheral device.
Note: All cables should exit to the rear of the unit so that no binding occurs.
TRS-80 MODEL
On/Off Switch
Disk Expansion Jack. Shown with cable
connected. Cable is supplied with external
drives (optional/extra).
Parallel Printer Jack. Shown with cable con-
nected. Cable and printer are optional/extra.
RS-232-C Jack. Shown with cable
connected. Cable and RS-232-C Interface
are optional/extra.
^p I/O Bus Jack. For future expansion.
QCassette Jack. Shown with cable con-
nected. Cable and cassette recorder are
optional/extra. Black mini-plug connects to
recorder EAR; gray mini-plug to recorder
AUX; gray submini-plug to MIC REMote con-
trol.
QAC Power Cord.
QVideo Contrast Adjustment.
AVideo Brightness Adjustment.
Figure 1. Connection of peripherals and location of controls.
OPERATION
Connection of aCassette Recorder
The following instructions use the CTR-80A recorder (Radio Shack Catalog Number
26- 1206) as an example .If you use adifferent recorder, connection and operation
may vary.
Note: You do not need to connect the Cassette Recorder unless you plan to record
programs or to load taped programs into the TRS-80.
ATRS-80 to Cassette Recorder connection cable is included with the CTR-80A; we
suggest that you use this specially designed cable
.
1
.
Connect the short cable (DIN plug on one end and three plugs on the other) to the
TAPEjack on the back of the Computer. Be sure you get the plug to mate
correctly.
2. The three plugs on the other end of this cable are for connecting to the recorder.
3
.
A.Connect the black plug into the earjack on the side of the recorder .This
connection provides the output signal from the recorder to TRS-80 (for
loading Tape programs into TRS-80).
B
.
Connect the larger gray plug into the AUXjack on the recorder. This
connection provides the recording signal to record programs from the
TRS-80 onto the tape.
Leave the AUX plug in whether you are recording or playing back
cassette data.
C. Connect the smaller gray plug into the smaller MIC jack on the recorder.
This allows the TRS-80 to automatically control the recorder motor (turn
tape motion on and off for recording and playing tapes .
)
Note: Do not plug aremote microphone or adummy plug into the larger MIC jack.
Connection to an AC Power Source
Make sure the Computer and all peripherals are off.
The AC Power Cord exits from the rear of the Computer. Connect it and all
peripherals to an appropriate power source. Power requirements for Radio Shack
products are specified on the units and in the Owner's Manual Specifications.
For convenience ,you may connect all components to asingle "power strip" such
as Radio Shack's 26-1451 Line Filter. This will allow you to turn on the entire system
with asingle switch. Take care not to exceed the current capacity of the power strip.
OPERATION
3/Operation
Power-On
The following instructions explain how to start up and use the Model III as a
ROM-based system only.
If you have aDisk System and are going to load TRSDOS, follow the power-up
instructions given in the Model HI Disk System Owner's Manual. If you have aDisk
System but you are not going to load TRSDOS, read the instructions later in this
chapter.
The Computer and all peripherals must be off.
First turn on all peripherals, then turn on the Computer. (If you have all the
components connected to apower strip, just turn on the power strip.
)
After afew seconds ,the following message should appear on the Video Display:
Cass?
The meaning of this message will be explained later.
If the message does not appear:
A. The Video Display may need Brightness or Contrast adjustment. See Figure 1
for location of these controls
.
B. If the message still doesn't appear, then turn off the entire system, recheck all
connections, and try again. For further assistance, see "Troubleshooting and
Maintenance."
Do not turn any peripherals off while the Computer is in use; to do so could cause
abnormal operation (the Computer could restart or ''hang up" ,requiring you to
reset or turn the system off and on again)
.
TRS-80 MODEL
RESET
RESET is the orange-colored button at the upper right corner of the keyboard.
To '
'start over' 'at the power-on message ,you do not have to turn the unit off and
on again. Pressing the RESET button will have the same effect.
Note: Resetting the Computer does not erase the contents of RAM .However, the
BASIC language interpreter will start over, thus "losing" any program or data you
had in memory.
To interrupt aprogram or operation without losing your BASIC program and data,
hold down the (BREAK) key.
Power-Off
First turn off the Computer, then all other peripherals.
If you turn the Computer off for any reason, leave it off for at least 15 seconds before
turning it back on again. The Computer's power supply needs this time to discharge
its stored energy before starting up again.
Whenever you turn off the Computer, all programs and data are erased. So be sure
to save your information (e.g. ,on cassette) before turning off the Computer.
Start-Up Dialog
When you turn on or reset the Computer, it asks you two questions. First:
Cass?
This question lets you determine the rate at which programs and data will be
transferred to and from cassette. You can select either Low (500 baud) or High (1500
baud). Type
L
for Low, or
H
for High.
10

Other manuals for TRS-80 III

5

Other Radio Shack Desktop manuals

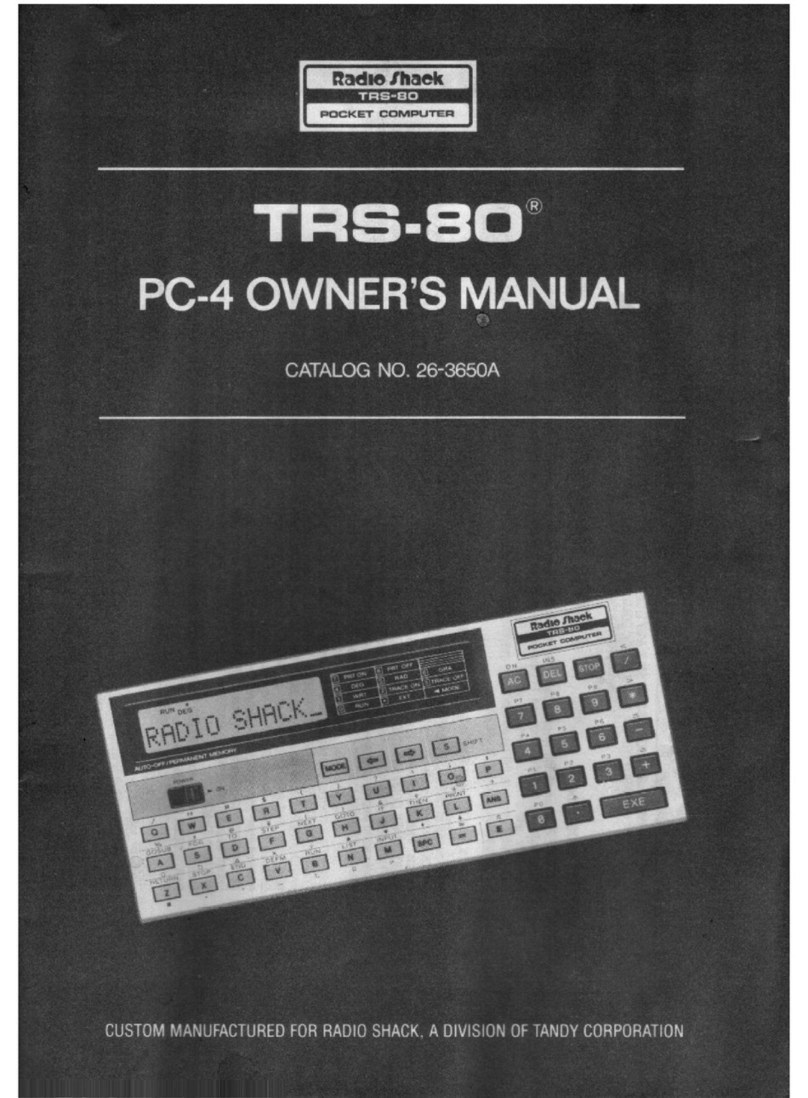
Radio Shack TRS-80 PC-4 User manual

Radio Shack

Radio Shack TRS-80 PC-4 User manual

Radio Shack TRS-80 User manual

Radio Shack

Radio Shack TRS-80 User manual

Radio Shack TRS-80 Model 4 User manual

Radio Shack

Radio Shack TRS-80 Model 4 User manual

Radio Shack TRS-80 User manual

Radio Shack

Radio Shack TRS-80 User manual

Radio Shack 4 User manual

Radio Shack

Radio Shack 4 User manual

Radio Shack TRS-80 User manual

Radio Shack

Radio Shack TRS-80 User manual

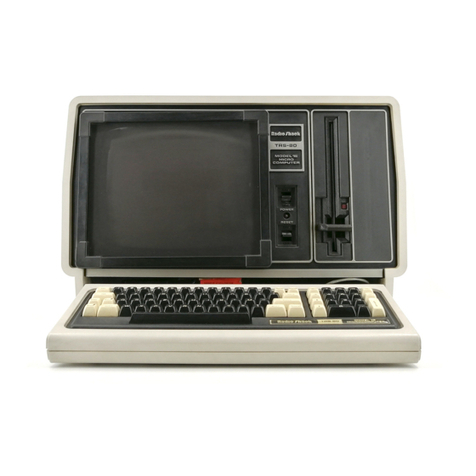
Radio Shack TRS-80 Model 12 User manual

Radio Shack

Radio Shack TRS-80 Model 12 User manual

Radio Shack TRS-80 User manual

Radio Shack

Radio Shack TRS-80 User manual

Radio Shack TRS-80 Model 4 Product manual

Radio Shack

Radio Shack TRS-80 Model 4 Product manual

Radio Shack 26-1061 User manual

Radio Shack

Radio Shack 26-1061 User manual

Radio Shack TRS-80 Model 16B User manual

Radio Shack

Radio Shack TRS-80 Model 16B User manual

Radio Shack TRS-80 Model-4 User manual

Radio Shack

Radio Shack TRS-80 Model-4 User manual

Radio Shack TRS-80 User manual

Radio Shack

Radio Shack TRS-80 User manual

Radio Shack TRS-80 User manual

Radio Shack

Radio Shack TRS-80 User manual

Radio Shack 26-3501 User manual

Radio Shack

Radio Shack 26-3501 User manual

Radio Shack TRS-80 User manual

Radio Shack

Radio Shack TRS-80 User manual

Radio Shack 16B User guide

Radio Shack

Radio Shack 16B User guide

Radio Shack TRS 80 PC-4 User manual

Radio Shack

Radio Shack TRS 80 PC-4 User manual

Radio Shack TRS-80 Model 4 Product manual

Radio Shack

Radio Shack TRS-80 Model 4 Product manual

Radio Shack TRS-80 User manual

Radio Shack

Radio Shack TRS-80 User manual

Radio Shack TRS-80 Model 100 User manual

Radio Shack

Radio Shack TRS-80 Model 100 User manual

Radio Shack 1750L User manual

Radio Shack

Radio Shack 1750L User manual

Radio Shack TRS-80 III User manual

Radio Shack

Radio Shack TRS-80 III User manual

Radio Shack TRS-80 User manual

Radio Shack

Radio Shack TRS-80 User manual

Popular Desktop manuals by other brands

Dell Inspiron 20 quick start guide

Dell

Dell Inspiron 20 quick start guide

Dell Latitude 5175 user guide

Dell

Dell Latitude 5175 user guide

Alienware Aurora R12 Service manual

Alienware

Alienware Aurora R12 Service manual

Asus EB1030 user manual

Asus

Asus EB1030 user manual

HP Pavilion All-in-One MS200 - Desktop PC Getting started guide

HP

HP Pavilion All-in-One MS200 - Desktop PC Getting started guide

Asus BP1AE Product specification

Asus

Asus BP1AE Product specification

Dell Inspiron One 2330 owner's manual

Dell

Dell Inspiron One 2330 owner's manual

Toshiba Satellite Pro R50-E Series user manual

Toshiba

Toshiba Satellite Pro R50-E Series user manual

HP SignagePlayer mp8000r Maintenance and service guide

HP

HP SignagePlayer mp8000r Maintenance and service guide

DFI GM831-CSF user manual

DFI

DFI GM831-CSF user manual

Lenovo H105 Limited warranty

Lenovo

Lenovo H105 Limited warranty

Giada F110D Series Assembly guide

Giada

Giada F110D Series Assembly guide

Sony VAIO PCV-RX670 Specifications

Sony

Sony VAIO PCV-RX670 Specifications

Avigilon RM6-WKS-4MN user guide

Avigilon

Avigilon RM6-WKS-4MN user guide

Sony VAIO PCG31112L user guide

Sony

Sony VAIO PCG31112L user guide

Compaq Presario 6000 Series manual

Compaq

Compaq Presario 6000 Series manual

YOGGIE GATEKEEPER CARD PRO user guide

YOGGIE

YOGGIE GATEKEEPER CARD PRO user guide

Intergraph TDZ 2000 GL2 Workstation System reference guide

Intergraph

Intergraph TDZ 2000 GL2 Workstation System reference guide

manuals.online logo
manuals.online logoBrands
  • About & Mission
  • Contact us
  • Privacy Policy
  • Terms and Conditions

Copyright 2025 Manuals.Online. All Rights Reserved.