2
FEATURES
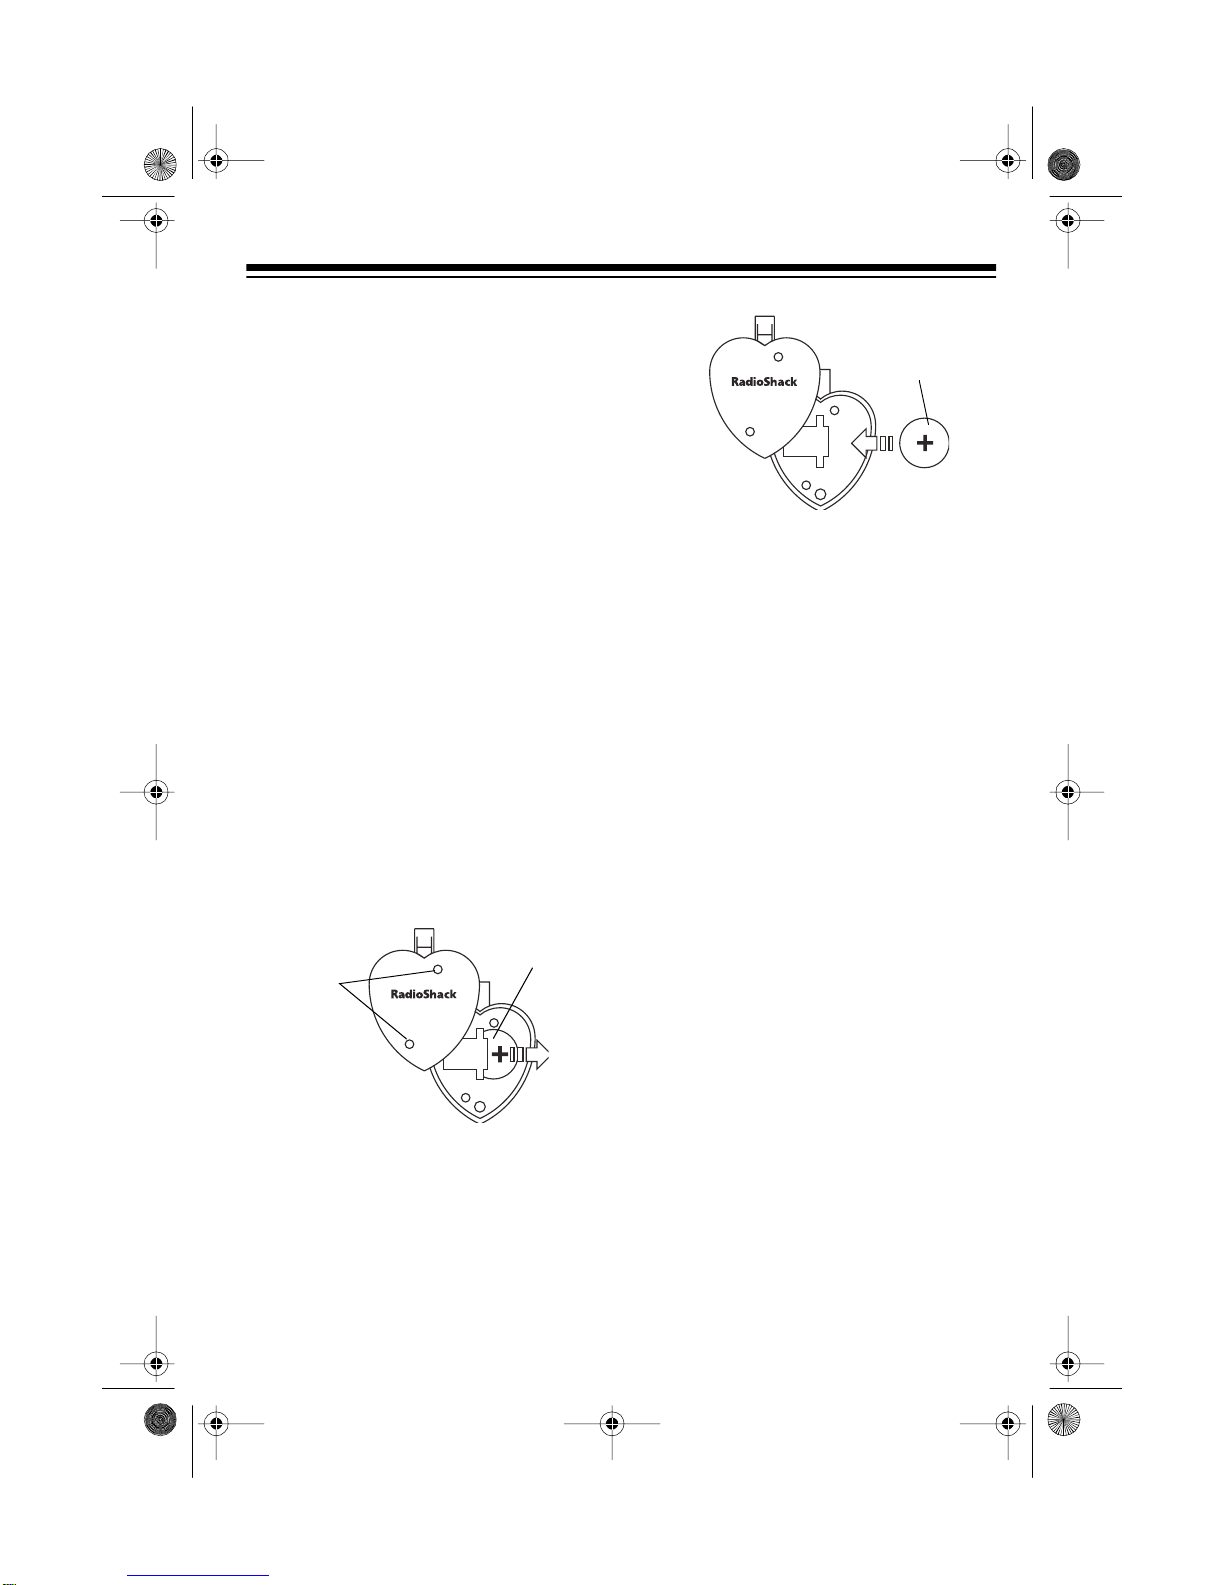
Your RadioShack Emergency Phone Di-
aler lets you call for help, even when you
cannot reach the phone. The system in-
cludes a console and a call pendant.
Just press the call pendant’s button and
the console’s built-in dialer calls a friend
or neighbor whose phone number you
have stored. The system then plays a
message recorded in your own voice
and gives the called person the option of
listening in through the system’s built-in
microphone.
The Phone Dialer’s console is Plug ’n
Power®compatible. Its expandable de-
sign lets you add more call pendants or
Plug ’n Power modules to control lamps,
appliances, and other electrical devices
(see “Expanding Your System” on
Page 13).
The Emergency Phone Dialer has these
features:
House Code Selector — lets you con-
trol which optional Plug ’n Power mod-
ules are controlled by the system.
Unit Code Selector — lets you control
which lamps or appliances connected to
a Plug ’n Power module are turned on
when you use the system.
AC Power Indicator — shows that your
system has power.
Backup Batter
Indicator — tells you
when it is time to change the backup
battery.
Simple Controls — make it easy to set
up and operate your system.
Built-in Piezo Siren — 95dB siren
alerts people in or near your home when
you need help.
Four Number Memor
— stores up to
four phone numbers for the dialer to call
when you need help.
Dialer — dials a friend or neighbor for
assistance and plays back a message
recorded in your own voice.
Wireless Call Pendant — lets you acti-
vate either the dialer or the alarm with
the touch of a button. And, it is water re-
sistant so you can even wear it while
showering, washing dishes, or working
around water.
Panic Alarm — lets you sound the
alarm without the system dialing out, so
you can get immediate help from some-
one in or near your home.
Built-in Microphone — lets the person
you call press any number button on
their touch-tone phone and listen to
what is happening in the room where the
console is located.
Caution: You should not immerse the
call pendant in water. For example, do
not wear it while swimming. The pen-
dant is water resistant, not waterproof.
©1998 Tandy Corporation.
All Rights Reserved.
RadioShack, Plug ’n Power, and Powerhorn are registered trademarks used by Tandy Corporation.
49-2559.fm Page 2 Wednesday, August 18, 1999 3:29 PM