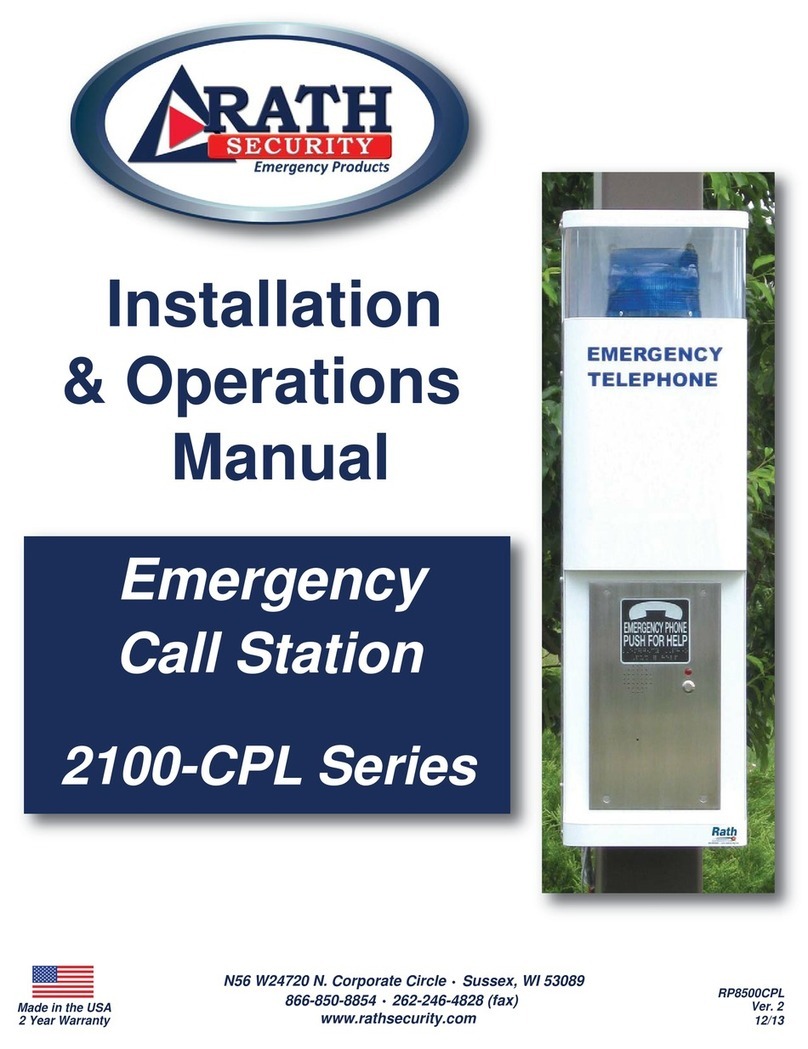
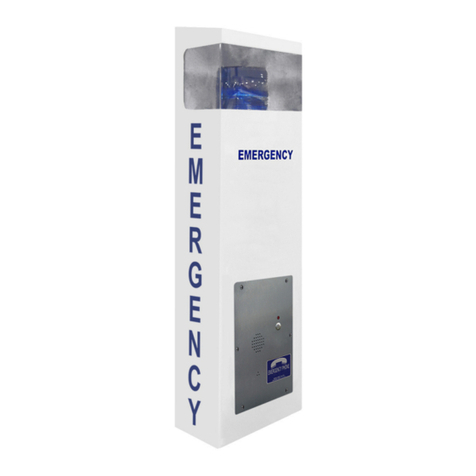
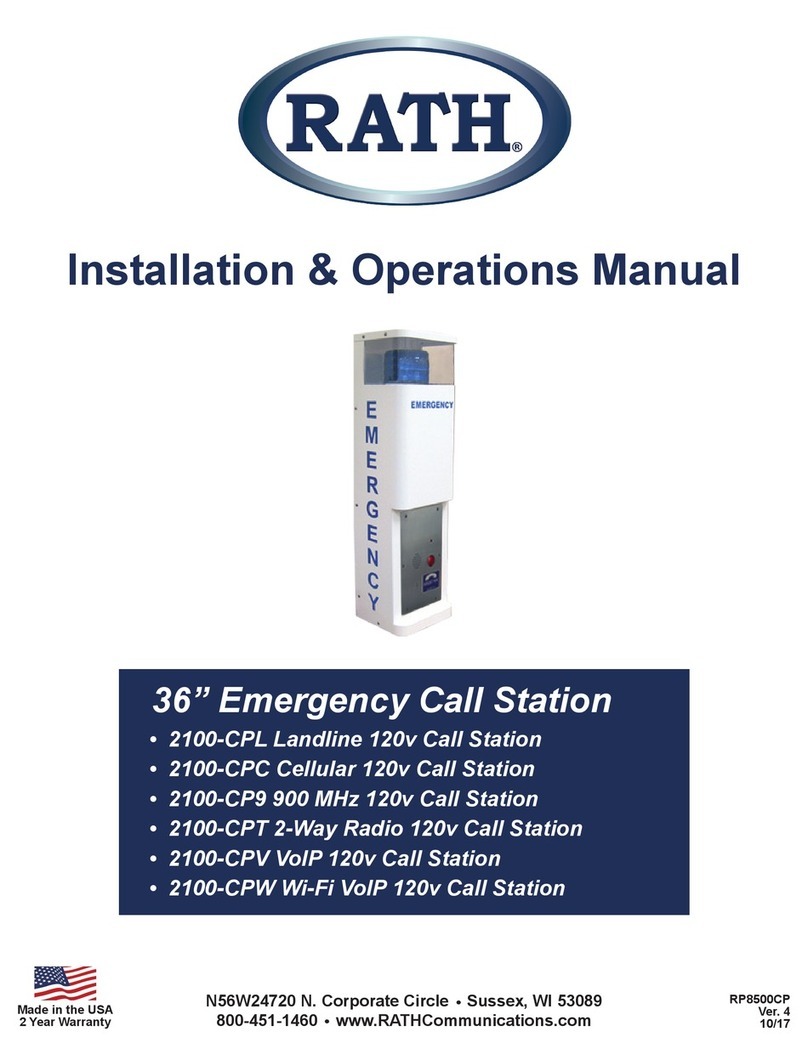
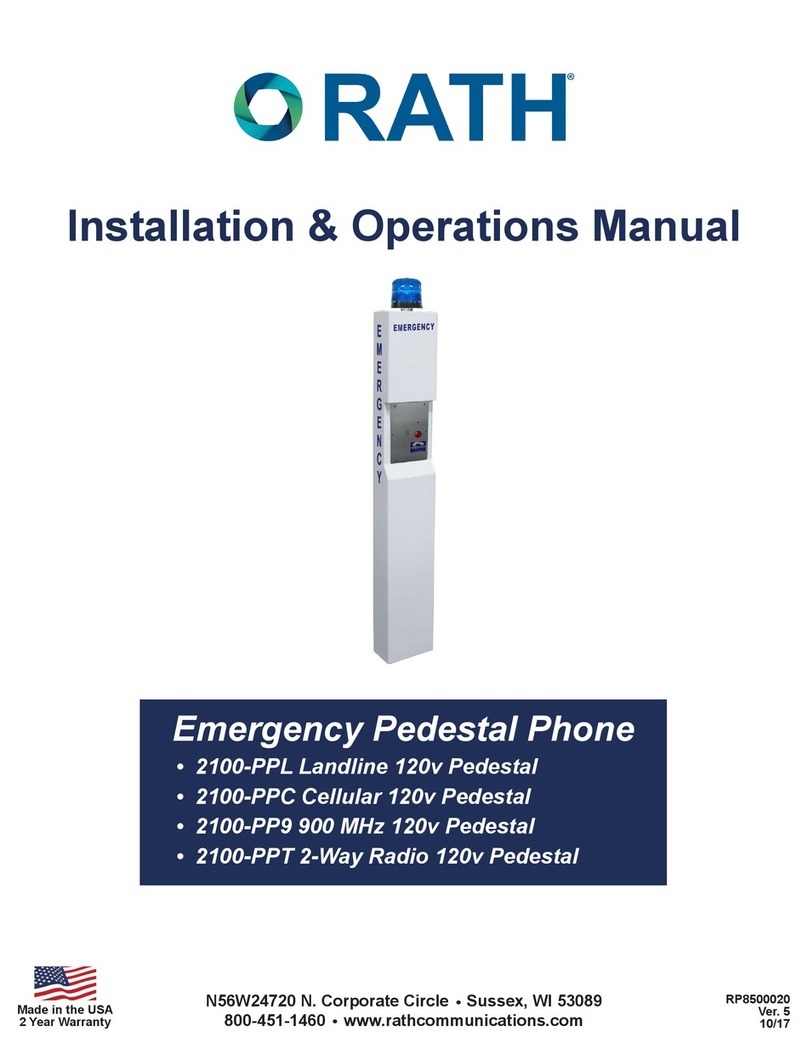
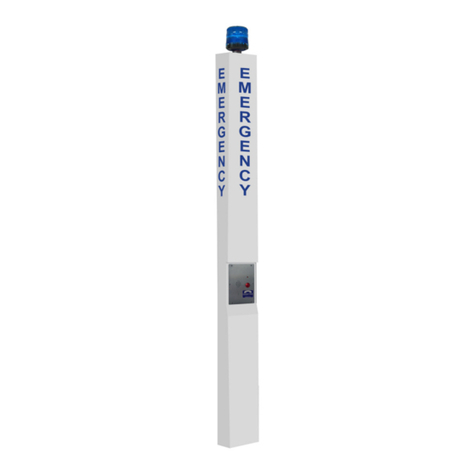
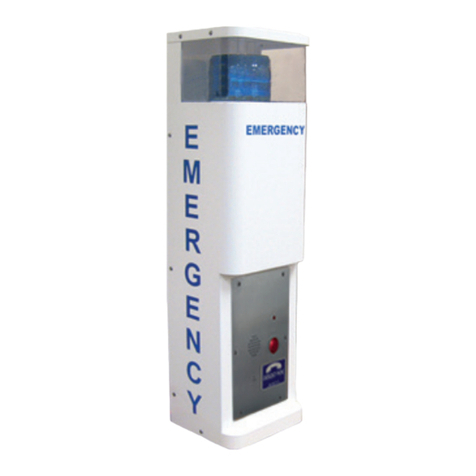
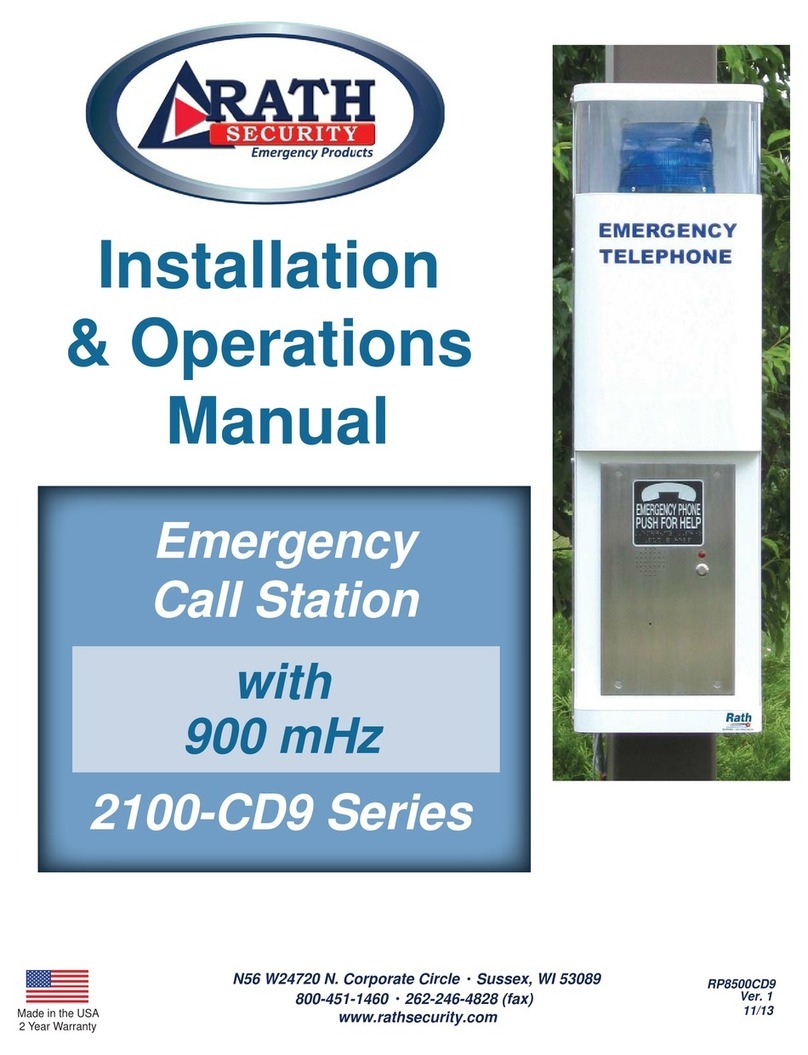
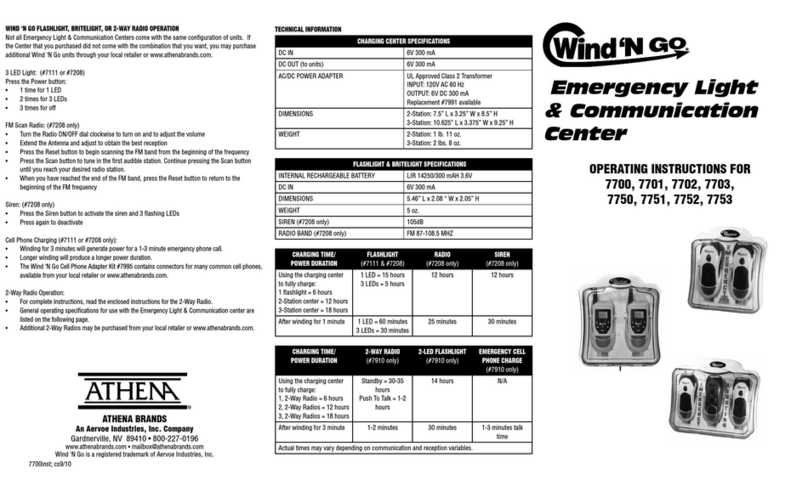
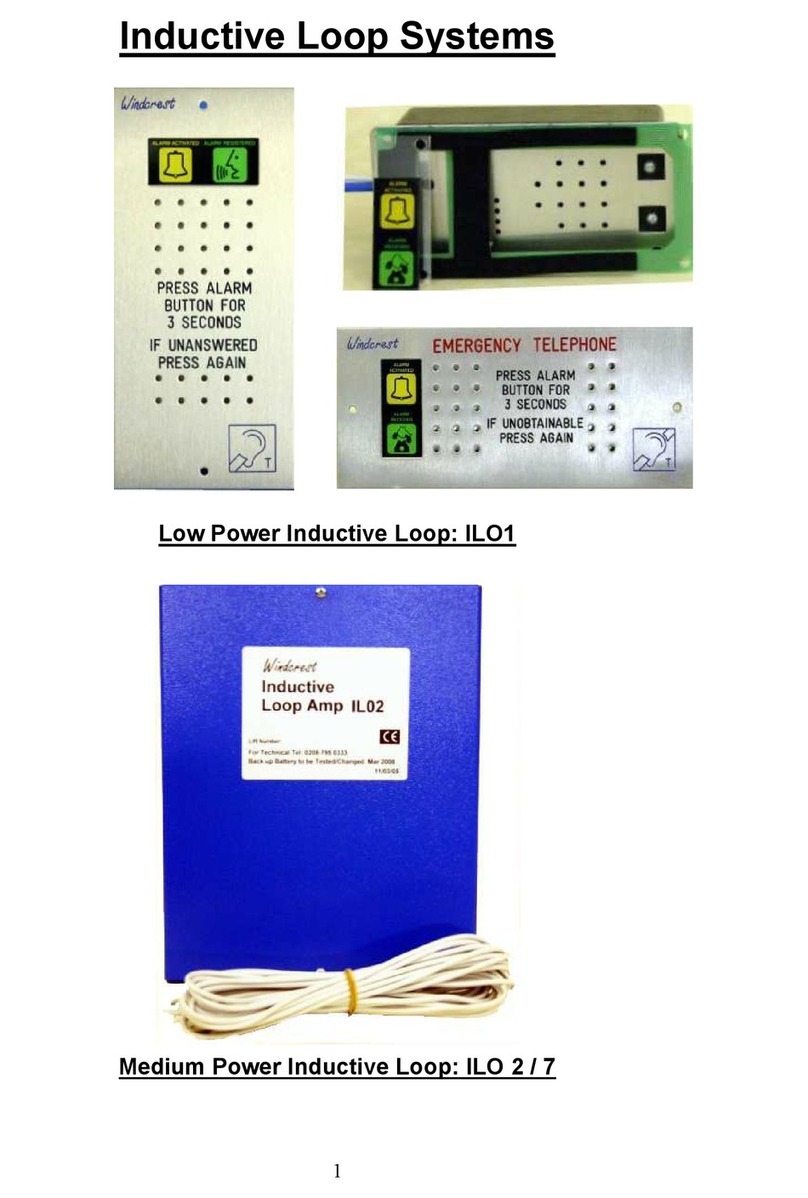
Rath 2100-CPV User manual

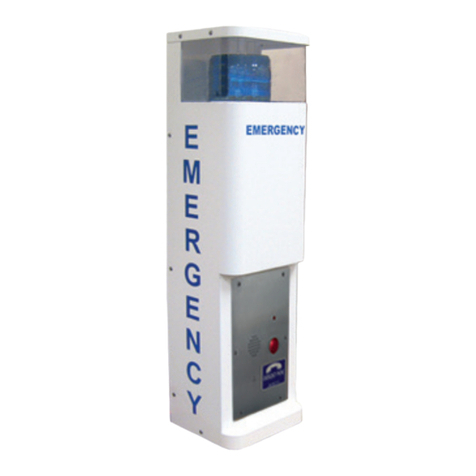
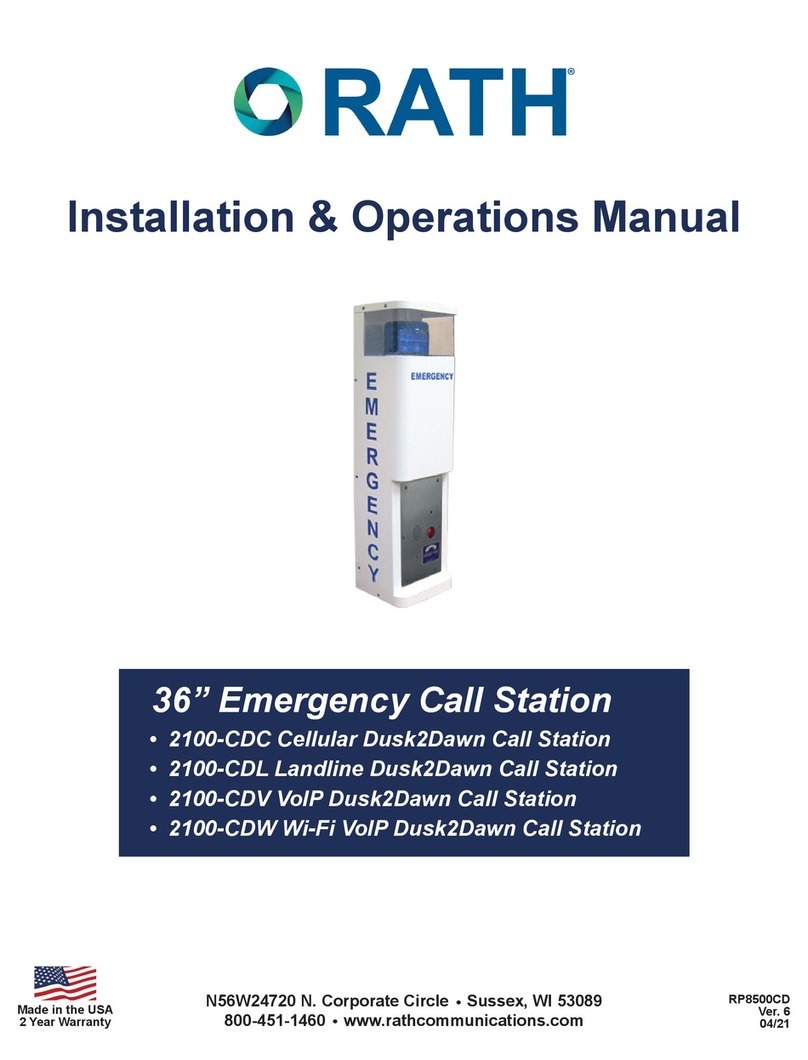
Emergency
Call Station
Installation
& Operations
Manual
COMMUNICATIONS
EMERGENCY
N56 W24720 N. Corporate Circle Sussex, WI 53089
866-850-8854 262-246-4828 (fax) www.rathsecurity.com
Made in the USA
2 Year Warranty
2100-CPV Series
RP8500CPV
Version 1
9/10

N56 W24720 N. Corporate Circle Sussex, WI 53089
866-850-8854 262-246-4828 (fax) www.rathsecurity.com
COMMUNICATIONS
EMERGENCY
Welcome to Rath.
Thank you for purchasing the Rath Emergency Call Stations.
We take great pride in our products, service and support. Our #1 mission is customer satisfaction.
When evaluating emergency communication systems, you can rely on Rath to continually provide
Innovative Thinking, Design and Value.
Thank you for your business.
Tom Touchett, President
Parts Listing. . . . . . . . . . . . . . . . . . . . . . . . . . . . . . . .
Call Station Installation . . . . . . . . . . . . . . . . . . . . . . . .
Turning on the Electric . . . . . . . . . . . . . . . . . . . . . .
Phone Programming . . . . . . . . . . . . . . . . . . . . . . . . .
Testing of the Phone . . . . . . . . . . . . . . . . . . . . . . . .
Troubleshooting . . . . . . . . . . . . . . . . . . . . . . . . . . . . .
Specifications . . . . . . . . . . . . . . . . . . . . . . . . . . . .
Warranty . . . . . . . . . . . . . . . . . . . . . . . . . . . . . . . . . .
Table of Contents
Page 2
Page 2
Page 3
Page 4
Page 5
Page 6
Page 7
Page 8

pg. 2
2100-CPV Series Emergency Call Station
Parts Listing Provided by Rath:
1. Strobe
2. Rath SmartPhone
3. Nema electrical box mounted inside call station
4. 120 AC to DC Transformer
Call Station Installation:
1. Remove 12 security screws from the sides of unit.
2. Remove top cap from unit.
3. Pull front assembly away from back unit.
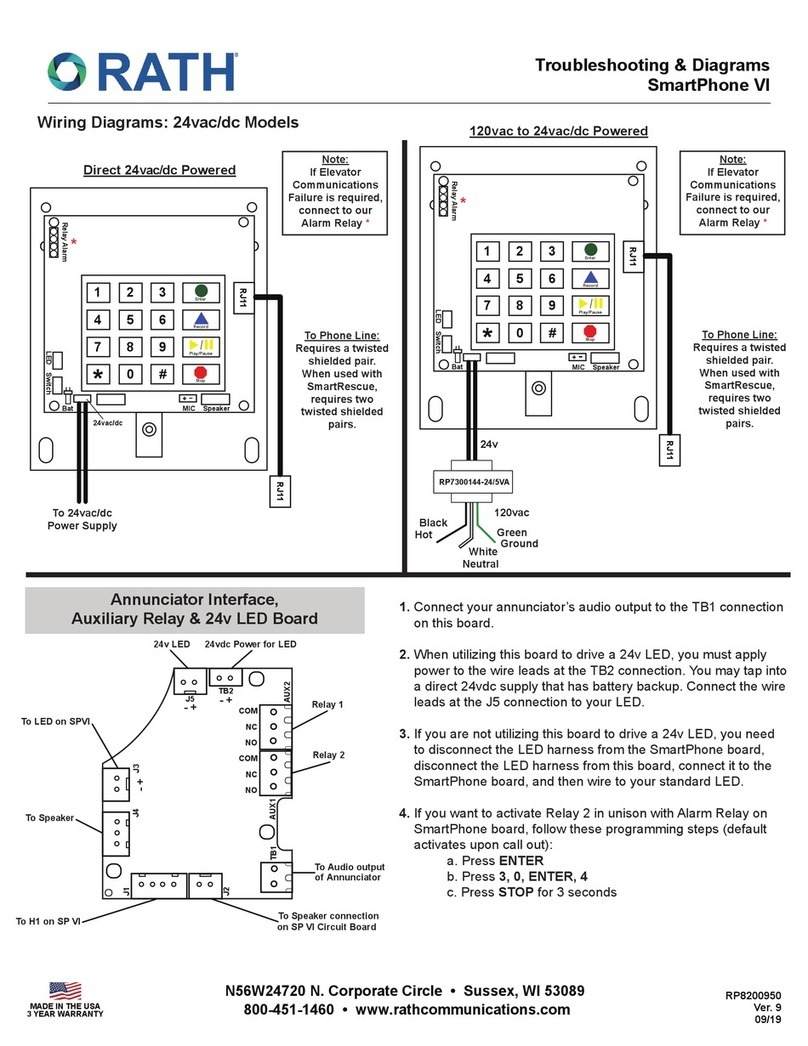
4. Disconnect the gray Wago connector (see diagram on next page)
5. If wall mount, mount to wall.
6. If pole mount, attach unit to pole using a secure mounting fastener.
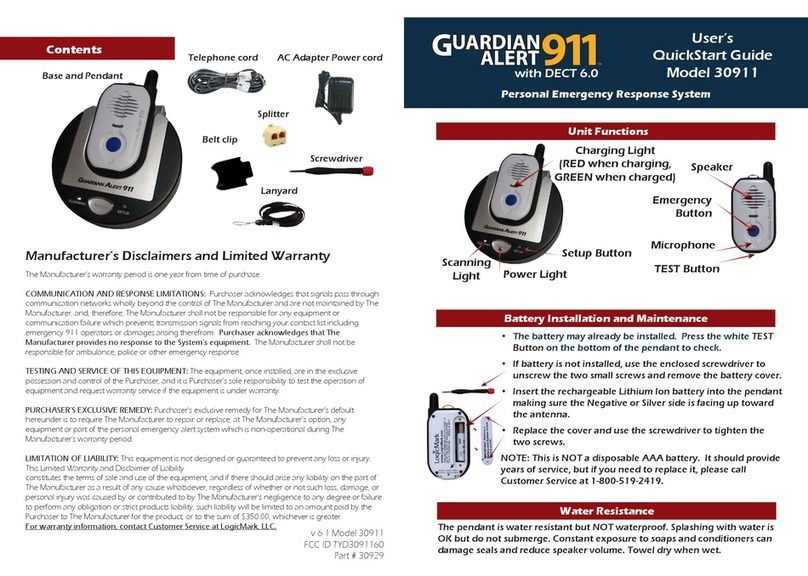
7. Connect the electrical conduit of the 110ac volt supply to the call station and run necessary wires.
8. Connect the 110ac wiring to the call station power cable (see diagram on next page)
9. Turn on the 110ac power to the call station
COMMUNICATIONS
EMERGENCY
866-850-8854 www.rathsecurity.com
5. Voltage Regulator
6. Torx Bit
Rath recommends that the call station be mounted so that the push button is less than 48 inches above
the ground to comply with the Americans with Disabilities (ADA) requirements. For ease of installation,
two people should perform the install.

pg. 3 COMMUNICATIONS
EMERGENCY
866-850-8854 www.rathsecurity.com
Wiring Diagram
Turn on the Electric:
Once the electrical is “live”, you need to program and test the phone. Reconnect the Wago connectors that
attach the front plate to the NEMA box. If the phone will be programmed remotely, secure the front assem-
bly to the back panel, install the top cap, and reinstall the 12 screws to the sides of the unit. Otherwise,
proceed to the directions for Programming the Phone On-Site.
Wago
Transformer
Ground
10 conductor cable to front plate
Battery
Wago Connector 10 contact
Water proof wire nuts for
Hot, Neutral, and Ground Phone line
connect with
Water proof connections
Pair of wires
for Camera
Pair of wires
for Strobe
1
4 5
78
0
9
6
3
2
Enter
Record
Play / Pause
Stop
*
#
Annunciator Audio
Connector
Hot
Neutral
To Constant Strobe

pg. 4 COMMUNICATIONS
EMERGENCY
866-850-8854 www.rathsecurity.com
Key Pad
Programming the Phone:
*Note: Programming not required if customer information provided to the factory - Proceed to Testing
1. You can program the phone on-site or program remotely.
2. If programming on-site, open up back access panel located directly behind front stainless steel face
plate. Use the #10 spanner bit provided to remove the 6 security screws.
3. Remove the cover of the NEMA enclosure by loosening the 4 corner screws.
ONSITE PROGRAMMING:
Step 1. To Begin Program mode
A. Press Enter
Step 2. To Program Emergency Numbers
A. Press 1, Enter, (phone number), Stop
Note: Press 2-5 in step 2A for Emergency numbers
2-5 as needed
Step 3. To Program Location message
A. To turn on message Press 1, 3, Enter, 2
B. Press 6, Record (speak message) Stop (to replay message Press 6, Play)
C. For no message Press 1, 3, Enter, 0
Step 4. To exit program mode
A. Press Stop for 3 seconds
REMOTE PROGRAMMING:
Step 1. To Begin Program mode
A. Call into phone by dialing the cellular number of the tower
B. After 1st simulated ring Press #, #(Wait for 4 tones)
C. Key in security code (default is 1111) (Wait for confirmation tones)
Step 2. To Program Emergency Numbers
A. Press 1, *, (Phone number), *, #(Wait for confirmation tones)
Note: Emergency numbers (2-5) Repeat Step 2A; pressing (2-5) as needed.
Step 3. To Program Location Message
A. To turn on message Press 1, 3, *, 2(Wait for confirmation tones)
B. Press 6, *, (speak message) #, *, #(Wait for confirmation tones)
a. (to replay message press 6, #) (Wait for confirmation tones)
C. For NO message Press 1, 3, *, 0(Wait for confirmation tones)
Step 4. To Exit Program Mode
A. Press *, #, 0(you will hear beep, beep) *, #(You will hear a buzz)
pg. 5 COMMUNICATIONS
EMERGENCY
866-850-8854 www.rathsecurity.com
Testing of the Phone:
Push the silver emergency button on front of the Call Station:
Adjusting the Volume:
If the volume is too low or high, adjust it by referring to the diagram and instructions below.
*Note - Refer to the instructions under Programming the Phone to access the circuit board.
Adjusting the Microphone:
If the person you are calling reports your voice is not loud enough, increase the Microphone Sensitivity by
adjusting VR2 ¼ turn clockwise (requires a small Phillips screwdriver).
Adjusting the Speaker:
If the voice of the person you call is not loud enough in the emergency phone speaker, increase the
Volume, by adjusting VR1 ¼ turn clockwise.
Reinstall the cover on the NEMA enclosure and secure the rear access panel.
Suggested Ongoing Testing of the Phone:
Rath recommends that the Emergency call stations be tested and maintained on a monthly basis to ensure
proper operation. For testing, follow the procedure outlined in Testing of the Phone.
Do you hear a dial tone?
Does the Strobe start flashing immediately when button was pushed?
Does red LED become a solid light when you pushed the button?
Does the red LED flash and a short time after (15-20 seconds) the called party started talking
to you? (Delay is due to phone telling other party your location via the “Location Message”)
Can you hear the other party clearly? (if no, see “Adjust Speaker” on the next page)
Can the other party hear you clearly? (If no, see “Adjust Microphone on the next page)
When the party you called hangs up, does the strobe stop?
Yes No
If you have answered YES to all questions, you have successfully installed and tested your new
emergency phone. If you answer no to any question, proceed to the Troubleshooting section.
Volume
Adjust
VR1
Rath SmartPhone
Mic
Sensitivity
VR2

pg. 6
Troubleshooting:
Problem Possible Cause & Fixes
No dial tone when the
button is pushed:
• Check to make sure the phone line connected.
Audio is low from the
speaker:
• Speaker control needs to be adjusted. Go to Speaker Adjustment on page 5.
Called Party says audio
is low:
• Microphone control needs to be adjusted. Go to Microphone Adjustment
section on page 5.
Audio is distorted from
the speaker:
• Speaker control needs to be adjusted. Go to Speaker Adjustment on page 5.
• Make sure there are no items touching the speaker inside the tower.
When called party
hangs up, strobe
continues to flash for 1
minute:
• Slow disconnecting signal from the phone company. This is considered normal
operation.
When called party
hangs up, strobe
continues to flash:
• Phone company or phone system is not providing a disconnect signal. Contact
the appropriate party to make sure the disconnect signal is provided.
Tower appears non-
functional. Strobe does
not flash and no audio is
heard from speaker
when button is pushed:
• Check to make sure phone line is connected.
• Make sure the speaker holes are not blocked.
• Make sure the microphone hole is not blocked.
• Double check electrical connections.
COMMUNICATIONS
EMERGENCY
866-850-8854 www.rathsecurity.com
• Push button may be nonfunctional.

Model: 2100-CPV
Emergency Tower Dimensional Specifications:
pg. 7 COMMUNICATIONS
EMERGENCY
866-850-8854 www.rathsecurity.com
Body of Tower:
Height 36 in.
Width 10 in.
Depth 8 in.
Thickness of Steel 18 gauge
Weight 51 lbs.
Call Station

Statement of Warranty
pg. 8 COMMUNICATIONS
EMERGENCY
866-850-8854 www.rathsecurity.com
Rath Communications (Rath) products are warranted to be free of manufacturing defects in material and
workmanship for two (2) years from the date of sale to the customer.
Rath will, at its election, repair, replace or make appropriate fixes at its option, to any phone product
found to be defective and is within the warranty period.
Under no circumstances will Rath be responsible for any expense in connection with any repairs made by
anyone other than the factory or an authorized representative of Rath, unless such repairs have been
specifically authorized in writing.
Equipment failure or damages caused by misuse or negligence will not be covered under this warranty.
Rath’s liability under this warranty shall be solely limited to the repair or replacement of the defective
parts within the warranty period, and will not be liable under any circumstances, for consequential or
incidental damages, including, but not limited to, personnel injury or labor costs.
This Warranty statement of policy is in lieu of any other policy expressed or implied and no representative
or person is authorized to assume any other liability or adopt any other policy for Rath without our written
consent.
Product Satisfaction Guarantee
Rath guarantees that all our products will function as per specifications, however if you are unhappy with
the performance, you may return the product at your expense within 30 days from the date of invoice for
a refund less a 20% restocking fee. If damage has occurred to the product, Rath will access the degree
and deduct the amount accordingly. Custom product sales are final.
Other Rath Emergency Phone manuals

Rath
Rath Multi-Line Command Center User manual

Rath
Rath 2100-CDC User manual

Rath
Rath 2100-CSL User manual

Rath
Rath 2500-205D User manual

Rath
Rath 2100-CS9 User manual

Rath
Rath 2100-CL9 User manual

Rath
Rath SmartRescue 5 User manual

Rath
Rath 2100-CPL User manual

Rath
Rath 2100-CD9 User manual

Rath
Rath 2100-CPL User manual

Rath
Rath 2100-PL9 900 MHz 12v Pedestal User manual

Rath
Rath Dusk2Dawn 2100-CD9 Series User manual

Rath
Rath 2100-TLL Landline 12v Tower User manual

Rath
Rath 2100-ELL2 User manual

Rath
Rath 2100-TPL Landline 120v Tower User manual

Rath
Rath 2100-986GSM User manual

Rath
Rath 2100-CLL User manual

Rath
Rath 2100-CP9 User manual

Rath
Rath 2100-TL9 User manual

Rath
Rath 2100-986VAI User manual