manuals.online logo
Brands
  1. Home
  2. •
  3. Brands
  4. •
  5. Radio Shack
  6. •
  7. Recording Equipment
  8. •
  9. Radio Shack 44-233A User manual

Radio Shack 44-233A User manual

©2001 RadioShack Corporation.
All Rights Reserved.
RadioShack and RadioShack.com are trademarks used by RadioShack Corporation.
OWNER’S MANUAL — Please read before using this equipment.
Magnetic Tape Eraser
Your Magnetic Tape Eraser is designed to completely erase all signals
from video and audio tapes, as well as all data from computer dis-
kettes. It returns VHS, 8mm, and Beta video cassettes, and reel-to-
reel tapes and audio cassettes (including metal tapes) to a signal-free
condition, to improve future recording quality.
Warning: To reduce the risk of fire or shock hazard, do not expose
this product to rain or moisture.
Cautions:
• To reduce the risk of electric shock, do not remove the cover or
back. There are no user-serviceable parts inside. Refer servicing
to qualified personnel.
• Because of its strong magnetic field, do not use the eraser near
delicate instruments, electronic watches, cardiac pacemakers,
computer software diskettes, or prerecorded tapes and videos.
IMPORTANT SAFETY INSTRUCTIONS
Read Instructions — All the safety and operating instructions should
be read before the appliance is operated.
Retain Instructions — The safety and operation instructions should
be retained for future reference.
Heed Warnings — All warnings on the appliance and in the operating
instructions should be adhered to.
Follow Instructions — All operating and use instructions should be
followed.
Water and Moisture — The appliance should not be used near water.
For example, near a bathtub, washbowl, kitchen sink, laundry tub, in a
wet basement, or near a swimming pool, etc.
Power Sources — This product should be operated only from the type
of power source indicated on the marking label. If you are not sure of
the type of power supply to your home, consult your product dealer or
local power company.
Grounding or Polarization — This product is equipped with a polar-
ized alternating-current line plug (a plug having one blade wider than
the other). This plug will fit into the power outlet only one way. This is a
safety feature. If you are unable to insert the plug fully into the outlet,
try reversing the plug. If the plug should still fail to fit, contact your elec-
trician to replace your obsolete outlet. Do not defeat the safety pur-
pose of the polarized plug.
Power-Cord Protection — Power-supply cords should be routed so
that they are not likely to be walked on or pinched by items placed
upon or against them. Pay particular attention to cords at plugs, conve-
nience receptacles, and the point where they exit from the appliance.
Cleaning — Unplug this product from the wall outlet before cleaning.
Do not use liquid cleaners or aerosol cleaners. Use a damp cloth for
cleaning.
Object and Liquid Entry — Never push objects of any kind into this
product through openings as they may touch dangerous voltage points
or short-out parts that could result in a fire or electric shock. Never spill
liquid of any kind on the product.
Non-Use Periods — The power cord of the appliance should be un-
plugged from the outlet when left unused for a long period of time.
Damage Requiring Service — The appliance should be serviced by
qualified service personnel when:
• The power-supply cord or the plug has been damaged
• Objects have fallen, or liquid has been spilled, onto the appliance
• The appliance has been exposed to rain
• The appliance does not appear to operate normally or exhibits a
marked change in performance;
• If the appliance has been dropped, or the enclosure damaged
• If the product does not operate normally by following the operation
instructions. Adjust only those controls that are covered by the
operating instructions as an improper adjustment of other controls
may result in damage and will often require extensive work by a
qualified technician to restore the product to its normal operation.
Heat — The appliance should be situated away from heat sources
such as radiators, heat registers, stoves or other appliances (including
amplifiers) that produce heat.
Servicing — Do not attempt to service this product yourself as open-
ing or removing covers may expose you to dangerous voltage or other
hazards. Refer all servicing to qualified service personnel.
OPERATION
Before you erase signals from an audio or video tape, rewind it so all
the tape is on one reel.
1. Plug the eraser’s power cord into a standard AC outlet.
2. Hold the tape cartridge or diskette on a flat surface with one hand.
In your other hand, hold the eraser about two feet away from the
tape cartridge or diskette.
3. Hold down the power switch on the underside of the handle. The
handle’s red light turns on.
4. Move the eraser toward the tape cartridge or diskette until the bot-
tom of the eraser touches it.
44-233A
04/01
Printed in USA
B
RadioShack Corporation
Fort Worth, Texas 76102
5. Make the required number of circular passes above the tape or
diskette.
6. Hold down the power switch and move the eraser about two feet
away from the tape cartridge or diskette, then release the switch.
7. Turn over the cartridge or diskette and repeat Steps 2–7.
8. Unplug the eraser.
Notes:
• The eraser is designed for intermittent use only.
• It is normal for the eraser to become warm when you use it.
• If the eraser overheats due to excessive use, built-in thermal pro-
tection turns it off and the red light goes off. Let the eraser cool for
at least 30 minutes, then follow the steps again. To keep the
eraser from over heating, follow the suggested cooling guidelines
in the table.
To Erase Circular Passes
(About 1 per Second) Cooling Guidelines
Video Tapes 5 per side After 2, cool 15 minutes. After
10, cool 30 minutes.
Audio Tapes
(Except Metal) 4 per side After 3, cool 15 minutes. After
15, cool 30 minutes.
Metal Audio
Tapes 20 per side After every side, cool 15 min-
utes. After 3 tapes, cool 30 min-
utes.
Computer
Diskettes 10 per side After every diskette, cool 15 min-
utes. After 6, cool 30 minutes.
Limited Ninety-Day Warranty
This product is warranted by RadioShack against manufacturing defects in material
and workmanship under normal use for ninety (90) days from the date of purchase
from RadioShack company-owned stores and authorized RadioShack franchisees and
dealers. EXCEPT AS PROVIDED HEREIN, RadioShack MAKES NO EXPRESS
WARRANTIES AND ANY IMPLIED WARRANTIES, INCLUDING THOSE OF MER-
CHANTABILITY AND FITNESS FOR A PARTICULAR PURPOSE, ARE LIMITED IN
DURATION TO THE DURATION OF THE WRITTEN LIMITED WARRANTIES CON-
TAINED HEREIN. EXCEPT AS PROVIDED HEREIN, RadioShack SHALL HAVE NO
LIABILITY OR RESPONSIBILITY TO CUSTOMER OR ANY OTHER PERSON OR
ENTITY WITH RESPECT TO ANY LIABILITY, LOSS OR DAMAGE CAUSED DI-
RECTLY OR INDIRECTLY BY USE OR PERFORMANCE OF THE PRODUCT OR
ARISING OUT OF ANY BREACH OF THIS WARRANTY, INCLUDING, BUT NOT LIM-
ITED TO, ANY DAMAGES RESULTING FROM INCONVENIENCE, LOSS OF TIME,
DATA, PROPERTY, REVENUE, OR PROFIT OR ANY INDIRECT, SPECIAL, INCI-
DENTAL, OR CONSEQUENTIAL DAMAGES, EVEN IF RadioShack HAS BEEN AD-
VISED OF THE POSSIBILITY OF SUCH DAMAGES.
Some states do not allow limitations on how long an implied warranty lasts or the ex-
clusion or limitation of incidental or consequential damages, so the above limitations or
exclusions may not apply to you.
In the event of a product defect during the warranty period, take the product and the
RadioShack sales receipt as proof of purchase date to any RadioShack store.
RadioShack will, at its option, unless otherwise provided by law: (a) correct the defect
by product repair without charge for parts and labor; (b) replace the product with one of
the same or similar design; or (c) refund the purchase price. All replaced parts and
products, and products on which a refund is made, become the property of
RadioShack. New or reconditioned parts and products may be used in the perfor-
mance of warranty service. Repaired or replaced parts and products are warranted for
the remainder of the original warranty period. You will be charged for repair or replace-
ment of the product made after the expiration of the warranty period.
This warranty does not cover: (a) damage or failure caused by or attributable to acts of
God, abuse, accident, misuse, improper or abnormal usage, failure to follow instruc-
tions, improper installation or maintenance, alteration, lightning or other incidence of
excess voltage or current; (b) any repairs other than those provided by a RadioShack
Authorized Service Facility; (c) consumables such as fuses or batteries; (d) cosmetic
damage; (e) transportation, shipping or insurance costs; or (f) costs of product re-
moval, installation, set-up service adjustment or reinstallation.
This warranty gives you specific legal rights, and you may also have other rights which
vary from state to state.
RadioShack Customer Relations, 200 Taylor Street, 6th Floor, Fort Worth, TX 76102
We Service What We Sell
12/99

Other Radio Shack Recording Equipment manuals

Radio Shack Micro-43 User manual

Radio Shack

Radio Shack Micro-43 User manual

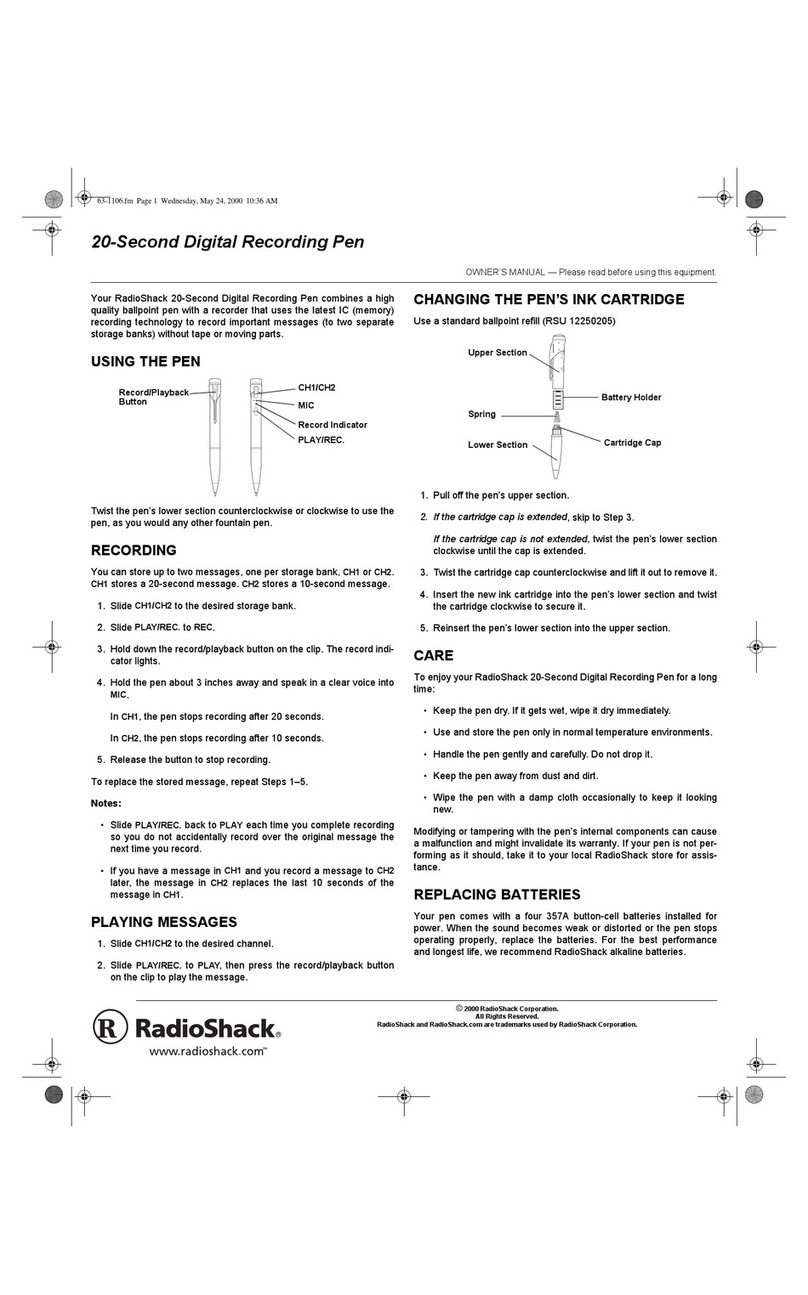
Radio Shack 20-second digital Recording Pen User manual

Radio Shack

Radio Shack 20-second digital Recording Pen User manual

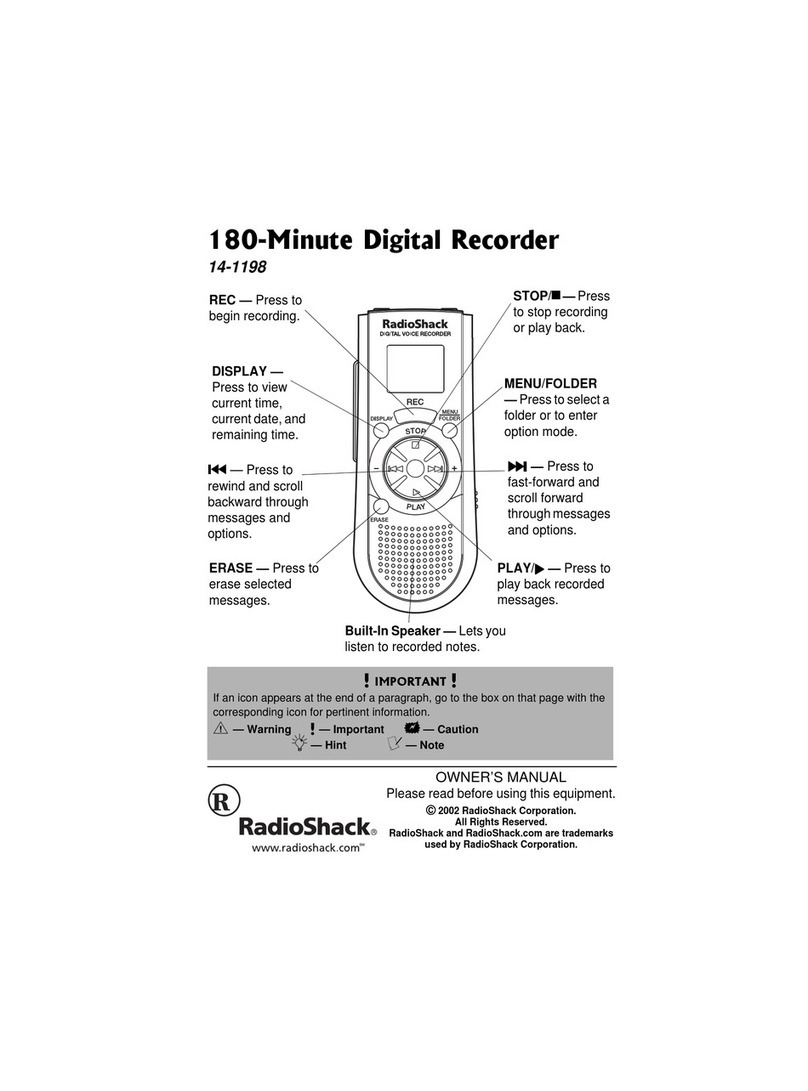
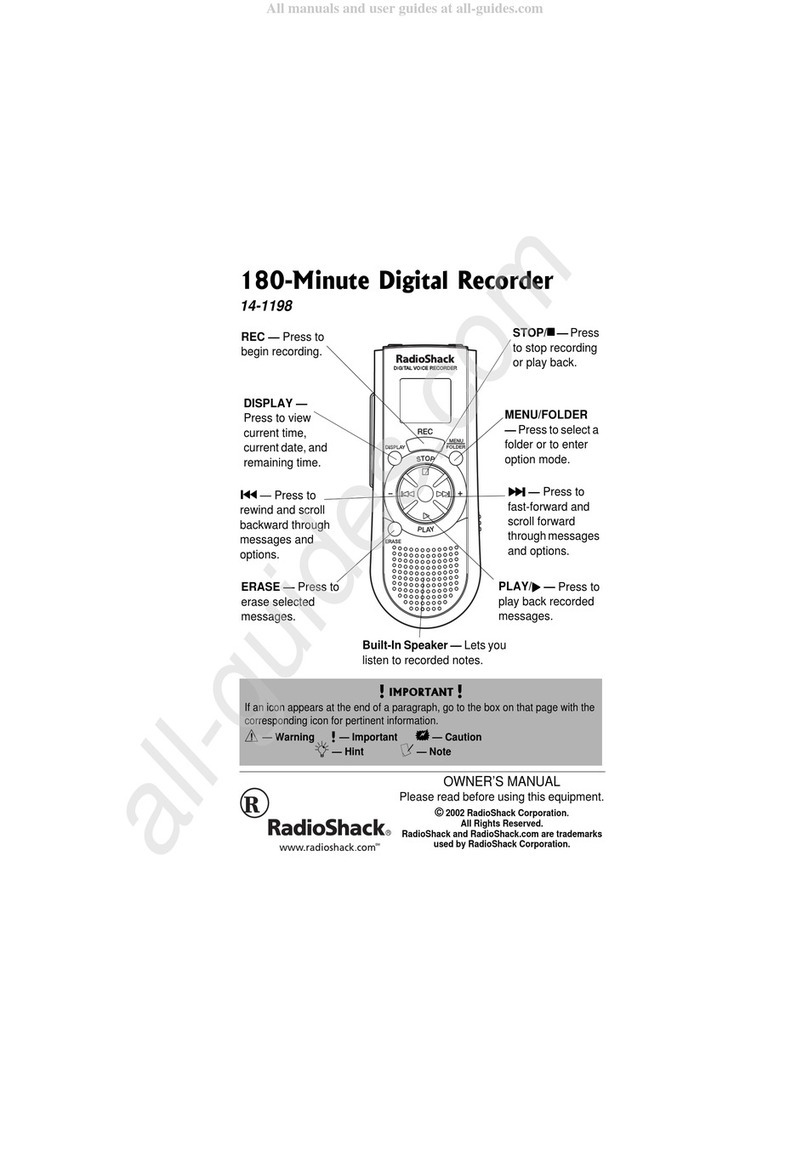
Radio Shack 180-minute digital recorder User manual

Radio Shack

Radio Shack 180-minute digital recorder User manual

Radio Shack 1500474 User manual

Radio Shack

Radio Shack 1500474 User manual

Radio Shack Modem I TRS-80 User manual

Radio Shack

Radio Shack Modem I TRS-80 User manual

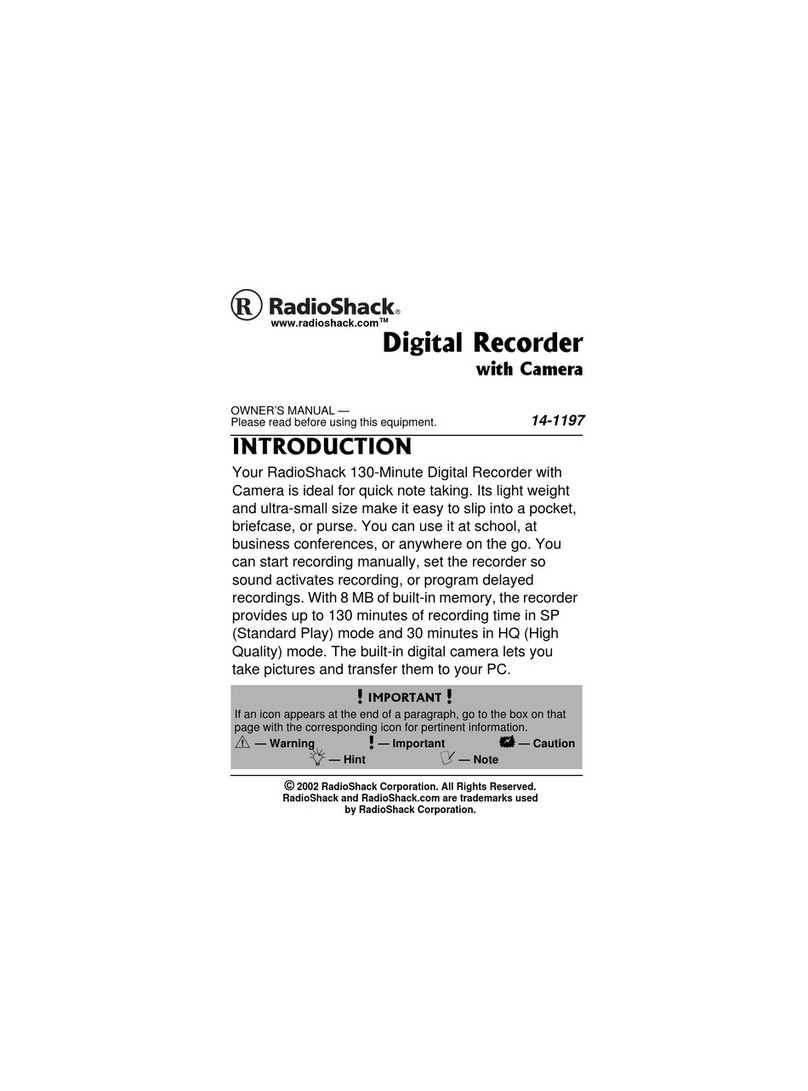
Radio Shack 14-1198 User manual

Radio Shack

Radio Shack 14-1198 User manual

Radio Shack TRS-80 User manual

Radio Shack

Radio Shack TRS-80 User manual

Radio Shack Modem I TRS-80 User manual

Radio Shack

Radio Shack Modem I TRS-80 User manual

Radio Shack Digital Recorder User manual

Radio Shack

Radio Shack Digital Recorder User manual

Radio Shack TRS-80 User manual

Radio Shack

Radio Shack TRS-80 User manual

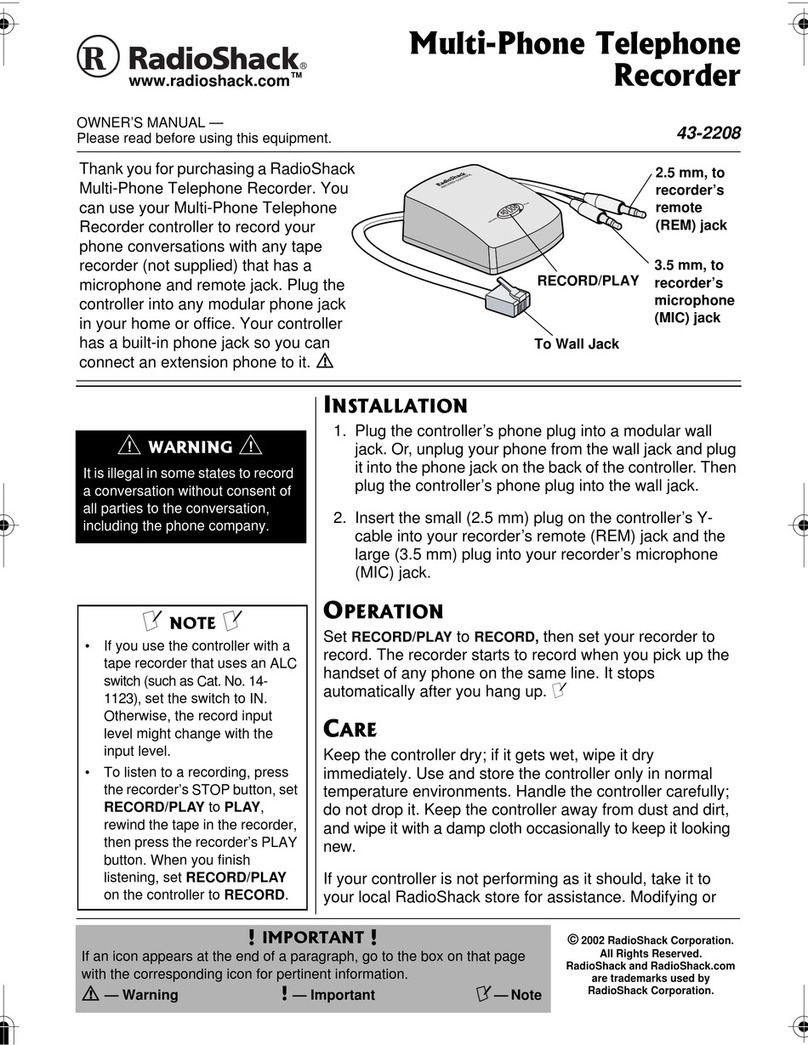
Radio Shack 43-2208 User manual

Radio Shack

Radio Shack 43-2208 User manual

Popular Recording Equipment manuals by other brands

Meinberg microSync RX200/AD10DC20 Technical reference

Meinberg

Meinberg microSync RX200/AD10DC20 Technical reference

Coomber 6030 Supplementary instructions

Coomber

Coomber 6030 Supplementary instructions

Teac AD-RW900 owner's manual

Teac

Teac AD-RW900 owner's manual

Kongsberg K-Pos Operator's manual

Kongsberg

Kongsberg K-Pos Operator's manual

4ms Company Listen IO user manual

4ms Company

4ms Company Listen IO user manual

Numark Total Control quick start guide

Numark

Numark Total Control quick start guide

ESI U46 XL user guide

ESI

ESI U46 XL user guide

Braemar DL700 Operator's manual

Braemar

Braemar DL700 Operator's manual

Berkeley Audio Design Alpha USB Preliminary user guide

Berkeley Audio Design

Berkeley Audio Design Alpha USB Preliminary user guide

Kannad aviation CS144 Abbreviated component maintenance manual

Kannad

Kannad aviation CS144 Abbreviated component maintenance manual

Behringer VIRTUALIZER PRO DSP1000P user manual

Behringer

Behringer VIRTUALIZER PRO DSP1000P user manual

SOMFY DCT2RTS product manual

SOMFY

SOMFY DCT2RTS product manual

National Instruments 9403 Getting started guide

National Instruments

National Instruments 9403 Getting started guide

SoundSwitch Control One quick start guide

SoundSwitch

SoundSwitch Control One quick start guide

Yamaha MU5 owner's manual

Yamaha

Yamaha MU5 owner's manual

Bosch DIVAR IP all-in-one 4000 installation manual

Bosch

Bosch DIVAR IP all-in-one 4000 installation manual

SICK LSI 101 Technical description

SICK

SICK LSI 101 Technical description

Nexmosphere XT Series product manual

Nexmosphere

Nexmosphere XT Series product manual

manuals.online logo
manuals.online logoBrands
  • About & Mission
  • Contact us
  • Privacy Policy
  • Terms and Conditions

Copyright 2025 Manuals.Online. All Rights Reserved.