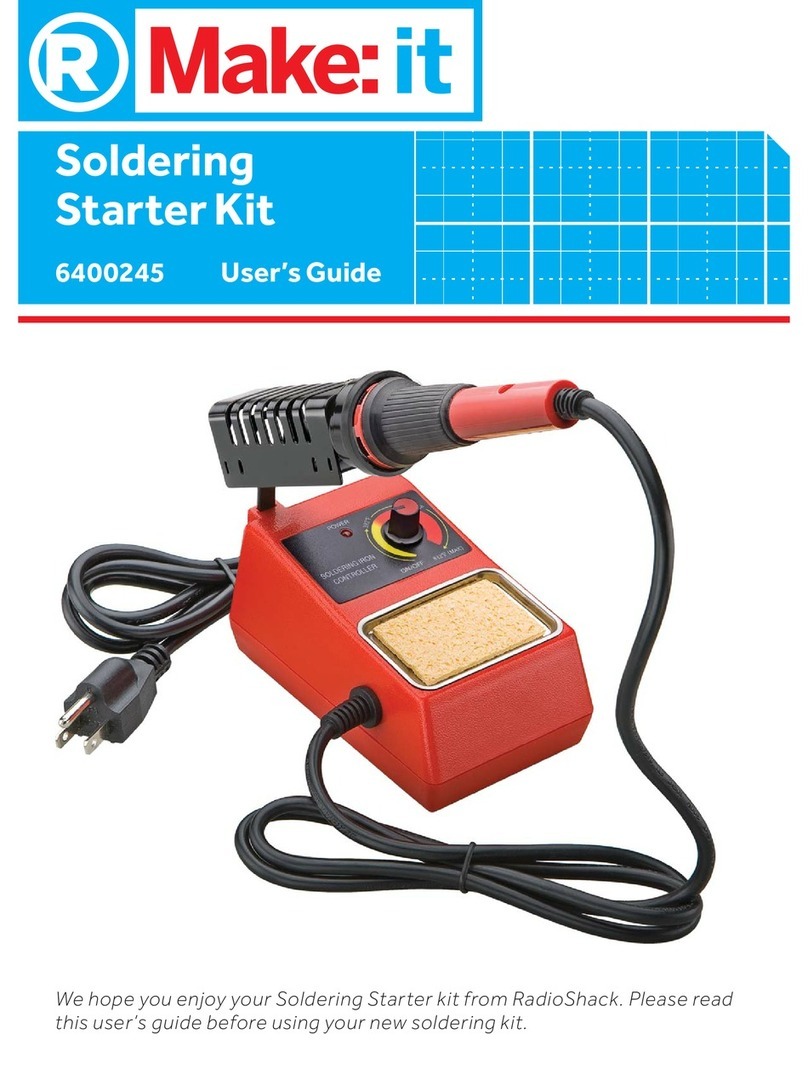
Radio Shack 64-2185 User manual

www.radioshack.com™
OWNER’S MANUAL —
Please read before using this equipment.
64-2185
©2002 RadioShack Corporation. All Rights Reserved.
RadioShack and RadioShack.com are trademarks
used by RadioShack Corporation.
&KIKVCN"5QNFGTKPI
5VCVKQP
Thank you for purchasing a RadioShack Digital Soldering
Station. Your soldering station displays the soldering tip’s current
temperature so you can avoid overheating sensitive PCBs
(printed circuit boards).
This soldering station is not intended for commercial use.
Built-in Temperature
Sensor — lets you set
the temperature from
350°F (200°C) to a
maximum of
840°F (450°C)
Detachable Stand
Removable Sponge
#"+/2146#06"#
If an icon appears at the end of a paragraph, go to the box on that page with the
corresponding icon for pertinent information.
Rý
RýRý
Rý— Warning #— Important .
..
.— Caution °
°°
°— Hint ±
±±
±— Note
64-2185rc.fm Page 1 Monday, August 26, 2002 8:28 AM

Important Safety Instructions
2
+/2146#06"
5#('6;"
+05647%6+105"
We have taken every precaution in
designing this soldering station to
ensure that it is as safe as we can
make it. However, safe operation
depends on you, the operator. We
recommend that you follow these
simple safety rules.
For your own safety, please avoid using
the station under any circumstances
that can damage or destroy the
insulation.
• Keep the station away from
children.
• If the supplied cord is damaged, it
must be replaced by a qualified
technician to avoid hazard.
• Never apply voltages to the station
that exceed the specified limits.
• Only operate this station in
properly ventilated rooms or rooms
with a fume extraction system.
Inhalation of soldering fumes and
particles from flux in the solder is
detrimental to health.
The lightning symbol is intended to alert
you to the presence of uninsulated
dangerous voltage within this product’s
enclosure that might be of sufficient
magnitude to constitute a risk of electric
shock. Do not open the product’s case.
The exclamation symbol is intended to
inform you that important operating and
maintenance instructions are included
in the literature accompanying this
product.
!
WARNING: To reduce the risk the of fire or
shock hazard, do not expose this product to
rain or moisture.
.CAUTION.
!
CAUTION:TO REDUCE THE RISK OF
ELECTRIC SHOCK, DO NOT REMOVE COVER
OR BACK. NO USER-SERVICEABLE PARTS
INSIDE. REFER SERVICING TO QUALIFIED
PERSONNEL.
RISK OF ELECTRIC
SHOCK DO NOT OPEN
%106'065
Preparation ................. 5
Detaching
the Stand ................. 6
Setting the
Temperature ............... 7
Soldering .................... 8
Replacing the Fuse .... 9
Resetting the Soldering
Station ...................... 10
Care .......................... 10
Specifications ............ 11
Parts and
Accessories .............. 12
64-2185rc.fm Page 2 Monday, August 26, 2002 8:28 AM

Important Safety Instructions
3
• Never cover the ventilating slots when using the station.
Place the station on a hard, flame resistant base.
• Always observe the manufacturer’s directions concerning
soldering paste, solder creams, and fluxes.
• Never heat plastic materials or liquids (solvents, water, and
so forth). Heating plastic materials may produce toxic fumes.
• To reduce the risk of electric shock, this equipment has a
polarized plug (one blade is wider than the other). This plug
fits in a polarized outlet only one way. If the plug does not fit
fully in the outlet, reverse the plug. If it still does not fit,
contact a qualified electrician to install the proper outlet. Do
not alter the plug in any way.
• Capacitors in the station can still carry voltage, even if the
station has been disconnected from all voltage sources.
• Use only new fuses of the proper rating. Do not use repaired
fuses and do not bridge the fuse holders.
• Before you replace the fuses, disconnect the soldering
station from power.
• Do not turn on the station immediately after moving it from a
cold place to a warm place. Condensation might impair
operation or damage the station. Wait for the station to warm
up to room temperature before switching it on.
• Be careful using the soldering iron if it is set above 350°F (or
200°C), as it can ignite some substances.
This station is fully calibrated and tested. Under normal use, no
further adjustment should be necessary. If the station requires
repair, do not try to adjust it yourself. Take it to your local
RadioShack store for assistance.
64-2185rc.fm Page 3 Monday, August 26, 2002 8:28 AM

4
Preparation
24'2#4#6+10"
2. Use a screwdriver to loosen the
larger screw at the top of the
soldering iron and fully insert the
supplied soldering tip into it. Then
tighten the screw securely. .
..
.±
±±
±
3. Insert the soldering iron’s plug into
the 5-pole socket on the soldering
station. The plug only fits one way.
Do not force it.
°
°°
°C↔
↔↔
↔°
°°
°F
Bottom View 1. Use a small pointed
object, such as a
straightened paper
clip, to set °
°°
°C↔
↔↔
↔°
°°
°F
at the bottom of the
station to Celsius or
Fahrenheit.
Sponge5-Pole Socket
."%#76+10".
Never operate the
soldering iron without
the soldering tip. This
can damage the
heating element and
temperature sensor.
±"016'"±"
The smaller screw is
used to fasten the
heating element to the
iron, and the larger one
is used to fix the
soldering tip in the
heating element.
64-2185rc.fm Page 4 Monday, August 26, 2002 8:28 AM

5
Preparation
4. Insert the soldering iron into the
spring support in the soldering iron
stand.
5. Soak the supplied sponge with
water and then put it in the tray on
the stand.
6. Set –/O at the side of the station
to Obefore plugging it into an AC
outlet.
&'6#%*+0)"6*'"56#0&
1. Gently pull the bottom of the stand
away from the station until the tab
on the bottom of the stand clears
the station.
2. Slide the stand up and off the
station.
GROUND
To prevent ESD
(electrostatic
discharge) damage
to static sensitive
devices, connect a
ground wire (not
supplied) to the
GROUND jack on
the back of the
station using a
banana plug.
64-2185rc.fm Page 5 Monday, August 26, 2002 8:28 AM

6
Setting the Temperature
To reattach the stand
, simply place the
large tab on the side of the stand in the
notch on the side of the station and
slide the stand down until it clicks into
place.
5'66+0)"6*'"
6'/2'4#674'
Set the temperature before soldering
materials. ±
±±
±
1. Plug the station into an AC outlet.
2. Set –/O to –to turn on the station.
)+&–<
)+&–<)+&–<
)+&–< (or (&&–9
(&&–9(&&–9
(&&–9) and I;J
I;JI;J
I;J appear on
the display, the red ON indicator
lights, and the station beeps.
3. Press TEMPERATURE– Hor
TEMPERATURE–Gto set the
soldering tip’s temperature.
The soldering tip’s temperature
increases by 1°F (or 1°C) each
time you press TEMPERATURE– H,
and decreases by 1°F (or 1°C)
each time you press
TEMPERATURE–G.
For faster setting, hold down either
TEMPERATURE– Hor
TEMPERATURE–Guntil you reach
the desired temperature.
±"016'"±"
• The soldering station
has two modes:
setting and reading.
Press MODE to
toggle between
modes. I;J
I;JI;J
I;J appears
on the right of the
display when the
soldering station is in
setting mode. H;7:
H;7:H;7:
H;7:
appears on the right
of the display when
the soldering station
is in reading mode.
• The station has a two-
minute preset
memory function. If
you turn off the
station and turn it on
again within two
minutes, the preset
temperature remains
unchanged. The
temperature is reset
after two minutes.
• Clean the blue paint
off the tip before
using the station.
64-2185rc.fm Page 6 Monday, August 26, 2002 8:28 AM

Setting the Temperature
7
4. Press MODE once to change the
mode (reading versus setting).
5. The station senses the heating
element’s temperature. The
soldering tip’s current temperature
appears.
If the temperature is below 300°F
(150°C),
ED
EDED
ED appears. ±
±±
±
If the temperature exceeds 300°F
(150°C),
the actual temperature
appears.
If the temperature is above 900°F
(500°C),
;HHý
;HHý;HHý
;HHýappears. This means
the station has reached the
maximum temperature. Reset the
station. ±
±±
±
6. Set –/O to Oto turn off the station.
E<<
E<<E<<
E<< appears on the display for
about two minutes.
±"016'"±"
•;HH
;HH;HH
;HH appears and the
soldering station
beeps if the
temperature sensor is
defective. If ;HHý
;HHý;HHý
;HHýstill
appears, take it to
your local
RadioShack store for
assistance.
• The soldering tip’s
temperature varies
depending on the
room temperature,
ventilation, condition,
tightness and
oxidation of the
soldering tip.
• You must re-tin the tip
after cleaning it.
64-2185rc.fm Page 7 Monday, August 26, 2002 8:28 AM

8
Soldering
51.&'4+0)
When the soldering iron has reached
the desired temperature, you can start
to solder.
1. Remove the soldering iron from
the stand.
2. Clean the tip on the sponge in the
iron stand, so impurities and
oxides are removed from the
soldering tip.
3. Tin the soldering iron’s tip. °
°°
°
4. Hold the soldering iron tip to the
point to be soldered. .
..
.
5. Heat the point to be soldered and
the connection pins of the
respective component (transistor,
IC, diode, resistors) at the same
time, so the solder flows well to
make a good, electrically
conductive connection, and apply
the solder. .
..
.
6. After soldering, remove the
soldering iron tip from the point
and let the point cool.
To tin the tip, coat the tip with solder and immediately brush off the
excess with a soft cloth to form a smooth, silvery soldering surface.
°
°°
°
."%#76+10".
• Never hold the
soldering tip to the
soldering point too
long. Otherwise, the
soldering point is
destroyed.
• Working with higher
soldering
temperatures can
shorten the life of the
soldering tip and
heating element. The
ideal soldering
temperature is
between 572°F to
716°F (300°C to
380°C).
64-2185rc.fm Page 8 Monday, August 26, 2002 8:28 AM

9
Replacing the Fuse
7. Clean and tin the soldering iron.
Then put the soldering iron back
into the stand.
4'2.#%+0)"6*'"
(75'
1. Disconnect the soldering iron from
AC power.
2. Use a screwdriver to push and
rotate the fuse holder cap on the
back of the station
counterclockwise.
3. Remove the old fuse and replace it
with a new one (1.6A slow-blow/
250V). .
..
.
4. Replace the cap and rotate it
clockwise.
5. Plug the soldering iron back into
AC power.
."%#76+10".
Do not use a fuse with
ratings other than those
specified here. Doing so
might damage your
soldering station.
64-2185rc.fm Page 9 Monday, August 26, 2002 8:28 AM

Resetting the Soldering Station
10
4'5'66+0)"6*'"
51.&'4+0)"
56#6+10
If the soldering station works
improperly or if the display is blank,
press TEMPERATURE- Hand
TEMPERATURE-Gat the same time to
reset the station.
%#4'
Keep the soldering station dry; if it gets
wet, wipe it dry immediately. Use and
store the soldering station only in
normal temperature environments.
Handle the soldering station carefully;
do not drop it. Keep the soldering
station away from dust and dirt, and
wipe it with a damp cloth occasionally
to keep it looking new.
If your soldering station is not
performing as it should, take it to your
local RadioShack store for assistance.
Modifying or tampering with the
soldering station’s internal components
can cause a malfunction and might
invalidate its warranty.
64-2185rc.fm Page 10 Monday, August 26, 2002 8:28 AM

11
Specifications
52'%+(+%#6+105
Operating Voltage ......................... 120V AC/60Hz
Power Input ........................................... 80W max.
Temperature Setting Range .......... 350° to 840°F
(200°to 450°C)
Display ................................................ 3-digit LCD
Tolerance ...................................................... ±5%
Fuse ................................... 1.6A Slow-blow 250 V
Ambient Temperature ....................... 40°to 104°F
(5°to 40°C)
Relative Humidity ...................... 85% (not wetting)
Barometric Pressure ................... 600 – 1000 hPa
Weight ........................................ 58.2 oz (1.65 kg)
Dimensions
(HWD):
Iron Pad .............. 215/16 ×47/16 ×61/8inch
(75 ×112 ×156 mm)
Iron Stand .............313/16 ×31/3× 61/2inch
(97 ×85 ×165 mm)
Specifications are typical; individual units might
vary. Specifications are subject to change and
improvement without notice.
Limited Ninety-Day Warranty
This product is warranted by RadioShack against manufacturing defects in material and workmanship under normal use for ninety (90) days
from the date of purchase from RadioShack company-owned stores and authorized RadioShack franchisees and dealers. EXCEPT AS
PROVIDED HEREIN, RadioShack MAKES NO EXPRESS WARRANTIES AND ANY IMPLIED WARRANTIES, INCLUDING THOSE OF
MERCHANTABILITY AND FITNESS FOR A PARTICULAR PURPOSE, ARE LIMITED IN DURATION TO THE DURATION OF THE WRIT-
TEN LIMITED WARRANTIES CONTAINED HEREIN. EXCEPT AS PROVIDED HEREIN, RadioShack SHALL HAVE NO LIABILITY OR RE-
SPONSIBILITY TO CUSTOMER OR ANY OTHER PERSON OR ENTITY WITH RESPECT TO ANY LIABILITY, LOSS OR DAMAGE
CAUSED DIRECTLY OR INDIRECTLY BY USE OR PERFORMANCE OF THE PRODUCT OR ARISING OUT OF ANY BREACH OF THIS
WARRANTY, INCLUDING, BUT NOT LIMITED TO, ANY DAMAGES RESULTING FROM INCONVENIENCE, LOSS OF TIME, DATA,
PROPERTY, REVENUE, OR PROFIT OR ANY INDIRECT, SPECIAL, INCIDENTAL, OR CONSEQUENTIAL DAMAGES, EVEN IF Ra-
dioShack HAS BEEN ADVISED OF THE POSSIBILITY OF SUCH DAMAGES.
Some states do not allow limitations on how long an implied warranty lasts or the exclusion or limitation of incidental or consequential dam-
ages, so the above limitations or exclusions may not apply to you.
In the event of a product defect during the warranty period, take the product and the RadioShack sales receipt as proof of purchase date to
any RadioShack store. RadioShack will, at its option, unless otherwise provided by law: (a) correct the defect by product repair without
charge for parts and labor; (b) replace the product with one of the same or similar design; or (c) refund the purchase price. All replaced parts
and products, and products on which a refund is made, become the property of RadioShack. New or reconditioned parts and products may
be used in the performance of warranty service. Repaired or replaced parts and products are warranted for the remainder of the original
warranty period. You will be charged for repair or replacement of the product made after the expiration of the warranty period.
This warranty does not cover: (a) damage or failure caused by or attributable to acts of God, abuse, accident, misuse, improper or abnormal
usage, failure to follow instructions, improper installation or maintenance, alteration, lightning or other incidence of excess voltage or current;
(b) any repairs other than those provided by a RadioShack Authorized Service Facility; (c) consumables such as fuses or batteries; (d) cos-
metic damage; (e) transportation, shipping or insurance costs; or (f) costs of product removal, installation, set-up service adjustment or rein-
stallation.
This warranty gives you specific legal rights, and you may also have other rights which vary from state to state.
RadioShack Customer Relations, 200 Taylor Street, 6th Floor, Fort Worth, TX 76102
12/99
64-2185rc.fm Page 11 Monday, August 26, 2002 8:28 AM

RadioShack Corporation
Fort Worth, Texas 76102
64-2185
08A02
Printed in China
2#465"#0&"#%%'5514+'5
If you need to replace the soldering iron’s tip (Cat. No. 910-
3919), the supplied sponge (Cat. No. 910-5607), or if you need
other parts and accessories, visit your local RadioShack store or
www.radioshack.com.
Tip Tinner/
Cleaner Compound —
Keeps
your
soldering
iron
ready to
make
quick
and efficient connections, and
protects against tip oxidation.
Desoldering
Bulb —
Makes
desoldering a
snap! Just
heat solder to
amoltenstate,
then use the
bulb to
vacuum it up.
Rosin
Soldering
Flux —
RadioShack
flux is non-
flammable,
and wipes
clean with
cloth or solvent.
Desoldering Braid —
Just press onto solder
connection with a hot iron and
let the braid absorb the
solder.
64-2185rc.fm Page 12 Monday, August 26, 2002 8:28 AM
Table of contents
Other Radio Shack Soldering Gun manuals