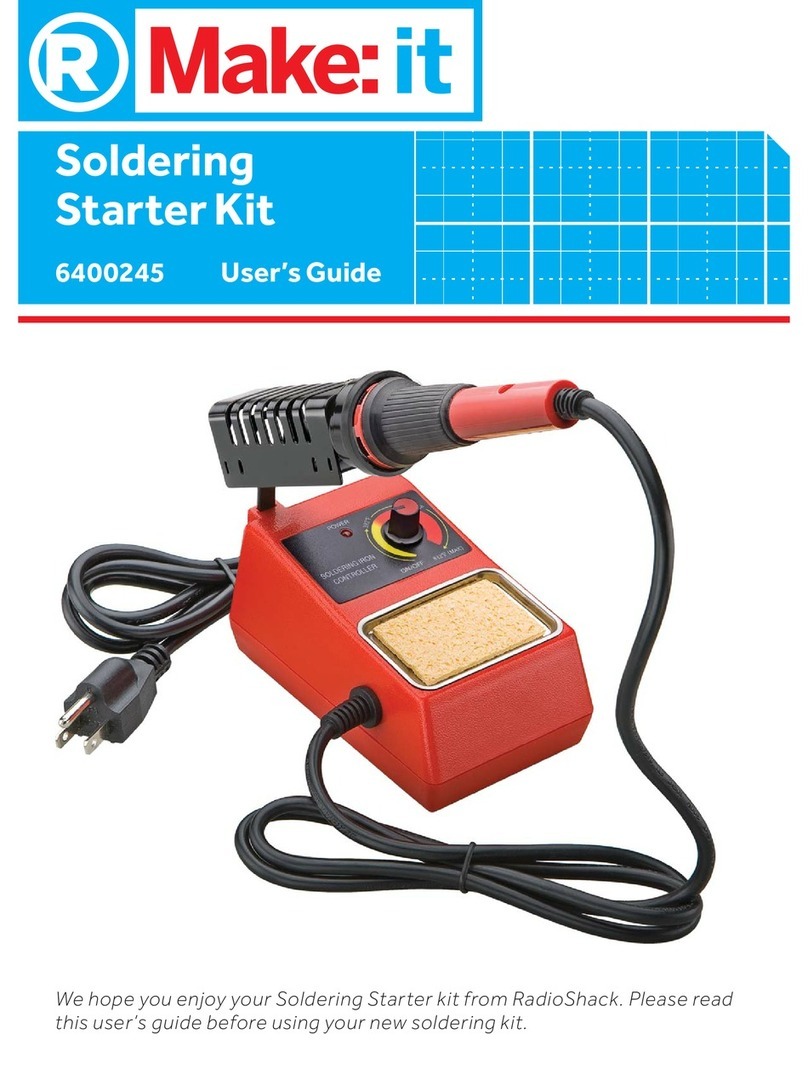
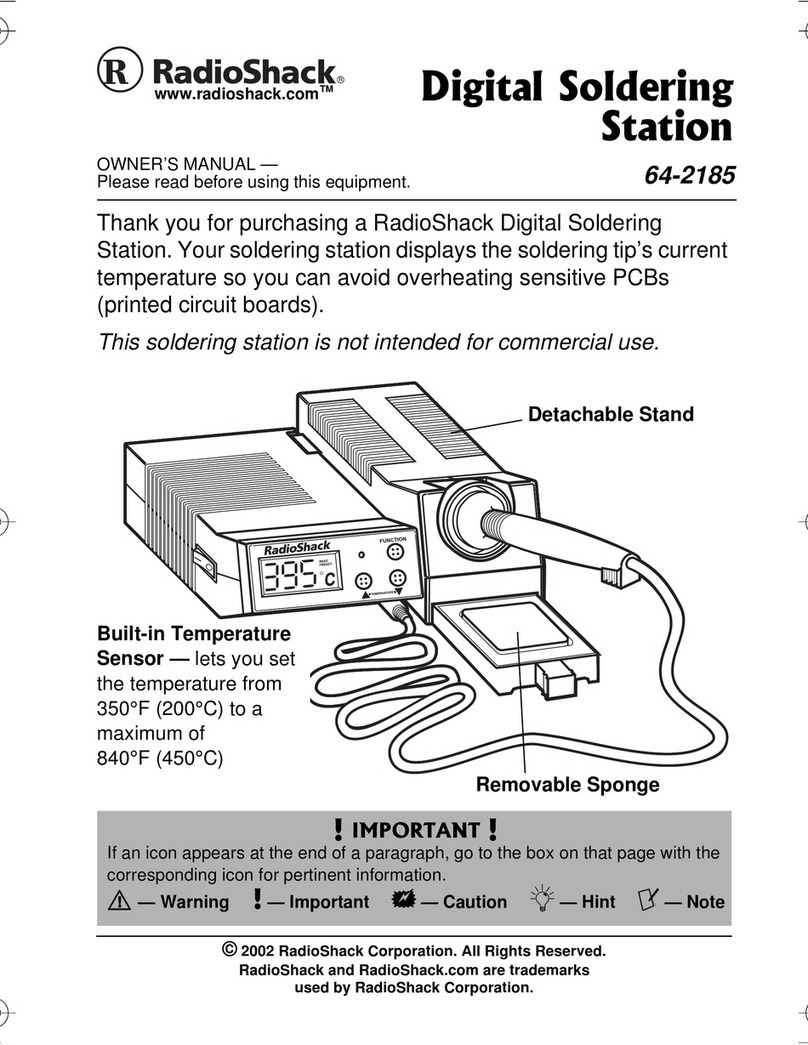
Radio Shack 6400266 User manual

Digital Soldering Station
6400266
User’s Guide

2
We hope you enjoy your Digital Soldering Station from RadioShack.
Please read this user's guide before using your soldering station.
Package Contents
• Digital Soldering Station • Soldering Iron
• Stand • Sponge
• User’s Guide
Important Safety Instructions
• Read instructions before operating the product.
• Keep out of the reach of children.
• Work only in a dry area that is free from ammable materials.
• Never apply voltages to the station that exceed the specied limits.
• Never cover the ventilating slots when using the station. Place the station
on a hard, ame resistant base.
• Never heat plastic materials or liquids (solvents, water, etc). Heating plastic
materials may produce toxic fumes.
• Always observe the manufacturer's directions concerning soldering paste,
solder creams, and uxes.
• Capacitors in the station can still carry voltage, even if the station has been
disconnected from all voltage sources.
• Do not turn the station on immediately after moving it from a cold place
to a warm place. Condensation might impair operation or damage the
station. Wait for the station to warm up to room temperature before
switching it on.
• Operate the soldering iron in properly ventilated rooms or rooms with a
fume extraction system. Inhalation of soldering fumes and particles from
ux in the solder is detrimental to health.
WARNING: To reduce the risk of re or shock hazard, do not expose this product to rain or moisture.
This symbol is intended
to alert you to the presence of
uninsulated dangerous voltage
within the product’s enclosure
that might be of sucient
magnitude to constitute a risk of
electric shock. Do not open the
product’s case.
This symbol is intended
to inform you that important
operating and maintenance
instructions are included in the
literature accompanying this
product.
CAUTION: To reduce the risk of
electric shock, do not remove cover
or back. No user-serviceable parts
inside. Refer servicing to qualied
personnel.
RISK OF ELECTRIC SHOCK
DO NOT OPEN
CAUTION

3
• Be careful! Hot soldering irons can cause severe burns and ignite res. Do
not touch the tip and the heat sink plate or let it come in contact with any
other material.
• Do not touch the tip of a hot soldering iron or remove solder from its
surface with your hands.
• If the supplied cable is damaged, it should be repaired by the manufacturer
or its agent or a suitable qualied person in order to avoid a hazard.
• Never hold the soldering tip to the soldering point too long. This can
destroy the soldering point.
• Never operate the soldering iron without the soldering tip. This can
damage the heating device.
• When you are not using your soldering iron, unplug it from the wall outlet.
• Store the soldering iron in a dry, secure place where children cannot reach it.
• Keep the soldering iron away from dust and dirt, and clean it with a damp
cloth occasionally to keep it looking new.
• This soldering station is not intended for commerical use.
• This product, when used for soldering and similar applications, produces
chemicals known to the State of California to cause cancer and birth
defects (or other reproductive harm).
Power Switch
Preset Temperature
Buttons
5-Pin Socket
Stand
Removable
Sponge
Soldering
Iron
Temperature
-/+ Controls

4
Preparation
1. Insert the soldering iron's plug into the 5-pin socket on the
soldering station. The plug only ts one way.
2. Insert the soldering iron into the support in the soldering stand
and wet the sponge in the tray with water.
3. Plug the station's power cord into a power source. Switch POWER
I/O to Ito turn the station on. The display shows the current
temperature. The temperature begins to rise until it reaches the
assigned temperature.
Change Temperature Unit
The default temperature unit is Fahrenheit. To change temperature unit:
1. Switch POWER I/O to O to turn o the station.
2. Press and hold PRESET 2. While pressing, switch POWER I/O to
Ito turn the station on. The display will show the temperature
setting changes from °F to °C and vice versa.
3. Restart the station to start operating it.
Setting the Temperature
The digital soldering station allows you to modify and adjust the
temperature between 302°F (150°C) and 842°F (450°C).
Press eor d repeatedly to increase or decrease temperature. Press
and hold to increase or decrease rapidly.
SET
REAL
CAL 888
888 888888
°C
°F
SET: Assigned temperature of soldering tip
REAL: Actual temperature of soldering tip
CAL: Calibrate after changing soldering tip
Temperature
unit
Heat Output
The number of bars
decreases when the
rising actual temperature
becomes close to the
assigned temperature.
When the actual
temperature exceeds the
assigned temerature, the
bars will disappear.
Preset
Temperature

5
Preset Temperature
Factory preset temperatures are:
Preset 1 = 392°F (200°C)
Preset 2 = 680°F (360°C)
Preset 3 = 788°F (420°C)
1. Press eor d to select temperature.
2. Press and hold preset location to store the
temperature.
Changing Soldering Tips
1. Switch POWER I/O to O to turn o the station and let it cool
down.
2. Loosen the metal cap nut on the shaft of the soldering iron, then
pull o the metal shaft.
3. Replace it with a new soldering tip (not included) and tighten the
metal shaft securely.
The temperature shown on the display is calibrated to the included
soldering tip type, and may vary when using dierent tip.
The default temperature of the supplied tip is 0°F / 0°C.
To compensate for the deviation:
1. Press and hold eand d
. The display shows
---.
2. Press PRESET 3 CAL .
3. Hold
eor d to select temperature between
-90°F (-50°C) to 90°F (50°C).
4. Press PRESET 3 to nish calibration.
00
CAL
°F
- - -
CAL
300
SET °F
392 788680
--- ---
Cap Nut
Shaft
Soldering Tip

6
Tin the Soldering Iron Tip
“Tinning” means coating the soldering iron tip with a small amount of
solder.
1. Plug in the iron, switch on and wait one minute.
Then wipe the tip quickly on the damp sponge to
remove impurities and oxides.
2. Tin the soldering tip by adding a small amount
of solder.
3. When the tip becomes discolored during use,
wipe it across the damp cleaning sponge, then
tin it again.
Soldering
1. Insert the component leads through the correct
pads on the PCB.
2. Press the soldering iron to the pad
where the lead emerges. Heat the
pad for one second.
3. Do not move the iron. Instead, move
the solder to touch the point where
the pad and lead meet. Do not touch
the solder to the iron.
4. Pull back the solder before you remove the iron.
Flow enough solder to hold the component;
solder should not extend beyond the pad and
should extend only slightly above the pad.
5. Trim the excess lead as closely as possible to the
PCB.
Caution: Be careful when soldering and trimming
leads. Protective eyeware is recommended.
Turn o the soldering iron if not used for over 5 minutes. To protect
your tools, do not keep the iron set at a high temperature for long
periods of time.
Tin the iron again after use to prevent oxidation.
Iron
Solder
Leads

7
Replace the Fuse
If the soldering station does not operate, you
might need to replace the fuse.
1. Disconnect the soldering station from the
power supply.
2. Press and rotate the fuse holder cap on the
bottom of the station counterclockwise.
3. Remove the old fuse and replace it with a
new one (630mA slow-blow/250V).
4. Replace the cap and rotate it clockwise.
5. Plug the soldering station back into the power outlet.
Note: Do not use a fuse with ratings other than those specied. Doing
so might damage your soldering station. Use only new fuses. do not
use repaired fuses and do not bridge the fuse holder.
Troubleshooting
Problem Solution
The soldering
station does not
work
Make sure power cord is connected to AC outlet
Make sure POWER switch is on.
The fuse maybe blown. Replace the fuse
The display shows
S-E Check to make sure the soldering iron is plugged
into the station.
The soldering iron's sensor maybe broken.
Replace the soldering iron.
The display shows
H-E The soldering iron's heater is broken. Replace the
soldering iron.
The tip can not be
pre-tinned.
The tip temperature is too high. Set lower
temperature.
There is oxide on the tip. Clean or replace the tip.

8
02A16
6400266
Printed
in Taiwan
© 2016 General Wireless Operations Inc.
All rights reserved. RadioShack is a registered
trademark used under license by General
Wireless Operations Inc. dba RadioShack.
Specications
Output Power.......................................................................................................... 60W
Output Voltage..................................................................................................28V AC
Input Voltage................................................................................................... 120V AC
Temperature Setting Range.............................. 302°F (150°C) - 842°F (450°C)
Fuse Type............................................................................630mA slow-blow/250V
Dimensions (HWD) ................. 3.94 × 6.02 × 5.71 inches (100 × 153 ×145mm)
Specifications are subject to change and improvement without notice.
Actual product may vary from the images found in this document.
FCC Information
This equipment has been tested and found to comply with the limits for a Class
B digital device, pursuant to Part 15 of the FCC Rules. These limits are designed
to provide reasonable protection against harmful interference in a residential
installation. This equipment generates, uses, and can radiate radio frequency
energy and, if not installed and used in accordance with the instructions, may cause
harmful interference to radio communications. However, there is no guarantee that
interference will not occur in a particular installation. If this equipment does cause
harmful interference to radio or television reception, which can be determined
by turning the equipment o and on, the user is encouraged to try to correct the
interference by one or more of the following measures:
• Reorient or relocate the receiving antenna.
• Increase the separation between the equipment and receiver.
• Connect the equipment into an outlet on a circuit dierent from that to which
the receiver is connected.
• Consult the dealer or an experienced radio/TV technician for help.
If you cannot eliminate the interference, the FCC requires that you stop using
your product. Changes or modications not expressly by the party responsible for
compliance could void the user’s authority to operate the equipment.
This device complies with Part 15 of the FCC Rules. Operation is subject to the
following two conditions: (1) this device may not cause harmful interference, and (2)
this device must accept any interference received, including interference that may
cause undesired operation.
1-Year Limited Warranty
Go to www.radioshack.com/help for details.
RadioShack Customer Relations
300 RadioShack Circle, Fort Worth, TX 76102
www.radioshack.com
Table of contents
Other Radio Shack Soldering Gun manuals