RAIMONDI BERTA ADV User manual

GB


ENGLISH BERTA ADV ELECTROSPONGE
3
CE DECLARATION OF CONFORMITY
Raimondi S.p.A. hereby declares that the “BERTA” electrosponge fulfils the essential requirements of the
following Directives:
EC Directive 98/37 (Machine Directive)
EEC Directive 73/23/ (Low Voltage Directive).
RAIMONDI S.p.A.
Via dei Tipografi, 11 MODENA (ITALIA)
General Manager
Ivan Raimondi
Table of Contents
Use 4
Precautions 4
Technical data 4
Transport 5
Checking before use 5
Fitting 5
Preparing the machine 6
Using the machine 6
Dosing water in the sponge roller 7
Tools 7
Replacing the sponge roller 8
Cleaning the tank 9
Washing the sponge roller 9
Storing the machine 9
Replacing the water sealing plugs 10
Decommissioning 10
Troubleshooting 10

BERTA ADV ELECTROSPONGE ENGLISH
4
Before leaving the factory, the machine you have purchased undergoes a series of tests to ensure
quality, safety and efficiency.
If you follow the instructions in this manual carefully, under normal operating conditions, your ma-
chine will last a long time.
Before using the machine, read this manual carefully in order to prevent accidents and malfunction-
ing.
Use
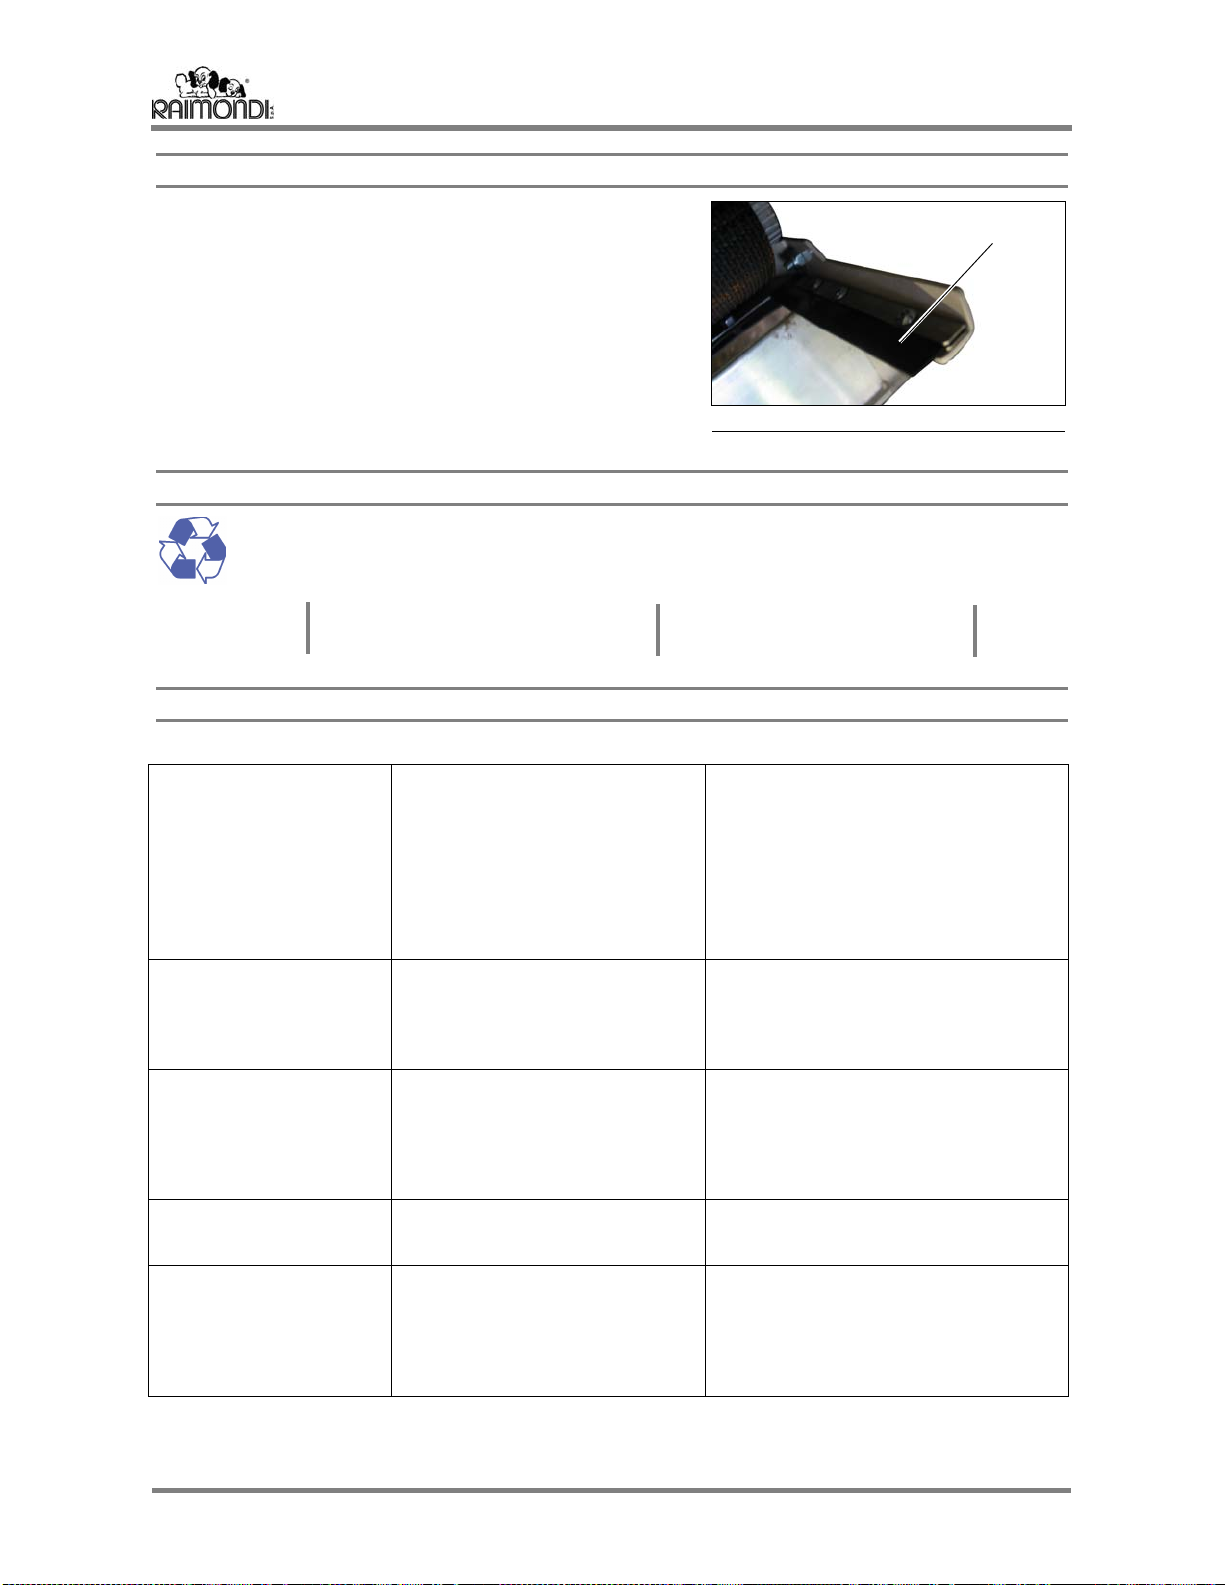
The “BERTA ADV” electrosponge has been designed to clean floors during the grouting of floor tiles.
The machine cleans away excess grout and epoxy sealant, whilst smoothing the joints between tiles.
The machine is suitable for use on floors tiles with terracotta, ceramics, vitrified stoneware, marble, porphyry,
etc.
Precautions
Never leave the machine unattended or within the reach of children.
Keep the working area clean and well lit. Never expose the machine to rain.
Machine noise emission levels under working conditions are provided in the “TECHNICAL DATA” paragraph.
For more detailed information, also see Italian Law 277/91.
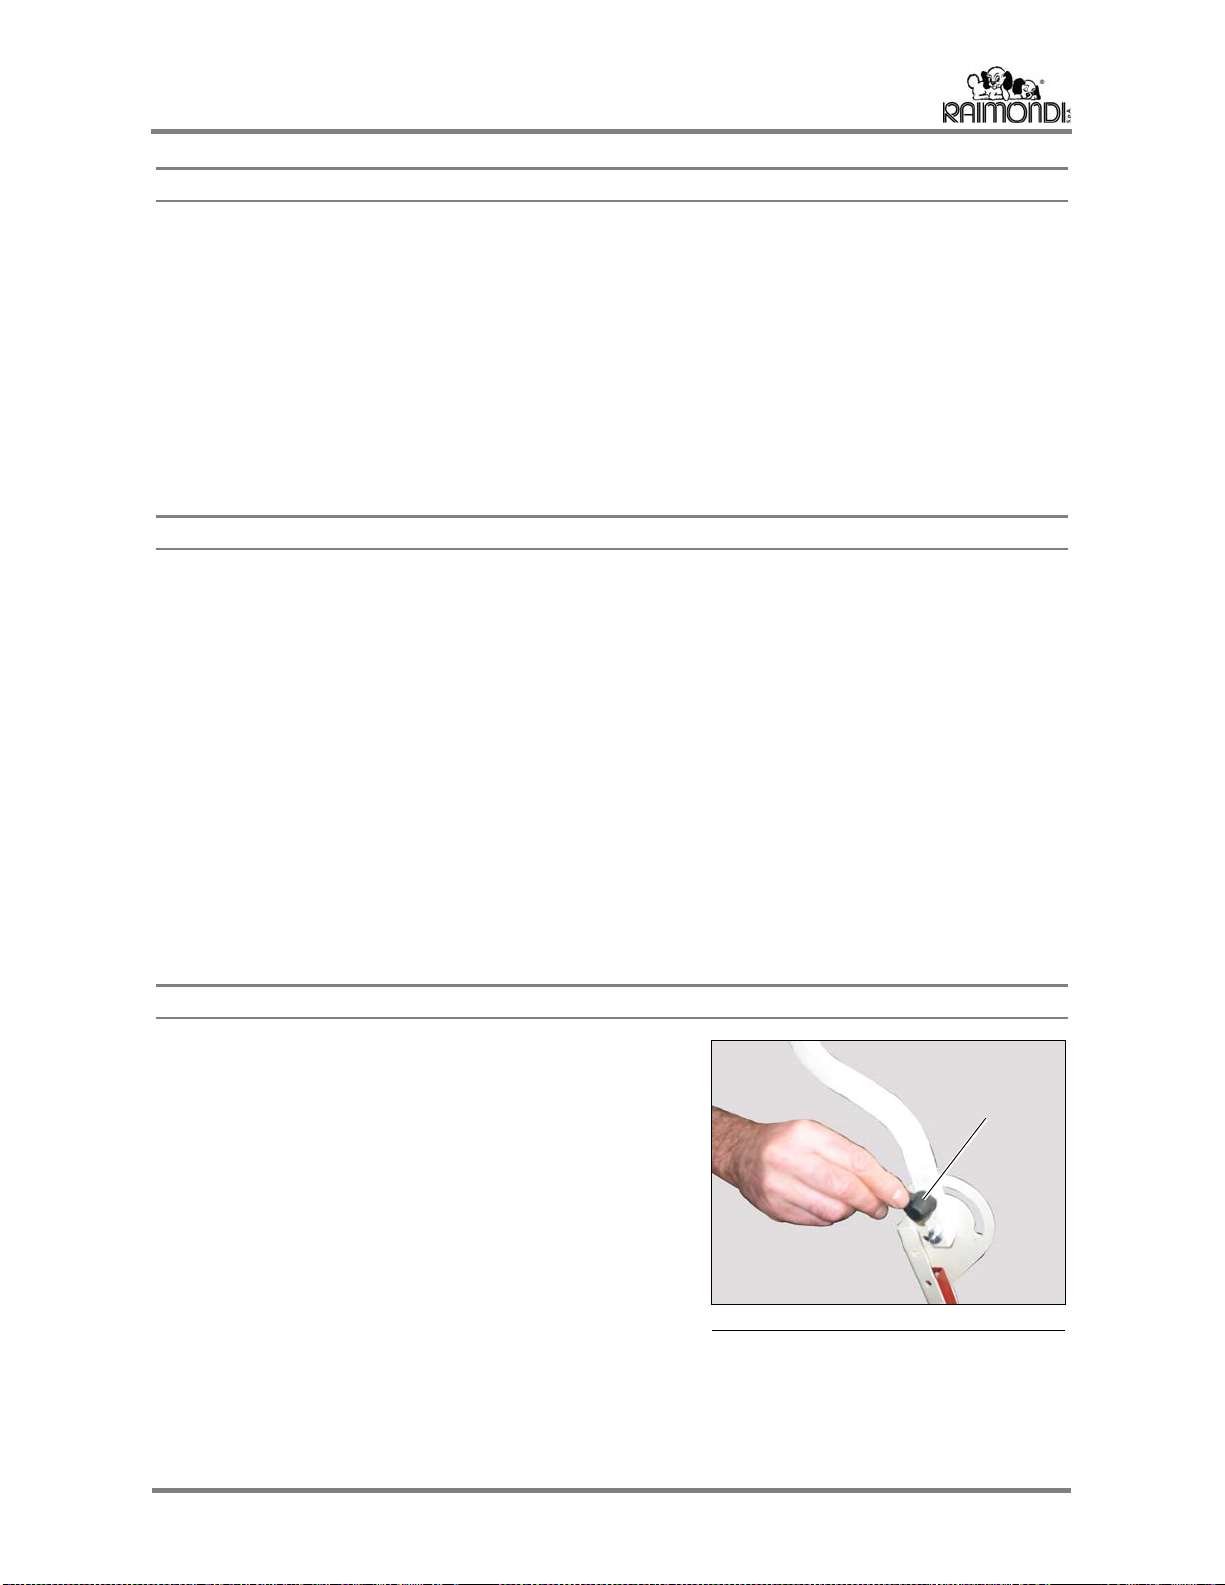
Before plugging the machine into the mains socket, make sure that the power supply voltage is compatible
with rating plate specifications.
If it is not compatible, do not plug in the machine and contact an authorised service centre or your dealer.
Always use an effectively grounded cable to hook up the machine. When in doubt, do not plug the ma-
chine in.
Technical data
OPERATING WEIGHT DIMENSIONS SPEED
BERTA 29 KG 660 X 550 X 500 MM 1
The noise emitted by the machine described in this manual was measured in compliance with the ISO 3754-
77 and ISO CD 11201-91 standards on production samples.
K = 2 [ db ], pR EN 848-1
Lw 80.1 [dBw(A) 0.1 [mW(A)] Lop 68.1 [dB(A) 77.8 [mW(C)]
230 V ~ 50Hz 120 W
1.2A 2800 n-1
MOTOR CLASS F
110 V ~ 50/60Hz 120 W
2.5A 2800-3360 n-1
MOTOR CLASS F

ENGLISH BERTA ADV ELECTROSPONGE
5
Transport
Wind up loose power cables, without knots or kinks.
Never lift or carry the machine by the power supply cable. Never disconnect the machine by pulling the
power supply cable.
Never transport the machine while it is still plugged in.
Unscrew the knobs illustrated in figure 1 and hold down the handle.
To avoid deforming the sponge roller assembly, make sure it is not in contact with the floor and that the wa-
ter dosing lever is released.
Checking before use
Before using the machine, check for any broken, worn or damaged parts and replace them immediately.
For spare parts and accessories, always follow the instructions provided in this manual.
Use only original spare parts.
For the best performance and utmost safety, always keep the machine clean and lubricated.
Always unwind the power supply cord completely and check it for damage.
Before plugging in the machine, make sure the power switch is “OFF”.
Plug the machine into a 230V 10/16A socket. As a precautionary measure, check the information given on
the MACHINE DATA PLATE.
If an extension cord is used, make certain that the section is at least 1.5 mm2.
Make sure that the sponge roller is neither warped nor damaged.
Fitting
Make sure that the tank has been correctly fitted.
Raise the handle and lock at the requested height and position,
by tightening the knobs (A) illustrated in figure 1.
FIG.1
A

BERTA ADV ELECTROSPONGE ENGLISH
6
Preparing the machine
Before using the machine to clean a floor, moisten the sponge.
Fill the tank with about 15 litres of cold and clean water.
Shift the lever (A) to its upright position (figure 2).
Operate the switch and let the sponge roller run for about 30
seconds.
Shift the lever (A) back to its horizontal position (figure 3).
The machine is now ready for use.
Using the machine
Before performing cleaning operations, make sure that
the sealant has sufficiently settled.
If the sealant has hardened on the tile surface, wet the
floor and emulsify the sealant with a brush and felt pad.
NEVER INCREASE PRESSURE ON THE SPONGE
ROLLER BY PUSHING THE HANDLE UPWARDS.
Return to the beginning of the area to clean with the
sponge roller in its raised position.
To do so, hold the machine's handle down.
Lower the sponge roller to the floor and start moving
slowly backwards, preferably in a diagonal manner with
respect to the tile installation direction.
By doing so, you will perfectly clean the tiled surface
from any grouting material.
Once you have reached the end of the area to clean,
raise the sponge roller, turn the machine and return to
the beginning of the area to clean.
Lower the sponge roller so that it overlaps the area previously treated by about 5 cm (figure 4).
When cleaning close to room walls, make sure that the motor guard does not come into contact with the
wall.
If foam forms in the tank during use, add a few drops of an anti-foam product.
FIG.2
FIG.3
FIG.4
A
A

ENGLISH BERTA ADV ELECTROSPONGE
7
Dosing water in the sponge roller
To increase or reduce the moisture content of the sponge roller, proceed as follows:
-shift the lever (A) to its upright position (figure 2 - page 6)
-raise the stopping spring (B - figure 5) and remove it;
-loosen the nut (C- figure 6);
-tighten the fork (D- figure 7) to reduce the amount of water in
the sponge roller; loosen the fork to increase the amount of
water;
-refit the stopping spring (B – figure 5) and tighten the nut (C -
figure 6).
Tools
“AVANA” sponge roller with medium absorption properties for cement based sealants.
“SWEEPEX” sponge roller with high absorption properties for cement based sealants.
“CELLULOSE” sponge roller for epoxy resin based sealants.
CELLULOSE SPONGE ROLLER FOR EPOXY PRODUCTS
Before fitting the roller, to prevent it getting damaged, soak it in cold and clean water for at least 1 minute.
FIG.5
FIG.6
FIG.7
B
C
D

BERTA ADV ELECTROSPONGE ENGLISH
8
Replacing the sponge roller
BEFORE PERFORMING ANY OPERATION, MAKE SURE THAT THE MACHINE IS UN-
PLUGGED.
REMOVING THE SPONGE ROLLER
Shift the lever (A) to its upright position (figure 2 – page 6).
Move to the side opposite the motor casing.
Raise the handle (E– figure 8) and remove the quick release
device (F– figure 8).
Move to motor casing side. Using a screwdriver, raise the han-
dle (G– figure 9) and remove the quick release device (H– fig-
ure 9).
FITTING A NEW SPONGE ROLLER
Shift the lever (A) to its upright position (figure 2 – page 6).
Place the sponge roller into its seat, keeping the side featuring
the hexagonal notch on the right.
When fitting the roller, make sure the rubber water sealing plugs
are facing upwards.
Move to motor casing side.
Fit the quick release device and the hexagonal pin (H– figure 9)
Turn the sponge roller by giving it short and light presses (for-
wards and backwards as shown in figure 10) whilst holding
down the quick release device (H– figure 9), until it fits perfectly
into the hexagonal notch of the roller.
Move to the side opposite the motor casing.
Fit the quick release device with its cylindrical pin (F– figure 8).
IMPORTANT: QUICK RELEASE DEVICES (F/H – FIGURES 8/9) MUST FIT PERFECTLY INTO
THEIR HOUSINGS.
FIG.8
FIG.9
FIG.10
E
F
G
H
G

ENGLISH BERTA ADV ELECTROSPONGE
9
Cleaning the tank
BEFORE PERFORMING ANY OPERATION, MAKE SURE THAT THE MACHINE IS UN-
PLUGGED.
Shift the lever (A) to its upright position (figure 2 – page 6).
Raise the water conveyor belt and remove the tank (figure 11).
IMPORTANT
Any material drawn up from the floor deposits in the tank
on the rear side of the machine.
The layer of material that builds up must never be thicker than 2
cm, in order to prevent it blocking the water conveyor belt.
Washing the sponge roller
After cleaning the tank and filling it with cold and clean water, shift the lever (A) to its upright position to raise
the sponge roller off the floor (figure 2 – page 6).
Operate the power switch and with the machine running lower the lever (A) (figure 3 – page 6) and raise it
after 30 seconds.
Repeat this operation several times until the sponge roller is perfectly clean.
When the machine is in rest position, to prevent the sponge roller warping make sure the latter is raised off
the floor and that the lever (A) is in its upright position (figure 2 – page 6).
STORING THE SPONGE ROLLER
Store sponge rollers upright.
Rollers with cellulose sponges must be kept in plastic bags.
Storing the machine
Wash the sponge roller (see “Washing the sponge roller” on page 9).
In the event of long-term storage, remove the sponge roller.
IMPORTANT: QUICK RELEASE DEVICES (F/H – FIGURES 8/9) MUST FIT PERFECTLY INTO
THEIR HOUSINGS.
MAINTENANCE
BEFORE PERFORMING ANY OPERATION, MAKE SURE THAT THE MACHINE IS UN-
PLUGGED.
Grease moving parts on a periodic basis:
chain, bearings, wheel axle, belt tightening rollers.
FIG.11
IMPORTANT: FOR WASHING USE ONLY WATER. ALCOHOL OR DILUENTS MAY CAUSE THE
SPONGE TO DETACH FROM THE ROLLER.

BERTA ADV ELECTROSPONGE ENGLISH
10
Replacing the water sealing plugs
Shift the lever (A) to its upright position (figure 2 – page. 6).
Remove the sponge roller (see “Removing the sponge roller” on
page 8).
Remove worn rubber plugs (L– figure 12) by loosening the fix-
ing screws.
Fit the new plugs making sure that the long side is facing to-
wards the tank.
Decommissioning
WHEN THE MACHINE, OR PARTS, ARE TO BE DEMOLISHED, FOLLOW THE INDICATIONS
OUTLINED IN THE CURRENT LEGISLATION.
Troubleshooting
PROBLEM CAUSE REMEDY
The machine does not
work Plug has not been inserted prop-
erly into the socket
Power supply cable is broken
No power at the 230V socket
Switch is damaged
Push plug fully into socket
Replace power supply cable
Check power 230 V power supply socket
or have it checked
Replace switch
The motor hums when it is
switched on and the
sponge roller does not
turn
Capacitor is faulty
Abnormal friction in motor drive
Replace capacitor
Check moving parts
Contact an authorised service centre or
your dealer
Water leaks from the sides
of the machine or between
the sponge roller and tank
Rubber plugs on roller flanges are
worn or facing downwards
Sponge roller is worn
Too much foam tends to form
Replace if broken or worn
Turn plugs upwards
Replace sponge roller
Use anti-foam liquid
Motor is too noisy Chain is not lubricated
Chain has slackened
Lubricate with grease
Turn the chain tightener support
Irregular consumption of
sponge roller Improper use of machine
Sponge roller is not parallel to floor
Never raise handle to increase pressure
on the sponge roller, instead use the
roller pressure adjustment knob
Contact an authorised service centre or
your dealer
FIG.12
SPONGE
ROLLER RUBBER
PVC «PVC»
ABS "ABS"
MOTOR COPPER "CU"
ALUMINIUM "AL"
STEEL "AC"
MACHINE BODY STEEL "AC"
ALUMINIUM "AL"
POLYAMIDE "PA"
L

ENGLISH BERTA ADV ELECTROSPONGE
11
BERTA ADV

BERTA ADV ELECTROSPONGE ENGLISH
12

ENGLISH BERTA ADV ELECTROSPONGE
13
BERTA ADV
POS. PRODUCT CODE PART NAME POS. PRODUCTCODE PART NAME
1 128LE02D ROLLER PRESSURE ADJUSTMENT LEVER STARTER SPARE PARTS
2 128TI01A TIE-ROD FOR BUMPER ADJUSTMENT 11 235ES01A STARTER WITH CE PLUG (230V/50HZ)
3 128TI02A TIE-ROD FOR SQUEEZER ADJUSTMENT 11 235ES02A STARTER WITH US PLUG (115V/60HZ)
4 141NA04D WATER CONVEYOR BELT 11/1 236IN02C ON/OFF SWITCH
5 150PL02D MOTOR CASING 11/2 320PS01C SPIRAL CABLE LUG PG11
6 154ES06D STARTER HOLDER 11/3 312SK02D CABLE LL10MT WITH SHUKO PLUG
7 154ES07A HANDLE 11/3 312US02D CABLE LL10MT WITH USA PLUG
8 154ES09D LEFT ARTICULATED JOINT FOR HANDLE 11/4 320GH04C RING NUT FOR CABLE BS11
9 154ES10D RIGHT ARTICULATED JOINT FOR HANDLE 11/5 264PC01D SWITCH HOLDER WITH BASE
10 158GB06D RING NUT DIAM. 91MM 11/6 320PG01C SHEATH TERMINAL 12X16 3/8" GAS
11 235ES01A STARTER WITH CE PLUG (230V/50HZ) BELT TIGHTENER SPARE PARTS
11 235ES02A STARTER WITH US PLUG (115V/60HZ) 42 399LA12A-ADV COMPLETE BELT TIGHTENER
12 261RA04D GEAR WHEEL Z55 42/1 399LA12D BELT TIGHTENER
13 266FE03D MOTOR CASING 42/2 399IN02D ST. STEEL RUBBER PLUG HOLDER
14 284GC02D GUIDE PULLEY Z12 42/3 141FU03D OLEOTEN RUBBER PLUG 398 MM
15 284PG03D PINION Z14 42/4 141FU01D WATER SEALING PLUGS 24X120MM
16 284PS02D PINION Z11 42/5 399IN04D ST. STEEL PLUG HOLDERS
17 285BERTA-05 3/8 CHAIN WITH 94 ROLLERS MOTOR SPARE PARTS
18 297IN18D MOTOR 230V-50/60HZ 18 297IN18D MOTOR 230V-50/60HZ
18 297IN19D MOTOR 115V-50/60HZ 18 297IN19D MOTOR 115V-50/60HZ
19 300EP01D EPICYCLOID REDUCTION GEAR 18/1 281LG03D MEC ROTOR 56 0.12KW
20 305MF01C HANDLE LL55 M8 18/2 3045601C FAN COVER MEC 56
21 305PF01D KNOB DIAM. 22 18/3 303VM25C FAN MEC56
22 306IP03C HANDGRIP 18/4 247CM13C TERMINAL BOARD COVER MEC 56
23 310BS15D BUSHING O.D. 14 HOLE DIAM. 6 H16.5 18/5 279IN03C MOTOR SHIELD MEC 56
24 314TO03D TORSION SPRING, H.D. 2.7 P.D. 20 LL5 18/6 279IN02C FLANGE MEC 56
25 314TO06D TORSION SPRING, H.D. 2.7 P.D. 20 LL84 18/7 320PR01C CABLE LUG PG11
26 315CB01D WHEEL O.D.50X53 H.D. 8 18/8 177CO03C SEAL 12X22X5
27 315CB16A IDLE ROLLER 18/9 3081201C BEARING 6201ZZ
28 317RU04D PIN FOR IDLE ROLLER, DIAM. 15 LL394 230 V MOTOR SPARE PARTS
29 320GH01C RING NUT 12X16 3/8" GAS 18/10 280AA06C STATOR MEC 56 0.12KW 230V
30 320PG01C SHEATH TERMINAL 12X16 3/8" GAS 18/11 2870801C CAPACITOR 8 MF
31 326BE01A COMPLETE TANK ASSEMBLY 115 V MOTOR SPARE PARTS
32 380ANTISC TIN OF ANTI-FOAM AGENT 100 GR. 18/10 280CA06C STATOR MEC 56 0.12KW 115V
33 380RULLO AVANA SPONGE ROLLER 18/11 2873001C CAPACITOR 30 MF
34 399ES01D ALUMINIUM MOTOR SUPPORT
35 399ES02D ALUMINIUM CROSSBAR
36 399FA01A LEFT HAND SIDE PANEL
37 399FA02A RIGHT HAND SIDE PANEL
38 399KR01A WHEEL KIT WITH PIN
38/1 317PR02D WHEEL PIN DIAM. 15 LL445
38/2 315CR05C WHEEL O.D. 100X44 H.D. 15
39 399LA08D BUMPER
40 399LA09D LEFT HAND TANK GUIDE
41 399LA11D RIGHT HAND TANK GUIDE
42 399LA12A-ADV COMPLETE BELT TIGHTENER
43 399LA13D RH BRACKET FOR ADJUSTER LEVER
44 399LA14D LH BRACKET FOR ADJUSTER LEVER
45 399LA16D ANTI-FOAM TIN HOLDER
46 399RM02A MOTORISED ROLLER WITH PIN
47 399RS02A SQUEEZER ROLLER WITH SUPPORT
48 399SM01A MAGNETIC RELEASING DEVICE FOR
DRIVE PIN
49 399SM02A MAGNETIC RELEASING DEVICE FOR IDLE
PIN

BERTA ADV ELECTROSPONGE ENGLISH
14

BERTA ADV
BERTA AD
V
RAIMONDI S.p.A. MODENA
2005 designed by TECNO DINAMICA S.n.c.
Date of production
Serial n°
Table of contents
Popular Cleaning Equipment manuals by other brands

Ridgid Kollmann
Ridgid Kollmann K-39 operating instructions

Graymills
Graymills DMD 232 Operation and maintenance instructions

Vinyl Record Cleaning System
Vinyl Record Cleaning System VRC Platter instruction manual

Rainbow Pool Products
Rainbow Pool Products GritBuster Magic Wand W9320015 quick start guide

COUNTERFOG
COUNTERFOG SDR-F05A+ user manual

GMC
GMC 80MM manual