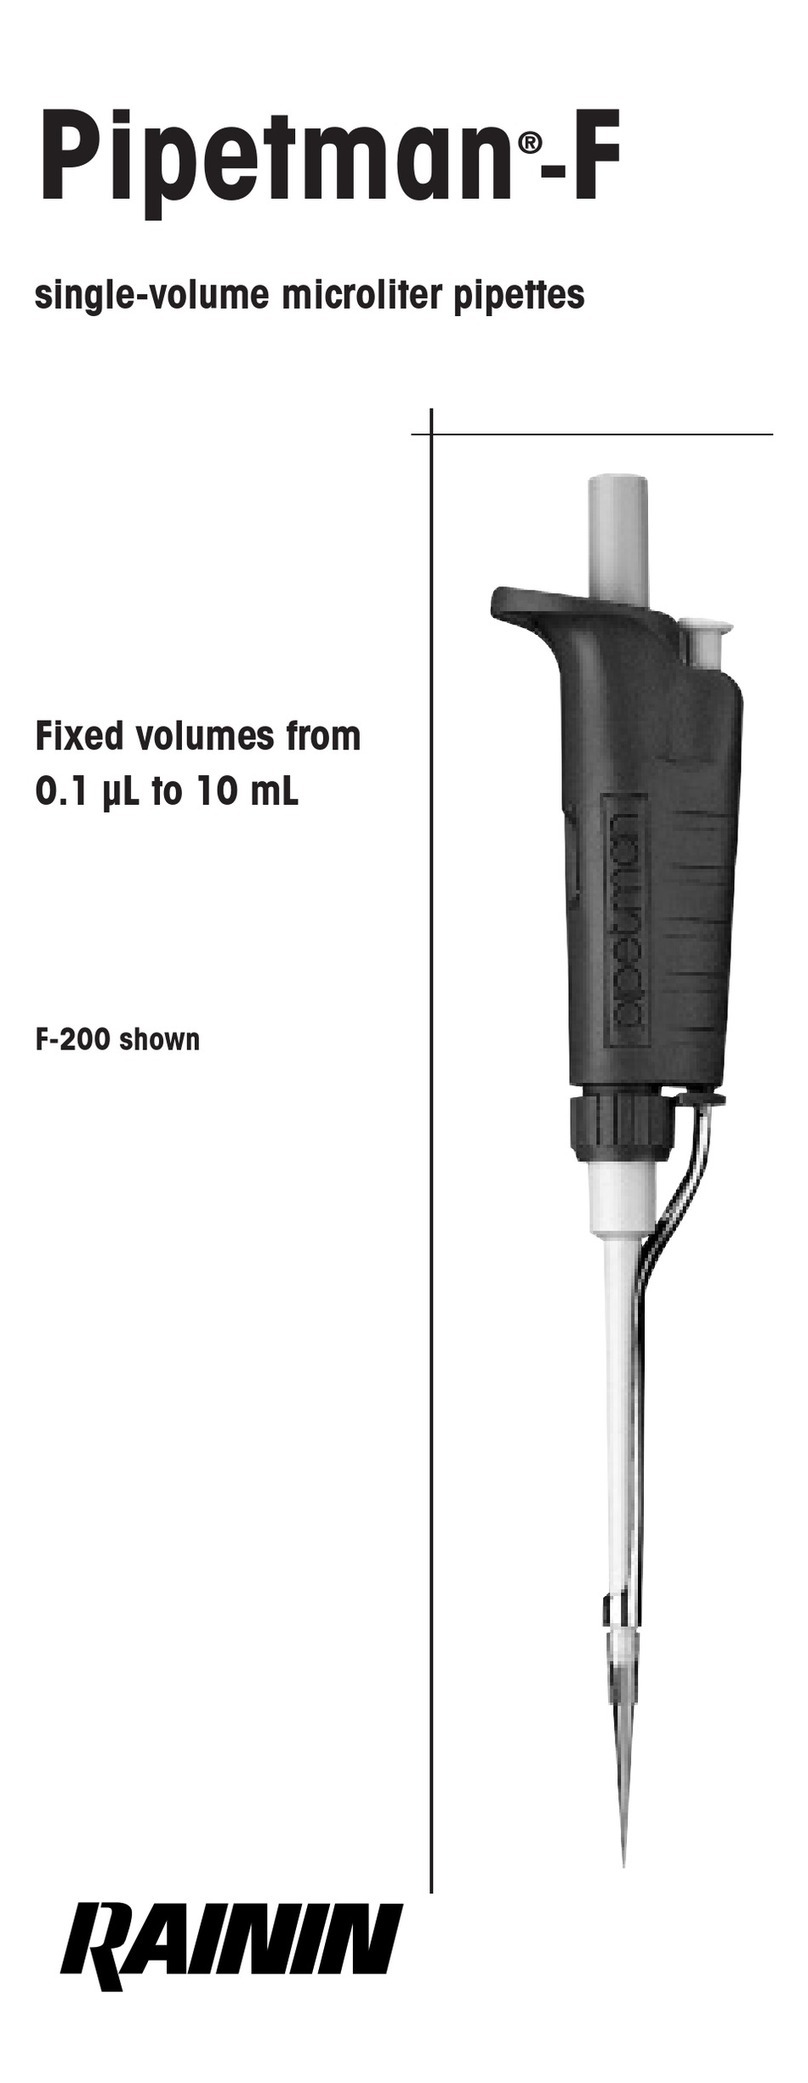
Rainin Pipetman P-200-M8 User manual

Pipetman
P-200-M8
continuously
adjustable
digital microliter
8-channel pipette
®

Contents
Description......................................................................... 1
Volume Setting................................................................... 1
Performance Specifications............................................... 3
Operation ........................................................................... 4
Tip Selection ........................................................................5
Tip Immersion Depth............................................................5
Pipetting Guidelines and Precautions..................................6
Pre-Rinsing ........................................................................ 6
Reverse Mode Pipetting..................................................... 6
Pipetting Liquids of Varying Density .................................. 7
Temperature Considerations ............................................. 7
Acids and Corrosives......................................................... 7
Tip Ejector.......................................................................... 8
Rotating the Liquid End..................................................... 8
Maintenance ...................................................................... 8
Nozzle Removal and Replacement.................................. 10
Troubleshooting and Repairs .......................................... 11
Sample Splash...................................................................11
Leaks, incorrect sampling..................................................11
Service, Calibration and Repair ....................................... 12
Replacement Parts .......................................................... 13
Contacting RAININ..............................................Back Cover
Figure 1: Pipetman P-200-M8 .......................................... 2
Figure 2: Cam-Actuated Tip Ejector ................................. 8
FIgure 3: Accessories for P-200-M8...................................9
Figure 4: P-200-M8 Liquid End ...................................... 10
Technical Support: 800-543-4030
Call this toll-free number for technical consultation and
product information for Pipetman, other RAININ
pipettes, and disposable tips.
Pipetman and Microman are trademarks of Gilson Inc.
Rainin is the U.S. distributor for Pipetman products.
Pipetman P-200-M8 pipettes are manufactured under U.S. Patent
No: 4,779,467.
Other U.S. and international patents pending.
© 1992-2002, Rainin Instrument, LLC.
Prices and specifications are subject to change without notice.

1
Description
Pipetman P-200-M8 is an eight-channel Pipetman for
liquid measurement applications requiring the use of 96-
well plates. P-200-M8 features an eight-nozzle liquid
end coupled to a Pipetman body.
Model P-200-M8 is not limited to fixed volume
increments such as 25 µL or 100 µL, but allows you to
accurately set intermediate volumes, e.g. 29.8, 87.4,
101, 185.6 µL. This continuous adjustability is an
important advantage, especially for research laboratory
applications.
Model P-200-M8 is a variable-stroke piston pipette. The
stroke is set by adjusting a digital micrometer. A digital
volume indicator coupled directly to the micrometer
reads the volume setting in microliters. The volume
indicator simplifies the volume-setting process and
reduces chances of error in reading volumes.
Each nozzle contains its own piston and seal assembly.
Piston seals are lubricated with silicone grease for low
friction and long life. Precision-ground stainless steel
pistons contribute to seal integrity and ensure accuracy
and precision for each nozzle. Nozzle/piston assemblies
are removable and can be individually replaced.
The comfort-contoured Pipetman body is made of high-
impact chemical-resistant plastic. It has a low tempera-
ture coefficient, so the instrument may be held for pro-
longed periods without affecting sample volume
reproducibility.
A piston push bar controlled by the operator
’
s thumb
moves the eight pistons during operation. Tips are
easily ejected without hand contact by a cam-actuated
tip ejector. The 8-channel liquid end can be rotated to
any angle for operator comfort.
Volume Setting
The volume indicator consists of three number dials and
is read from top to bottom. The three digits indicate the
volume selected in whole microliters. The volume set on
the dial is the volume for each channel.
You can set intermediate volumes using the vernier
marks between the digits. Model P-200-M8 operates in
the volume range from 20 to 200 µL; the smallest
incremental setting is 0.2 µL.

2
Plunger Button
with Volume
Adjustment
8-Channel
Liquid End
Nozzles
Tip Ejector
Eject
Rake
Volume
Adjustment
Knob
Digital
Volume
Indicator
Position
Locking
Ring
Plunger
Figure 1: Pipetman P-200-M8

3
Various volume settings for Pipetman Model P-200-M8
are shown below:
Performance Specifications
Accuracy and precision specifications for Pipetman
P-200-M8 are defined in this manual as follows:
Accuracy is the closeness of a measured volume to
the true volume as specified by the volume setting of
the pipette. Also known as “mean error”.
Precision is the scatter of individual measurements
around the mean of a large number of replicate mea-
surements of the same volume. Also known as
“standard deviation”.
Specifications for precision are generally tighter than for
accuracy. In most experiments, where sample measure-
ments are compared to standards, the precision
specification will determine the accuracy of results as
long as both samples and standards are measured with
the same instrument.
Each Pipetman is factory calibrated and carefully
checked gravimetrically before shipment using distilled
water and an analytical balance. Water temperature and
ambient conditions are stabilized at 21.5°C ± 1°C.
Volumetric corrections are made for both the density of
water and evaporation, where applicable. Consult the
RAININ publication “Procedure for Evaluating Accuracy
and Precision of Rainin Pipettes” (AB-15) for further
information. For a free copy call 800-543-4030 or you
can download it from the RAININ website in PDF
format: http://www.rainin.com/pdf/ab15.pdf

When used in accordance with the pipetting procedures
in this manual and with RAININ tips, the Model P-200-
M8 will perform to these specifications:
Operation
Volume can be set either with the volume adjustment
knob, or by turning the plunger button.
Volume Adjustment using Plunger Button
1a. Hold P-200-M8 in one hand. With thumb and
forefinger, turn the plunger button counterclockwise
until the volume indicator is 1⁄3 revolution above the
desired setting, then turn slowly clockwise until the
desired volume shows on the indicator.
Volume Adjustment using Volume Adjustment Knob
1b. Hold P-200-M8 in one hand. With the other hand,
turn the volume adjustment knob counterclockwise
so the volume indicator is 1⁄3 revolution above the
desired setting, then turn slowly clockwise until the
desired volume shows on the indicator.
ALWAYS DIAL DOWN TO THE DESIRED VOLUME.
2. Mount new disposable tips by pressing down on the
tip rack. Use a back-and-forth and side-to-side
rocking motion to ensure tips are securely attached.
Press firmly to ensure a positive airtight seal.
3. Depress the plunger to the FIRST STOP. This part of
the stroke is the calibrated volume displayed on the
digital volume indicator.
4. Holding Pipetman vertically, insert the tips into the
samples to the proper immersion depth, 2–4 mm.
5. Allow the plunger to return slowly to the UP position.
NEVER LET IT SNAP UP!
6. Wait a moment to ensure that the full volume of
sample is drawn into each tip.
7. Withdraw the tips from the wells. Should any liquid
remain on the outside of the tips, wipe carefully with
a lint-free tissue, taking care not to touch the tip
orifices.
8. To dispense sample, touch the tip ends against the
side walls of the receiving wells and depress the
plunger slowly to the FIRST STOP.
4

Wait 1 second (longer for viscous solutions). Then
press the plunger to the SECOND STOP (bottom of
stroke), expelling any residual liquid in the tips.
9. With the plunger fully depressed, withdraw the
instrument carefully, with the tips sliding along the
walls of the wells.
10. Allow the plunger to return to the UP position.
11. Discard the tips by twisting the winged tip ejector
knob. Fresh tips should be used for each sample to
prevent sample carryover.
Tip Selection
■Tips must seal properly on the shaft to assure an air-
tight seal and avoid leaks or poor accuracy.
■Tips must be soft and flexible so that the shaft is not
scratched or worn prematurely.
■Tips must be free from microscopic flash and
particulates. Flash gives poor precision and accuracy.
■The tip orifice must be the correct size, and orifice size
and geometry must be consistent from tip to tip.
Otherwise, accuracy and precision will be affected.
■Interior and exterior surfaces must be clear, smooth,
and hydrophobic to avoid retention of liquid. Too much
retention results in poor accuracy and reproducibility.
Specified performance is guaranteed only when RAININ
disposable tips are used as recommended. RAININ
cannot accept responsibility for poor performance result-
ing from the use of other manufacturers’ tips.
RAININ tips are molded from premium-grade virgin poly-
propylene plastic. Samples from each lot of tips are
inspected microscopically to ensure that every lot meets
RAININ’s high standards.
Tip Immersion Depth
The recommended depth for insertion of the tips into
the sample for Pipetman P-200-M8 is 2–4 mm.
Tip immersion depth is important. If exceeded, the
volume measured will be inaccurate, possibly out of
specification. Tip angle is also important. Hold the
pipette vertically, or within 20 degrees of vertical.
5

6
Pipetting Guidelines & Precautions
Consistency in all aspects of pipetting procedure will con-
tribute significantly to optimum reproducibility. Use a:
1. Consistent pickup/dispense rhythm while pipetting.
2. Consistent speed and smoothness when you press
and release the pushbutton.
3. Consistent pushbutton pressure at the first stop.
4. Consistent immersion depth.
5. Minimal angle (< 20° from vertical).
Prevent liquids from being drawn into the Pipetman shaft
by taking the following precautions:
1. Use RAININ aerosol-resistant tips, with an internal
filter which acts as a barrier to aerosols and liquids.
2. Never invert or lay Pipetman down if liquid is in the tip.
3. Pipette slowly, holding Pipetman < 20° from vertical.
If an air bubble is noted in any of the tips during intake,
dispense the sample to the original vessel, check the tip
immersion depth (2–4 mm), and pipette more slowly. If a
bubble appears again, eject the tips and use a new set.
Pre-Rinsing
Some solutions (e.g. serum, protein-containing solutions,
and organic solvents) can leave a film on the inside tip
wall, resulting in an error larger than the tolerance
specified. Since this film remains relatively constant in
successive pipettings with the same tip, excellent
precision may be obtained by refilling the tip and using
the refilled volume as the sample. Successive samples
from this same tip will exhibit good reproducibility (low
variance).
Reverse Mode Pipetting
Another way of reducing error due to film retention is re-
verse mode pipetting, where the operating sequence is
reversed:
1. Mount disposable tips on the pipette nozzles.
2. Press the pushbutton fully to the SECOND STOP.
3. Immerse the tips in liquid and return the plunger
slowly to the full up position. Wait a moment for the
liquid column to reach equilibrium in each tip.
4. Wipe any excess liquid from the outside of the tips
without touching the orifice.
5. To dispense, rest the end of the tips against the

7
vessel wall and press the plunger to the FIRST STOP.
Hold this position a few seconds, or long enough for
the liquid column to reach equilibrium again.
6. Remove the tip from the receiving vessel without
blowing out the remaining liquid.
7. Return excess sample in the tip to the original
sample container, if desired. Discard the used tip.
Pipetting Liquids of Varying Density
You can compensate for solutions of density much
different from water, by setting the volume slightly higher
or lower than that required.
The compensation amount must be found empirically:
When pipetting 10 µL of CsCl solution, you determine
that the volume delivered is actually 8.5 µL (≥5 samples).
Try changing the volume setting to 11.8 µL and repeat
the measurements. If the volumes delivered are still not
close enough to 10 µL, make another slight volume
adjustment until the measurements are as desired.
Very dense liquids may not be suitable for air displace-
ment pipetting. Use Microman® positive displacement
pipettes for these liquids.
Temperature Considerations
Warm or cold liquids can be measured with good
precision by using a consistent pipetting rhythm. This will
help minimize any differences in heating or cooling
effects within the pipette. Use new tips each time for
best accuracy and precision when measuring samples
with temperatures greatly different from ambient, and do
not pre-rinse. You will get best results if there is no delay
between picking up samples and dispensing them.
Acids and Corrosives
After pipetting concentrated acids or highly corrosive
solutions you should disassemble Pipetman and inspect
and clean (if necessary) the piston, shaft, and seal
assemblies.
Extensive contact with corrosive fumes may corrode the
pistons in the nozzles. This will result in premature seal
wear and may require refinishing or replacement of the
piston. Exposure of components to corrosive fumes can
be reduced by using aerosol-resistant tips. These tips
have an internal filter which acts as an aerosol barrier.

8
Tip Ejector
Pipetman P-200-M8 has a cam-actuated tip ejector
which consists of an eject rake moving under action of a
double cam.
The cam is activated by turning the winged tip ejector
knob 45° in either direction then releasing the knob. A
bearing follows the cam and decreases friction to
provide smooth, efficient removal of all eight tips.
CAUTION:
Do not take the ejector
mechanism apart. Fasteners
on the inside of the
mechanism have been
permanently secured. If
disassembled, reassembly
will be impossible.
Rotating the Liquid End
The 8-channel liquid end can be rotated to any angle.
Loosen the position locking ring slightly. Holding the
Pipetman body in one hand, rotate the liquid end to a
convenient angle with the other hand. Tighten the locking
ring enough to hold the liquid end in the new position.
Maintenance
P-200-M8 pipettes are constructed ruggedly and
provide exceptional performance and long-term trouble-
free service, provided that proper care is exercised and
proper pipetting techniques are followed.
The 50 µL and 100 µL calibration marks on RAININ tips
can be used for a quick visual check of pipetting perfor-
mance. Aspirate the appropriate volume in each channel.
The meniscus of the sample in each tip should be at the
calibration mark. If any loss of pipetting performance is
evident the probable cause is either a poor seal between
a nozzle and tip or a poor piston seal.
Another test: aspirate 200 µL of water, hold the instru-
ment vertical and observe the tip ends for one minute.
No leaking should occur.
Figure 2: Cam-actuated Tip Ejector

RAININ disposable tips are recommended for an airtight
fit between each nozzle and tip. The sealing surface of
RAININ tips exactly matches P-200-M8 nozzles.
The piston seal is designed to withstand extended wear;
however, chemical damage to a piston or a scratched
nozzle may impair the seal and cause leakage. If either
situation occurs, the damaged nozzle assembly must be
replaced, as described later in this section.
After use, store your Pipetman P-200-M8 in a clean, safe
place. Pipetman is a precision instrument and should be
treated with the level of care appropriate for laboratory
instrumentation. Various pipet stands are available to
conveniently hold your Pipetman when not in use.
NOTE: Do not lay the instrument on its side with sample
in the tips.
9
Figure 3: Accessories for P-200-M8
CR-7: Free-standing
carousel holds 7 Pipetman
pipettes.
HU-M3: Set of three
magnetic Hang-Ups for
mounting on ferrous
surfaces. Package includes
adhesive disks for mounting
on non-ferrous surfaces.
HU-S3: Three
Hang-Ups
attached to a
clamp which
fits onto a shelf.

10
Periodic performance testing assures that all parts of
the liquid measurement system – instrument, tips, and
operator technique – are functioning properly. RAININ’s
publication “Procedure for Evaluating Accuracy and
Precision of Rainin Pipettes” (AB-15) is recommended
for performance verification. For a free copy call 800-
543-4030 or download in PDF form from RAININ’s
website - http://www.rainin.com/pdf/ab15.pdf
Nozzle Removal and Replacement
Set the volume dials to 000. With a 1/16-inch hex key,
remove the two screws from the back of the liquid end
box. Then remove the four screws from the liquid end
cover and lift off the lid. A liquid end with cover removed
is shown in Figure 4.
Locate the damaged nozzle assembly and lift it out by
grasping the nozzle body and pulling up. The nozzle
body may slide off the piston. If this happens, remove
the piston by pulling up.
When replacing a nozzle assembly in a station:
1. The clip on the end of the piston must fit into the
piston bar slot.
2. The locating key on the nozzle body must engage the
locating slot.
Position the replacement nozzle assembly directly
above the vacant position. Push the clip into the piston
bar slot. The clip will compress slightly as you press it
into place. Then place the locating key in the locating
slot. This should be a snug fit. All nozzles should line up
evenly.
Locating Key
Piston Clip
Seal Spring
Piston Seal
Piston Bar Slot
Nozzle
Piston
Piston Shaft
Locating Slot
Figure 4: P-200-M8 Liquid End

Replace the cover. Make certain the cover is flush with
the box and that all nozzles are secured and in line.
Replace and tighten the screws. Do not overtighten.
Troubleshooting and Repairs
Pipetman pipettes give excellent performance and long-
term service. Use these procedures in the case of
physical or chemical damage.
Sample Splash
If liquids get into the eight-channel liquid end:
1. See Nozzle Replacement (page 10) and remove the
liquid end cover.
2. Inspect nozzles, seals and pistons for contamination.
Clean with distilled water or IPA. Dry with a lint-free
tissue. Regrease and reassemble after inspecting the
interior of the liquid end for contaminant.
3. If staining and/or corrosion of pistons is evident (due
to previously dried sample material), do not use the
pipette. Return to RAININ for service (see page 12).
Leaks, inaccurate sampling:
1.Cracked nozzle. Remove the liquid end cover and
inspect the nozzle assemblies. Replace if necessary.
2. Insufficient lubrication. Remove the liquid end
cover. Lift out the affected nozzle, remove and
lubricate the piston with a thin film of silicone
grease. Reassemble.
3. Worn piston seal. Remove the liquid end cover and
replace affected nozzle assemblies.
4. Bent plunger. Recalibration of the instrument will be
necessary if the plunger is bent. Call 800-662-7027
for instructions for sending the instrument for
service.
5. Improper reassembly. Remove the liquid end cover
and check the position of the nozzle assemblies.
6. Tips do not fit properly. Use only RAININ
disposable tips.
Consult the RAININ publication “Pipetman Care and
Maintenance” (AB-14) for more information. This free
publication is available by calling 800-543-4030 or it can
be downloaded in PDF format from RAININ’s website:
http://www.rainin.com/pdf/ab14.pdf
11

12
Service, Calibration and Repair
RAININ maintains Pipette Repair and Calibration facilities
in the following locations:
RAININ Service Center
Rainin Road, Woburn, MA 01801, USA
Tel: 800-662-7027 Fax: 781-935-7631
RAININ Service Center
7500 Edgewater Drive, Oakland, CA 94621, USA
Tel: 800-662-7027
Replacement parts are manufactured by Gilson and
Rainin. It is recommended to use only these replacement
parts, which are available in the U.S. only from Rainin.
It is NOT necessary to recalibrate the pipette after
regreasing or changing a nozzle assembly.
Recalibration should only be done by qualified factory-
trained RAININ personnel in one of the facilities listed
above.

13
Replacement Parts
Description Part Number
Nozzle/piston assembly, package of 2 6102-259
Nozzle/piston assembly, package of 8 6102-260
Nozzles w/ grease, package of 8 6102-266
Silicone grease 1600-038
Plunger button 861081
Replacement parts are manufactured by Gilson and
Rainin.
For all other inquiries regarding Pipetman, or to obtain
RAININ publications, please contact Technical Service at
800-543-4030, or visit the RAININ website at the URL:
http://www.rainin.com
861081
Plunger button
6102-259
Nozzle/piston
assembly. pkg of 2
6102-260
Nozzle/piston
assembly. pkg of 8

9920-110 Rev F
7500 EDGEWATER DRIVE, BOX 2160, OAKLAND, CA 94621-0060
RAININ ROAD, BOX 4026, WOBURN, MA 01888-4026
Prices and specifications are subject to change without notice.
Copyright 1992-2002, Rainin Instrument, LLC
Limited Warranty
See the enclosed Limited Warranty and Limitations of
Liability Statement. Please complete and return the
Warranty Registration Card on receipt of your pipette.
RAININ pipettes are calibrated with RAININ tips. To
assure excellent reproducibility and performance, use
only RAININ tips as recommended in this manual.
Specified performance is guaranteed only when
RAININ tips are used.
Contacting RAININ
Technical Support:
Phone: 800-543-4030
Fax: 781-938-1152
E-mail: [email protected]
Pipette Service:
Phone: 800-662-7027
Fax: 781-935-7631
E-mail: [email protected]
Direct Order Line:
Phone: 800-472-4646
Fax: 781-938-1152
E-mail: [email protected]
Web: www.rainin.com
Table of contents
Other Rainin Laboratory Equipment manuals
Popular Laboratory Equipment manuals by other brands

Conrad
Conrad 97 52 27 operating instructions

Datalogic
Datalogic RIDA DBT6400 Quick reference guide

KC
KC Ekman Grab 12.000 manual

Thermo Scientific
Thermo Scientific MaxQ Mini 4450 series Operating manual and parts list

Konica Minolta
Konica Minolta DRYPRO 832HG specification

Arometrix
Arometrix Extraction Finder quick start guide

Sanuvox
Sanuvox S300 Installer's instructions

Altronix
Altronix NetWay1DWP installation guide

Thermo Scientific
Thermo Scientific BF51842C Installation and operation manual

Thermo Scientific
Thermo Scientific TSQ 9000 Hardware manual

Thermoline Scientific
Thermoline Scientific TELR 130 instruction manual

Ibx
Ibx V05 manual