manuals.online logo
Brands
  1. Home
  2. •
  3. Brands
  4. •
  5. Ranger Products
  6. •
  7. Tyre Changer
  8. •
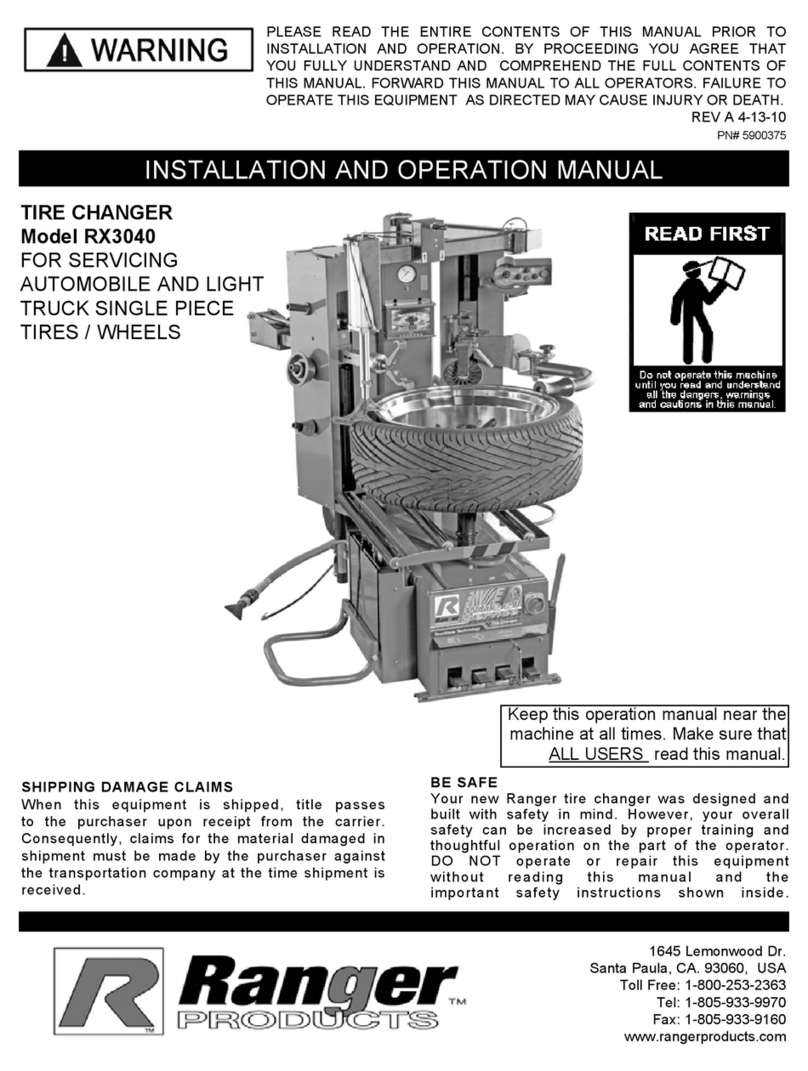
  9. Ranger Products RX3040 Technical manual

Ranger Products RX3040 Technical manual

QUICK START SETUP GUIDE- Demounting
1. The Centering Cone must make contact with the Hub
Hole Edge.
2. You MUST use the Turntable Spacer when the Hub
Hole of the Rim requires use of either of the Large Cen-
tering Cones.
3. Use of the Large Centering Cone without the Spacer
will prevent proper wheel mounting.
Setting the Bead Breaker Roller
and “Target Lock” Distance.
1. Set the distance from the Rim edge to the Bead
Breaker Roller to 1/8’.
2. Once this distance is set. DO NOT move the
Turntable. When you press the “Target Lock” Button for
the Bead Hook / Tab Arm, the Hook/Tab Arm will extend
and stop the same distance from the Rim that was set
with the Bead Breaker Roller.
3. ALWAYS liberally lube both Upper and Lower Beads,
then Hook Upper Bead as Shown.
REFER TO THE COMPLETE SAFETY, INSTALLATION AND OPERATION MANUAL IF YOU ARE UNSURE OF ANY
TIRE MOUNTING OR DEMOUNTING PROCEDURES OR HAVE NOT USED THIS STYLE OF TIRE CHANGER.
IMPORTANT! FOLLOW THIS SET UP GUIDE PRIOR
TO USING THE MACHINE OR DAMAGE TO THE
TIRE CHANGER OR RIM & TIRE MAY OCCUR!
Both the Upper and Lower Bead Breaker Rollers can
articulate while breaking the tire bead by applying pres-
sure closer to the Rim Edge.
Only the Lower Bead Breaker Roller can be locked
when using the Lower Bead Breaker Roller to help lift the
lower bead over the upper rim edge. Pushing the
Locking Pin locks the Lower Roller. Pulling the Locking
Pin out allows the Lower Roller to articulate.
Locking / Unlocking the
Lower Bead Breaker Roller
1. When using the Lower Bead Breaker Roller to Break
the Lower Bead, unlock the Roller, by pulling the Locking
Pin out. The Lower Roller will articulate and push directly
on the lower bead to break the Lower Bead.
2. When using the Lower Bead Breaker Roller to push
the Lower Bead up off the Upper Rim, lock the Roller by
pushing the Lock Pin in.
3. Locking the Lower Bead Breaker Roller will prevent
the Roller from articulating and hitting /damaging the Rim
or Roller.
NOTE:
The Tool Head may need to be extended beyond the
“Target Lock” position during demounting of some
tire/rim combos. In that extended position, use caution
be very aware of where the Tool Head is in relation to the
rim. The rim or tire can be damaged if care is not taken in
knowing where the tool head is at all time.
Use the Video assist feature and direct viewing to
verify the Tool Head’s location before initiating
movement of the Tool Head
PRACTICE, PRACTICE, PRACTICE!
Time spent practicing on inexpensive steel wheel/ tire
combos before beginning work on a valuable rim or tire,
will prevent costly damage. Take the time to get used
to the controls and operation of the machine BEFORE
working on customers valuable rims and tires.
BendPak / Ranger, 1645 Lemonwood Dr., Santa Paula, CA. 93060 Tel: 1-805-933-9970 Fax: 1-805-933-9160
REFER TO THE COMPLETE SAFETY, INSTALLATION AND OPERATION MANUAL IF YOU ARE UNSURE OF ANY
TIRE MOUNTING OR DEMOUNTING PROCEDURES OR HAVE NOT USED THIS STYLE OF TIRE CHANGER.
QUICK START SETUP GUIDE - Demounting
REV A 10-19-10
LOWER BEAD
1. ALWAYS liberally lube both Upper and Lower Beads,
during mounting procedures, then position the Tool Head
with the Tab Side down
2. Lower Tool Head until lower bead is below the rim.
If necessary use the Assist Roller to help push the lower
bead is below rim edge.
3. Rotate Turntable and lower the Tool Head until the
tire’s lower bead drops below top edge of Rim.
UPPER BEAD
1. ALWAYS liberally lube both Upper and Lower Beads,
during mounting procedures, then position the Tool Head
with the Tab Side down.
2. Lower Tool Head till upper bead is pushed below rim.
Use the Assist Roller and Drop Center Tool to help push
the bead is below rim edge.
3. Position the Drop Center Tool as shown to keep the
Bead in the rims’s drop center.
4. Rotate Turntable and lower the Tool Head until entire
Bead drops below top edge of Rim.
REFER TO THE COMPLETE SAFETY, INSTALLATION AND OPERATION MANUAL IF YOU ARE UNSURE OF ANY
TIRE MOUNTING OR DEMOUNTING PROCEDURES OR HAVE NOT USED THIS STYLE OF TIRE CHANGER.
IMPORTANT! FOLLOW THIS SET UP GUIDE PRIOR
TO USING THE MACHINE OR DAMAGE TO THE
TIRE CHANGER OR RIM & TIRE MAY OCCUR!
QUICK START SETUP GUIDE- Mounting
BendPak / Ranger, 1645 Lemonwood Dr., Santa Paula, CA. 93060 Tel: 1-805-933-9970 Fax: 1-805-933-9160
REFER TO THE COMPLETE SAFETY, INSTALLATION AND OPERATION MANUAL IF YOU ARE UNSURE OF ANY
TIRE MOUNTING OR DEMOUNTING PROCEDURES OR HAVE NOT USED THIS STYLE OF TIRE CHANGER.
ITEM DESCRIPTION Part Number
1 Plastic Bead Breaker Roller; 150 x26mm; RX3040 5327127
2 Assist Arm Roller; RX3040 5327019
3 Reversible Drop Center Tool Head; RX3040 5327010
4 Tire Restraining Pin; RX3040 5327004
5 Nylon Tire Restraining Pin Cover; RX3040 5327003
6 Tab Plastic Insert; Demount Head; RX3040 (Available in Kit Only*) -----------
7 Plastic Demount Head Hook; RX3040 5327008
8 Plastic Demount Head Tab; RX3040 5327007
9 Hook Plastic Insert; Demount Head; RX3040 (Available in Kit Only*) -----------
* Demount Tool Insert Kit; RX3040 5327085
(5ea)Tab Plastic Insert; Demount Head; RX3040 Item #7
(5ea) Hook Plastic Insert; Demount Head; RX3040 Item #9
During operation of the RX3040 you will likely damage some of the components listed below. We supply
spares with your Tire Changer, but you will always want to have some on hand and when training new operators.
The inserts, pins and hooks are designed to break before damage is done to a rim or tire. Use a inexpensive
steel rim and tire combo for training.
QUICK START SETUP GUIDE- Mounting
REV A 10-19-10

Other manuals for RX3040

1

Other Ranger Products Tyre Changer manuals

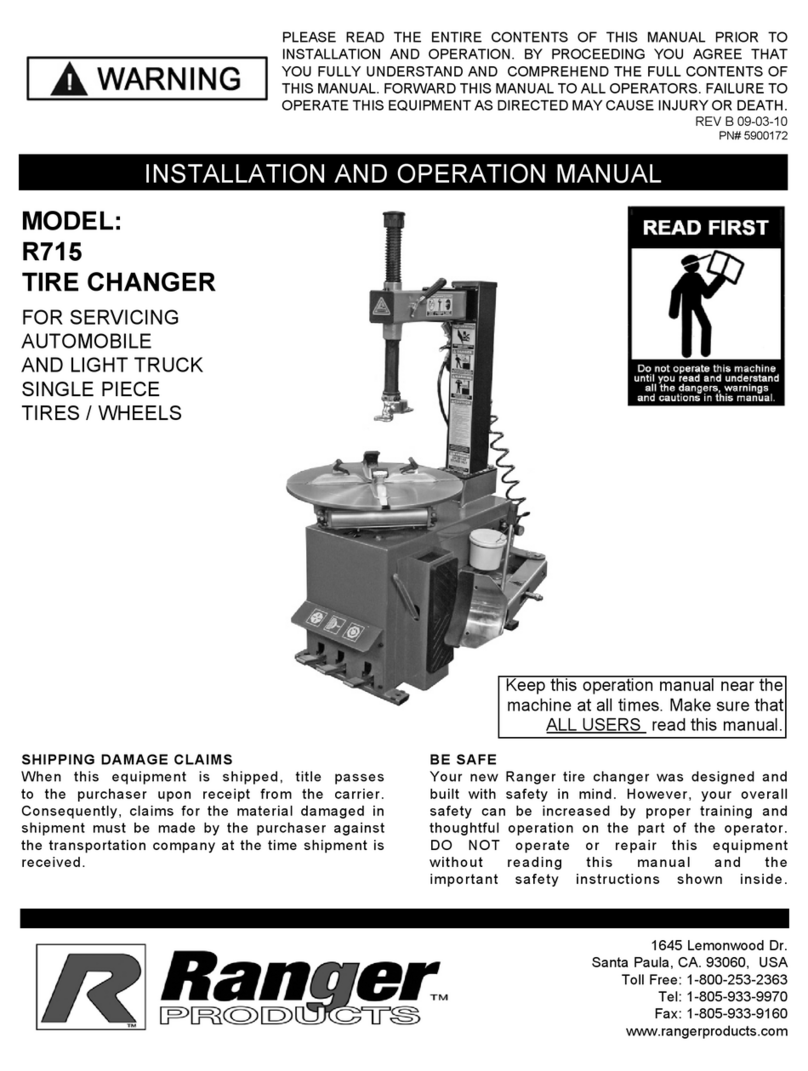
Ranger Products R23 User manual

Ranger Products

Ranger Products R23 User manual

Ranger Products R980AT User manual

Ranger Products

Ranger Products R980AT User manual

Ranger Products R23LT User manual

Ranger Products

Ranger Products R23LT User manual

Ranger Products R710 User manual

Ranger Products

Ranger Products R710 User manual

Ranger Products RX3040 User manual

Ranger Products

Ranger Products RX3040 User manual

Ranger Products R26AT User manual

Ranger Products

Ranger Products R26AT User manual

Ranger Products R715 User manual

Ranger Products

Ranger Products R715 User manual

Ranger Products R30XLT User manual

Ranger Products

Ranger Products R30XLT User manual

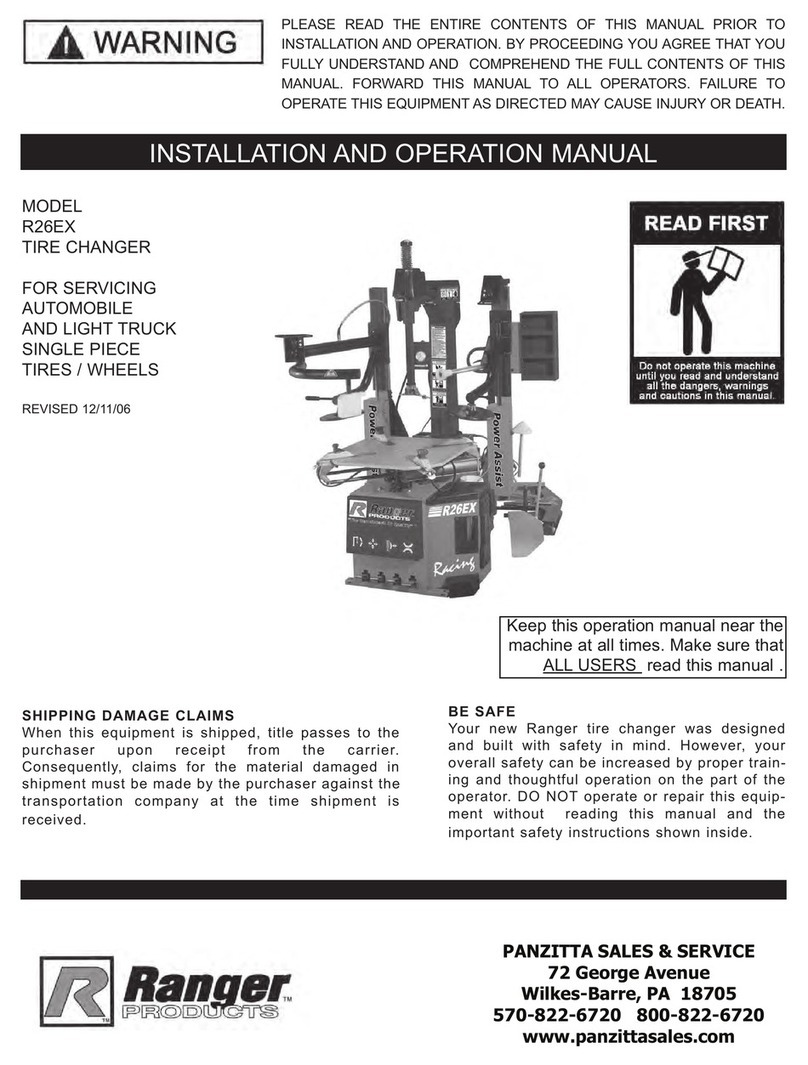
Ranger Products R26EX User manual

Ranger Products

Ranger Products R26EX User manual

Ranger Products R980X User manual

Ranger Products

Ranger Products R980X User manual

Popular Tyre Changer manuals by other brands

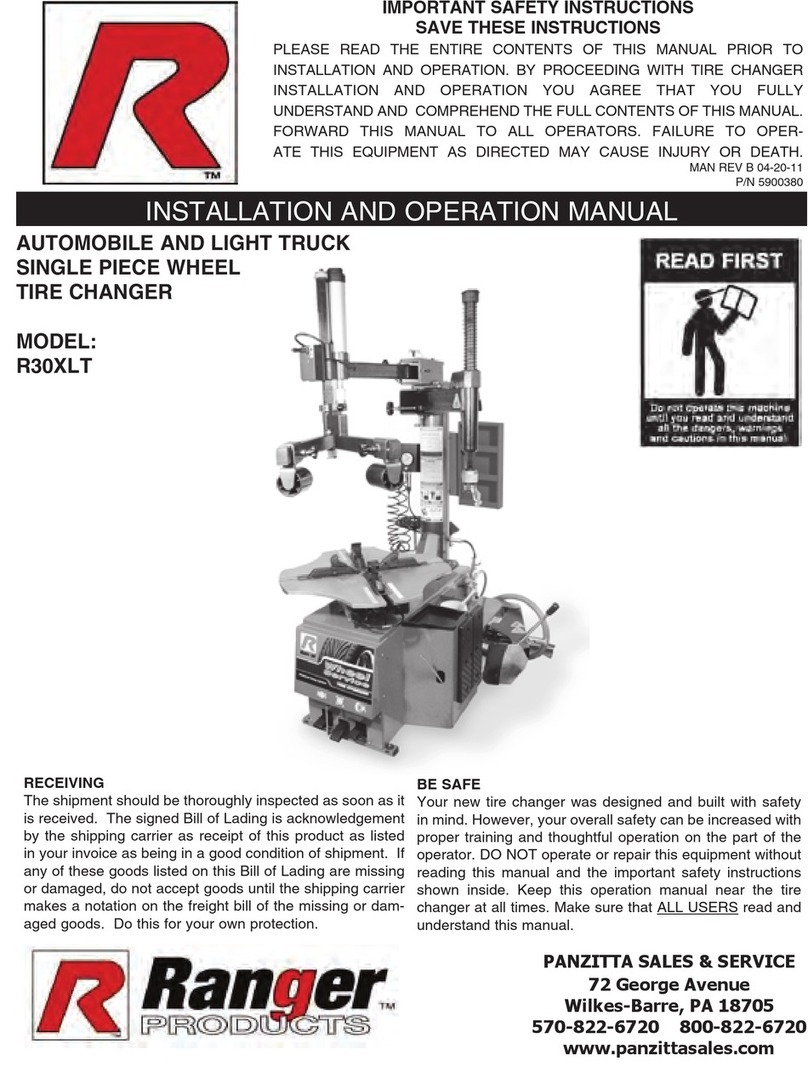
Ranger R30XLT Installation and operation manual

Ranger

Ranger R30XLT Installation and operation manual

WERTHER INTERNATIONAL HYDRA SA20 Instruction and maintenance manual

WERTHER INTERNATIONAL

WERTHER INTERNATIONAL HYDRA SA20 Instruction and maintenance manual

Bahco BH8AC3-600 Original instructions

Bahco

Bahco BH8AC3-600 Original instructions

GATmatic TWC-1600 instruction manual

GATmatic

GATmatic TWC-1600 instruction manual

Atlas Equipment TC589X owner's manual

Atlas Equipment

Atlas Equipment TC589X owner's manual

Aston Global ATC-T6 Product Installation

Aston Global

Aston Global ATC-T6 Product Installation

CEMB SM1100 user manual

CEMB

CEMB SM1100 user manual

Hoffman monty 8600 Series Operation manual

Hoffman

Hoffman monty 8600 Series Operation manual

ATH-Heinl M32 user manual

ATH-Heinl

ATH-Heinl M32 user manual

Base Line 300 Safety Instructions, Set Up Instructions, Operation Instructions, Maintenance Instructions

Base Line

Base Line 300 Safety Instructions, Set Up Instructions, Operation Instructions, Maintenance Instructions

Strongway 56608 owner's manual

Strongway

Strongway 56608 owner's manual

Ken-Tool Serpent T2001 instruction manual

Ken-Tool

Ken-Tool Serpent T2001 instruction manual

manuals.online logo
manuals.online logoBrands
  • About & Mission
  • Contact us
  • Privacy Policy
  • Terms and Conditions

Copyright 2025 Manuals.Online. All Rights Reserved.