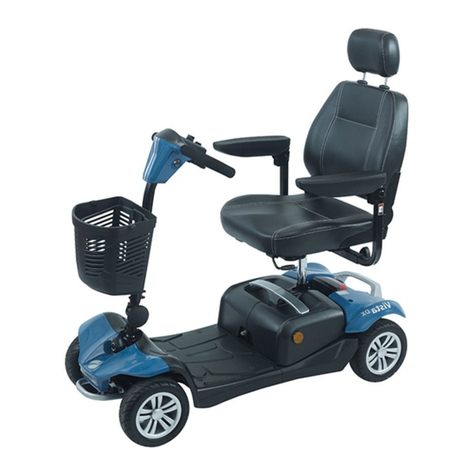
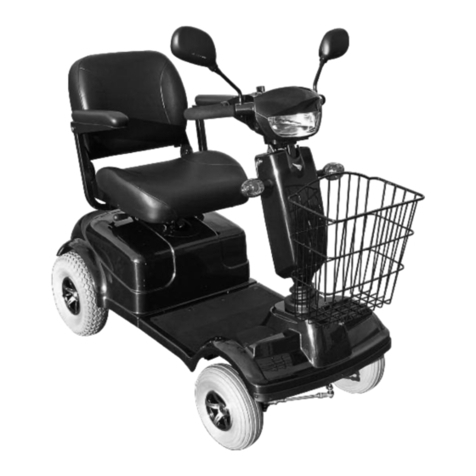
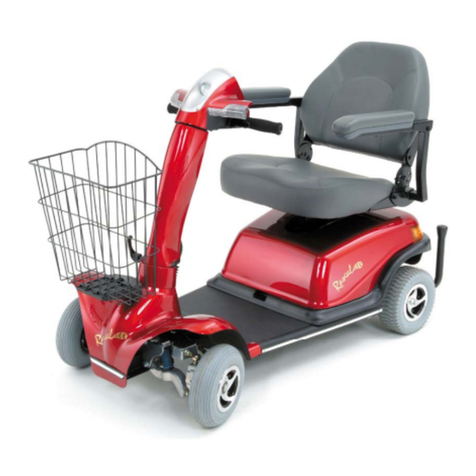
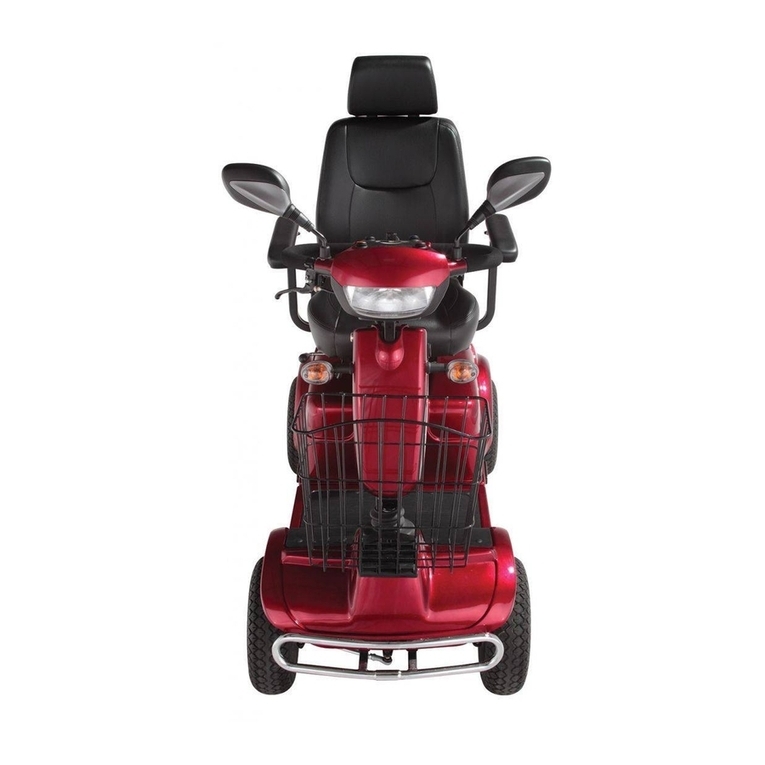
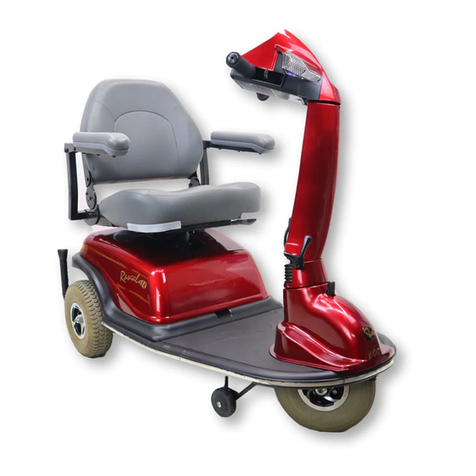
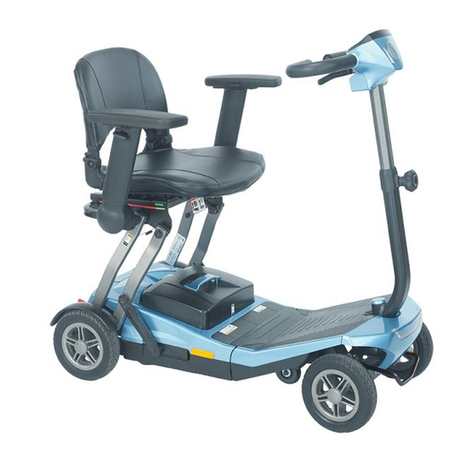
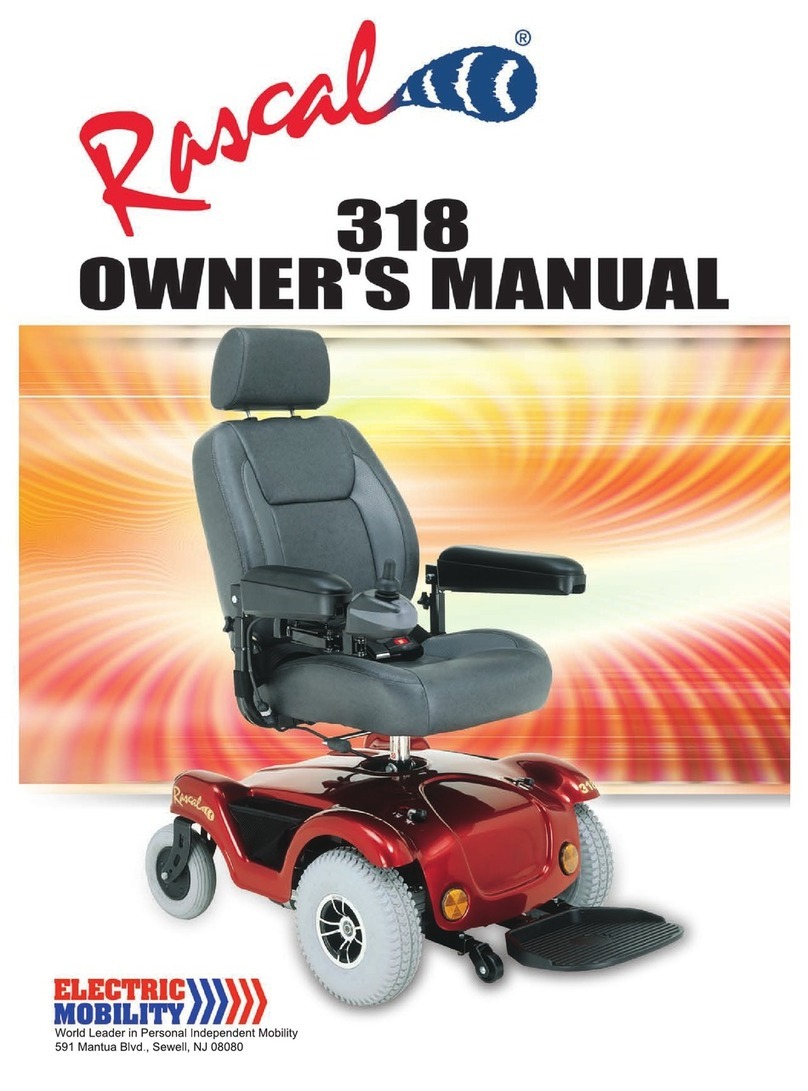
Rascal AutoGo User manual

The Rascal Company
1 Mobility Plaza., Sewell, NJ 08080
Rascal AutoGo™
Owner’s Manual

Rascal AutoGo Owner’s Manual
EMC Part: 19286400 Rev.01 03/09/07
i
Please read this entire manual before operating the vehicle. Failure to do so may result
in damage to the vehicle or serious injury.
The Rascal Company wishes to thank you for choosing the revolutionary Rascal AutoGo™vehicle for fun and convenience. As the World’s
leader in the design and production of personal mobility vehicles, we take great pride in our ability to improve the quality of life for people
desiring more mobility. Your Rascal AutoGo has been thoroughly tested and will give you years of good service and pleasure, providing you
follow the instructions and precautions in this manual. Please review this manual in its entirety prior to first using your equipment and direct
any questions you might have to your authorized provider or write/call:
The Rascal Company
USA Canada United Kingdom
1 Mobility Plaza 1535 Meyerside Drive, Unit #13-14 Canal Way
Sewell, NJ 08080 Mississauga, ON L5T 1M9 Ilminster, Somerset, England TA19 9DL
1-(800) 257-7955 (905) 565-1988 01460-258100
International: 1-(856) 468-1000
Please keep this manual handy for easy reference.
Please record your vehicle information for future reference:
Rascal AutoGo™
Serial Number:
Date of Purchase:

Rascal AutoGo Owner’s Manual
EMC Part: 19286400 Rev.01 03/09/07
ii
CONTENTS
Title Page
Curbs and Small Obstacles ............................................................ 23
Freewheel Operation ...................................................................... 23
Automatic Folding and Unfolding ........................................................... 24
Folding Instructions .............................................................................. 24
Illustration 6 — Folding Seatback Down .......................................... 24
Illustration 7 — Dash Release Lever ................................................. 25
Illustration 8 — Foot Release & Frame Lock ................................... 25
Illustration 9 — Folding Operation .................................................... 27
Unfolding Information .......................................................................... 28
Flat Folding and Unfolding ................................................................... 29
Illustration 10 — Flat Fold ................................................................. 29
Illustration 11 — Unfolding Flat FoldedVehicle ................................ 30
Disassembly & Re-Assembly ................................................................... 31
Taking the Rascal AutoGo Apart ........................................................ 31
Illustration 12 — Seat Removal ........................................................ 31
Illustration 13 — Flattening Seat Frame ........................................... 32
Illustration 14 — Quick Release Drivetrain Lever ............................ 33
Illustration 15 — Remove Quick Release Drivetrain ......................... 33
Re-assembling the Rascal AutoGo ..................................................... 34
Illustration 16 — Align Rear Frame to Drivetrain ............................... 34
Transporting the Rascal AutoGo ............................................................ 36
Title Page
Safety Information ................................................................................... 1
Getting to KnowYour Rascal AutoGo ............................................. 5
Illustration 1 — Rascal AutoGo Components ............................................6
Initial Set-up ................................................................................................ 7
Unfolding ................................................................................................7
Charging Batteries ................................................................................ 8
Illustration 2 — Battery Charging ..................................................... 9
Installing the Battery Pack ................................................................ 11
Illustration 3 — Battery Pack Installation ...................................... 11
Adjusting Tiller Position .................................................................... 12
Illustration 4 —Tiller Adjustment Lever ......................................... 12
Installing & Setting the Dashboard Clock ...................................... 13
Controls ................................................................................................... 14
Illustration 5 — Controls ..................................................................... 14
Operating the Rascal AutoGo .......................................................... 19
Daily Use .................................................................................................. 19
Transferring On or Off theVehicle ................................................. 20
Driving .................................................................................................. 20
Speed Settings ................................................................................ 22
Inclines ............................................................................................. 22
Cornering & Turning ..................................................................... 22

Rascal AutoGo Owner’s Manual
EMC Part: 19286400 Rev.01 03/09/07
iii
Title Page
Maintenance ................................................................................................ 38
Preventative Maintenance ........................................................................ 38
Frame Inspection .................................................................................. 38
Headlight ................................................................................................. 39
Lubrication ............................................................................................. 39
Tires ........................................................................................................ 40
Electrical Connections ......................................................................... 40
Hardware Inspection ............................................................................ 40
Cleaning Instructions ........................................................................... 40
Polishing .................................................................................................. 41
Cable Adjustment ................................................................................. 41
Title Page
Illustration 17— CableTurnbuckle Adjustment ................................ 42
Drivetrain ............................................................................................... 43
Seat Frame Cams .................................................................................. 43
Replacing Clock Battery ...................................................................... 44
Illustration 18 — Replacing Clock Battery ....................................... 44
Troubleshooting Guide ............................................................................. 46
Controller Fault Codes ............................................................................ 48
Parts Ordering Procedures ..................................................................... 49
Accessories ................................................................................................. 50
Specifications .............................................................................................. 51
Warranty ...................................................................................................... 52

Rascal AutoGo Owner’s Manual
EMC Part: 19286400 Rev.01 03/09/07
iv
ILLUSTRATIONS
Number Title Page
1 Rascal AutoGo Components ............................................. 6
2 Battery Charging ................................................................... 9
3 Battery Pack Installation ................................................... 11
4 Tiller Adjustment Lever .................................................... 12
5 Controls .............................................................................. 14
6 Folding Seatback Down .................................................... 24
7 Dash Release Lever ........................................................... 25
8 Foot Release & Frame Lock ............................................ 25
9 Folding Operation ............................................................. 27
Number Title Page
10 Flat Fold ............................................................................... 29
11 Unfolding Flat FoldedVehicle ........................................... 30
12 Seat Removal ...................................................................... 31
13 Flattening Seat Frame ........................................................ 32
14 Quick Release Drivetrain Lever ..................................... 33
15 Remove Quick Release Drivetrain ................................. 33
16 Align Rear Frame to Drivetrain Frame ......................... 34
17 Cable Turnbuckle Adjustment ......................................... 42
18 Replacing Clock Battery ................................................... 44
©2003 The Rascal Company
Rascal AutoGoTM is a trademark of The Rascal Company
Patents Pending
No liability is assumed with respect to the use of any information contained in this publication. While every precaution has been taken in the preparation of this publication,
The Rascal Company, assumes no responsiblity for errors or omissions nor is any liablity assumed for damages resulting from the use of information contained in this
publication. This publication, as well as operational details described herin, are subject to change without notice.

Rascal AutoGo Owner’s Manual
EMC Part: 19286400 Rev.01 03/09/07
1
Safety Information
Read and understand these Warnings and the entire manual before using your Rascal AutoGo. Failure to follow these
instructions may result in damage to the vehicle or serious injury.
IMPORTANT!
1. DO NOT exceed the specifications of this unit, modify
this unit in anyway, or use the unit for a purpose other
than as intended.
2. DO NOT operate this unit if your health or
medications you are taking cause you to feel dizzy, affect
your vision, or in any way impact your thought process,
coordination, or ability to safely operate the unit.
Check with your physician should you experience any of
these symptoms.
3. DO NOT operate this unit after consuming any
alcoholic beverages.
4. DO NOT transfer “on” or “off” the unit until it is
turned “OFF”, completely stopped, and when it is on a
stable and level surface.
5. DO NOT attempt to ride over curbs or other
obstruction higher than 1 inch.
6. DO NOT stop when going up an incline. If you must
do so, always lean forward to shift the center of gravity
and prevent the unit from tipping.
7. DO NOT climb inclines that pose a concern for
stability.
8. DO NOT drive across an incline or attempt to turn
while on an incline.

Rascal AutoGo Owner’s Manual
EMC Part: 19286400 Rev.01 03/09/07
2
9. DO NOT back down an incline or allow the unit to be
backed down an incline.
10. DO NOT turn off the power while the unit is moving.
11. ALWAYS remember vehicle capacity is limited to one
person only. This unit is not approved for towing or for
weights in excess of the published maximum.
12. ALWAYS drive straight up and down inclines.
13. ALWAYS turn the power off when the unit is not in
use. This will not only extend the life of the charge in
the battery but will keep the unit from being
accidentally moved.
14. ALWAYS use a grounded receptacle. Use of a non-
grounded receptacle could result in an electrical shock.
15. ALWAYS reduce speed when making a turn.
16. ALWAYS keep arms and legs within the confines of
the unit.
17. USE EXTRA CAUTION when climbing inclines
(ramps, hills, driveways, etc.).
18. USE CAUTION when braking on an incline or wet or
slippery surfaces as the unit may take longer to come to
a complete stop.
19. USE CAUTION when operating the unit in bad
weather or driving through water as moisture could
affect the control system or other parts of the unit
either temporarily or permanently.
20. OPERATOR must remain seated when the unit is
moving.
21. NEVER hose off your vehicle.
22. NEVER use your unit in a shower or steam room.
23. NEVER charge batteries that may be frozen.

Rascal AutoGo Owner’s Manual
EMC Part: 19286400 Rev.01 03/09/07
3
Important Information Regarding Electromagnetic Interference (EMI)
It is very important that you read this information regarding the possible effects of electromagnetic interference (EMI) on
your vehicle.
Electromagnetic interference (EMI) refers to the effects that outside sources of electromagnetic energy (radio and
television broadcasts, CB radios, garage door openers, etc.) might have on the control systems of your vehicle. The
interference from these sources could cause the vehicle to release its brakes, move by itself, or to move in an unintended
direction. EMI could also result in permanent damage to the control system.
The sources of electromagnetic energy can be broadly classified into three types:
• Hand held short-range portable transceivers — These are transmitter/receivers with the antenna mounted directly
on the unit. Examples include: citizen band (CB) radios,“walkie-talkies”, security, fire and police transceivers, and
devices that transmit signals even when not in use.
• Medium range mobile transceivers — These usually have the antenna mounted outside of a vehicle or building.
Examples include police, fire, and ambulance and taxi transceivers.
• Long range transmitters and receivers — These usually have the antenna mounted on a tower. Examples include
commercial radio and television broadcasts and amateur (HAM) radios.

Rascal AutoGo Owner’s Manual
EMC Part: 19286400 Rev.01 03/09/07
4
Other types of hand-held devices like cellular telephones, laptop computers,AM/FM radios, and small appliances like hair
dryers or electric shavers may also generate electromagnetic energy, but it is such a small amount that, as far as we know,
no EMI problems should occur with these devices.
The intensity of interference from electromagnetic energy is measured in volts per meter (v/m), which refers to the
strength of the electrical source (voltage) as it relates to the distance away from the object being considered (in meters).
Resistance of a vehicle to a certain EMI intensity is commonly called its “immunity level.” A level of 20 volts/meter is a
generally achievable and useful immunity level against interference from radio wave sources (the higher the immunity level,
the greater the protection).
Your vehicle has been tested and found to meet the required immunity level for Electromagnetic Interference (20 v/m).
Report all incidents of unintended movement or unexpected brake releases to Electric Mobility’s customer service
department.
WARNING!
Even with an immunity level of 20 volt/meter, certain precautions must be followed to
ensure that your vehicle will not be affected by outside electromagnetic sources.

Rascal AutoGo Owner’s Manual
EMC Part: 19286400 Rev.01 03/09/07
5
Getting to KnowYour Rascal AutoGo
Dash & Controls — The Rascal AutoGo is operated from the controls located on the dashboard and the Forward/
Reverse lever which controls the power folding/unfolding feature. Detailed descriptions of these controls are presented
in a separate part of this section (see “Controls” on page 14).
Serial Number — Each Rascal AutoGo is identified by a unique, 8-character Serial Number located on a label on the
inside of the tiller, behind the Battery Pack. When you first get your vehicle, remove the Battery Pack and write down the
vehicle’s Serial Number in the front of this manual (see page i) for future reference.
Tiller & Battery Pack — The front, steerable tiller directs the Rascal AutoGo into your desired direction of movement.
A removable Battery Pack is mounted on the front of the Tiller. This Battery Pack also contains the integral Battery
Charger. A separate Charger Power Cord is used to recharge the batteries from any 3-prong wall electrical outlet.
Seat — A removable, adjustable, padded seat provides riding comfort when using your Rascal AutoGo. Folding backrest
and armrests allow for compact storage.
Folding Chassis — The hinged, articulated chassis of the Rascal AutoGo allows it to automatically fold and unfold for
use and storage.
Drivetrain — A removable Drivetrain mounted at the rear of the chassis provides power to drive the Rascal AutoGo
vehicle and to power fold it. A self-contained parking brake has a manual release which allows the vehicle to be manually
pushed without operating the motor.

Rascal AutoGo Owner’s Manual
EMC Part: 19286400 Rev.01 03/09/07
6
Illustration 1 — Rascal AutoGo Components

Rascal AutoGo Owner’s Manual
EMC Part: 19286400 Rev.01 03/09/07
7
Initial Set-up
After receiving and unpacking your Rascal AutoGo use the following to initially set-up the vehicle. Set-up consists of
unfolding it from the flat-fold configuration, installing the Battery Pack, installing/setting the dashboard clock, and charging
the batteries.
Unfolding
The Rascal AutoGo is initially shipped in the flat fold configuration and must be unfolded for use. Unfold the Rascal
AutoGo according to the following:
• Raise tiller and dash to upright position
• Raise seat frame and lock into position using the Seat Frame Cams
• Install seat onto frame
• Raise seat backrest to driving position

Rascal AutoGo Owner’s Manual
EMC Part: 19286400 Rev.01 03/09/07
8
Charging Batteries
The Rascal AutoGo is equipped with two maintenance-free, airline approved, sealed 12V/15A batteries with an integral
automatic battery charger mounted in a detachable Battery Pack installed onto the front of the tiller. Because your
batteries may only have a partial charge when you first receive your vehicle, you may not experience full riding time until
you have fully charged them. Charging your batteries as specified in the following instructions will ensure maximum life,
power, and range.
It is recommended to charge your batteries:
• Upon initial receipt of your Rascal AutoGo
• For 6-8 hours (overnight) after extended use during the day
• Whenever the fuel gauge indicator goes into the red area (see page 17)
• The battery’s life expectancy may be shortened if batteries are left fully discharged for more than a day
Battery Pack and power cord connections are shown in Illustration 2.

Rascal AutoGo Owner’s Manual
EMC Part: 19286400 Rev.01 03/09/07
9
Illustration 2 — Battery Charging

Rascal AutoGo Owner’s Manual
EMC Part: 19286400 Rev.01 03/09/07
10
Charge the batteries as follows:
1. For your convenience, you can detach the Battery Pack from the Rascal AutoGo and move it to a 3-Prong Grounded
Electrical Receptacle. If you choose, you can also park the Rascal AutoGo near a 3-Prong Grounded Electrical
Receptacle without removing the Battery Pack.
WARNING!
Use of a non-grounded receptacle could result in an electrical shock.
2. Use the separate Charger Power Cord, included in kit with this Owners Manual, and plug it into the 3-Prong
Grounded Electrical Receptacle on the rear of the Battery Pack. Your Charger Power Cord is equipped with either a
110V or 220V plug. If you wish to purchase either cord for travel to different countries, contact the Customer
Service Department to purchase a cord for 220V (UK), 220V (Europe), 100V (Japan) locales.
3. Check that the LED on the rear of the Battery Pack is lit.This indicates that the Charger is recharging the batteries.
4. Normal charging time is generally 6-8 hours for fully discharged batteries.
5. Disconnect the Charger Power cord from the Battery Pack and wall outlet. We recommend that you keep the cord
in the storage pouch underneath the seat so it is readily available.
Note: Do not operate vehicle while charging.

Rascal AutoGo Owner’s Manual
EMC Part: 19286400 Rev.01 03/09/07
11
Installing the Battery Pack
After the batteries have been fully charged, you’ll be ready to install the Battery Pack into the Tiller. Install the battery
pack as follows (see Illustration 3).
1. Lift the Battery Pack by the handle and insert the
bottom of the Battery Pack into the bottom of the
Tiller. Line up the slot under the pack with the bar on
lower shelf of tiller.
2. Firmly push the top front of the Battery Pack into the
tiller until it “snaps” in place. Ensure that the (5) pin
tiller connector mates tightly with the connector of the
Battery Pack.
3. Make sure the handle on the battery pack is fully
returned to its seated position to lock the Battery Pack
in place.
Illustration 3 — Battery Pack Installation

Rascal AutoGo Owner’s Manual
EMC Part: 19286400 Rev.01 03/09/07
12
Adjusting Tiller Position
For your riding comfort, the Rascal AutoGo tiller can be
used in two positions.
To adjust tiller position:
• Lift Tiller Position Adjustment Knob to release tiller
lock
• Adjust tiller to preferred position
• Release knob to lock in place
This adjustment lever is shown in Illustration 4
Illustration 4 —Tiller Adjustment Lever

Rascal AutoGo Owner’s Manual
EMC Part: 19286400 Rev.01 03/09/07
13
Installing & Setting the Dashboard Clock
Your Rascal AutoGo comes with a removable, battery-powered, quartz clock that mounts directly in the dash. This clock
is packed separately to allow you to set it to your local time before installing in the dash.
Setting the Clock — Locate the bag containing items packed separately with the vehicle. Unwrap the clock from its
protective packing. If clock includes a small, plastic collar around stem, remove collar and push stem “in” to start clock.
Set clock to your local time by pulling stem out and turning to adjust hour/minute hands. Push stem in to start clock.
Installing the Clock — When you have set the clock to your correct, local time, you can install it in the dash of your
vehicle. Install the clock into the location adjacent to the Speed Control. The rubber gasket is sufficient to secure the
clock in place. Make sure the “12” faces “up.”

Rascal AutoGo Owner’s Manual
EMC Part: 19286400 Rev.01 03/09/07
14
Controls
The Rascal AutoGo includes the following controls (Illustration 5) used to operate the vehicle. Individual descriptions of
each control are presented in pages 15-18.
Illustration 5 — Controls

Rascal AutoGo Owner’s Manual
EMC Part: 19286400 Rev.01 03/09/07
15
Keyswitch
To turn power on, turn the key to the “On” position
(indicated by a solid black circle). To turn power off, turn
key to “Off” position (indicated by an open circle).The
Battery Gauge (Fuel Gauge) should be lit when the key is in
the “On” position.
Use of a key to turn the Rascal AutoGo on and off also
protects against unauthorized use of your Rascal AutoGo.
Battery Power Save Feature
The Rascal AutoGo is equipped with a power save feature
and, will shut down automatically in order to conserve
battery power when not operated for 10 minutes or more.
The vehicle can be turned on again by cycling the ON/OFF
keyswitch from ON to OFF and then ON again.
Table of contents
Other Rascal Scooter manuals

Rascal
Rascal Vantage X User manual

Rascal
Rascal Ventura User manual

Rascal
Rascal R205 User manual

Rascal
Rascal R6 300 User manual

Rascal
Rascal Balance 600 B User manual

Rascal
Rascal Vista User manual

Rascal
Rascal R200 Series User manual

Rascal
Rascal 318 User manual

Rascal
Rascal 309 User manual

Rascal
Rascal 710 User manual