INSTALLATION, OPERATION AND MAINTENANCE INSTRUCTIONS
SYDNEY | MELBOURNE | BRISBANE | PERTH | AUCKLAND
Australia 1300 788 778 www.rba.com.au | New Zealand 0800 722 111 www.rbagroup.co.nz10 of 12
Troubleshooting - RBA1211-613
Problem Probable Cause Solution
Water droplets appearing under basin
Gasket improperly installed Install or realign gasket
Temperature indicator not installed Insert appropriate temperature
indicator
Damaged ‘Formatta’ Valve Body O-ring Replace O-ring
Water does not ow and solenoid valve
does produce an audible CLICK
Water turned off Turn water on
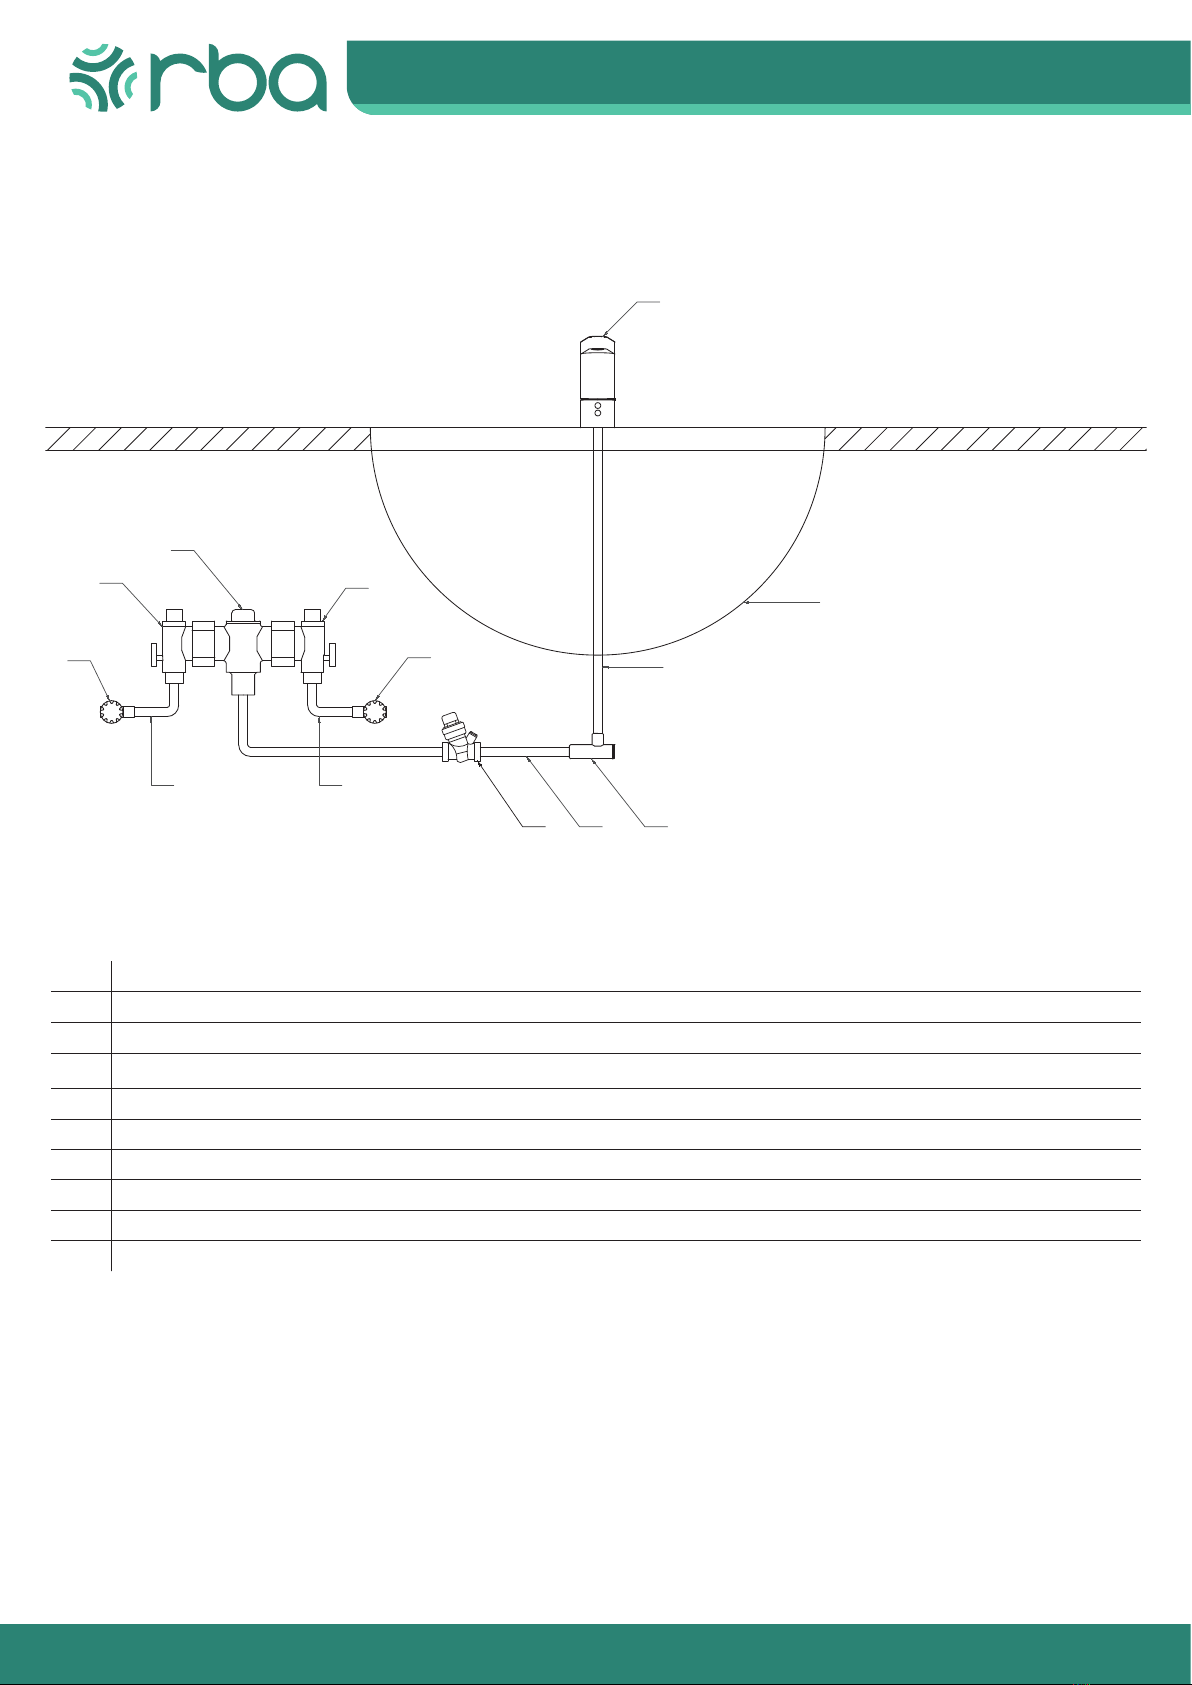
Inlet valve closed or clogged Open valve or remove and clean strainer
[refer RBA1074-999-001 detail]
Aerator clogged Remove and clean aerator
Braided hose kinked Replace braided hose
Solenoid valve incorrectly installed Check ow direction on valve’s body.
Reassemble if necessary
Water does not ow and
solenoid valve does not
produce an audible CLICK
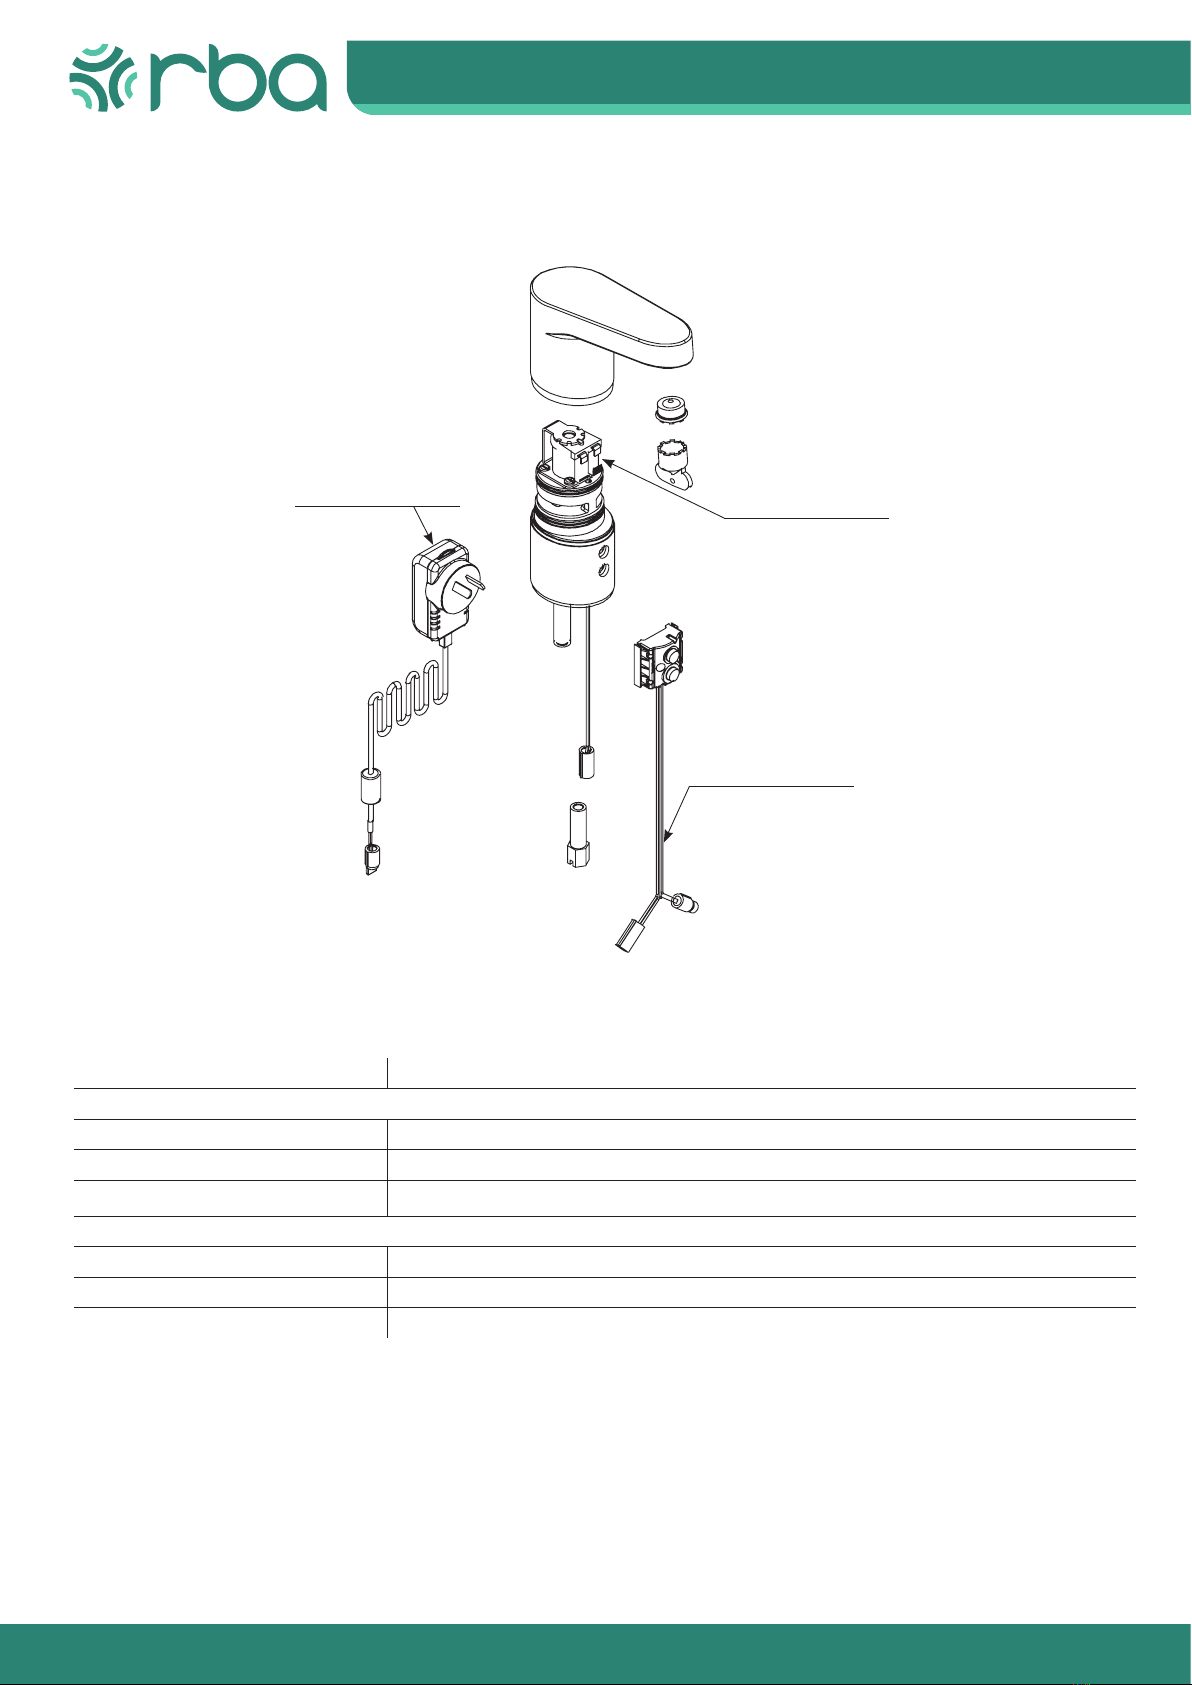
Batteries low. Red LED blinks once
every 1 second
Replace the batteries. Install the
batteries exactly as shown.
Batteries assembled with inverse
polarities. Install the batteries exactly as shown
Connection failure between sensor an
solenoid valve.
Connect the sensor cable in the
solenoid valve cable.
Sensor cable is damaged Contact RBA Group
Sensor is damaged Contact RBA Group
Water ows continuously
[does not stop]
Object in front or within
sensor’s range Remove the object
Sensor, cables or power supply unit
damaged Contact RBA Group
Power supply connected directly to
solenoid valve
Disconnect power supply wiring under
basin and connect power supply to
sensor plug. Ensure to also connect
sensor to solenoid plug.
Dirt in diaphragm
Turn water and power off. Clean and
replace diaphragm. Turn water and
power on.
Water Flows [intermittent
failures or incorrect function]
Highly reective surface
Hands too low or high in basin & not
directly in front of sensor when in use
Unit not recommended for use with
high polished stainless steel basins
[satin nish OK]. Place dull coloured
strip opposite sensor.
Users to place hands in ow stream
directly in front of sensor to correctly
activate