manuals.online logo
Brands
  1. Home
  2. •
  3. Brands
  4. •
  5. RBR
  6. •
  7. Measuring Instrument
  8. •
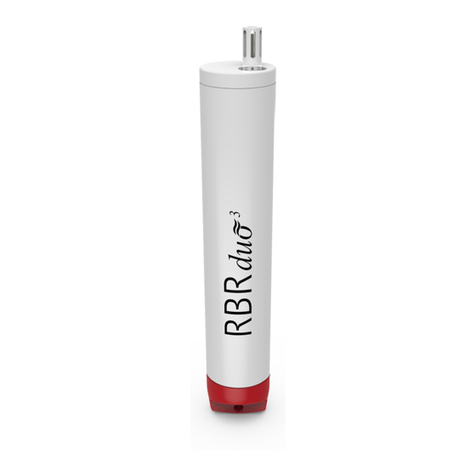
  9. RBR RBRduo3 C.T/uv User manual

RBR RBRduo3 C.T/uv User manual

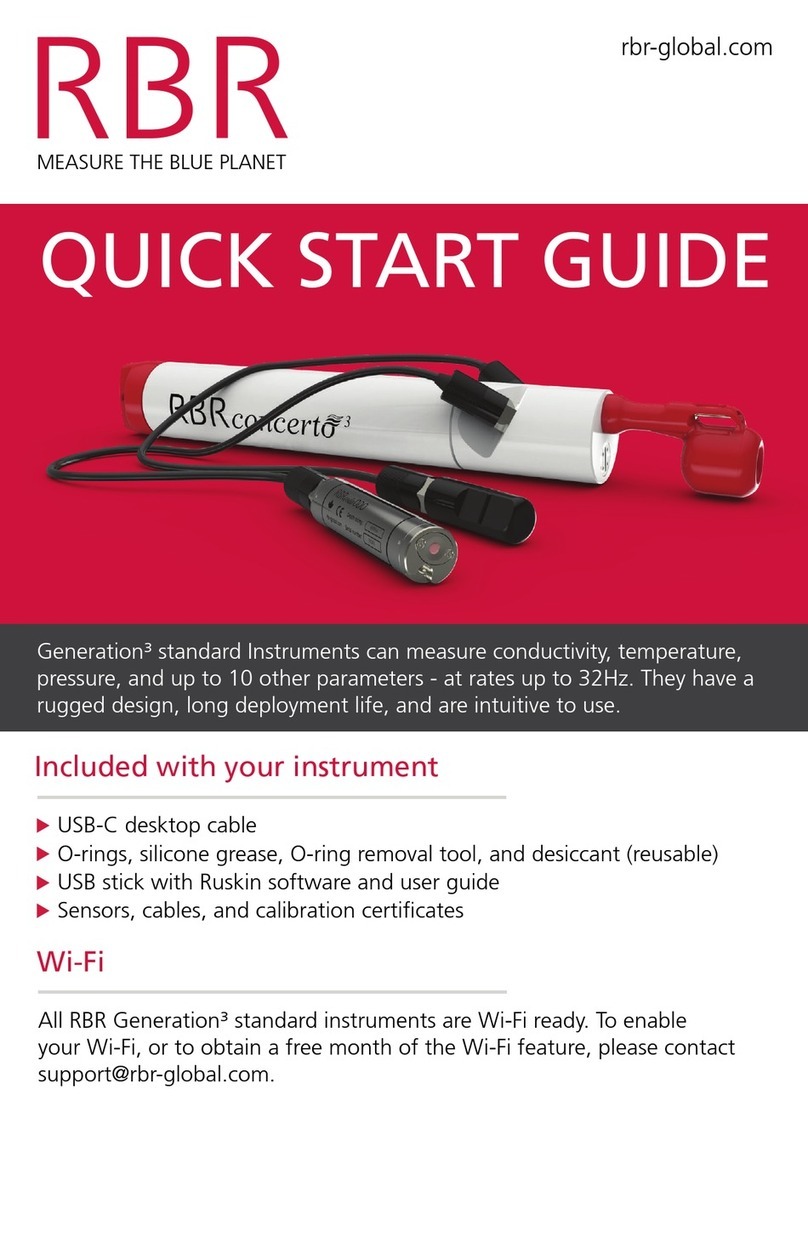
QUICK START GUIDE
The RBRduo³ C.T|uv and RBRconcerto³ C.T.D|uv offer the same features as our
trusted conductivity, temperature, and depth instruments, plus active antifouling.
Four UV LEDs illuminate critical sensor surfaces and control biological growth on the
conductivity cell, thus maintaining high accuracy measurements during extended
deployments in the photic zone.
MEASURE THE BLUE PLANET
rbr-global.com
Included with your instrument
USB-C desktop cable with adaptor
O-rings, silicone compound, O-ring removal tool, and reusable desiccant
USB stick containing Ruskin software and documentation
Calibration certificates
RBR#0010679revC 11/2023
Warnings
Ultraviolet radiation may pose risk for the eyes
Wear UV-blocking eyewear of the highest available rating
Never look at the LEDs
RBRduo³C.T|uv,RBRconcerto³C.T.D|uv
4
Support
To access support within the Ruskin app, navigate to “Help” > “Comment on
Ruskin...”.
For technical support, please reach out to support@rbr-global.com, call
+1 613 599 8900 (UTC-5), or visit rbr-global.com/support/service.
Deployment checklist
RBR ships all instruments with new, highest capacity batteries and fresh desiccant
capsules included, and the O-ring installed, so that the instrument is ready for its
first deployment.
For any subsequent deployment:
1. Install new batteries.
2. Install fresh desiccant (orange).
3. Inspect, clean, replace, and lubricate the O-ring.
Note: Always remove the batteries from the instrument during long-term storage!
Doing so will prevent internal damage due to battery leakage and/or corrosion.
RBR ships |uv instruments with the standard UV power level selected by default and
the sampling speed set to 60s continuous.
UV antifouling settings
1. If you need the UV power level set to
“Low” or “Off” for your deployment,
open Ruskin and go to “UV
antifouling” > “Power level”.
2. At the low power level, you can use
the radio buttons to select either
“30s” or “60s” continuous sampling.
Note: This selection is not available at
the standard UV power level.
The UV LEDs will activate immediately after you enable the deployment.
Deploy
Ruskin software
Find Ruskin software for Mac and PC on the USB stick included with your
instrument, or visit rbr-global.com/products/software.
Download Ruskin Mobile from the Apple App Store or Google Play.
Note: RBR ships all instruments preconfigured to sample at the fastest available
rate, with twist activation enabled, and the battery end-cap set to PAUSE.
1. Turn the battery end-cap to the RUN position. The instrument will vibrate with
one long pulse to indicate it has started sampling.
2. Deploy the instrument.
Wi-Fi
Instruments equipped with a Wi-Fi module have the WI-FI READY icon on the end-
cap. This module needs to be enabled at the time of purchase.
2 3
Download
Via USB (Ruskin Desktop)
Via Wi-Fi (Ruskin Mobile or Desktop)
Note: Instruments equipped with a Wi-Fi module have the WI-FI READY icon on
the end-cap.
1. Fully unscrew and remove the battery end-cap.
2. Locate the USB-C port inside the instrument
3. Connect the USB-C desktop cable to the USB-C
port. The instrument will appear on Ruskin.
4. Click “Download...” and choose a location to
store the dataset.
USB-C port
1. Twist the battery end-cap in either direction (RUN or PAUSE).
2. Connect your computer or mobile device to the instrument Wi-Fi network via
your device settings.
3. If using a computer, click “Download...” and choose a location to store
the dataset. On a mobile device, the data from connected instruments are
downloaded automatically and stored locally until uploaded to Dropbox.
Note: The WI-Fi will time-out after 60 seconds of inactivity. Twist the end-cap in
either direction to re-activate the Wi-Fi.
Note: Twisting the end-cap to RUN or PAUSE will activate the Wi-Fi. However,
twisting to the PAUSE position will also pause the instrument.
Safety precautions
The instrument begins to emit UV radiation as soon as a deployment starts,
whether it is by twist activation or when the start time is set to “Now”.
Ultraviolet radiation is invisible so it may not be obvious when the instrument is
active. However, Ruskin will display a warning and the red dots on the UV power
icon will turn green.
1. Use protective eyewear when handling CT |uv and CTD |uv instruments.
RBR recommends UV-blocking safety glasses of the highest available rating.
2. Never look at the LEDs as their optical power (ultraviolet and visible) can be
hazardous to eyes.
3. Whenever handling an active instrument, hold it with the guard facing down to
avoid shining the light into the eyes.
Note: RBR ships | uv instruments with the UV schedule disabled, so it is safe to
unpack them. However, going forwards, RBR recommends following protective
measures at all times.
PAUSE
RUN
3. To pause logging, turn the battery end-cap to the PAUSE position. The
instrument will vibrate with three short pulses to indicate it has stopped
sampling.

This manual suits for next models

1

Other RBR Measuring Instrument manuals

RBR RBRquartz3 Q User manual

RBR

RBR RBRquartz3 Q User manual

RBR ecom-JN User manual

RBR

RBR ecom-JN User manual

RBR quartz3 BPR zero User manual

RBR

RBR quartz3 BPR zero User manual

RBR virtuoso3 User manual

RBR

RBR virtuoso3 User manual

RBR maestro3 User manual

RBR

RBR maestro3 User manual

RBR RBRSolo 3 User manual

RBR

RBR RBRSolo 3 User manual

RBR Ecom-DP User manual

RBR

RBR Ecom-DP User manual

Popular Measuring Instrument manuals by other brands

BDE BDI-2006 manual

BDE

BDE BDI-2006 manual

Wohler RF 220 Hygrotemp manual

Wohler

Wohler RF 220 Hygrotemp manual

LaserLiner ThermoInspector operating instructions

LaserLiner

LaserLiner ThermoInspector operating instructions

Datron 1061 Calibration and servicing handbook

Datron

Datron 1061 Calibration and servicing handbook

geo-FENNEL FR 55 user manual

geo-FENNEL

geo-FENNEL FR 55 user manual

Selec MFM374 operating instructions

Selec

Selec MFM374 operating instructions

RADEX OBSIDIAN Intended use

RADEX

RADEX OBSIDIAN Intended use

EIJKELKAMP HD2 operating instructions

EIJKELKAMP

EIJKELKAMP HD2 operating instructions

PCB Piezotronics ICP 301A11 Installation and operating manual

PCB Piezotronics

PCB Piezotronics ICP 301A11 Installation and operating manual

KPS DCM3500T instruction manual

KPS

KPS DCM3500T instruction manual

ATO ATO-PLR-CH48 user manual

ATO

ATO ATO-PLR-CH48 user manual

VXI VM2601 user manual

VXI

VXI VM2601 user manual

MESSKO MLog IM50 operating instructions

MESSKO

MESSKO MLog IM50 operating instructions

Connective Peripherals EasyScopeIII user guide

Connective Peripherals

Connective Peripherals EasyScopeIII user guide

Martindale Electric CM55 instruction manual

Martindale Electric

Martindale Electric CM55 instruction manual

Ossila T2006A user manual

Ossila

Ossila T2006A user manual

Futech DISTY 120RC user manual

Futech

Futech DISTY 120RC user manual

Endress+Hauser Proline Prosonic Flow 93 Function manual

Endress+Hauser

Endress+Hauser Proline Prosonic Flow 93 Function manual

manuals.online logo
manuals.online logoBrands
  • About & Mission
  • Contact us
  • Privacy Policy
  • Terms and Conditions

Copyright 2025 Manuals.Online. All Rights Reserved.