manuals.online logo
Brands
  1. Home
  2. •
  3. Brands
  4. •
  5. RC Factory
  6. •
  7. Toy
  8. •
  9. RC Factory SBACH 342 Instruction Manual

RC Factory SBACH 342 Instruction Manual

Sbach – 1,2m 3D/aerobatic EPP model
Building instructions
Please refer to the Diagram sheet
Diagrams A, B
Press 2 carbon strips (1x3x1000 mm) into the grooves in the sides of the fuselage central part (the
„backbone“). Position the backbone on your workbench on its side, gently press if necessary and make
sure that the sides are perfectly straight. Apply thin CA glue over the carbon strips and saw off their
overhanging ends.
Diagram C
Use thin or medium CA to attach the wing halves to the backbone. Note the little tabs that should help
you position the wing halves correctly. (put some down pressure on the thickest part of the root of the
wing first to set the wing at 0° incidence). Caution! The backbone should be in inverted position, i.e.
the elevator cutout facing down and the wings should be attached with their bottom side up! If you get
this wrong, your elevator will not fit into the fuselage correctly.
Diagram D
Locate two carbon strips (1x5x1000 mm). Use sharp hobby knife to cut shallow (5mm) slits into the
upper and lower surface of the wing as indicated. Press the two carbon rods into the slits. Make sure
that the wing is perfectly straight (press gently down on the workbench) and apply thin CA glue over
the carbonstrips. Cut two shallow slits into the backbone according to the part 2 of diagram D.
Diagram E
Cut shallow slits into the elevator upper and lower surface as indicated. Press in two carbon strips.
Make sure that the elevator is straight and apply thin CA glue over the carbon strips.
Diagram F
Glue (using thin or medium CA) the canopy (made of black EPP) into place. Use sharp hobby knife to
separate the fuselage upper and lower parts, cutting through the center of the little tabs.
Diagram G
Put the backbone on your workbench in inverted position (the stabilizer cutout is again facing down).
Assemble together the landing gear plate and the stirrups. Glue the LG plate to the bottom edge of the
slot in stirrups according to the diagram. Use thin CA to glue the landing gear mount to the backbone.
Diagram H
Connect the lower fuselage part to the bacbone using thin or medium CA or contact glue. Install the
stab/elevator into the assembly using thin or medium CA (check its proper alignment first). Use
medium CA to glue anti-torsion reinforcements.
Diagram I
Drill holes into the landing gear as indicated.
Diagram J
Slide landing gear legs into the stirrups. Due to manufacturing tolerances you may need to trim slots in
stirrups. Use two wood-screws (2,9x6mm) to screw the LG to the LG mount. To remove the LG you
can just slightly loosen the screws. Assemble the landing gear as indicated. Gluing the EPP wheel
pants to their mounting tabs is the last step of the LG assembly.
Diagram K
Now is the convenient time to install aileron servos. Cut appropriate slots into the wing lower surface
using sharp hobby knife. Make the slot somewhat smaller, for a tight fit. Use hot glue or thick CA to
install the servos. Cut into the ailerons and press in the aileron control horns. Make sure your servos
are centered (with zero trim). Glue the control horn into the aileron.
Use the included pushrods (carbon rod 1,8x50 mm) with ball links on both ends. Screw ball links to
the servo arm and control horn using M1,6x4 mm screws. Trim the lenght of carbon rod to sleeve it
into ball links about 5mm deep. Check neutral position of servo and aileron and glue together pushrod
and ball links using thin CA.
Diagram L
Use medium CA to glue the firewall. Attach the upper fuselage part to the backbone using thin or
medium CA.
Diagram M
Assebmle tail wheel as indicated and glue it to the bottom rudder hinge (12mm wide with slots for the
tail wheel). Take the second part of the hinge (16mm wide) and screw both parts together using M2x5
mm screw. Prepare the upper hinge. Cut two slots in the rudder according to the diagram and glue in
hinges using CA. Cut matching slots in fuselage. Make sure that the rudder throws are sufficient and
apply some CA glue over the hinges.
Diagram N
Glue SFGs to the wing. SFGs are not symmetrical – shorter part should be on the bottom side of the
wing. Make sure SFGs are parallel to the fuselage.
The elavator servo is on the side of the backbone right bellow the carbon strip behind the aileron. Use
sharp knife to cut appropriate slot. Take carbon tube 2/1x500 mm and glue metal Z bend into the tube
(let the Z bend stick out about 10-15mm). Sleeve elevator horn on the Z bend and glue the horn into
the slot in the elevator as indicated. Center the servo (servo arm should be heading 12 o’clock). Sleeve
the pushrod support (orange plastic tube 3/2x15mm) on the pushrod. Install the other Z bend into the
servo arm and trim lenght of the pushrod to leave about 10-15mm gap between carbon tube and servo
arm. Use CA to glue Z bend into the tube and check elevator deflection. Install longer servo arm if
necessary. When you are happy with results glue the pushrod support to the fuselage.
Diagram O
Instal rudder servo according to the diagram. On the side of the control horn, tie the control line to the
outer hole. Use small drop of CA to secure the knot and prevent the (rather sharp edged) control horn
from cutting through the line. CA glue the extension arms to your original servo arms and secure with
few threads of the kevlar line and a drop of CA glue. Finally, thread in the included M2x5 screw and
use it to pinch the line in the right
position and with moderate tension. The line should lead around the outside of the screw below the
servo arm first – please refer to the diagram.
Or you can use your own preferred method to attach the cable to the servo.
Motor mount
First attach the „X“ motor mount to the motor using M3x6 socked head bolts. Than screw the „X“
mount to the firewall using 2,9x9mm wood screws.
Final setup and flying
We expect that you know how to connect the receiver to the ESC and to the servos, the ESC to the
motor etc. If not, please refer to the respective instructions or better ask some more experienced friend.
For first flights, your C of G should be 100 mm behind the leading edge at the wing root. Attach your
battery to the plane using adhesive velcro tape for the first flights, to be able to adjust the CG easily.
Set control throws at 60% of max and 30% of exponential on all controls (if your radio permits).
Check all systems and go fly. To trim the plane correctly, the weather should not be too windy.. First,
trim all controls coarsely to make the plane appear to fly straight. You should need about the same
amount of elevator for both inverted and normal flight. You may try vertical power off dive to trim the
neutral elevator. Your aileron trim should be the same in normal flight and inverted. If it is not, you
may have a lateral balance issue. Try to move the battery pack sideways (say to the opposite side of
the fuselage), if you can, to fix this
problem. After this, you should play with the thrust line to setup for clean and effortless hover without
any tendency to “pull out” to any side. This may take a while and require quite a few tests. The thrust
line can be changed by
inserting thin washers on the screws between the „X“ mount and the.
Next thing, the center of gravity. We prefer the plane to fly almost “hands off”, just the slightest bit of
elevator needed for level flight. Move the C of G vertically (by moving the battery pack) to get a
perfect knife edge without any tendency to roll.
For clean rolls, without any coupling to yaw, you may want to play with aileron differential (different
up and down deflection of ailerons).
Have fun! Your RC Factory team.
Technical specs:
Wingspan 1220 mm
Length 1230 mm
AUW 600 - 800g
Motor 200 – 300W outrunner type
Servos 4pcs of 12 – 20g servos of good quality
Battery Lithium Polymer 1600 – 2500 mAh 3s
Kit contains:
*Fuselage
*Cannopy
*Backbone
*Elevator
*Rudder
*SFG's
*Wings
*Landing gear
*Wheell pants
*Anti-torsion reinforcements(2x)
*Bag with hardware
2x “Z” bend ... elevator pushrod
2x carbon strip 1x3x100mm - elevator reinf.
2x carbon rod 1.8x50mm - aileron pushrod
1,5m kevlar cable - rudder pull pull
1x firewall
1x control horn set
2x wheel pant mounting tab
1x LG plate
2x LG stirrup
4x ball link
2x wheel 50mm
1x wheel 25mm
1x plastic tube 3/2x15mm - pushrod support
Bag with hardware includes:
4x screw M1,6x4 ... ball links
2x screw M2x5 ... rudder hinge
2x screw M2x5 ... pull pull cable tightener
1x screw M2x8 ... tail wheel shaft
2x nut M2 ... tail wheel shaft
2x socked head M3x15 ... landing gear shaft
4x washer 3 ... landing gear
2x nut M3 ... landing gear
2x screw 2,9x6mm ... lading gear plate
4x screw 2,9x9mm ... X motor mount
4x socket head bolt M3x6 ... X motor mount
Control horn set:
1. Rudder hinge - fuselage (2ks)
2. Bottom rudder hinge
3. Elevator servo arm extension
4. Aileron control horn (2ks)
5. Rudder control horn
6. Rudder servo arm extension
7. Tail wheel
8. Elevator control horn
1.
1.
2.
3.
4.
5.
6.
7.
8.
4.
You will need:
* hex key nr.2
* phillips screwdriver
* screwdriver
* CA glue with kicker
* sharp knife
* flat file
* sand paper 100-500
* driller 3mm
* about 5 hours of your time
Sbach 1.2m
*Carbon rods and strips:
- 2x 1x3x1000 - fuselage
- 2x 1x5x1000 - wing
- 1x tube 2/1x500 - elevator pushrod
- 1x 1x5x245mm - elevator
- 1x 1x3x245mm - elevator
V2.0
CACA
CACA
AB
D
1.
2.
carbon 1x5x1000 mm
CACA
3.
carbon 3x1x1000 mm
CACA
CACACA
carbon
1x3x245 mm
1x5x245mm
carbon
1x3x100 mm
F
G
CACA
CACA
H
3mm
I
CACA
C
CACA
E
CACA
L+R
J
K
L
M
CACA CACA
O
socked head M3x15mm
nut M3
washer 3mm
wood screw 2.9x6mm
CACA CACA
CACA
CACA
M2x8
M2x5
M2x5
CACA
CACA
CACA
N
M2x5
110mm
cca 25mm

This manual suits for next models

1

Other RC Factory Toy manuals

RC Factory Storm User manual

RC Factory

RC Factory Storm User manual

RC Factory Flash 3D aerobatic EPP Instruction Manual

RC Factory

RC Factory Flash 3D aerobatic EPP Instruction Manual

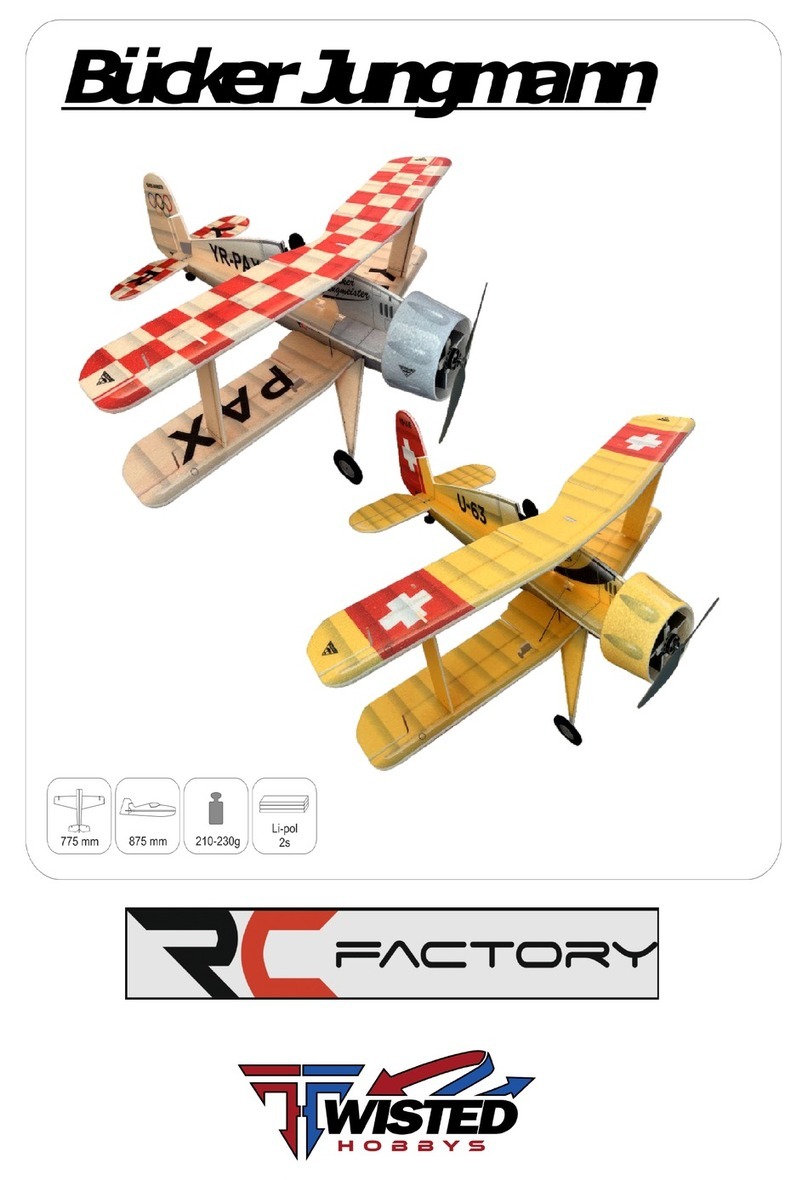
RC Factory WISTED HOBBYS Bucker Jungmann User manual

RC Factory

RC Factory WISTED HOBBYS Bucker Jungmann User manual

RC Factory Extra 330 User manual

RC Factory

RC Factory Extra 330 User manual

RC Factory Edge V3 Indoor User manual

RC Factory

RC Factory Edge V3 Indoor User manual

RC Factory RS 352 Instruction Manual

RC Factory

RC Factory RS 352 Instruction Manual

RC Factory Clik 4 NG User manual

RC Factory

RC Factory Clik 4 NG User manual

RC Factory Crack Laser Pro User manual

RC Factory

RC Factory Crack Laser Pro User manual

RC Factory VELOXITY User manual

RC Factory

RC Factory VELOXITY User manual

RC Factory FLASH 09M User manual

RC Factory

RC Factory FLASH 09M User manual

RC Factory Twisted Hobbys PROXY User manual

RC Factory

RC Factory Twisted Hobbys PROXY User manual

RC Factory Twisted Racer Series User manual

RC Factory

RC Factory Twisted Racer Series User manual

RC Factory Yak 55 User manual

RC Factory

RC Factory Yak 55 User manual

RC Factory SU 29 Instruction Manual

RC Factory

RC Factory SU 29 Instruction Manual

RC Factory SU 29 User manual

RC Factory

RC Factory SU 29 User manual

RC Factory VELOXITY User manual

RC Factory

RC Factory VELOXITY User manual

RC Factory Bristol Scout Instruction Manual

RC Factory

RC Factory Bristol Scout Instruction Manual

RC Factory Crack Yak User manual

RC Factory

RC Factory Crack Yak User manual

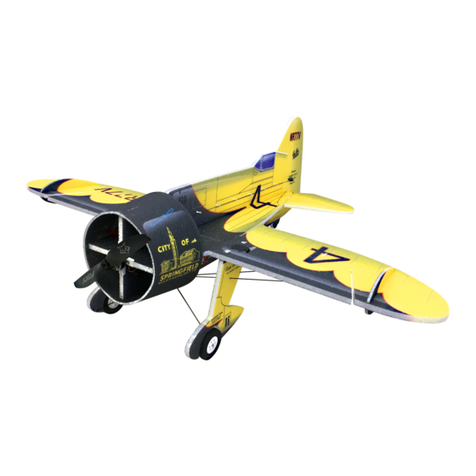
RC Factory Gee Bee User manual

RC Factory

RC Factory Gee Bee User manual

RC Factory Crack Turbo Beaver User manual

RC Factory

RC Factory Crack Turbo Beaver User manual

RC Factory EXTRA 300L User manual

RC Factory

RC Factory EXTRA 300L User manual

RC Factory Crack Pitts Backyard User manual

RC Factory

RC Factory Crack Pitts Backyard User manual

RC Factory VELOXITY User manual

RC Factory

RC Factory VELOXITY User manual

RC Factory Edge 540T User manual

RC Factory

RC Factory Edge 540T User manual

Popular Toy manuals by other brands

Evil Mad Scientist AxiDraw  V3 user guide

Evil Mad Scientist

Evil Mad Scientist AxiDraw V3 user guide

Hasbro Littlest PetShop Mall Madness Teeniest Tiniest... Assembly instructions

Hasbro

Hasbro Littlest PetShop Mall Madness Teeniest Tiniest... Assembly instructions

Faller SHELL GAS STATION quick start guide

Faller

Faller SHELL GAS STATION quick start guide

Mega Bloks DESTINY manual

Mega Bloks

Mega Bloks DESTINY manual

The Learning Journey Techno Gears Marble Mania Catapult instruction manual

The Learning Journey

The Learning Journey Techno Gears Marble Mania Catapult instruction manual

Eduard C-47 1/72 manual

Eduard

Eduard C-47 1/72 manual

Faller HUNTERS HOUSE AND MOUNTAIN INN manual

Faller

Faller HUNTERS HOUSE AND MOUNTAIN INN manual

GREAT PLANES fairchild PT-19 instruction manual

GREAT PLANES

GREAT PLANES fairchild PT-19 instruction manual

MD MXION GLDi user manual

MD

MD MXION GLDi user manual

Fei Bao F-4 Phantom II Assembly manual

Fei Bao

Fei Bao F-4 Phantom II Assembly manual

VTech Baby Developmental Gym instruction manual

VTech Baby

VTech Baby Developmental Gym instruction manual

Metcalfe PN138 N GAUGE WAYSIDE STATION KIT instruction sheet

Metcalfe

Metcalfe PN138 N GAUGE WAYSIDE STATION KIT instruction sheet

GREAT PLANES Little Toni ARF instruction manual

GREAT PLANES

GREAT PLANES Little Toni ARF instruction manual

Miniature Aircraft USA X-cell Whiplash 730E Assembly instructions

Miniature Aircraft USA

Miniature Aircraft USA X-cell Whiplash 730E Assembly instructions

Slipso 400 instruction manual

Slipso

Slipso 400 instruction manual

VQ Model TOMHAWK instruction manual

VQ Model

VQ Model TOMHAWK instruction manual

Harbor Freight Tools 91192 Assembly and operating instructions

Harbor Freight Tools

Harbor Freight Tools 91192 Assembly and operating instructions

Fisher-Price W9552 manual

Fisher-Price

Fisher-Price W9552 manual

manuals.online logo
manuals.online logoBrands
  • About & Mission
  • Contact us
  • Privacy Policy
  • Terms and Conditions

Copyright 2025 Manuals.Online. All Rights Reserved.