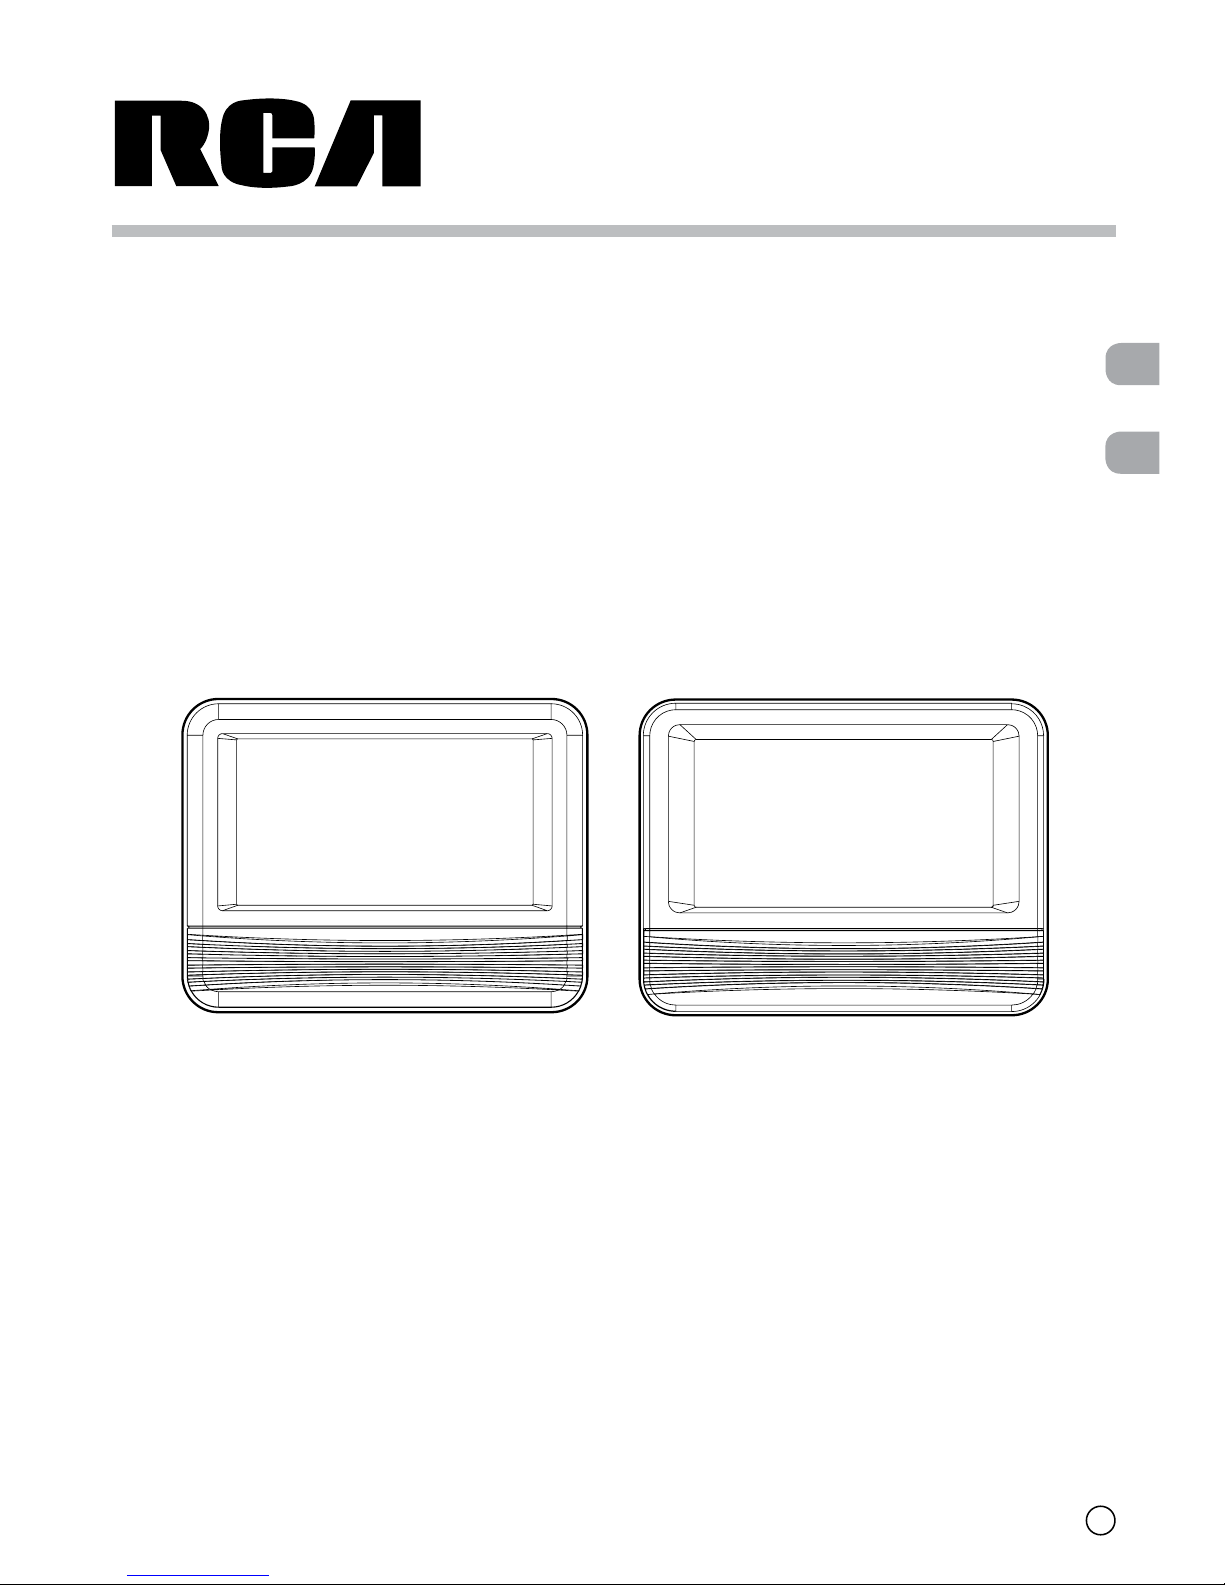
2
EN
Safety Instructions
WARNING:
• Should any trouble occur, disconnect the
car power adapter and refer servicing to a
qualified technician.
• TO PREVENT FIRE OR SHOCK HAZARD, DO
NOT REMOVE COVER (OR BACK). NO USER-
SERVICEABLE PARTS INSIDE. REFER SERVICING
TO QUALIFIED SERVICE PERSONNEL.
• TO REDUCE THE RISK OF ELECTRIC SHOCK,
DO NOT EXPOSE THIS APPLIANCE TO RAIN
OR MOISTURE. DO NOT PLACE OBJECTS
FILLED WITH LIQUIDS ON OR NEAR THIS
UNIT.
• The AC/DC adaptor is used as disconnect
device. The AC/DC adaptor of apparatus
should not be obstructed OR should be
easily accessed during intended used. To
be completely disconnect the power input,
the AC/DC adaptor of apparatus shall be
disconnected from the mains.
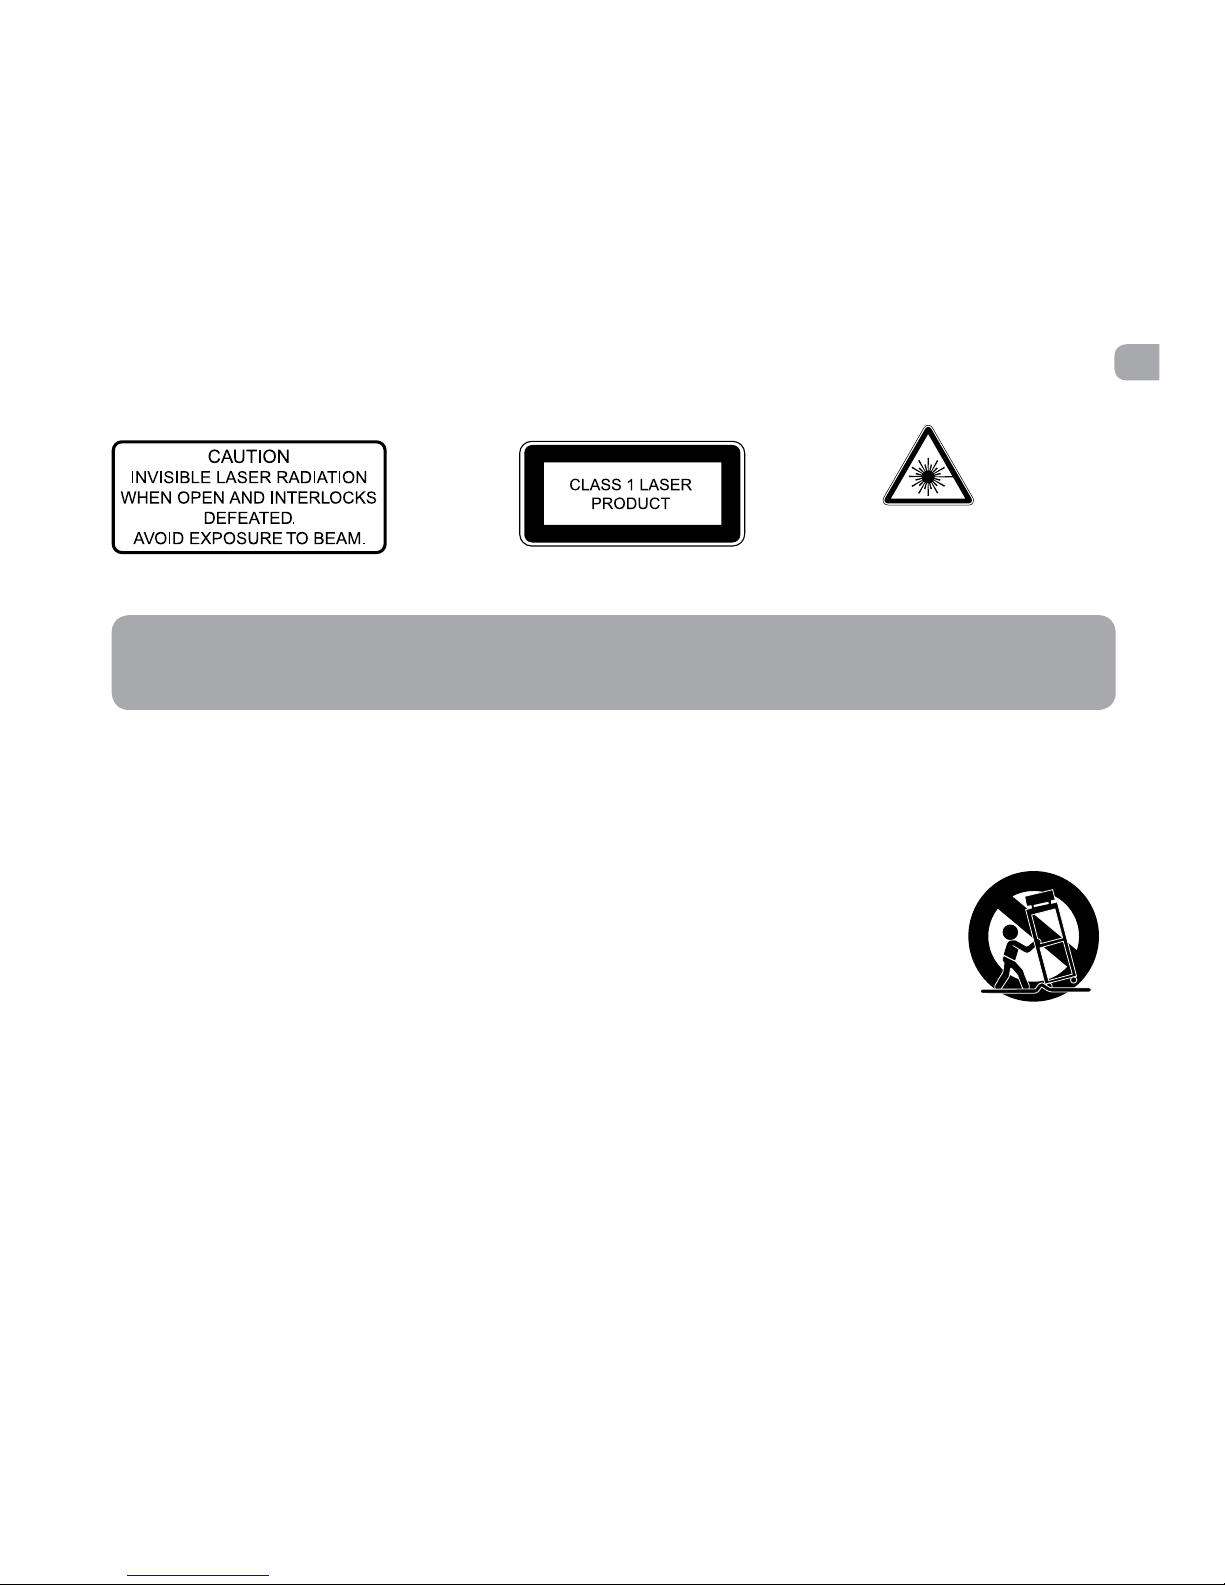
CAUTION:
• Use of controls or adjustments or
performance of procedures other than
those specified may result in hazardous
radiation exposure.
• Danger of explosion if battery is
incorrectly replaced. Replace only with
the same or equivalent type.
On Placement
• Do not use the unit in places that are
extremely hot, cold, dusty or humid.
• Placetheunitonaatandevensurface.
•Donotrestricttheairowoftheunitby
placingitinaplacewithpoorairow,by
covering it with a cloth, or by placing it on
carpeting.
• To avoid magnetizing, do not place the
unit near speakers or magnets.
•Donotusethisunitindirectsunlightor
leave the unit in a closed automobile (or
similar environments) where it would
be exposed to high temperatures above
104°F (40°C).
• No naked ame sources such as lighted
candles should be placed on the car power
adapter or the unit.
• The car power adaptor and apparatus
should not be exposed to splashing or
drippingliquids,andnoobjectslledwith
liquids, such as vases, should be placed on
the car power adaptor and apparatus.
• The AC/DC adaptor and apparatus shall
not be exposed to dripping or splashing
andthatnoobjectslledwithliquids,such
as vases, should be placed on apparatus.
On Safety
• Whenconnectingordisconnectingthecar
power adapter, grip the plug and not the
cord itself. Pulling the cord may damage it
and create a hazard.
• Whenyouarenot goingtousethe unit
for a long period of time, disconnect the
car power adapter.
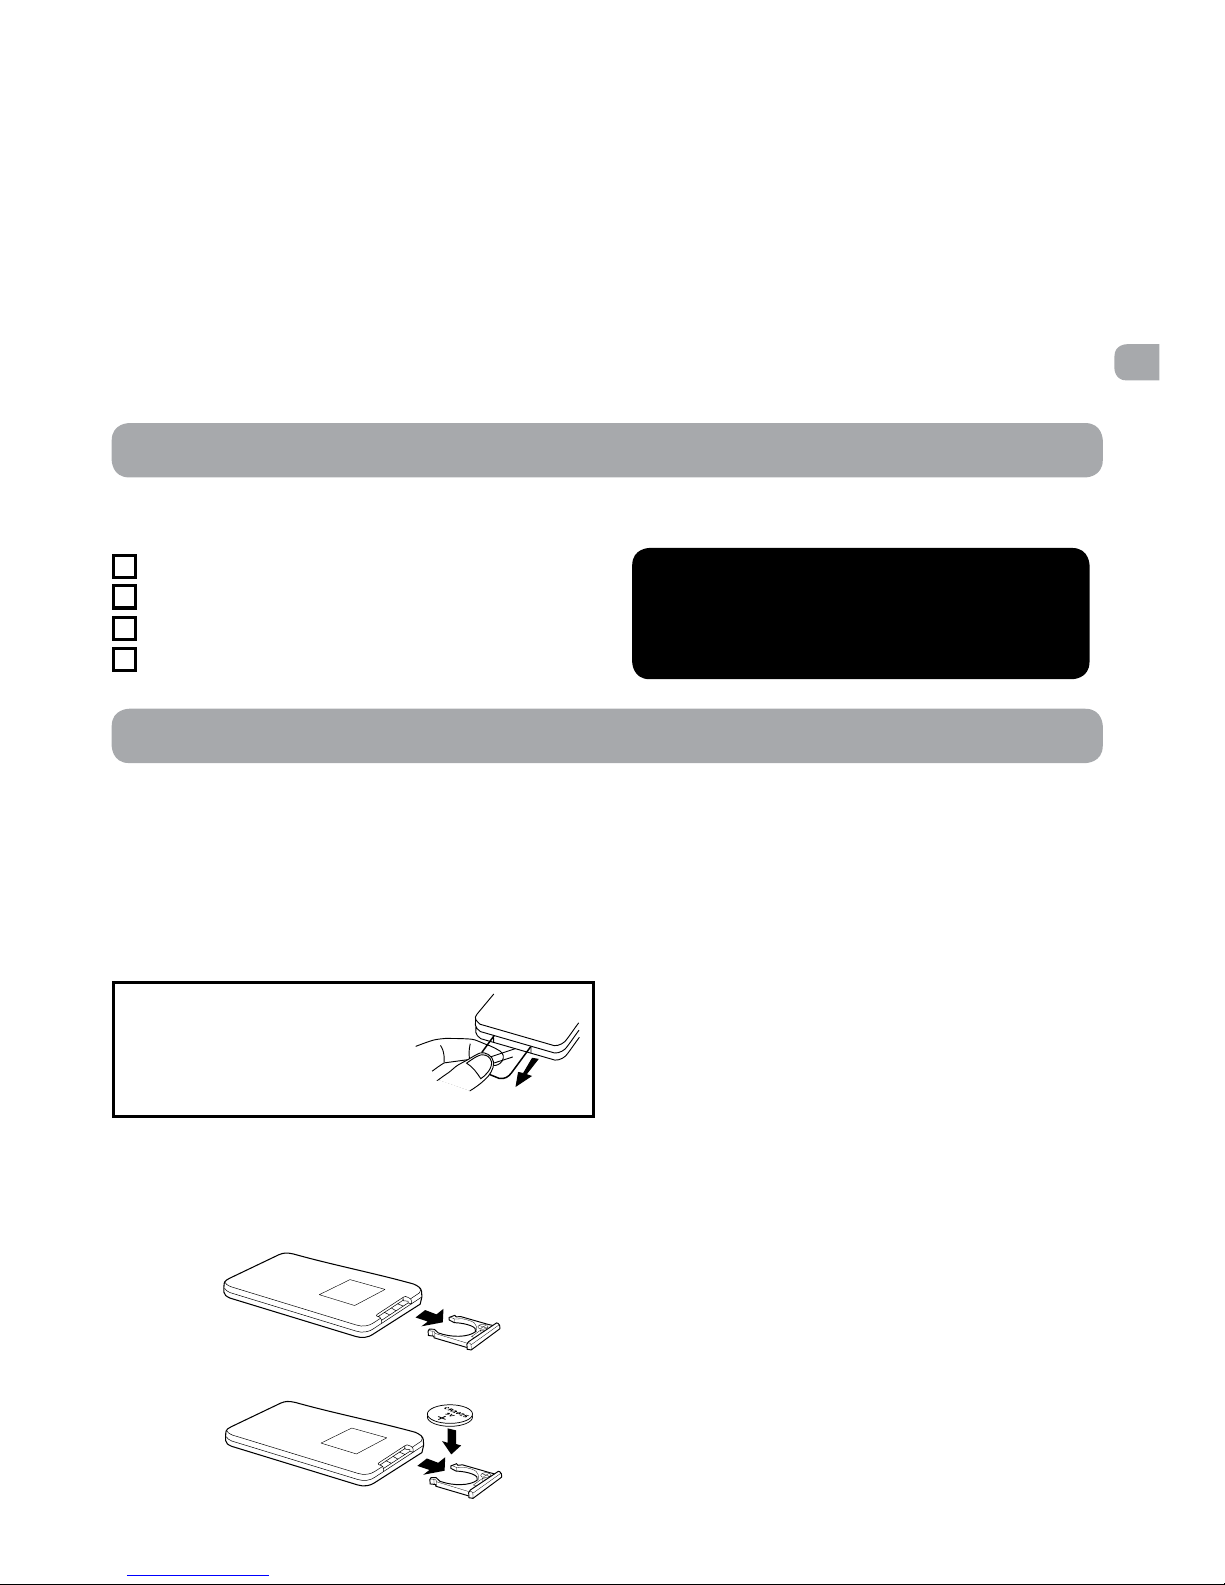
On Remote Control
• The remote control supplied with this
product contains a coin/button cell
battery. If the coin/button cell battery is
swallowed, it can cause severe internal
burns in just 2 hours and can lead to
death.
• Keepnewandusedbatteriesawayfrom
children. If the battery compartment does
not close securely, stop using the product
and keep it away from children.
• If you think batteries might have been
swallowed or placed inside any part of the
body, seek immediate medical attention.
On Condensation
• When left in a heated room where it
is warm and damp, water droplets or
condensation may form inside the unit.
When there is condensation inside the
unit, the unit may not function normally.
Let the unit stand for 1 to 2 hours before
Thelightningashwitharrowheadsymbol,withinan
equilateral triangle, is intended to alert the user to the
presence of uninsulated “dangerous voltage” within
the product’s enclosure that may be of sufficient magnitude
to constitute a risk of electric shock to persons.
The exclamation point within an equilateral triangle is
intended to alert the user to the presence of important
operating and maintenance (servicing) instructions in
the literature accompanying the appliance.
** SEE BOTTOM OF UNIT FOR GRAPHIC SYMBOLS **
WARNING
DO NOT INGEST BATTERY. CHEMICAL
BURN HAZARD.