Setup
Basic DVD recording
D. Search for channels
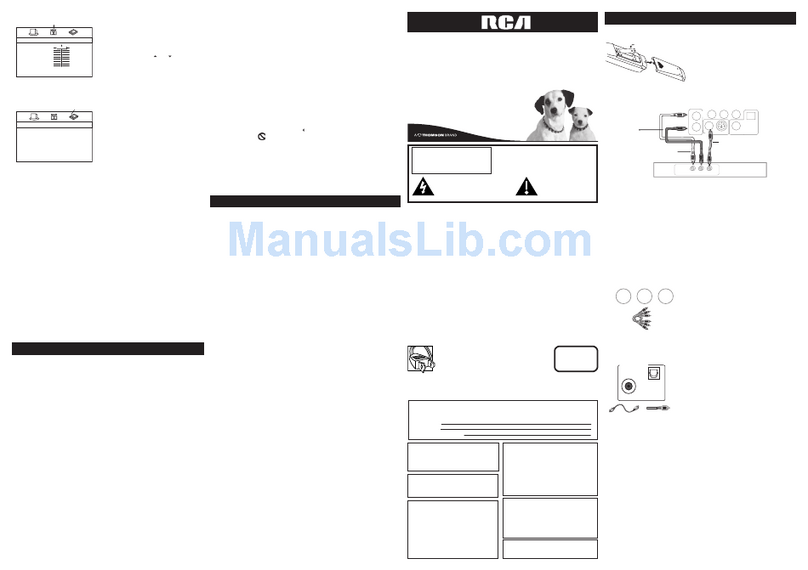
1. Press SETUP on the remote control to access the player
menus.
2. Press or to highlight “Setup”and then press OK.
3. Press or to highlight “TV Channel Setup”and then
press OK.
4. Press or on the action bar at the bottom of the screen
to highlight “Scan”and then press OK.
5. Select the input signal type, if necessary, between “Air”
(if antenna is connected) and “Cable” (if cable is
connected) by pressing or and then press OK.
Highlight “Yes” with or and then press OK to
continue.
6. The scan operation will overwrite any existing channel
table. Highlight “Yes” with or and then press OK to
continue. Automatic channel search will begin.
•When the channel search reaches 100%, press OK.
7. The channel list contains the channels you tune to when
you press CH.UP or CH.DOWN on the remote control.
•Refer to page 12-13 of the user manual for details on
editing the channel list.
8. Channel setup is complete, press EXIT/CLEAR to exit from
the setup menu.
1. Load a DVD±R/RW on the disc tray.
2. Tune to a channel to be recorded by
pressing CH.UP or CH.DOWN on the
remote control.
•To preview the selected channel, you
need to select “Live Signal” from the
player menu.
3. Press RECORD to start recording.
4. To stop recording, press STOP.
Refer to page 16-17 of the user manual for details on DVD
recording.
DVD control
keys on the
remote control
Your unit is now ready for use.
