RCA F32676SBFM2CD2 User manual

USER'S
GUID
C 0

[WARNING
To reduce the risk of fire or
shock hazard, do not expose
this TV to rain or moisture.
To reduce the risk of electric shock, do not remove
cover (or back). No user serviceable parts inside.
Refer servicing to qualified service personnel.
.&This symbol indicates
"dangerous voltage" inside
the product that presents a
risk of electric shock or
personal injury.
_, This symbol indicates
important instructions
accompanying the product.
Caution: To reduce the risk of electric shock, match wide
blade of plug to wide slot, fully insert.
Attention: Pour eviter les chocs electriques, introduire la
lame la plus large de la fiche dans la borne
correspondante de la prise et pousserjusqo au fond.
Refer to the identification/rating label located on the back panel of your
product for its proper operating voltage.
Foe Regulations state that unauthorized changes or modifications to this
equipment may void the user's authority to operate it.
If fixed(non-moving) images are left on the screen for long periods, they
may be permanently imprinted on the screen. Such images include
network Iogos, phone numbers, and video games. This damage is not
covered by your warranty. Extended viewing of channels displaying these
images should be avoided.
Cable TV Installer: This reminder is provided to call your attention to
Article 820-40 of the National Electrical Code (Section 54 of the Canadian
Electrical Code, Part 1) which provides guidelines for proper grounding
and, in particular, specifies that the cable ground shall be connected to the
grounding system of the building as close to the point of cable entry as
practical.

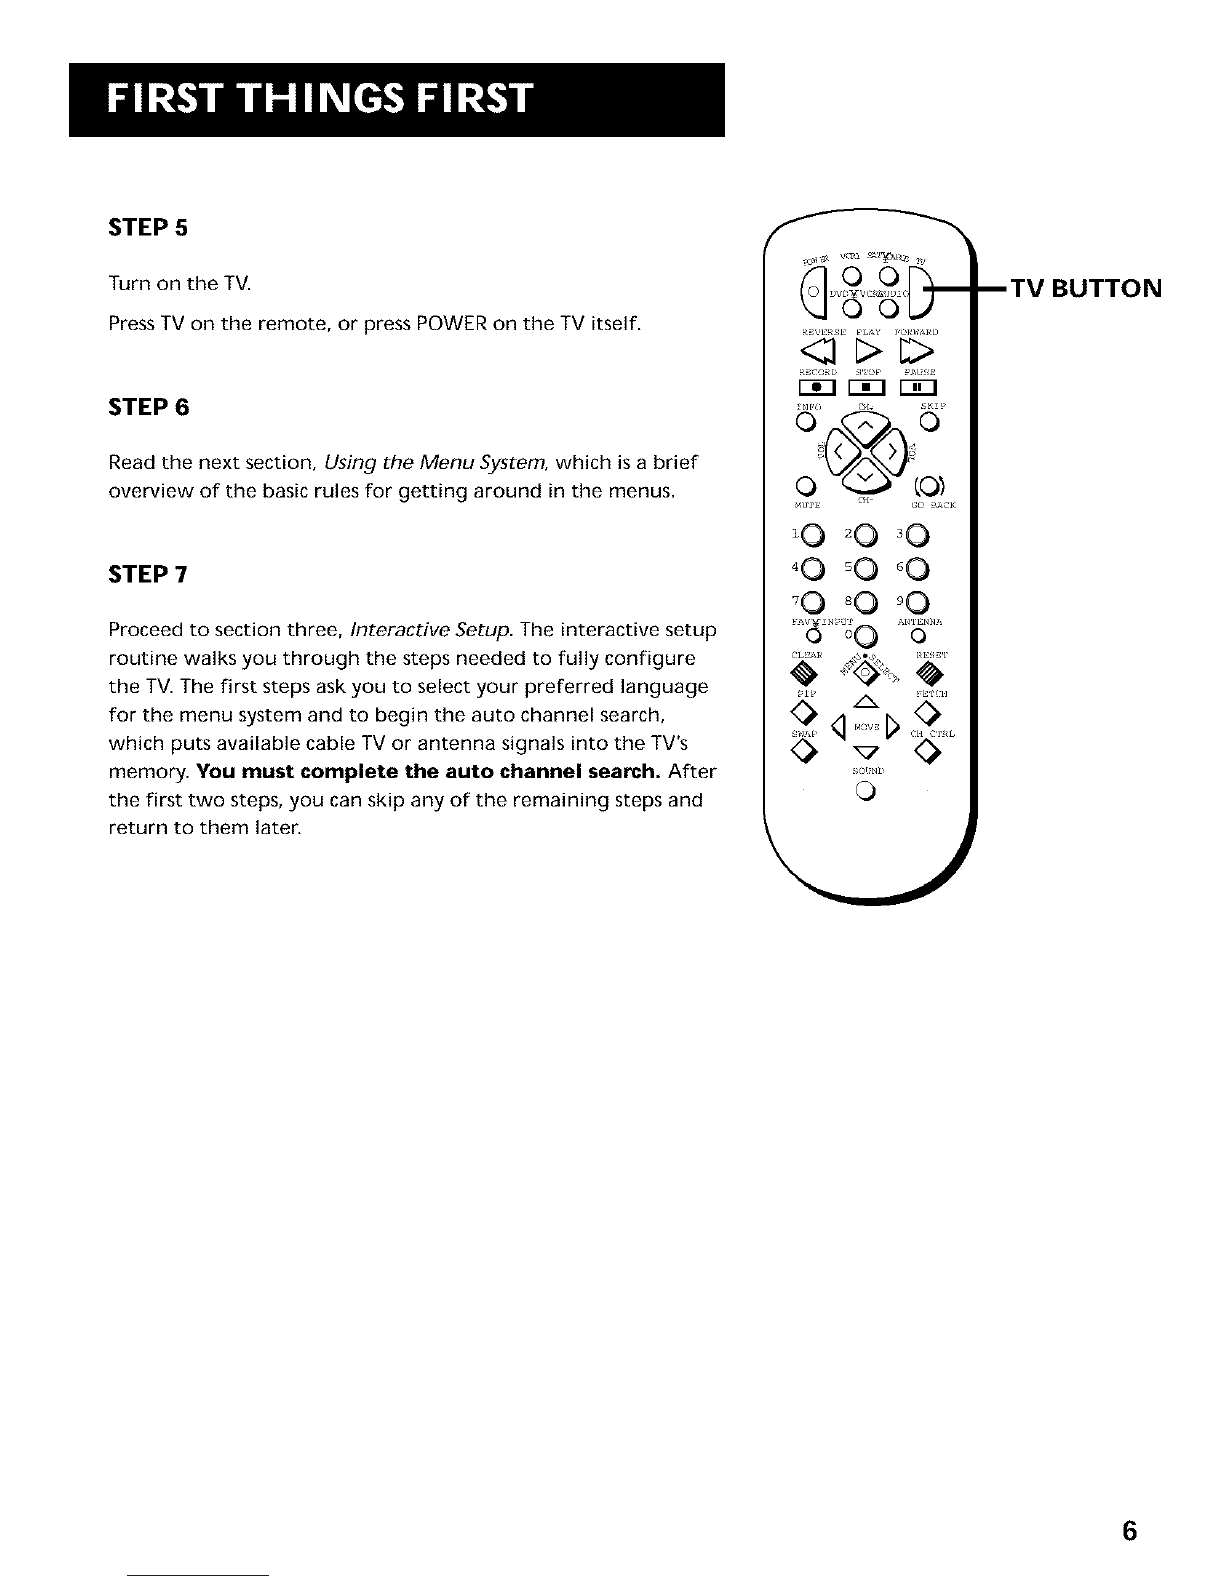
FIRST THINGS FIRST ....................................... 3
Connecting your TV ....................................................... 4
TV Only ..................................................................... 4
TV with other Components ..................................... 5
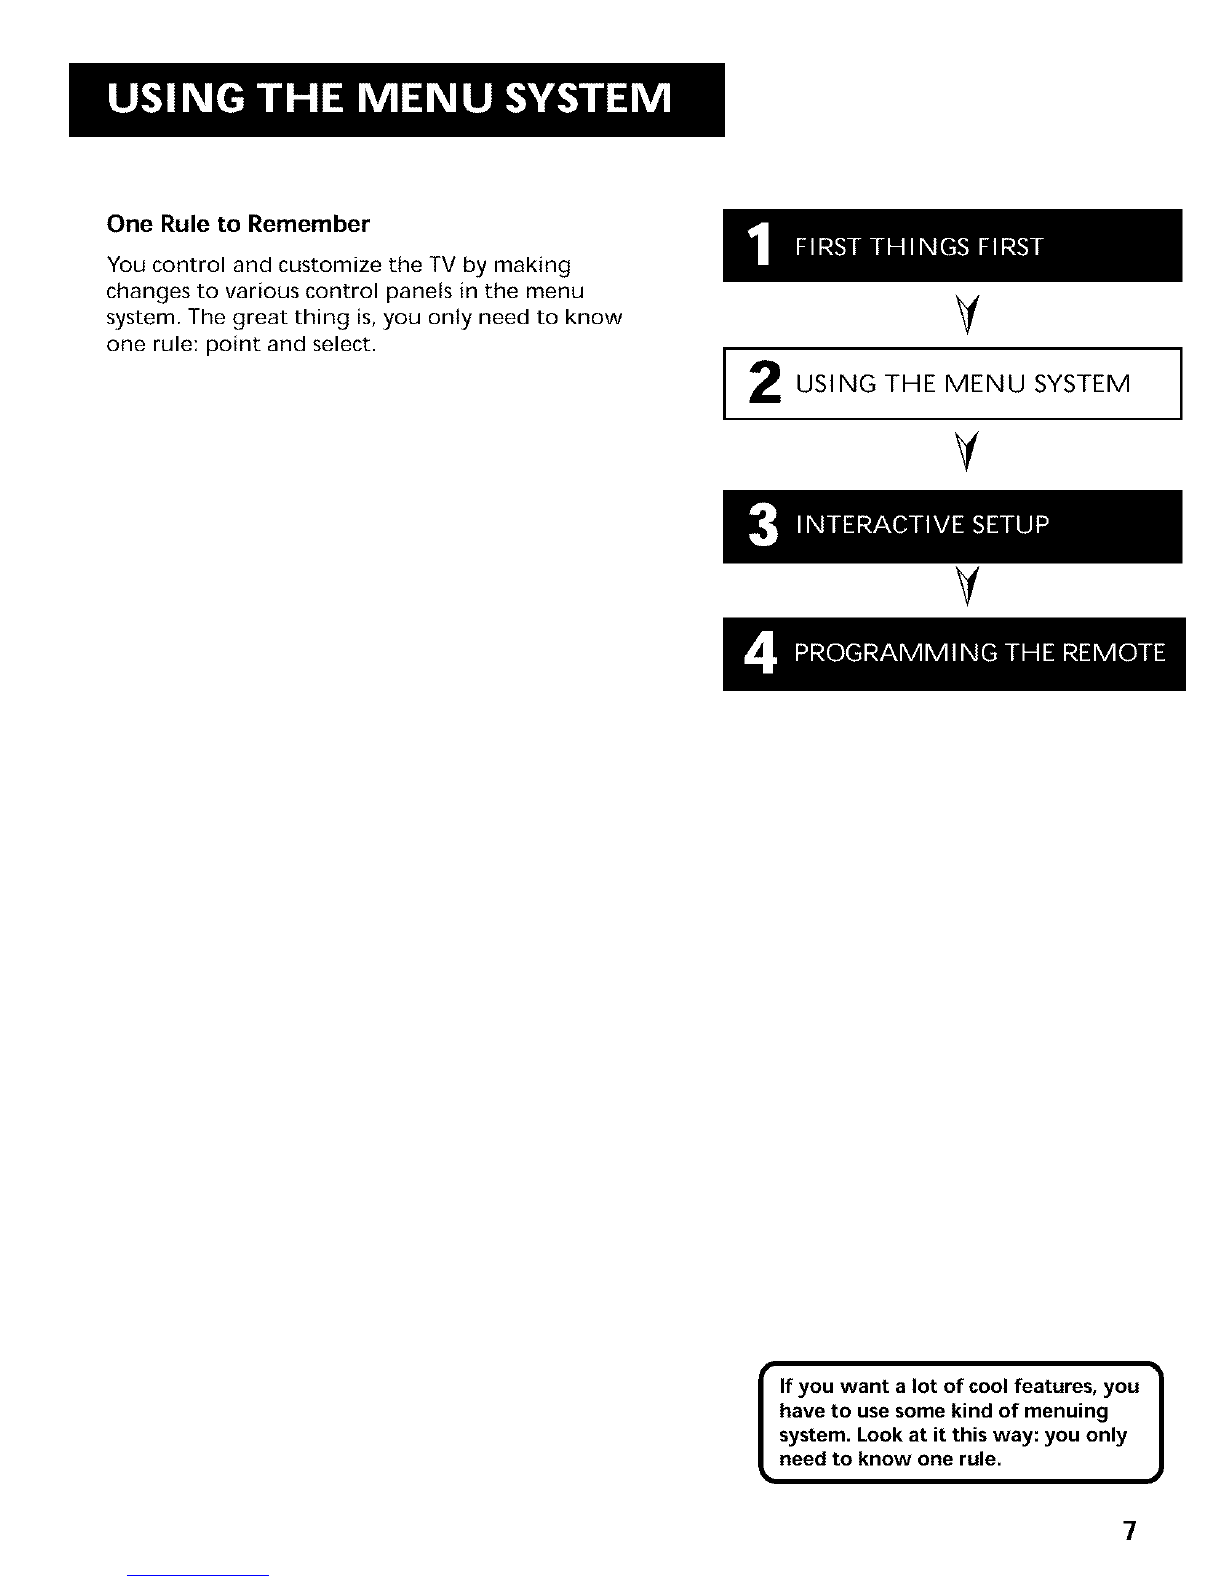
USING THE MENU SYSTEM ........................... 7
The Menu Rule: Point and Select ................................. 8
What is Point and Select? ........................................ 8
Menus and Control Panels .......................................... 10
Menus ..................................................................... 10
Control Panels ........................................................ 11
Choice Lists ............................................................. 12
Numeric Entry ......................................................... 13
INTERACTIVE SETUP ..................................... 15
Entering Setup ............................................................. 16
Select a Language ....................................................... 16
Auto Channel Search ................................................... 17
Set the Time ................................................................. 18
Set the VCR1 Channel ................................................. 19
Set the DVD.VCR2 Channel ........................................ 20
Set the SAT.CABLE Channel ....................................... 21
Label the Channels ...................................................... 22
PROGRAMMING THE REMOTE .................. 25
Programming the Remote ......................................... 26
To Control a VCR .................................................... 26
To Control a DVD Player or Laserdisc Player ........ 28
To Control an RCA Audio Device .......................... 28
To Control a Satellite Receiver or Cable Box ........ 29
Using the Remote to Control a Device ....................... 29
TOUR OF THE TV ............................................ 31
Remote Buttons ........................................................... 32
Back Panel .................................................................... 34
Front Panel ................................................................... 36
Channel Marker ........................................................... 37
1

QUICK REFERENCE ........................................ 39
Audio Menu ................................................................. 40
Picture Quality Menu .................................................. 41
Screen Menu ................................................................ 42
Channel Menu ............................................................. 43
Time Menu ................................................................... 45
Parental Controls Menu .............................................. 46
Setup Menu ................................................................. 47
ADVANCED FEATURES ................................. 49
PIP (Picture-in-Picture) Operation .............................. 50
Fetch Menu .................................................................. 52
Choosing an Audio Processor ..................................... 53
Closed Captioning ....................................................... 54
To display Closed Captioning ................................ 54
Closed Captioning Modes ...................................... 55
On-screen Program Details ......................................... 56
APPENDIX A: USING THE
TV CONNECTIONS ........................................ 57
APPENDIX B: CONNECTING
OTHER COMPONENTS ................................. 68
APPENDIX C: TROUBLESHOOTI NG ............ 70
APPENDIX D: LIMITED WARRANTY ......... 72
APPENDIX E: CARE AND CLEANING .......... 73
ACCESSORIES ................................................. 74
INDEX .............................................................. 77
2

Hi, I'm Mark.
I wrote this manual to help you get the most from
your TV. I know you expect a lot from your TV, so I
designed this user manual to give you the
information you need.., when you need it,
Read the first four chapters
The manual is designed to get you started quickly...
and let you catch up on the details when you get a
chance. The first four sections of the manual will get
your TV up and running. You'll learn how to use the
menu system, run the interactive setup routine and
program the remote,
The rest of the manual gives you the specifics: a tour
of the TV, a quick reference guide, the advanced
features and appendices.
Well.,. if your TV's out of the box, let's get started,
First things first.
11 FIRST THINGS FIRST
V
V
V
ICheck out the notes I've added 1
throughout the manual. I've got some
great tips that will help you get the most
from your TV.
3

STEP 1
Unpack the TV. Make sure to locate the remote control and
Connections Foldout.
Important Information: Optional Stand
CAUTION: Matching stands were designed to be used with the
table model TV included in this book. The recommended stands
are provided with hardware to secure the TV to the stand so that
it cannot be easily pushed off, pulled off or tipped over. Your
RCA dealer can help you choose the appropriate stand for your
TV.
If you choose not to use the stand recommended for your TV,
take precautions that the stand or other furniture the TV is
placed on is properly located and of adequate size and strength
to prevent the TV from accidentally being tipped over or pulled
off, This could cause damage to the TV and or personal injury,
Stands are not available by mail order. To locate your nearest
RCA dealer, call 1-800-336-1900.
STEP 2: CONNECTING YOUR TV
If you're only going to connect the TV to your home antenna or
cable system, use the "TV Only" connection shown below. If
you're going to connect the TV to a VCR, satellite receiver, DVD
player or other component, look at the Connections Foldout. The
Connections Foldout details ten diagrams that are recommended
for hooking up the TV to a cable box or antenna, one or two
VCRs, a DVD player, and a satellite receiver.
TV ONLY
This is a basic connection from an antenna or cable system to
your TV. Connect the cable as shown. If you have a VCR or other
components to connect to the TV, skip to the top of the next
page. ICABLE, CABLE BOX, OR ANTENNA
INPI]T 1 V
I _ UMONOI L _ I1
4

TV WITH OTHER COMPONENTS
Use the Connections Foldout to connect your TV to a VCR, DVD
player, andlor satellite receiver. After connecting your TV and
other components, proceed to the next step. See Appendix A for
detailed information about using each of these connections.
If your components don't match those shown on the foldout, or
if you prefer a different connection, see your dealer or specific
component user manuals.
STEP 3
Plug in the TV.
Plug the end into the wall outlet, matching the wide blade of
the plug with the wide slot in the outlet. Be sure to insert the
plug completely.
STEP 4
Put batteries in the remote.
Slide the battery compartment cover off back of the remote.
Insert four AAA batteries asshown, matching the + and -
ends of each battery in the compartment.
Replace the cover.
5

STEP 5
Turn on the TV.
Press TV on the remote, or press POWER on the TV itself.
STEP 6
Read the next section, Using the Menu System, which is a brief
overview of the basic rules for getting around in the menus,
STEP 7
Proceed to section three, Interactive Setup. The interactive setup
routine walks you through the steps needed to fully configure
the TV. The first steps ask you to select your preferred language
for the menu system and to begin the auto channel search,
which puts available cable TV or antenna signals into the TV's
memory. You must complete the auto channel search. After
the first two steps, you can skip any of the remaining steps and
return to them later.
o
R_\_E_E pLAy !0]_;A1_
r_l r_q r_q
MU],s _ i GO £_z*CK
'0 =0 _0
°O _O _0
_O _0 _O
,,,6_,%0A.,o......
_ ! E f(:l]
SOlN[
0
--TV BUTTON
6

One Rule to Remember
You control and customize the TV by making
changes to various control panels in the menu
system. The great thing is, you only need to know
one rule: point and select. I 2 V
USING THE MENU SYSTEM
V
V
I f you want a lot of cool features, you /
have to use some kind of menuing J
system. Look at it this way: you only
need to know one rule.
7

THE MENU RULE: POINT AND SELECT
You only need to know one rule to use the on-screen menus and
control panels: point and select.
WHAT IS POINT AND SELECT?
The point and select method has two steps.
1. Point to a menu item using the MOVE arrows on the
remote.
To point up or down, press the up or down arrows. To point
left or right, press the left or right arrows.
2. Select a menu item by pressing MENU°SELECT.
Selecting an item tells the TV's menu system to go ahead and
make the change or go to a place you have indicated.
For example, to select the Channel menu from the Main menu:
1. Press MENU to bring up the Main menu.
2. Point to Channelby pressing the down arrow until the word
Channel is highlighted.
Tip: You can also select a menu item
by entering the item number with the
number buttons on the remote.
Press CLEARat any time to remove all
displays from the screen and return to
TV viewing.
Many VCR user manuals refer to a
PROGRAM button. The MENU.SELECT
button on this remote works as a
PROGRAM button in VCR mode. The
rest of this manual refers to this
button only as MENU.
8

3. Press MENU to select Channel The Channel menu comes up.
4,
5.
Point to Exitand press MENU to return to the Main menu.
Point to Exitand press MENU to leave the menu system and
return to TV viewing.
If you ever want to leave the menu system, press CLEAR.
Once you know how to point and select your way through the
menus, you can apply this rule in the control panels, which do
the real work in the menu system.
9

MENUS AND CONTROL PANELS
There are two parts to the menu system: menus and control
panels. But before you can use a control panel, you first have to
move through at least one menu--the Main menu.
MENUS
The first menu is called the Main menu. To bring up the Main
menu:
1. Press MENU on the remote or front panel:
Menus take you to another menu or a control panel. There are
two ways to make a choice in a menu:
Point and select with the MOVE arrows and MENU.
Press a number button on the remote. For example, in the
Main menu press 3 to go straight to the Screen menu.
Exiting a menu
There are three ways to exit a menu:
Point to Exitand press MENU.
Press 0 on the remote.
Press CLEAR. The on-screen displays are cleared from the
screen and you are returned to TV viewing.
Feel free to explore the menu system.
If you're ever unsure where you are in
the menu system, or you're just plain
tired of exploring, press CLEARto
remove the menus from the screen
and start over again.
10

CONTROL PANELS
Control Panels do the work in the menu system: it's where you
choose a setting, enter a number, or adjust a level such as tint or
brightness. There are three kinds of control panels: sliders, choice
lists, and numeric entry.
Sliders
Sliders are used to make adjustments to a particular control.
For example, to adjust the TV's contrast:
1. Press MENU to bring up the Main menu.
2. Point to Picture Qualityand press MENU. The Picture Quality
menu comes up.
3. Press MENU to select Basic Picture Controls.
5. Press the right or left arrow to adjust the indicator line.
Notice that the picture changes as you adjust the contrast.
Now that you know how the Contrast slider works, you know
how all sliders work. You don't need to remember the |
names of the control panel types. J
Once you've learned how each type
works, you'll be able to use any part
of the menu system.
t
11

CHOICE LISTS
Choice lists are used to choose a particular setting from a list of
settings. The current setting in a choice list is always the
highlighted item.
For example, to indicate whether you're currently using a home
antenna or a cable TV signals:
1. Press MENU to bring up the Main menu.
2. Point to Channel and press MENU. The Channel menu comes
up.
3. Point to Signal Type and press MENU. The Signal Type choice
list comes up with the current setting highlighted. For
example:
4.
5.
6.
Point to the correct setting for your connection and press
MENU. As soon as you select a choice, the TV saves your
change, and you are returned to the previous menu.
Point to Exitand press MENU to return to the Main menu.
Point to Exit and press MENU to return to TV viewing.
12

NUMERIC ENTRY
A numeric entry control panel is used to enter numbers or
letters.
For example, to set the current time:
1. Press MENU to bring up the Main menu.
2. Point to Time and press MENU.
3. Point to Set Time and press MENU. The Set Time numeric
entry control panel comes up. Notice the pointer underneath
the first dash.
4.
5.
6.
7.
8.
9.
Press the up arrow to enter a number in that column.
Press the right arrow to move to the next column, then press
the up or down arrow to enter a number.
Repeat Step 5 until you have entered the hour and minute
for the current time. Notice that when you reach the last
column, pressing the up or down arrow changes whether the
time reads AM or PM.
When you have entered the correct time, press MENU. You
are returned to the Time menu.
Point to Exitand press MENU to return to the Main menu.
Point to Exitand press MENU to return to TV viewing.
If the control panel is not set at the
current time, use the left arrow to go
back over the columns and the up
arrow to make changes,
You can also enter numbers directly
by using the number buttons.
13


There's an on-screen setup routine
Your TV has software that tells it what to do.just
like a computer. The interactive setup routine takes
you through the steps needed to configure the TV:
Select a menu language
Search for available channels
Set the time
Set the VCR1 channel
Set the DVD,VCR2 channel
Set the SAT,CABLE channel
Make the channel list and labels I
V
V
INTERACTIVE SETUP
V
Iomplete the first two steps, Select
Language and Auto Channel Search, to
receive antenna or cable TV signals. After
that, you can skip other steps and return
to them at your convenience.
15

ENTERING SETUP
Setup is accessed through the Main menu:
1. Press MENU to bring up the Main menu.
2. Point to Setup and press MENU. The first Setup screen comes
up, asking you to confirm that you want to begin.
3. Press MENU to begin the Setup routine.
SELECT ALANGUAGE
The first part of the setup routine asks you to select your
preferred language for the menuing system.
1.
2.
Press MENU to select English as your preferred language for
the menuing system.
If you prefer another language for the menuing system,
point to a language and press MENU.
16

AUTO CHANNEL SEARCH
The next part of the setup routine asks you if you want the TV to
search automatically for all channels available through your
antenna or cable TV system, This is sometimes called
"autoprogramming."
1. Press MENU to tell the TV to begin searching for channels.
The display gives you a progress report and tells you when it
has finished.
2. Press MENU to continue.
You must complete the Auto Channel
Search to receive TV signals and put
channels in memory.
Auto Channel Search can also be
accessed through the Channel menu. ]
17

SET THE TIME
The next step lets you set the time of day,
1. Press MENU to bring up the Set Time control panel.
2. Use the left and right arrows to point to the hour and
minutes spaces, Use the up and down arrows to scroll
through the numbers and change from AM to PM.
3. Press MENU to continue.
18
This manual suits for next models
21
Table of contents
Other RCA TV manuals

RCA
RCA RLDED4350-UHD-B-SM User manual

RCA
RCA 5inch BLACK & WHITE TVwith CD Player and AM/FM... User manual

RCA
RCA CR20805 User manual

RCA
RCA 1535006A User manual

RCA
RCA RNSMU8220 User manual

RCA
RCA F32674 User manual

RCA
RCA F27675 Instruction Manual

RCA
RCA F31665YX3CH User manual

RCA
RCA F26432TX41AD8 User manual

RCA
RCA J32DE220 User manual