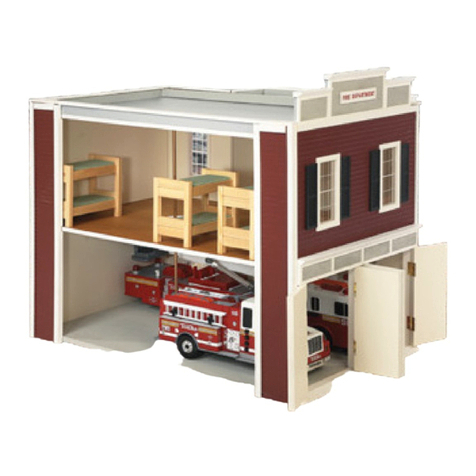
Real Good Toys Special Edition Princess Anne User manual
Other Real Good Toys Toy manuals

Real Good Toys
Real Good Toys Beachside Bungalow User manual

Real Good Toys
Real Good Toys QuickBuild User manual
Real Good Toys
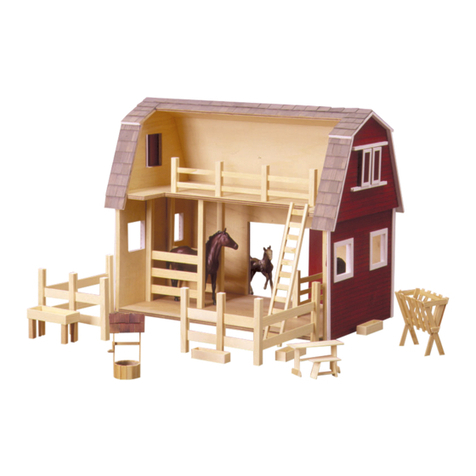
Real Good Toys Ruff'n Rustic All American Barn User manual

Real Good Toys
Real Good Toys Victoria's Farmhouse User manual

Real Good Toys
Real Good Toys Classic Bungalow User manual

Real Good Toys
Real Good Toys Classic Bungalow User manual

Real Good Toys
Real Good Toys Special Edition Vermont Farmhouse, Jr. User manual

Real Good Toys
Real Good Toys Victorian Painted Lady User manual
Real Good Toys
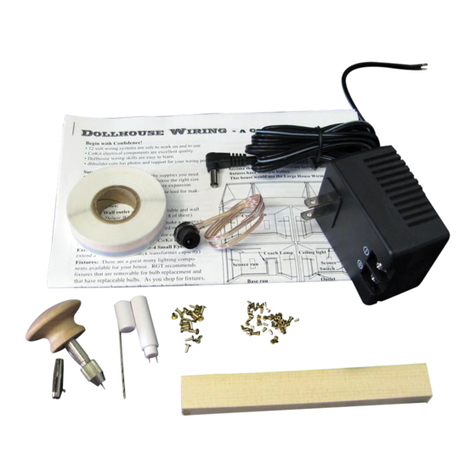
Real Good Toys Bigger Best1 User manual
Real Good Toys
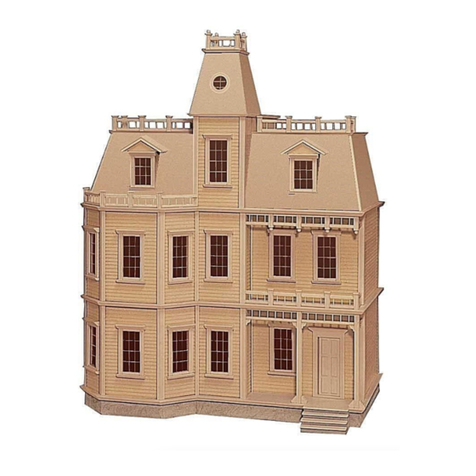
Real Good Toys Kit #71K User manual

Real Good Toys
Real Good Toys New England Lighthouse User manual

Real Good Toys
Real Good Toys My Dreamhouse User manual
Real Good Toys
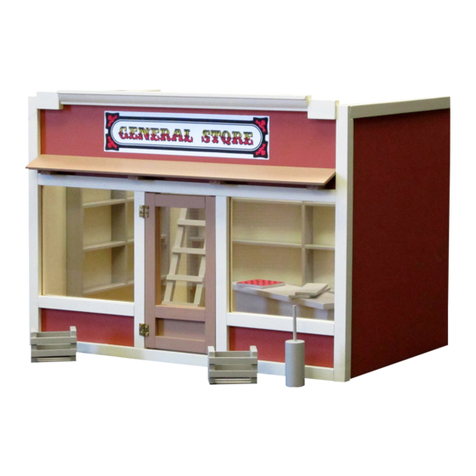
Real Good Toys General Store User manual

Real Good Toys
Real Good Toys the New Haven DH 77K User manual

Real Good Toys
Real Good Toys 67100 User manual

Real Good Toys
Real Good Toys J-550 User manual

Real Good Toys
Real Good Toys Colonial Addition User manual
Real Good Toys
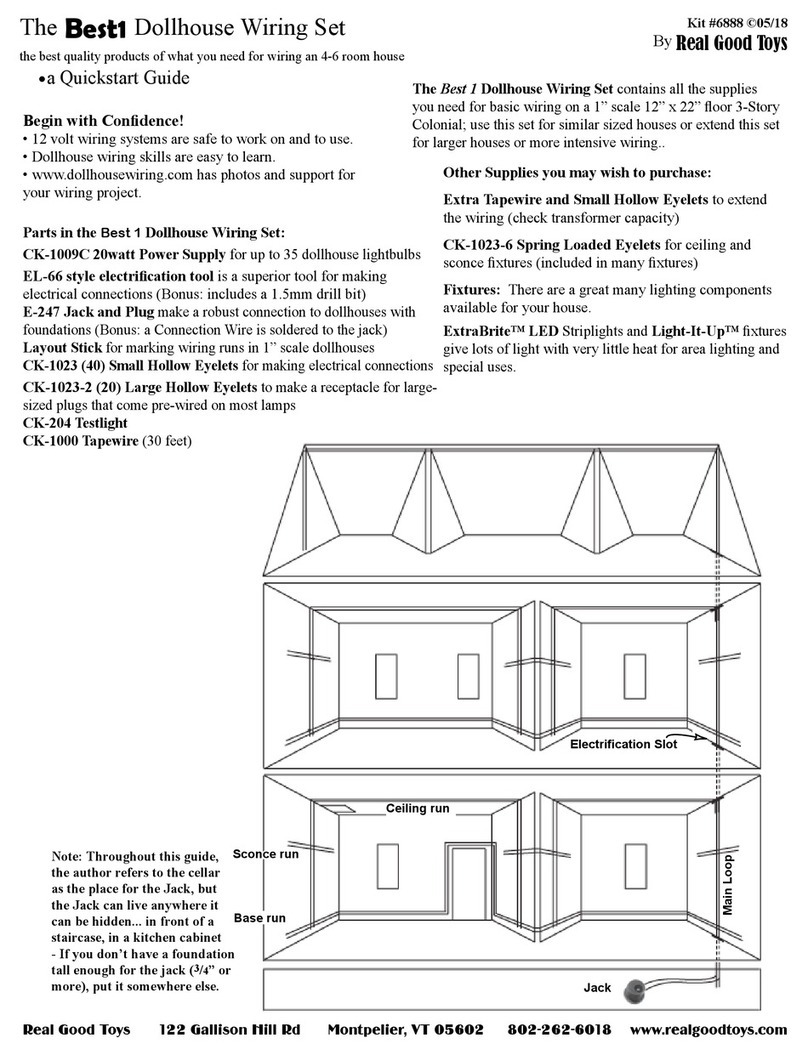
Real Good Toys Best1 User manual
Real Good Toys
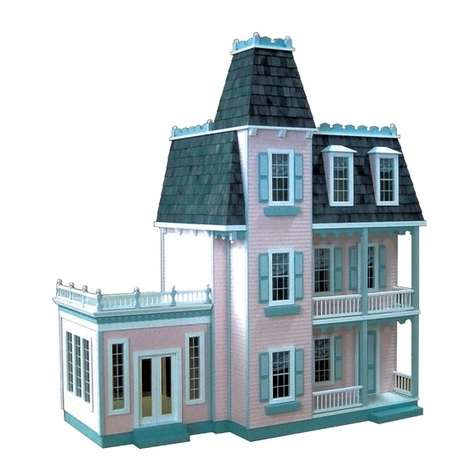
Real Good Toys Junior Conservatory User manual

Real Good Toys
Real Good Toys Keeper's House User manual
Popular Toy manuals by other brands

FUTABA
FUTABA GY470 instruction manual

LEGO
LEGO 41116 manual

Fisher-Price
Fisher-Price ColorMe Flowerz Bouquet Maker P9692 instruction sheet

Little Tikes
Little Tikes LITTLE HANDIWORKER 0920 Assembly instructions

Eduard
Eduard EF-2000 Two-seater exterior Assembly instructions

USA Trains
USA Trains EXTENDED VISION CABOOSE instructions
