manuals.online logo
Brands
  1. Home
  2. •
  3. Brands
  4. •
  5. Real Good Toys
  6. •
  7. Toy
  8. •
  9. Real Good Toys My Dreamhouse User manual

Real Good Toys My Dreamhouse User manual

Instructions for
Real Good Toys’
My Dreamhouse Add-A-Room
Kit #AG185
©10/15
Real Good Toys •10 Quarry St •Barre, VT 05641 •802-479-2217 •www.realgoodtoys.com
This kit will add an additional level to your 'My Dreamhouse' dollhouse. The ideal time to include this Add A Room in
your build is while you are building the 'My Dreamhouse' dollhouse, but you can also add this to the completed dollhouse
with some dis-assembly.
Measure and identify the parts:
The kit is organized in the box to protect the parts, and the
Parts List is in the same order. As you measure and identify
the parts, label them with sticky notes using the names from
the parts list, and check them off the parts list so you know
you have everything. Taking the time now to identify and
organize the parts also makes their names familiar so you will
understand what the instructions intend as you read ahead.
• Plan ahead so you know where you are going
• Read ahead so you know how to get there
• Paint ahead so the parts will be ready when you need them
Before you begin - You have already opened the box and
see all the parts organized and tidy. For the moment, keep
them that way. There are important things to do before you
open your glue bottle.
Prepare your space: This kit will spread out over a large
area while it is being built. You will need a full-sized table
for organization and painting, and enough cardboard, paper,
or plastic to protect it from paint.
A snap-lid box will keep your tools and supplies handy
between building sessions.
Choose your paint. Semi-gloss interior latex paint is recom-
mended for all dollhouses. If you are building this Add A
Room afterward and the original paint choices are unknown,
your paint store may be able to scan a part of the dollhouse
for color matching.
Tools and Supplies:
Tape measure or ruler, Pencil, Sticky notes
(like PostIts®)
Tacky white glue
(like Aleene’s Tacky Glue®)
for all construction
Masking tape, Painting Supplies, Sandpaper
(especially 320gr)
PostIts
®
, and Aleene’s
®
are trademarks of their manufacturers and have no affiliation with Real Good Toys
Approved for children over 12 months with adult supervision.
California 93120 compliant for formaldehyde phase 2
AG185 Instructions page 2
Measure, identify, and label the parts
Parts:
Parts:
(Measurements are approximate and are for identification purposes only)
1 AG104 Floor (
1 AG104 Floor (
3
3
/
/
8
8
) 22
) 22
3
3
/
/
4
4
29
29
1
1
/
/
2
2
Electrification Slots
1 AG120 Trim, Floor (
1
1
/
/
4
4
)
)
1
1
1
1
/
/
4
4
30
30
9
9
/
/
16
16
1 AG124 LED Backer (
pine Triangle
pine Triangle
)
)
5
5
/
/
8
8
29
29
1
1
/
/
8
8
1 AG106 Ceiling Liner (
1
1
/
/
4
4
)
)
22
22
3
3
/
/
4
4
29
29
1
1
/
/
2
2
Electrification Slots
pr AG102 Side, L&R (
3
3
/
/
8 Milled
8 Milled
)
)
23 23
23 23
Window cutout
Window cutout
4 AG125 Window Side (
3
3
/
/
4
4
x 1
x 1
Pine
Pine
)
)
9
9
1
1
/
/
2
2
Groove
Groove
4 AG127 Window Sill (
3
3
/
/
4
4
x 1
x 1
Pine
Pine
)
)
7
7
3
3
/
/
16
16
Groove, Notch
Groove, Notch
2 AG119 Trim, Back (
1
1
/
/
4
4
)
)
1
1
1
1
/
/
4
4
21
21
3
3
/
/
4
4
2 AG117 Trim, Horiz. (
1
1
/
/
4
4
)
)
1
1
1
1
/
/
4
4
23
23
4 AG121 Trim, Front (
1
1
/
/
4
4
)
)
1
1
1
1
/
/
4
4
21
21
3
3
/
/
4
4
1 AG103 Back (
1 AG103 Back (
3
3
/
/
8
8
)
)
23 29
23 29
1
1
/
/
2
2
grooves
grooves
4 Packers (
4 Packers (
3
3
/
/
8
8
) 1
) 1
5
5
/
/
8
8
x 23±
x 23±
packing material and assembly aid so
don't discard them, but they are not part of the house so don't
worry if they have been damaged in shipping (see page 7).
Accessories that fit ‘My Dreamhouse’ scale (18”)
www.realgoodtoys.com or 802-479-2217
#AG185 Add A Room Kit for an additional story (or two!)
Light-it-Up™Indirect lighting with ExtraBrite™LEDs
30-LED-P (pure white) or W (warm white) LED lights,
Light-It-Up kits #E224, #E225, and #E226
#6888 Best1™Wiring set for basic wiring up to 3 rooms or
#7999 for more intensive wiring or to support more fixtures
Floor
Floor
Trim, Back
Trim, Back
Trim, Floor
Trim, Floor
Ceiling Liner
Ceiling Liner
Side
Side
Window Side
Window Side
Window Sill
Window Sill
Trim, Front
Trim, Front
Back
Back
Electrification Slots make running
tapewire from floor-to-floor easier.
If you are not wiring the dollhouse
at this time, ignore the slots.
Trim, Horizontal
Trim, Horizontal
LED Backer
LED Backer
Overview of the build:
•
•
Identify and label the parts
•
•
Plan your paint scheme - get painting supplies
•
•
Wiring? Get wiring supplies (see page 9)
•
•
Paint everything one coat (follow the Painting Instructions)
•
•
Sand everything (follow the Sanding Instructions)
•
•
More painting
More painting
•
•
Build the HouseBody (the Back, Sides, and Ceiling Liner)
•
•
Remove the foundation from the dollhouse
•
•
Wiring? Assemble the sections and run tapewire
(levels can be separate for easier transport only if not wiring)
•
•
Finish painting
Finish painting
•
•
Attach the Trim
Attach the Trim
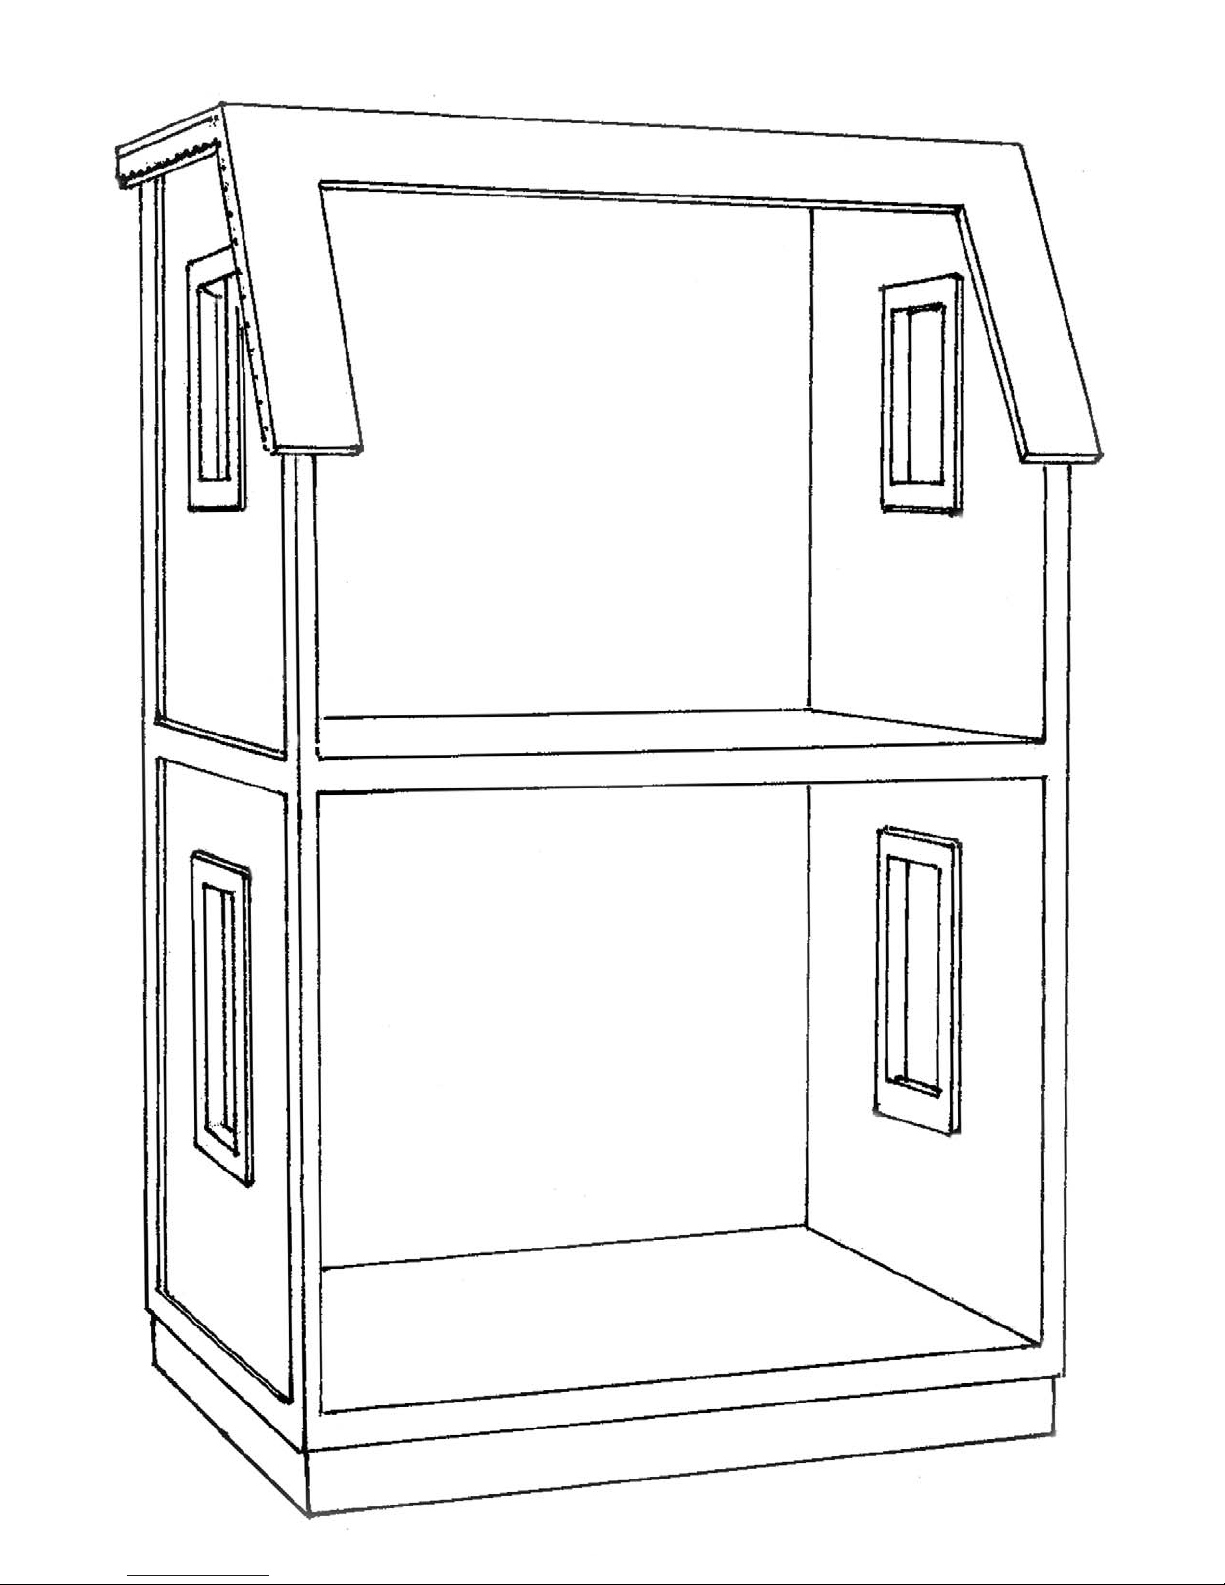
My Dreamhouse Instructions - Paint page 3



Paint the parts
Paint the parts
the first coat. The first coat mostly soaks
into the wood, filling and reinforcing the grain so the sanding
step clips off the fibers and leaves the surface smooth. Resist
sanding before painting - it will leave the surface fuzzy and
make a smooth finish harder to achieve. The quality of your
final finish is dependent on the quality of the sanding after the
first coat. Do not go back to re-paint just because the paint has
soaked in. Just a bit of paint left on the surface tells you you
have put on enough to saturate the grain, which is the right
amount. More paint than that will only make sanding harder.
Glue doesn’t stick to paint.
Avoid painting edges, grooves,
and areas that will be glued.
Do not stack painted parts - even when they feel dry
they will stick and damage each other. Keep them
spread out or separate them with waxed paper.
A word about primer: Primer is designed to help paint stick
to an impervious surface or to join layers of dissimilar paints.
In this application, the first coat of paint soaks right into the
wood and fills the grain - you could do that with primer, but its
job of being an interface between different materials doesn’t
apply here. In this application, primer just adds steps and ex-
pense. I don’t use it here and don’t recommend it.
Paint the Back and Sides on both faces. Paint the Floor on one face
(consider a ‘faux-wood’finish on the floor... see Youtube gpr01010).
Paint the Ceiling Liner on one face.
Paint the Trim on one face and both edges.
Paint the second coat. The Second coat for the outside of the
Walls may be done after assembly of the housebody (that’s
what I do). The second coat goes on smooth and creamy with
enough paint on the brush so it is quiet while you are brushing
the paint out, but not enough to leave puddles or drips.
Sand everything
Sand everything
. Sand until the paint is smooth and “soft”
feeling, transparent, and some of the wood is showing through.
Sand the Clapboard one-clapboard-surface-at-a-time. Fold
the sandpaper and sand back and forth until the surface of that
board is smooth and transparent; then move on to the next
board. Fold the sandpaper as needed to keep it fresh.



Cleaning an edge with the
back of a utility knife blade
Cleaning a groove with a Cabinet Scraper
Clean the edges and grooves
before assembly. A little paint always
builds-out the corner of an edge or groove and will make assembly
harder and the glue joint less strong. Test the Floor, Liner, and Back
in their grooves to see that they fit well.
Assembly:
My Dreamhouse Instructions - Painting, sanding, and cleaning page 4
□1. Glue and tape the Floor to the Back
with the painted face to the inside.
e and ta
pe
the Floor to the Back
a
inted face to the inside
.
Use enough glue so some squeezes out of every joint.
Keep a damp rag and a dry rag handy to clean up excess.



Floor
Floor
Back
Back
□2. Glue and tape the Ceiling Liner to the Back.
The Electrification Slots in the Ceiling Liner allow ceiling-light in-
stallation above the ceiling (which some builders prefer)... you can
decide where the slots go or ignore them if you aren’t going to wire.
Note: Many of these photos are of un-painted parts,
but you should have painted these parts at least one-
coat already, and have sanded thoroughly.
Inside
□3. The Sides are Left or Right - pick the one for
the end of the assembly that is up.
Glue and tape a Side to the assembly, tight in the back groove.
Step 2
Step 1
Tight
Continue to step 5 without stopping
Electrification Slots in the Floor make it easy to run tapewire through-
out your build, and multiple slots allow a choice in how you are wiring.
I usually put the slots forward to feed lights behind the Floor Trim but
your plan may be different. Plan ahead, then do it your way!
See page 9
Taping: Use enough tape so you can stick it down and still
have length enough to stretch the tape on both sides of the
joint... then rub the tape down for good adhesion.
T
T
Ceiling Liner
Ceiling Liner
Floor
Floor
The narrow groove
The narrow groove
is the top
is the top
Side
Side
Pull the Side to the back to make
it tight in the groove as you tape
Step 3
Electrification Slot



My Dreamhouse Instructions - Assembly page 5
□4. Turn the assembly over.
Glue and tape the other Side to the assembly.
Step 4
p
4
□5. Inspect the joints and tighten if necessary... these photos
show one good way to hold a joint tight while the glue dries -
Once the glue is dry the shape will be permanent.
Inspect for looseness in the joint
Floor
Floor
Side
Side
Floor
Floor
Side
Side
A piece of Trim sitting on the Floor
only, not overlapping the Side
Trim
Trim
A
A
B
C
Tape the Trim so it won’t slip, Press the
looseness tight, then pull a strap of tape
firmly to hold it there - rub it down.
Stabilize
Stabilize
Pull
Pull
Let the glue dry.
Note: Many of these photos are of a temporary build
(tape only) and the tape stayed on throughout the build,
but you should take your tape off when the glue is dry.
My Dreamhouse Instructions - Take Apart page 6
□6. If the Foundation is glued to the House on the "My Dreamhouse"
it will have to be removed. To do this you will use a heat source (hot-air
gun, hair dryer, heat lamp, iron if the parts aren't painted) and a slender
spatula (shown is a cake icing knife). This is a slow process so set aside
an hour or more so you won't get impatient with your progress.
The key is to heat slowly, to let the heat penetrate to the glue, and
to stretch and cut the glue with the hot knife. Keep moving the heat
source so the surface of the wood doesn't get too hot (if it's painted, it
takes longer still because heat too-hot-to-touch can scorch the paint),
keep heating the knife and moving it along the glue joint. Take it easy
and keep at it... you will triumph! If a helper is available, consider an
iron and a hot air gun working together to provide more heat.
Hot-air gun or hair dryer
keeps the knife hot
keeps the knife hot
Keep the heat source moving so the
surface never gets too hot to touch
B. Separate the Floor from the
Foundation around the edges
A. Remove the Floor Trim
and the Horizontal Trim
C. Separate the Middle Foundations
D. Scrape the old glue off with a knife
or furniture scraper. Continue heating
with hot-air for easier scraping.
If the Foundation didn't get glued to the Floor,
and the Trim is glued to the Foundation only,
lift off the house and skip this page ☺.
Furniture Scraper
My Dreamhouse Instructions - Assembly page 7
Lines up with the top of the Floor
Step 7
Step 7
Horizontal Trim
Horizontal Trim
Floor
Floor
Stack all the levels of your house on the Foundation,
lined up on the corners.
Packer
Packer
Long flap of tape
One full twist
Packer
Tape
Twist
Keep the tape twisted
Tape thru the window
Pull the Packer tight
Rub the tape down on the inside
The Packer puts pressure
on the middle of the Trim
□7. Attach Trim:
Glue and tape the Horizontal Trim to the Foundation only*,
lined up with the Floor on top, and straight front-to-back
(use the clapboard profile to make it exactly straight).
If the Trim bows inward, tape may be all that's necessary to hold
the Trim tight while the glue dries, but if it bellys out in the mid-
dle, use the Packers taped thru the windows to hold the Trim flat.
Repeat for the other side
Let the glue dry
Another Packer right on top of the first and more twisted tape
will apply more pressure if you need more to hold the Trim tight.
*gluing only to the lower level allows the house to
be taken apart for transportation or wiring.
My Dreamhouse Instructions - Assembly page 8
8C. Glue and tape the next floor's Horizontal Trim to the Side.
D. Glue and tape the front's Front Trim and the next floor's Floor
Trim to this floor's Side and Ceiling Liner*
8A. Glue and tape the Floor Trim to the Foundation only*. Two Packers, taped together so they are longer,
can be taped to the Floor if pressure is needed to pull the Floor Trim flat.
B. Glue and tape a Back Trim to the House Side, lined up in back, and a Front Trim lined up in front.
Let the glue dry.
Let the glue dry. *gluing only to the lower level allows the house to
be taken apart for transportation or wiring.
Horizontal Trim
Floor Trim
Back Trim
Back Trim
Front Trim
Front Trim
Horizontal Trim
Horizontal Trim
Floor Trim
Floor Trim
Front Trim
Front Trim
Let the glue dry
□9. Test the window parts before using glue - clean as necessary.
A. Glue the Window Sills into the cutout, centered side-to-side.
B. Glue the Window Sides into the cutout. Push all the way out.
C. Press down on the top Window Sill to tighten the fit.
Repeat for the other window
A. Window Sills
Centered
Centered
Sill
Sill
B. Window Sides
B. Window Sides
C. Tight
A
B
B
C
C
D
D
My Dreamhouse Instructions - Lighting and Wiring page 9
That’s it. The “build” part of the project is done!
... a few notes on wiring (and shameless promotion of some really great products)
See www.realgoodtoys.com and type "lighting" in the search box
The angle of the LED Backer is ideal for mounting ExtraBrite
™
™
LEDs
to light up your Dreamhouse®. Warm-White or Pure-White LEDs: get 30"
sections to add excitement and realism to each floor of your house.
If you add rooms to your dollhouse be sure to put the electrification
slots in the same place so they line up with each other from-floor-to-floor.
As you run tapewire, you must glue the sections of your dollhouse to-
gether. For this reason, it is most convenient to add as many rooms as you
intend before doing the wiring.
RGT Wiring sets come with a
Pre-Wired jack for the most
robust and subtle connection
Send a flap of tapewire into the
foundation space before gluing
on the foundation
Real Good Toys' Electrification Tool
is the only tool recommended for
this kind of wiring, and it's included
in the 6888 and 7999 sets
Light-It-Up™
Light-It-Up™
Extra-Brite
Extra-Brite
™
™
LEDs
LEDs
will light up your rooms just like the
lights in your home do. Along with
Light-It-Up
Light-It-Up
™ lighting
™ lighting
products they look good, and they fill the room with light.
E224 Box Lighting
E224 Box Lighting
E225 Recessed Lighting
E226 Valance Lighting
Extra-Brite
Extra-Brite
™
™
LEDs
LEDs
□10. LED Backer: Glue and tape the LED Backer to the
Ceiling Liner and Floor Trim, centered side-to-side.
Floor
Ceiling Liner
LED Backer
Floor
Trim
Lightstrip
LED Backer
The “+” lines up with the Copper
Contact
This is the end of
the Light Support
Tapewire
Tapewire
If you wire your dollhouse with tapewire and illuminate with ExtraBrite LEDs
on the Backer, Run Tapewire on the backer first and eyelet the LED strip to the
tapewire. Make sure the "+" side of the LED strip lines up with the "+" side of
the tapewire
Duplicate this page to test your painting plan Also printable from the www.RealGoodToys.com website

This manual suits for next models

1

Other Real Good Toys Toy manuals

Real Good Toys New England Lighthouse User manual

Real Good Toys

Real Good Toys New England Lighthouse User manual

Real Good Toys Victoria's Farmhouse User manual

Real Good Toys

Real Good Toys Victoria's Farmhouse User manual

Real Good Toys Special Edition Vermont Farmhouse, Jr. User manual

Real Good Toys

Real Good Toys Special Edition Vermont Farmhouse, Jr. User manual

Real Good Toys CAPE DOLLHOUSE KIT 1287 User manual

Real Good Toys

Real Good Toys CAPE DOLLHOUSE KIT 1287 User manual

Real Good Toys Ruff'n Rustic All American Barn User manual

Real Good Toys

Real Good Toys Ruff'n Rustic All American Barn User manual

Real Good Toys J-550 User manual

Real Good Toys

Real Good Toys J-550 User manual

Real Good Toys Keeper's House User manual

Real Good Toys

Real Good Toys Keeper's House User manual

Real Good Toys Classic Bungalow User manual

Real Good Toys

Real Good Toys Classic Bungalow User manual

Real Good Toys Kit #71K User manual

Real Good Toys

Real Good Toys Kit #71K User manual

Real Good Toys Best1 User manual

Real Good Toys

Real Good Toys Best1 User manual

Real Good Toys Bigger Best1 User manual

Real Good Toys

Real Good Toys Bigger Best1 User manual

Real Good Toys Classic Bungalow User manual

Real Good Toys

Real Good Toys Classic Bungalow User manual

Real Good Toys Victorian Painted Lady User manual

Real Good Toys

Real Good Toys Victorian Painted Lady User manual

Real Good Toys 67100 User manual

Real Good Toys

Real Good Toys 67100 User manual

Real Good Toys Special Edition Alison, Jr. User manual

Real Good Toys

Real Good Toys Special Edition Alison, Jr. User manual

Real Good Toys Special Edition Princess Anne User manual

Real Good Toys

Real Good Toys Special Edition Princess Anne User manual

Real Good Toys General Store User manual

Real Good Toys

Real Good Toys General Store User manual

Real Good Toys Junior Conservatory User manual

Real Good Toys

Real Good Toys Junior Conservatory User manual

Real Good Toys QuickBuild User manual

Real Good Toys

Real Good Toys QuickBuild User manual

Real Good Toys the New Haven DH 77K User manual

Real Good Toys

Real Good Toys the New Haven DH 77K User manual

Real Good Toys Beachside Bungalow User manual

Real Good Toys

Real Good Toys Beachside Bungalow User manual

Real Good Toys QuickBuild Firehouse User manual

Real Good Toys

Real Good Toys QuickBuild Firehouse User manual

Real Good Toys Colonial Addition User manual

Real Good Toys

Real Good Toys Colonial Addition User manual

Popular Toy manuals by other brands

Eduard Su-17/22UM3K airbrakes manual

Eduard

Eduard Su-17/22UM3K airbrakes manual

Eduard A-26C Invader u/c and exterior quick start guide

Eduard

Eduard A-26C Invader u/c and exterior quick start guide

Hexbug Spider manual

Hexbug

Hexbug Spider manual

Sebart Wind S 110 ARF Assembly manual

Sebart

Sebart Wind S 110 ARF Assembly manual

Hasbro Transformers Armada SCAVENGER with Rollbar Mini-Con... instructions

Hasbro

Hasbro Transformers Armada SCAVENGER with Rollbar Mini-Con... instructions

ATOMIC MASS GAMES STAR WARS LEGION CHEWBACCA manual

ATOMIC MASS GAMES

ATOMIC MASS GAMES STAR WARS LEGION CHEWBACCA manual

Hacker Hotwing 750 instructions

Hacker

Hacker Hotwing 750 instructions

Badger Basket 10.0/0714/TG Assembly and use instructions

Badger Basket

Badger Basket 10.0/0714/TG Assembly and use instructions

Park Racers Crater 1/18 Monster User handbook

Park Racers

Park Racers Crater 1/18 Monster User handbook

PARKZONE Spitfire Mk IIB RTF instruction manual

PARKZONE

PARKZONE Spitfire Mk IIB RTF instruction manual

goki 14169 Assembly manual

goki

goki 14169 Assembly manual

Pilot Communications Trainer Assembly manual

Pilot Communications

Pilot Communications Trainer Assembly manual

Eduard Seatbelts RFC WWI STEEL quick start guide

Eduard

Eduard Seatbelts RFC WWI STEEL quick start guide

Mattel Barbie GWM78 instructions

Mattel

Mattel Barbie GWM78 instructions

ROKR LKB01 Assembly instruction

ROKR

ROKR LKB01 Assembly instruction

Pichler MINI DOMINO C9795 instruction manual

Pichler

Pichler MINI DOMINO C9795 instruction manual

Eduard TA-4J S.A. manual

Eduard

Eduard TA-4J S.A. manual

Kyosho STRATUS 1600 instruction manual

Kyosho

Kyosho STRATUS 1600 instruction manual

manuals.online logo
manuals.online logoBrands
  • About & Mission
  • Contact us
  • Privacy Policy
  • Terms and Conditions

Copyright 2025 Manuals.Online. All Rights Reserved.