manuals.online logo
Brands
  1. Home
  2. •
  3. Brands
  4. •
  5. Real Good Toys
  6. •
  7. Toy
  8. •
  9. Real Good Toys Bigger Best1 User manual

Real Good Toys Bigger Best1 User manual

Real Good Toys 122 Gallison Hill Rd Montpelier, VT 05602 802-262-6018 www.realgoodtoys.com
The Bigger Best1 Dollhouse Wiring Set
the best quality products of what you need for wiring an 8-12 room house
•a Quickstart Guide
Real Good Toys’ kit #7999 ©05/18
Begin with Condence!
• 12 volt wiring systems are safe to work on and to use.
• Dollhouse wiring skills are easy to learn.
• www.dollhousewiring.com has photos and support for
your wiring project.
Parts in the Bigger Best1 Dollhouse Wiring Set:
CK-1009D 40watt Power Supply for up to 65 dollhouse lightbulbs
EL-66 electrication tool is a superior tool for making electrical
connections (Bonus: includes a 1.5mm Drill bit)
E-247 Jack and Plug
make a robust connection to dollhouses with
foundations (Bonus: a Connection Wire is soldered to the jack)
Layout Stick for marking wiring runs in 1” scale dollhouses
CK-1023 Small Hollow Eyelets (80) make electrical connections
CK-1023-2
Large Hollow Eyelets (40) to make a receptacle for
large-sized plugs that come pre-wired on most lamps
CK-204 Testlight
CK-1000 Tapewire (60 feet)
The Bigger Best1 Dollhouse Wiring Set contains all
the supplies you need for wiring a 1” scale full sized
dollhouse; extend this set for even larger houses or more
intensive wiring.
Other Supplies you may wish to purchase:
Extra Tapewire and Small Hollow Eyelets to extend
the wiring (check transformer capacity)
CK-1023-6 Spring Loaded Eyelets for ceiling and
sconce xtures (included in many xtures)
Fixtures: There are a great many lighting components
available for your house.
ExtraBrite™LED Striplights and Light-It-Up™ xtures
give lots of light with very little heat for area lighting and
special uses.
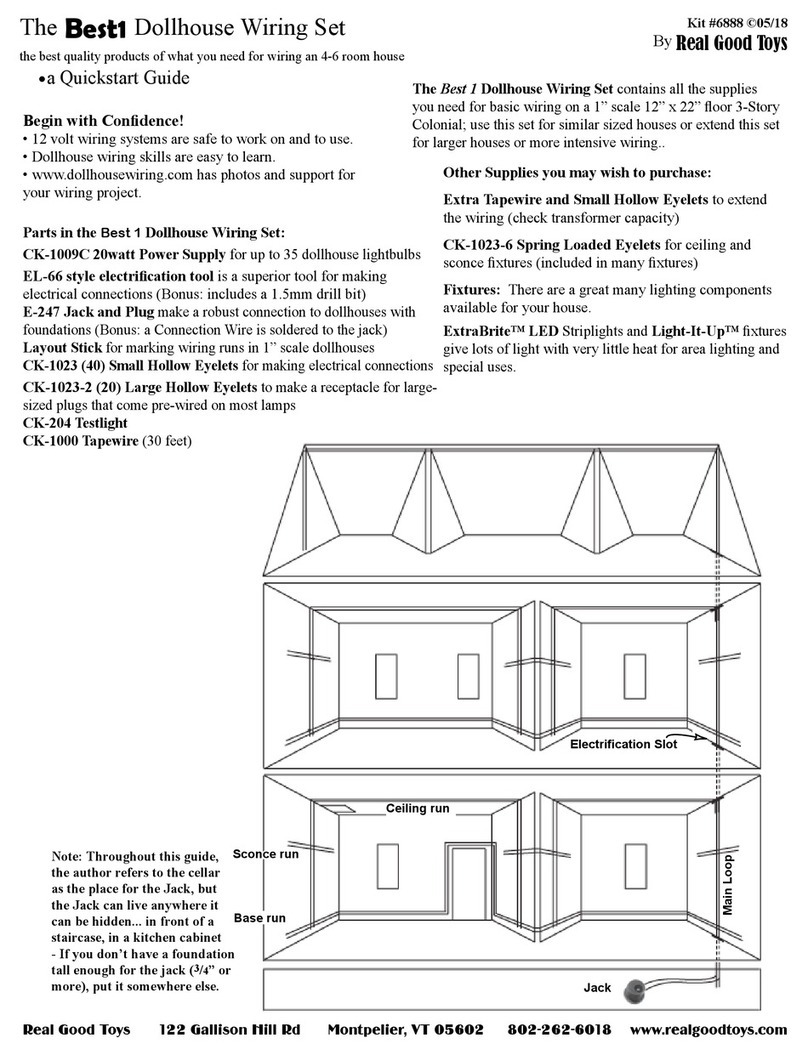
Note: Throughout this guide,
the author refers to the cellar
as the place for the Jack, but
the Jack can live anywhere it
can be hidden... in front of a
staircase, in a kitchen cabinet
- If you don’t have a foundation
tall enough for the jack (3/4” or
more), put it somewhere else.
The most robust wiring has a single loop of tapewire all the
way from the cellar to the ceiling of the attic, then back down
the other side into the Cellar again. This “Main Loop” gives
reliability to the dollhouse by being in one piece (the fewer
connections, the better) and by being connected to the jack on
both ends.
Electrication Slots make running tapewire from oor-
to-oor easier. If your kit has electrication slots in all the
oors, that’s good! If you need slots (or more slots), you can
cut the oor with many small cuts of a sharp utility knife to
give a slot 3/4” wide by 1/32” exposed (add that to the groove
depth for houses with grooves for the oors).
www.DollhouseWiring.com/ESlot.html
Dollhouse Wiring Quickstart Guide Page 2
Ceiling Loops that connect to the Main Loop on both ends
give extra security. It is easiest to lay the Ceiling Loop before
installing the Dividers, and if Dividers are already in, a slot at
the top of the Divider makes the Ceiling Loop simple. Here is
a third option that is also reliable (the Ceiling Loop connects
to the Base Run on both ends):
Cutting an Electrication Slot before building
The House is already built? That’s OK. Run the Vertical
Feed up the stairwell (that’s been the “go-to” solution for
years) or cut slots after construction with an Oscillating Multi-
Tool (my new favorite tool!).
Pro Note: When I build and wire a house for a customer, I
don’t often know where they will want xtures, so I prepare
for all the options I can. In addition, this house will travel to
far away places and I must do everything possible to make it
trouble free for many, many years. The diagram on the rst
page is standard wiring practice for tapewire, but this diagram
shows what I do... every run is connected on both ends and the
Main Loop goes through electrication slots all the way into the
cellar. This does take a bit more effort and a few more feet of
tapewire, but it eliminates questions about where things should
go (they go everywhere), and when the house leaves my care, I
don’t have to worry a bit about the durability of the wiring.
Tools, Techniques, and Planning
24 gauge speaker wire
Ceiling Loop
Base Run
DollhouseWiring.com/Multitool.html
Dollhouse Wiring Quickstart Guide
Precautions
1. Tape Wire is to be used for “low voltage” application with
12 volt components only.
2. Miniature lights are FRAGILE... be careful.
3. Always disconnect the transformer when changing the elec-
trical system in any way or moving the house.
4. Test all lamps prior to installing them into the system.
5. DO NOT cut wallpaper or moldings in place in the house
- you WILL cut the tapewire!
• Measurements are for 1” scale houses. Make accommoda-
tions when using this set for other scales.
The 3/4” dimension
of the Layout Stick
Remove any staircases and interior doors from your dollhouse
Quickstart Guide Table of Contents:
Marking the Tapewire Runs
Lay the Tapewire Runs
Install the Jack and Plug
Connections, Testing, Troubleshooting
Fixtures: Outlets, Sconces, and Chandeliers
www.dollhousewiring.com
The Layout Diagram: Tapewire allows you to
put wiring in standard locations for future lighting
needs. Typically, a wired dollhouse has a baserun
in every room, a ceiling run across each ceiling, and
sconce runs in primary locations. Your wiring plan
may be different. When you are done wiring your
dollhouse, tape the plan into the cellar for future
reference.
Page 3
A “Wrinkle” lets you control the
tapewire direction when you go
around an angled corner. To make a
Wrinkle, lift a small bump of tapewire
with a rounded tool (like an opened
up paper clip) right at the corner, then
lay the tapewire in its new direction.
Once both runs of tapewire are cor-
rect, press the Wrinkle into the corner
to hide it.
Folded corner: About 3/4” before the door, make a turn
upward. To do this, fold the tape, sticky side out, 90° in the
opposite direction from where you want to go - in this case,
the rst fold is down. Push on the tape with your nger
to make a 45°crease and then fold the tape onto itself in
the direction that you want to go - up the side of the door.
When you hit 3/4” over the top of the door, once again fold
the tape, sticky side out, in the opposite direction from
where you want to go. Press the tape to
form a crease and then fold the tape
onto itself making a right angle above
the door. You will do this 2 more times
for the tapewire around the front door;
then continue running the tape along
the pencil mark on the other side of the
door.
Re-directs are ways to change direction without making a
connection (remember: fewer connections = more reliable).
In the diagrams you see re-directs around the doors and win-
dows, and in the photos lower in this column you can see a
re-direct from one angled wall or roof to another.
A ZigZag is another kind
of folded corner
Wrinkle
The rst direction
The new direction
The Wrinkle
Mark for the Base Runs 3/4 above the oor on
every wall all the way around the dollhouse using
the 3/4 width of the Layout Stick.
First Fold:
(away from the new direction)
Adhesive
side is up
Second Fold:
(in the new direction)
New Direction
Do Not eyelet a folded corner!
DollhouseWiring.com/wrinkle.html
Page 4
the Ceiling Loop
The Main Loop
At least 1” overlap
copper-over-copper
blue-over-blue
Lay the Base Run in a single piece with no cuts or interrup-
tions just above the Baserun line all the way around the doll-
house. Go thru the dividers’ doors to get to the next rooms.
Get around the Front Door with folded corners to avoid
extra connections in the tapewire.
Lay the Main Loop using the e-slots or stair cutouts to get
from oor-to-oor. If you have an e-slot in the Base Floor,
run the Main Loop all the way into the cellar.
Lay the Sconce Runs just above the 51/2” sconce run mark.
Lay the Ceiling Loop following the Marks. The Ceiling
Loop will connect to the Main Loop or to the Baserun, up the
wall, across the ceiling, and back down the wall to the Base-
run again. The Ceiling Loop will connect the Sconce Runs
to the rest of the dollhouse wiring. Connect the Ceiling Loop
on both ends to make the dollhouse wiring connections more
trouble-free.
The Jack and Plug: Drill a 1/2” hole thru the foundation
(note, the Jack is sized for up to a 1/2” thick foundation. If
your foundation is thicker, create a pocket for the jack by
carving or drilling so that it can mount 3/8 - 1/2” ” from the
outside surface). The Jack must be close enough to the main
loop so the connection wire on the Jack can easily reach.
Remove the nut and glue the Jack into the hole. Let the glue dry.
Glue
Jack (take off the nut)
1/2” Drill
Mark for the Ceiling Run
The Main Loop goes thru
the E-Slot
Mark the Ceiling Loops using the 51/2” length of the Lay-
out Stick from the back edge of the oor. If your house has
electrication slots (“e-slot”) close to the middle of the oor
front-to-back, draw the Ceiling Loop to line up with the e-slot.
Ceiling
Wall
Mark for Sconce Runs
using the 51/2” length of the
Layout Stick from the oor.
Dollhouse Wiring Quickstart Guide
Folded - no eyelets
The Ceiling Loop is side-to-side, the Ceiling Run is front-to-back.
Lay a Ceiling Run front-to-back in the center of each room
or wherever your plan needs power for ceiling lights.
Dollhouse Wiring Quickstart Guide Page 5
Making Connections: Where the Main Loop and the Base
Run overlap, punch a hole in the tapewire as close to the
center of both copper leads as possible. If you pound with a
hammer, back up the wall with a weight to absorb the impact
so the glue joints won’t be stressed. A book-end, door-stop,
or other weight with a smooth surface (gentle on the wall) is
perfect.
Eyelets: Put an eyelet on the pin in the EL-66 tool,
push the eyelet and pin into the hole. Pound with a
hammer (with a backer) to set the head of the eyelet
ush.
Repeat: Set another eyelet where the blue overlaps
the blue. Making the hole rst is not strictly neces-
sary, but it helps many builders get the eyelet closer
to the center of both leads.
Eyelet copper-to-copper and blue-to-blue at every
connection, joining all the runs back to the Main
Loop.
EL-66 tool
copper-to-copper
blue-to-blue
Backer
The Jack’s Connection Wire:
Separate the wires and strip
about 1/4” of the insulation from the end of each wire. Punch a
hole in each lead of the Main Loop. Put the stripped wire ends
into the holes and pin them there with eyelets.
If the Main Loop does not come into the cellar, drill holes thru
the Base Floor tight against the wall directly under the end of the
Main Loop for the Connection Wire to reach the Main Loop..
Connection Wire and
Main Loop
In the cellar
... or if the Main Loop
doesn’t come into the cellar
Attach the Power Supply:
Prepare the Plug’s wire to attach to the
screws of the Power Supply... a little more wire exposed and shaped
to a hook makes the wires easier to hold under the screws. Loosen
the screws, wrap each wire under the washer, tighten the screws.
Test and troubleshoot: Plug the Power supply into the wall and the
plug into the jack.
Test every run at the end of the run... every baserun,
every sconce run, every ceiling run. If any run doesn’t light up the tester,
go back and test just before the connections to that run. If it lights the
tester before the connection but not after the connection, inspect the con-
nection carefully to see if one of the eyelets has missed. Poke the pin of
the EL-66 into the copper/copper or the blue/blue to try to make the tester
light up. When you nd the place that succeeds, put another eyelet in
right there.
Test light
Connect the runs
Power Supply
Plug’s wire
Plug’s wire
Connection Wire
Main Loop
Hammer
Fixtures of all types may be installed into the tapewire system
using a Ceiling adapter, a Ceiling Canopy adapter (recom-
mended for chandeliers!), or a Sconce adapter. The type of
xture to be mounted will dictate the type of adapter. When-
ever you are shopping for a xture, pay attention to how it is
mounted and what kind of bulb it uses. Always select xtures
that can be removed for bulb replacement and have replaceable
bulbs, and that list what kind of adapter they use (some come
with the appropriate adapter). Although one adapter may work
with more than one xture, there are no “standard adapters”...
make sure you know which one will work with your xture.
Outlets: Floor and table lamps can be installed in any room.
You must rst install an outlet into your tapewire. This will
allow you to insert a plug from the lamp to be illuminated.
After you have nished wallpapering your dollhouse, arrange
your furniture in your favorite position. Determine where you
will need light and nd your tapewire by using your tester.
Once you have found the proper placement, make outlets.
Dollhouse Wiring Quickstart Guide Page 6
Now you can add the cross dividers and attic partitions if you
left them out for access to the front of the house. They can be
wired and connected to the existing wire runs.
Your dollhouse is electried! Add additional tapewire if
needed and connect each new length with eyelets. Remember
to always test a new run of tapewire as it is installed.
This is a perfect time to complete your record of the tapewire
runs. Put notes and measurements into your diagram for
future reference. Photos are also helpful. Once wallpaper is
installed, it won’t be as easy to see the exact position of the
tapewire (although you can still nd it by poking your tester
through the wallpaper).
Visit www.dollhousewiring.com for more information
on dollhouse wiring, for house-specic tips, or to nd
wiring diagrams for a variety of houses
Coachlamps or wall lights on the porch are wired thru the
wall before wallpaper or other interior nishing. See www.
dollhousewiring.com for photos of installing coach lamps.
Pinch the insulation part way off,
then twist the strands using the
insulation as a handle
Install xtures using an adaptor so the xture
will be removable when changing bulbs.
Shorten the chain
to the right length
for your room
Ceiling Canopy
“Large plug” recepticle using “Large Hollow Eyelets”
*Drilling with the EL-66: The big handle on the EL-66
can overpower a drillbit and break it. Use your ngertips,
spin the drill a lot and don’t push very hard, and pull the
drill out of the hole often to clear off the sawdust.
Find the Tapewire Mark it with the
prongs of a plug
Drill it with the
1.5mm drillbit
Large Eyelets
Sconce Adapter
Spring Loaded Eyelets
Finishing: Wallpaper will cover the tapewire with no other
preparation. For the ceiling or painted walls, apply ‘liner pa-
per’ (a paint store product) before painting.The tapewire will
be ‘ndable’ but not obvious in the decorated house.
Note: Liner Paper
or Wallpaper covers
the Tapewire before
installing Fixtures

This manual suits for next models

1

Other Real Good Toys Toy manuals

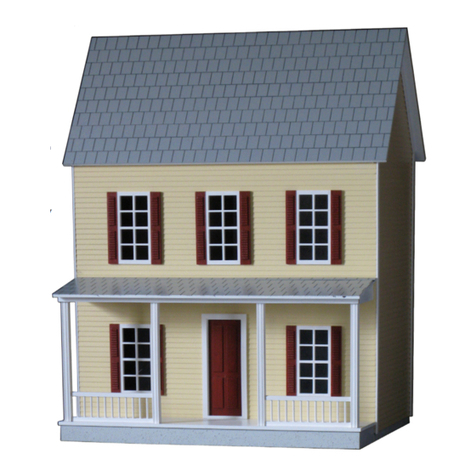
Real Good Toys Special Edition Vermont Farmhouse, Jr. User manual

Real Good Toys

Real Good Toys Special Edition Vermont Farmhouse, Jr. User manual

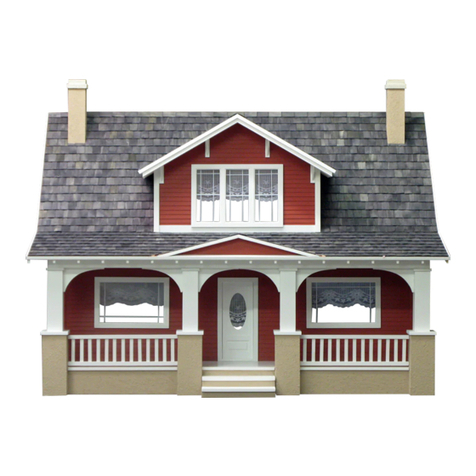
Real Good Toys Classic Bungalow User manual

Real Good Toys

Real Good Toys Classic Bungalow User manual

Real Good Toys Victoria's Farmhouse User manual

Real Good Toys

Real Good Toys Victoria's Farmhouse User manual

Real Good Toys CAPE DOLLHOUSE KIT 1287 User manual

Real Good Toys

Real Good Toys CAPE DOLLHOUSE KIT 1287 User manual

Real Good Toys QuickBuild Firehouse User manual

Real Good Toys

Real Good Toys QuickBuild Firehouse User manual

Real Good Toys Best1 User manual

Real Good Toys

Real Good Toys Best1 User manual

Real Good Toys Special Edition Alison, Jr. User manual

Real Good Toys

Real Good Toys Special Edition Alison, Jr. User manual

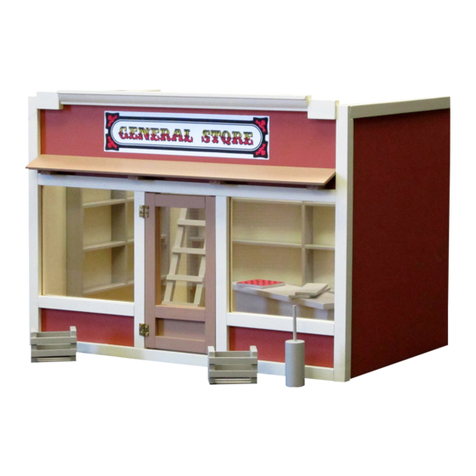
Real Good Toys General Store User manual

Real Good Toys

Real Good Toys General Store User manual

Real Good Toys Kit #71K User manual

Real Good Toys

Real Good Toys Kit #71K User manual
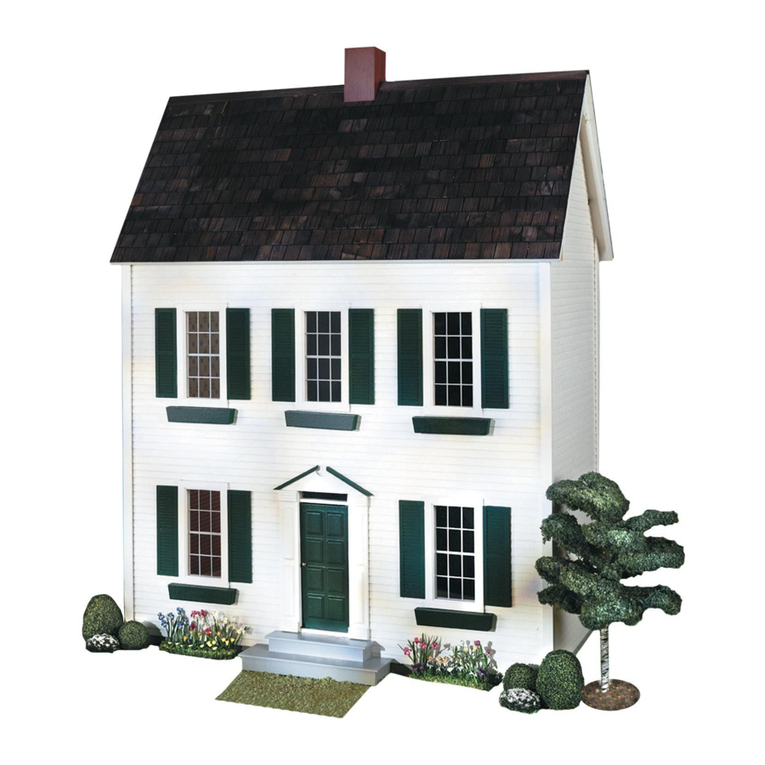
Real Good Toys J-550 User manual

Real Good Toys

Real Good Toys J-550 User manual

Real Good Toys QuickBuild User manual

Real Good Toys

Real Good Toys QuickBuild User manual
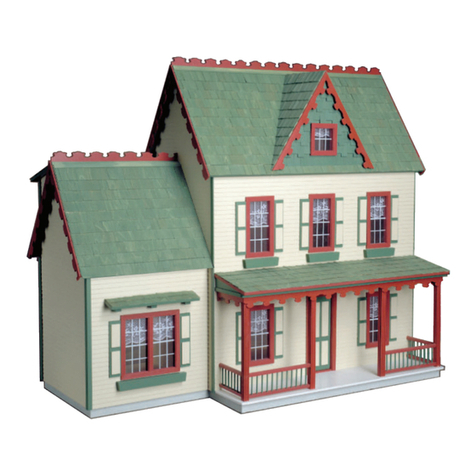
Real Good Toys 67100 User manual

Real Good Toys

Real Good Toys 67100 User manual

Real Good Toys Special Edition Princess Anne User manual

Real Good Toys

Real Good Toys Special Edition Princess Anne User manual

Real Good Toys Beachside Bungalow User manual

Real Good Toys

Real Good Toys Beachside Bungalow User manual

Real Good Toys Classic Bungalow User manual

Real Good Toys

Real Good Toys Classic Bungalow User manual

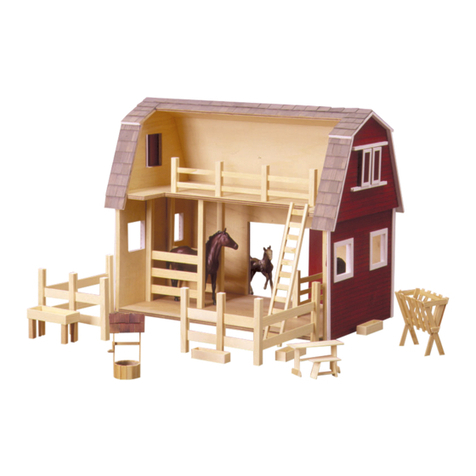
Real Good Toys Ruff'n Rustic All American Barn User manual

Real Good Toys

Real Good Toys Ruff'n Rustic All American Barn User manual

Real Good Toys Junior Conservatory User manual

Real Good Toys

Real Good Toys Junior Conservatory User manual

Real Good Toys Colonial Addition User manual

Real Good Toys

Real Good Toys Colonial Addition User manual

Real Good Toys My Dreamhouse User manual

Real Good Toys

Real Good Toys My Dreamhouse User manual

Real Good Toys the New Haven DH 77K User manual

Real Good Toys

Real Good Toys the New Haven DH 77K User manual

Real Good Toys New England Lighthouse User manual

Real Good Toys

Real Good Toys New England Lighthouse User manual

Real Good Toys Victorian Painted Lady User manual

Real Good Toys

Real Good Toys Victorian Painted Lady User manual

Real Good Toys Keeper's House User manual
Real Good Toys

Real Good Toys Keeper's House User manual

Popular Toy manuals by other brands

Dancing Wings Hobby E32 instruction manual

Dancing Wings Hobby

Dancing Wings Hobby E32 instruction manual

Faller 130166 manual

Faller

Faller 130166 manual

LEGO SPEED CHAMPIONS 76876 Building instructions

LEGO

LEGO SPEED CHAMPIONS 76876 Building instructions

marklin 72884 Note

marklin

marklin 72884 Note

Faller 232257 manual

Faller

Faller 232257 manual

Kiddypix Blizz operating instructions

Kiddypix

Kiddypix Blizz operating instructions

Eduard 32 301 instructions

Eduard

Eduard 32 301 instructions

Mega Bloks Collector Series instructions

Mega Bloks

Mega Bloks Collector Series instructions

Eduard M1133 MEV quick start guide

Eduard

Eduard M1133 MEV quick start guide

Dancing Wings Hobby SCG30 instruction manual

Dancing Wings Hobby

Dancing Wings Hobby SCG30 instruction manual

Magformers R/C CRUISER manual

Magformers

Magformers R/C CRUISER manual

GRAUPNER Vector Hottrigger 840 manual

GRAUPNER

GRAUPNER Vector Hottrigger 840 manual

Estes Alpha 1225 instructions

Estes

Estes Alpha 1225 instructions

Diamond Dust CW Kit Assembly manual

Diamond Dust

Diamond Dust CW Kit Assembly manual

Shuang ma 9101 instruction manual

Shuang ma

Shuang ma 9101 instruction manual

Super Flying Model SE5a Instruction

Super Flying Model

Super Flying Model SE5a Instruction

LEGO MINECRAFT 21121 Building instructions

LEGO

LEGO MINECRAFT 21121 Building instructions

Trix 23436 manual

Trix

Trix 23436 manual

manuals.online logo
manuals.online logoBrands
  • About & Mission
  • Contact us
  • Privacy Policy
  • Terms and Conditions

Copyright 2025 Manuals.Online. All Rights Reserved.