manuals.online logo
Brands
  1. Home
  2. •
  3. Brands
  4. •
  5. Madcow Rocketry
  6. •
  7. Toy
  8. •
  9. Madcow Rocketry Mini Dual Deploy Screech User manual

Madcow Rocketry Mini Dual Deploy Screech User manual

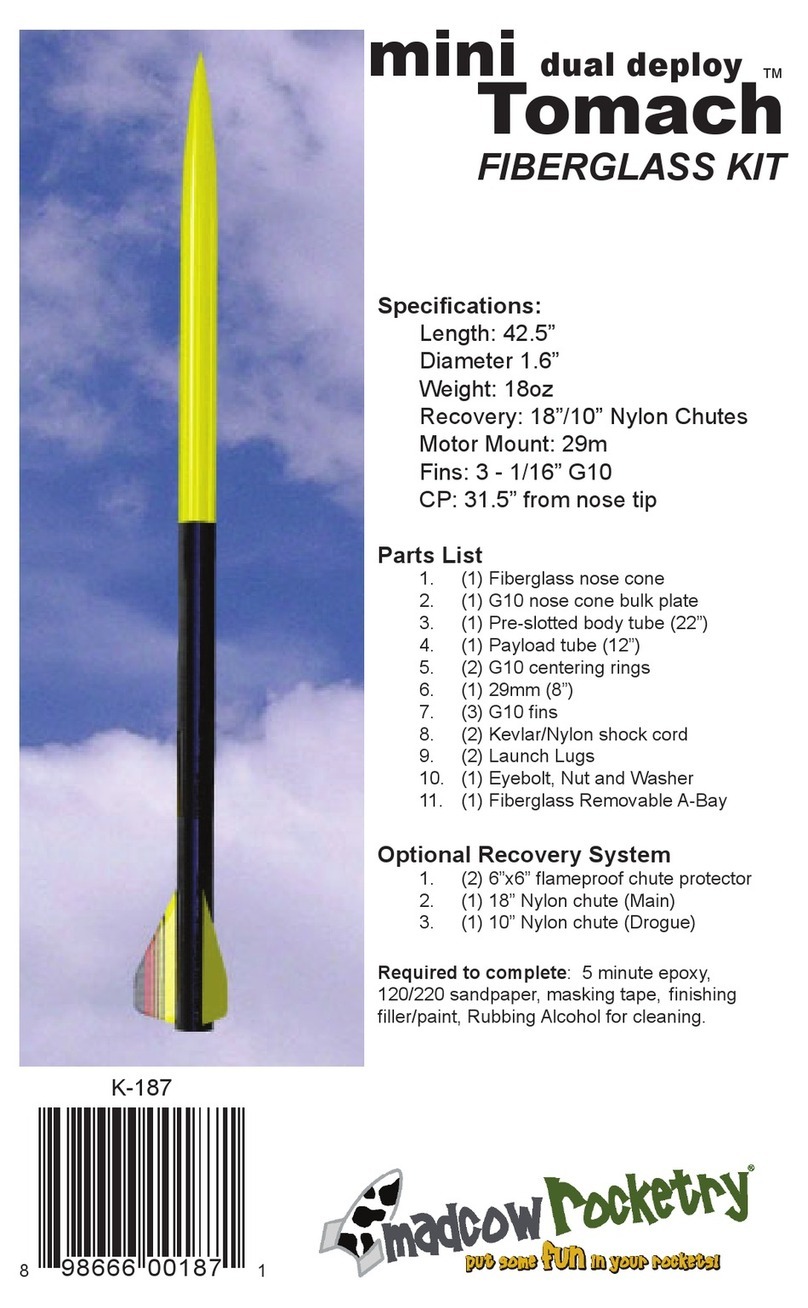
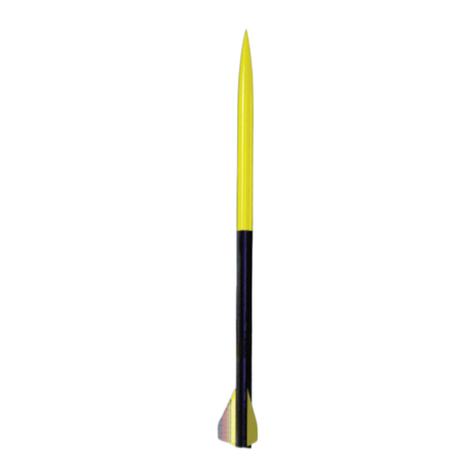
Specications:
Length: 42.5”
Diameter 1.6”
Weight: 18oz
Recovery: 18”/10” Nylon Chutes
Motor Mount: 29m
Fins: 3 - 1/16” G10
CP: 32.5” from nose tip
Parts List
1. (1) Fiberglass nose cone
2. (1) Fiberglass nose cone coupler
3. (1) G10 nose cone bulk plate
4. (1) Pre-slotted body tube (22”)
5. (1) Payload tube (12”)
6. (2) G10 centering rings
7. (1) 29mm (8”)
 8. (3)G10ns
9. (2) Kevlar/Nylon shock cord
10. (2) Launch Lugs
11. (1) Eyebolt, Nut and Washer
12. (1) Fiberglass Removable A-Bay
Optional Recovery System
 1. (2)6”x6”ameproofchuteprotector
2. (1) 18” Nylon chute (Main)
3. (1) 10” Nylon chute (Drogue)
Required to complete: 5 minute epoxy,
120/220sandpaper,maskingtape, nishing
ller/paint,RubbingAlcoholforcleaning.
K-140
898666 00140 6
®
FIBERGLASS KIT
™
mini dual deploy
Screech
2 ©2015 MadCow Rocketry™ FG Screech™ Assembly FG Screech™ Assembly ©2015 MadCow Rocketry™ 3
Please make sure you read all directions and understand how to assemble your model
beforeyoustartconstruction.Itisalsoagoodideatotestteachpartbeforeassembly.
Fiberglass parts still contain small amounts of mold release and other materials on the
surface that will inhibit adhesives and/or paint. It is important to clean each part prior
to assembly with a solution of 1 part rubbing alcohol, 3 parts water and a drop of dish
washing soap. IMPORTANT: do not sand any parts until after you have cleaned them -
youwillembedthematerialsyouaretryingtocleanmakingitdifculttoclean.
The G10 parts will have holding tabs left over from the CNC machine. These small tabs
will need to be sanded off before assembly. Before assembling any part with epoxy,
rough up the surface to be epoxied using course sandpaper. The scratches in the G10
surface will give the epoxy something to grab onto.
Step 6 – Balance and Nose Cone Assembly
Epoxy the shorter coupler into the nose cone. Insert the nose cone and coupler into
the forward body tube to make sure the coupler is aligned properly. BE CAREFUL not
to glue the nose cone to the body tube. Mount the remaining eyebolt using the nut and
washer in the nose cone bulkplate. Apply some epoxy to the nut so it will not come loose
later.Testtthebulkplateinthebaseofthenoseconeandsandifnecessary,butdon’t
glue it in yet.
At this point, pack the chute and assemble the rocket. Assemble your model and insert
thelargestmotoryouintendtoy(orsimulatetheweightwithasubstitute)andensure
thattheCGisatleast1bodydiameterinfrontoftheestimatedCPpointspeciedonthe
rstpage.TheCPpointismeasuredfromthetipofthenosecone.IftheCGisbehind
the desired point, add weight inside the nose cone by pouring lead shot into the nose
cone tip and adding some epoxy.
Whenyouaresatisiedwiththebalanceoftherocket,epoxythebulkplateintothebase
ofthenoseconeleavingatleasta1/4”liptoapplyallet.Next,applyalletofepoxy
around the bulkplate and nose cone shoulder joint.
Step 5 – Altimeter Bay Assembly
Refer to the Fiberglass Removable Altimeter Bay instructions and assemble.
Step 1 – Motor Mount Assembly
Step 2 – Insert Motor Tube Assembly into Body Tube
Testteachofthensintotheprecutnslots.BecauseG10thicknessvaries,youwill
need to sand the slot to the correct width. Wrap the shock chord into a small bundle
andstuffitinsidethemotortubeforthisnextstep.Testtthemotortubeassemblyinto
thebodytubetoensureasnugt.Sandthecenteringringsifnecessary.Whenyou
aresatisedwiththet,spreadsomeepoxyontheinsideofthebodytubeandslidethe
forward centering ring of the motor assembly into the body tube. Make sure you have
the motor assembly facing the right way! Spread some more epoxy on the inside
edge of the body tube before sliding the rear centering ring into the body tube. Continue
Testtcenteringringsoverthemotormounttubeandsandmotortubeifnecessary.Also
testtthecenteringringsinthebodytubeandsandifnecessary.Spreadsomeepoxyon
the outside of one end of the motor tube and slide the ring (without the notch) until there
is approximately 1/2” of motor tube exposed. Make sure you clean the motor tube of any
epoxysoasnottointerferewiththentangslater.Aftertheaftringisdry,makeamark
1/2” from the other end of the motor tube. Spread some epoxy on the motor tube and
slide the forward ring until it aligns with the mark. VERY IMPORTANT: make sure there
is not any epoxy on the motor tube that would interfere with the n tangs later on.
Fin
Fin Tang
1/2” Exposed
1/2” Exposed
Forward Ring Notch
Push cord in corner and
tack with epoxy
The shock cord in this kit consists
of a shorter section of Kevlar and a
longer section of nylon cording. The
two sections should be tied together
using a single overhand, ring bend
ordoublesherman’sknot.The
Kevlar section will be attached to
the motor mount and the nylon
section will be attached to the nose
cone.
Wrap the end of the Kevlar shock
cord around the forward end of the
motor tube and tack in place with
CA.Makesurethecordlaysat
enough so it will not interfere with
the body tube when you slide the
motor tube inside. Apply some
epoxy to the cord to hold it in place.
Make sure the cord is secure
and will not come loose later with
ejection forces that will pull on the
shock cord.
Ensureringsareclearofthenslots
sliding the assembly inside the body tube
until the aft centering rings are just clear
ofthenslots.It’sagoodideatotestt
anineachslotherebeforetheepoxy
sets. Hold the body tube with the motor
tube assembly down until the epoxy sets.
Make sure the weight of the motor tube
doesn’tcauseittoslideoutofalignment.
Step 3 – Fin Assembly
Using a door jam or small section of angle stock, pencil a line halfway between two of
thensthatextendsfromthefronttothebackofthebodytube.Thislinewillbeused
latertoalignthelaunchlugs.Testteachofthensintotheprecutnslots.Then
shouldseatrmlyagainstthemotortube-sandeachnorslotifnecessary.Whenyou
aresatisedwiththet,applysomeepoxytotheendofthentangthatwillcontactthe
motortube.Also,spreadathinlayerofepoxyoneachsideofthentang.Slidethen
intoplaceandcheckthealignment.Continuerecheckingthenalignmentuntilyouare
suretheepoxyhasset.Cleananyexcessepoxyfromaroundthenjoint.Repeatfor
theremainingaftns.Next,applyepoxylletstobothsidesofeachnbyapplyinga
thinbeadofepoxyatthen-bodytubejoing.Carefullysmooththeepoxylletswithyour
ngerbeforetheepoxysets.Alloweachllettosetbeforerotatingtheairframeforthe
nextllet.
Step 4 – Launch Lug
Mark the CP point along the launch lug line you made in the previous step. Make sure
you measure the CP point from the tip of the nose cone and NOT the end of the body
tube. Apply a small amount of epoxy on the launch lug line about ¾” long on the CP
mark. Press one of the launch lugs into the epoxy and ensure that it is aligned with the
launch lug line previously drawn on the body tube. You can site down the tube and look
through the launch lug to make sure it is straight. Similarly epoxy the second launch
lugabout2”fromtheaftendofthebodytube(alignedwiththeaftendofthens).Site
down both launch lugs and make sure they are both aligned. If you have a ¼” launch
rod, you can use this to ensure that both lugs are aligned properly.
IMPORTANT: always use positive motor retention to secure the motor in the motor
tube. Failure to use motor retention may allow the motor to be ejected during the
ejection charge instead of the parachute, making for a dangerous ballistic reentry.
IMPORTANT: always remember to check your balance point and ensure your CG
is forward of the recommended CG point.
IMPORTANT: Always follow the NAR safety code and remember that rockets
are not toys and can be dangerous if not prepared and used properly. If you
are a beginner, it is a good idea to y with a club or other group of experienced
rocketeers until you have gained some experience.
IMPORTANT: In no event shall Madcow Rocketry be liable for any direct, indirect,
punitive, incidental, special consequential damages whatsoever arising out of
or connected with the use or misuse of it’s products. The buyer assumes all
risk and liability resulting from ANY use of any and all products sold by Madcow
Rocketry. Your purchase and use of any Madcow Rocketry product constitutes
your agreement to and acceptance of these terms. If you do not agree to these
terms and conditions, you must return the unused product in resalable condition
for a refund or credit.
IMPORTANT: Please contact us via phone or email if you have any questions about
constructing or ying your model.
24338 El Toro Rd #E-134
Laguna Woods, CA 92637
949.547.8847
www.madcowrocketry.com
©2006 MadCow Rocketry™
®
Step 6 – Flying Your Model
Attachtheendoftheshockcordfromthencantotheafteyeboltofthealtimeterbay.
Also attach a second shock cord from the forward eye bolt of the altimeter bay and the
nose cone eyebolt. Attach your parachutes and chute protectors to the approriate place.
When packing your chute, wrap the chute protector around the chute with the opening in
the chute protector facing forward. Always make sure your chute is well protected as the
hot ejection motor gasses will melt the nylon chute.

Other Madcow Rocketry Toy manuals

Madcow Rocketry mini Squat User manual

Madcow Rocketry

Madcow Rocketry mini Squat User manual

Madcow Rocketry Discovery User manual

Madcow Rocketry

Madcow Rocketry Discovery User manual

Madcow Rocketry AGM 33 PIKE User manual

Madcow Rocketry

Madcow Rocketry AGM 33 PIKE User manual

Madcow Rocketry AGM-33 Pike User manual

Madcow Rocketry

Madcow Rocketry AGM-33 Pike User manual

Madcow Rocketry Momba K-100 User manual

Madcow Rocketry

Madcow Rocketry Momba K-100 User manual

Madcow Rocketry SCREECH FIBERGLASS KIT User manual

Madcow Rocketry

Madcow Rocketry SCREECH FIBERGLASS KIT User manual

Madcow Rocketry Patriot User manual

Madcow Rocketry

Madcow Rocketry Patriot User manual

Madcow Rocketry 'lil Squat User manual

Madcow Rocketry

Madcow Rocketry 'lil Squat User manual

Madcow Rocketry PIRANHA User manual

Madcow Rocketry

Madcow Rocketry PIRANHA User manual

Madcow Rocketry Frenzy User manual

Madcow Rocketry

Madcow Rocketry Frenzy User manual

Madcow Rocketry MOZZIE User manual

Madcow Rocketry

Madcow Rocketry MOZZIE User manual

Madcow Rocketry mini dual deploy DX3 User manual

Madcow Rocketry

Madcow Rocketry mini dual deploy DX3 User manual

Madcow Rocketry Mantis User manual

Madcow Rocketry

Madcow Rocketry Mantis User manual

Madcow Rocketry FG Mini BB2 User manual

Madcow Rocketry

Madcow Rocketry FG Mini BB2 User manual

Madcow Rocketry mini Black Brant II User manual

Madcow Rocketry

Madcow Rocketry mini Black Brant II User manual

Madcow Rocketry mini DX3 User manual

Madcow Rocketry

Madcow Rocketry mini DX3 User manual

Madcow Rocketry mini Tomach User manual

Madcow Rocketry

Madcow Rocketry mini Tomach User manual

Madcow Rocketry Squat User manual

Madcow Rocketry

Madcow Rocketry Squat User manual

Madcow Rocketry mini Aerobee Hi User manual

Madcow Rocketry

Madcow Rocketry mini Aerobee Hi User manual

Madcow Rocketry Batray User manual

Madcow Rocketry

Madcow Rocketry Batray User manual

Madcow Rocketry Martian Transport User manual

Madcow Rocketry

Madcow Rocketry Martian Transport User manual

Madcow Rocketry ARCAS HV User manual

Madcow Rocketry

Madcow Rocketry ARCAS HV User manual

Madcow Rocketry Tomach FIBERGLASS KIT User manual

Madcow Rocketry

Madcow Rocketry Tomach FIBERGLASS KIT User manual

Madcow Rocketry mini Frenzy User manual

Madcow Rocketry

Madcow Rocketry mini Frenzy User manual

Popular Toy manuals by other brands

LeapFrog On-the-Go Story Pal Parents' guide

LeapFrog

LeapFrog On-the-Go Story Pal Parents' guide

Viessmann 1537 Operation manual

Viessmann

Viessmann 1537 Operation manual

RTS 1S1A MILANO HAIRPIN PAVILION Assembly instructions

RTS

RTS 1S1A MILANO HAIRPIN PAVILION Assembly instructions

Fisher-Price 72819 instructions

Fisher-Price

Fisher-Price 72819 instructions

REVELL Shelter & Ground Plate Assembly manual

REVELL

REVELL Shelter & Ground Plate Assembly manual

LEGO 44000 instructions

LEGO

LEGO 44000 instructions

HOBBY EXPRESS Micro-Telemaster Kit Assembly instructions

HOBBY EXPRESS

HOBBY EXPRESS Micro-Telemaster Kit Assembly instructions

Black Horse Model Sputnik Instruction manual book

Black Horse Model

Black Horse Model Sputnik Instruction manual book

Pichler KILLER HAI Instruction manual book

Pichler

Pichler KILLER HAI Instruction manual book

THUNDER TIGER MD530 Assembly & instruction manual

THUNDER TIGER

THUNDER TIGER MD530 Assembly & instruction manual

Phoenix Model strega instruction manual

Phoenix Model

Phoenix Model strega instruction manual

The Wings Maker SkyNova instruction manual

The Wings Maker

The Wings Maker SkyNova instruction manual

Krick Ro-marin Katja Building instructions

Krick

Krick Ro-marin Katja Building instructions

Kettler UNISEX instruction manual

Kettler

Kettler UNISEX instruction manual

PARKZONE PKZ1950 instruction manual

PARKZONE

PARKZONE PKZ1950 instruction manual

Mattel Mega Bloks Hot Wheels Rodger Dodger manual

Mattel

Mattel Mega Bloks Hot Wheels Rodger Dodger manual

SPIRIT DESIGN SDLoco3 2 Series Assembly instructions

SPIRIT DESIGN

SPIRIT DESIGN SDLoco3 2 Series Assembly instructions

TP TP609 Instructions for assembly, maintenance and safe use

TP

TP TP609 Instructions for assembly, maintenance and safe use

manuals.online logo
manuals.online logoBrands
  • About & Mission
  • Contact us
  • Privacy Policy
  • Terms and Conditions

Copyright 2025 Manuals.Online. All Rights Reserved.