manuals.online logo
Brands
  1. Home
  2. •
  3. Brands
  4. •
  5. Red Arrow
  6. •
  7. Floodlight
  8. •
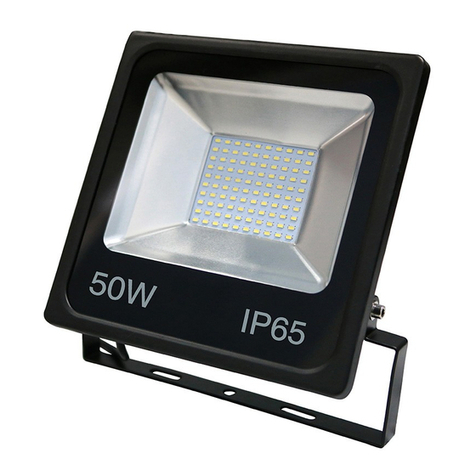
  9. Red Arrow CMT50Y User manual

Red Arrow CMT50Y User manual

PAGE 2 (TWO - INSIDE DPS)
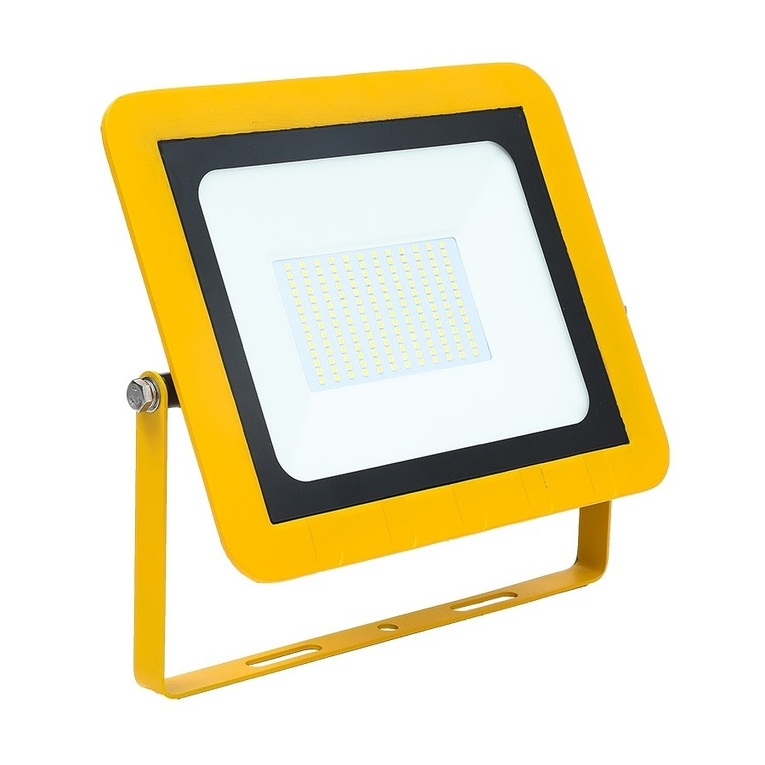
Comet Site Slim Floodlights
Product Codes: CMT50Y, CMT100Y, CMT150Y, CMT200Y
Box Contents -
1 x Comet Site Floodlight and mounting bracket
Dimensions:
CMT50Y: L: 216 x W: 212 x D: 32mm. Weight: 0.846kg. Max Projected Area: 0.0284m
CMT100Y: L: 251 x W: 290 x D: 37mm. Weight: 1.445kg. Max Projected Area: 0.0459m
CMT150Y: L: 311 x W: 348 x D: 40mm. Weight: 2.12kg. Max Projected Area: 0.0683m
CMT200Y: L: 374 x W: 414 x D: 41mm. Weight: 3.09kg. Max Projected Area: 0.1014m
Material: Body: Die-Cast Aluminium
Lens:Tempered Glass
Working
Temperature: Standard: -30°C - 45°C
Guarantee: 3 Years
Safety Warning
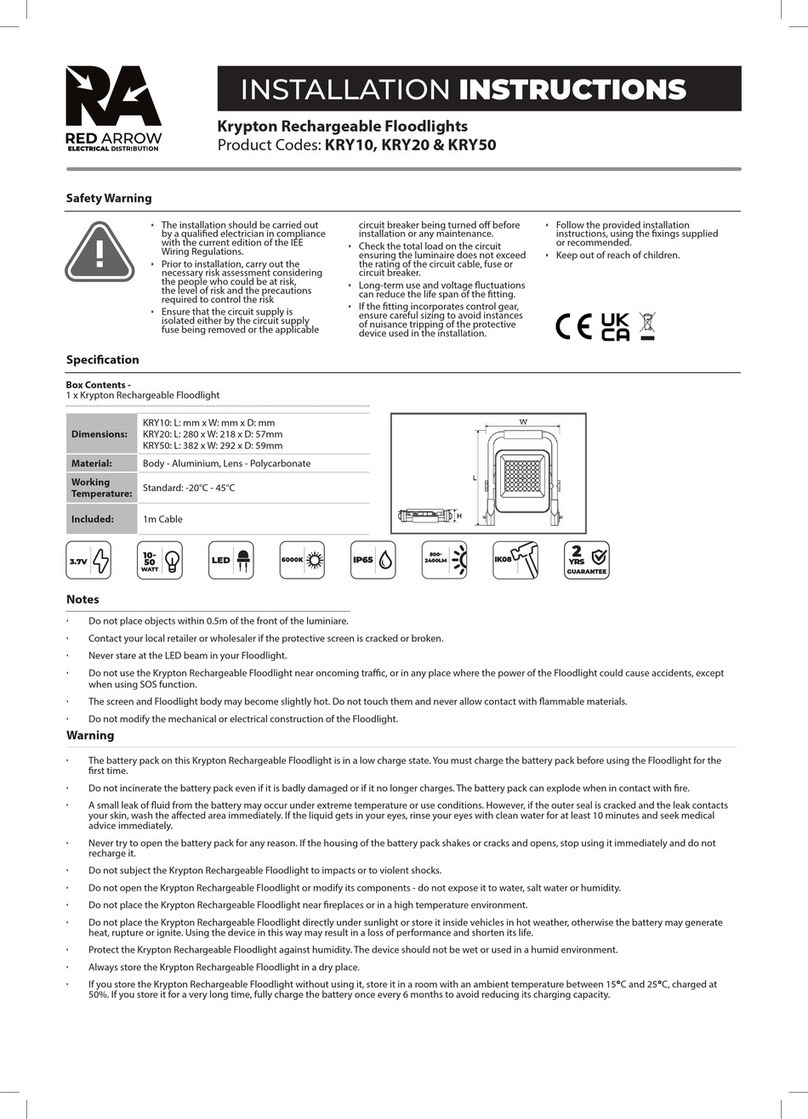
• The installation should be carried out
by a qualied electrician in compliance
with the current edition of the IEE
Wiring Regulations.
• Prior to installation, carry out the
necessary risk assessment considering
the people who could be at risk,
the level of risk and the precautions
required to control the risk
• Ensure that the circuit supply is
isolated either by the circuit supply
fuse being removed or the applicable
circuit breaker being turned o before
installation or any maintenance.
• Check the total load on the circuit
ensuring the luminaire does not exceed
the rating of the circuit cable, fuse or
circuit breaker.
• Long-term use and voltage uctuations
can reduce the life span of the tting.
• If the tting incorporates control gear,
ensure careful sizing to avoid instances
of nuisance tripping of the protective
device used in the installation.
• Follow the provided installation
instructions, using the xings supplied
or recommended.
• Keep out of reach of children.
INSTALLATION INSTRUCTIONS
PAGE 1 (FRONT PAGE)
Specication
110V
IP65
3
YRS
GUARANTEE
IK06
/IK07
50-200
WATT LED
4000K
Automatic Circuit Breaker Type: B6 B10 B13 B16 B20 C10 C13 C16 C20
Rated Current: 6A 10A 13A 16A 20A 10A 13A 16A 20A
Cable (mm): 1.5 1.5 1.5 2.5 2.5 1.5 1.5 2.5 2.5
CMT50Y 8 13 17 21 25 16 21 25 25
CMT100Y 4 6 8 10 13 8 10 13 16
CMT150Y 2 4 5 7 8 5 7 8 10
CMT200Y 2 3 4 5 6 4 5 6 8
MAXIMUM FITTINGS PER CIRCUIT
Note: This is a Class I Luminaire - Earth connection is required
This is an IP65 rated product. Do not break or loosen any seals as this will aect the IP rating and will render the warranty void.
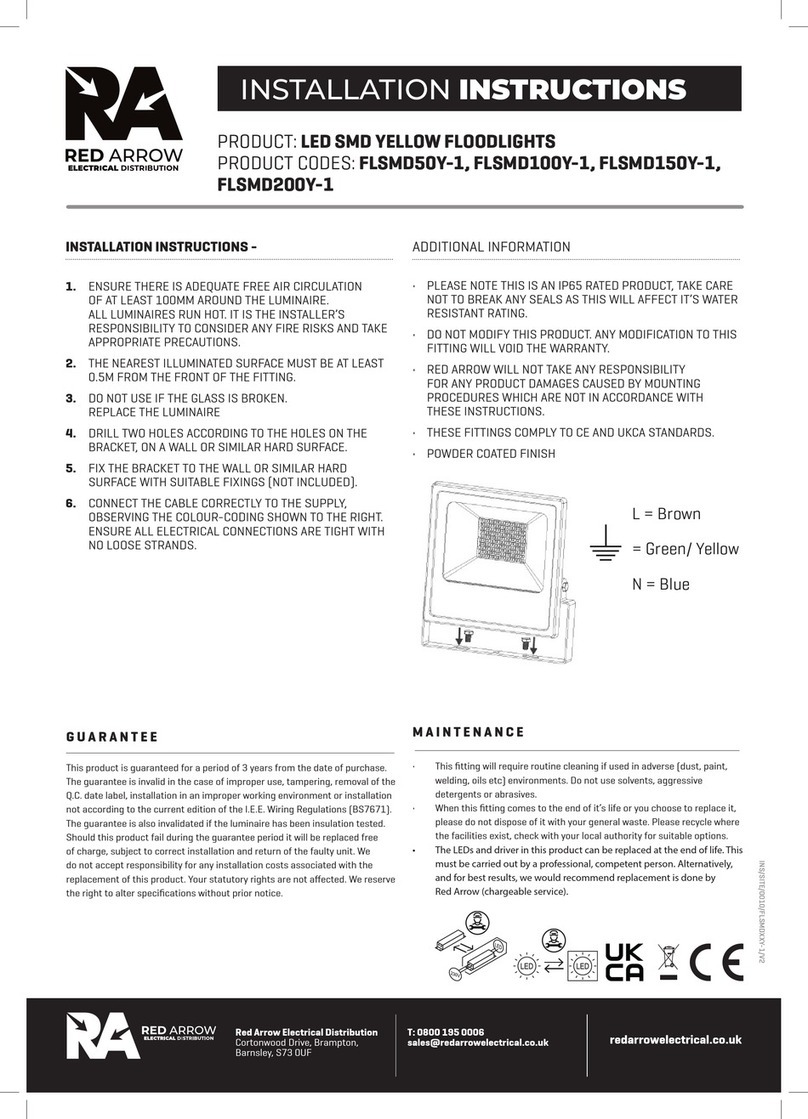
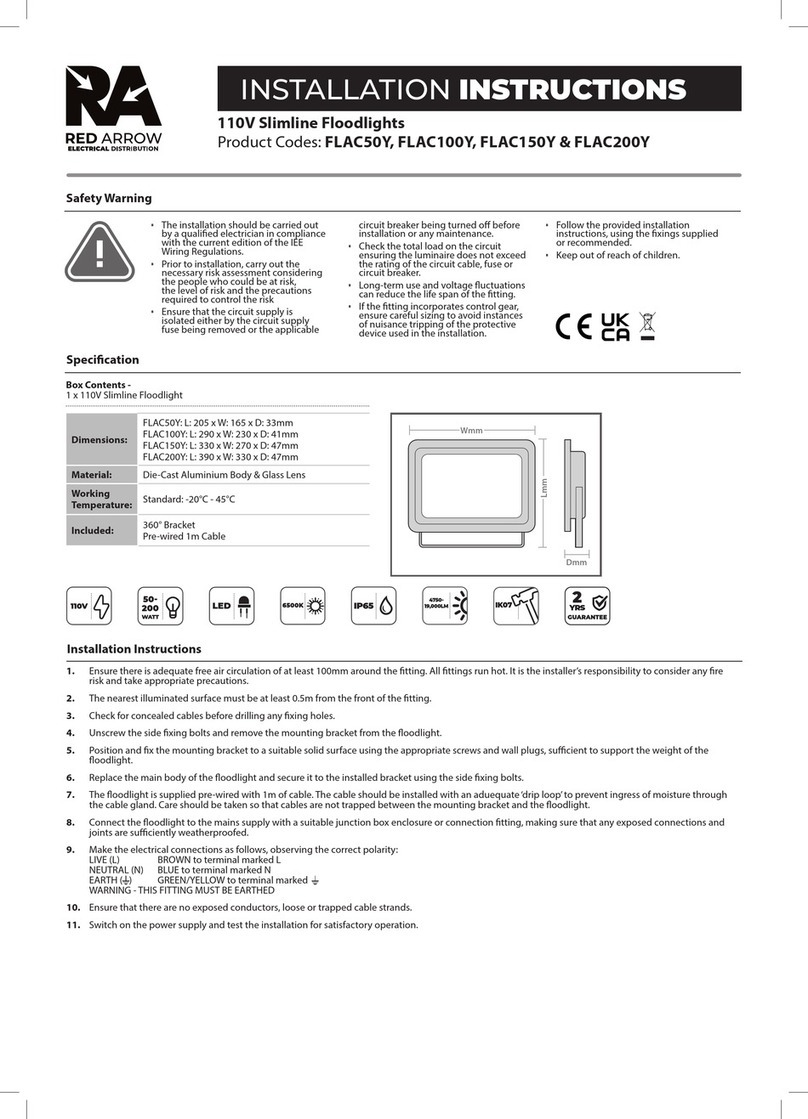
1. Isolate the mains supply before commencing the installation.
2. Ensure there is adequate free air circulation of at least 100mm around the luminaire. All luminaires run hot. It is the installer’s responsibility to consider any
re risks and take appropriate precautions.
3. The nearest illuminated surface must be at least 0.5m from the front of the tting.
4. Do not install or use if the glass is broken. Replace the luminaire. The pre-wired cable is not replaceable. If it is damaged, replace the luminare.
5. Select a suitable, solid mounting surface and xings that are capable of holding the weight of the luminaire. Maximum installation height is ≤ 5m.
Installation Instructions
5000-
20000LM
Lmm
Wmm
Dmm
PAGE 2 (TWO - INSIDE DPS)
PAGE 1 (FRONT PAGE)
• Red Arrow will not take any responsibility for any product damage caused by mounting procedures which are not in accordance with these instructions.
Additional Information
INS/SITE/0028/CMTY/V1
This product is guaranteed for a period of 3 years from the date of purchase. The guarantee is invalid in the case of improper use, tampering, removal of the Q.C.
date label, installation in an improper working environment or installation not according to the current edition of the I.E.E. Wiring Regulations (BS7671). The
guarantee is also invalidated if the luminaire has been insulation tested. Should this product fail during the guarantee period it will be replaced free of charge,
subject to correct installation and return of the faulty unit. We do not accept responsibility for any installation costs associated with the replacement of this
product. Your statutory rights are not aected. We reserve the right to alter specications without prior notice.
Guarantee
• This tting will require routine cleaning if used in adverse (dust, paint, welding, oils etc) environments. Do not use solvents, aggressive detergents or
abrasives.
• The light source & driver in this luminaire are not replaceable. When either reaches end of life, the whole luminaire must be replaced.
Maintenance
• The pre-wired supply cable on this luminaire is not replaceable. If the cable is damaged, the whole luminaire must be replaced
• When this tting comes to the end of it’s life or you choose to replace it, please do not dispose of it with your normal waste. Please recycle where the
facilities exist, check with your local authority for suitable options.
T: 0800 195 0006
sales@redarrowelectrical.co.uk
Red Arrow Electrical Ltd
Cortonwood Drive, Brampton,
Barnsley, S73 0UF redarrowelectrical.co.uk
6. Mark the xing positions using the bracket as a template or use the dimension‘d’ in the table shown. Drill holes to match suitable wall plugs/xings.
7. Fit the bracket to the wall using suitable xings. The base of the bracket is angled, permitting xing without removing the bracket from the luminaire.
8. Connect the cable correctly to the supply using a suitable IP rated connector or junction box (not supplied), observing the colour-coding shown below.
Ensure all electrical connections are tight with no loose strands:
Live = Brown
Earth = Green / Yellow
Neutral = Blue
9. To adjust the oodlight aiming angle, loosen the screws holding the bracket to the body, adjust and re-tighten the screws when the desired angle is
achieved. The tting can be mounted in a number of orientations. See illustration for guidance.
10. Restore the mains power supply and check for correct operation.
6
Wattage
7 8
9

This manual suits for next models

3

Other Red Arrow Floodlight manuals

Red Arrow FLAC50Y User manual

Red Arrow

Red Arrow FLAC50Y User manual

Red Arrow FLSMD50Y-1 User manual

Red Arrow

Red Arrow FLSMD50Y-1 User manual

Red Arrow FLSMD50BPC-1 User manual

Red Arrow

Red Arrow FLSMD50BPC-1 User manual

Red Arrow FLSMD50Y-1 User manual

Red Arrow

Red Arrow FLSMD50Y-1 User manual

Red Arrow FLAC50Y User manual

Red Arrow

Red Arrow FLAC50Y User manual

Red Arrow LEDFL30B-RGB User manual

Red Arrow

Red Arrow LEDFL30B-RGB User manual

Red Arrow KRY10 User manual

Red Arrow

Red Arrow KRY10 User manual

Red Arrow FLSMD100BPC-1 User manual

Red Arrow

Red Arrow FLSMD100BPC-1 User manual

Red Arrow FLSMDPC10BOPI User manual

Red Arrow

Red Arrow FLSMDPC10BOPI User manual

Popular Floodlight manuals by other brands

STEINEL LS 300 LED manual

STEINEL

STEINEL LS 300 LED manual

Volt VFLE-120V Series manual

Volt

Volt VFLE-120V Series manual

Chauvet BEAMSHOT user manual

Chauvet

Chauvet BEAMSHOT user manual

EUROPOLE YAKO SLIM DETECT quick start guide

EUROPOLE

EUROPOLE YAKO SLIM DETECT quick start guide

C-LITE C-STRIP-B-LIN Series installation instructions

C-LITE

C-LITE C-STRIP-B-LIN Series installation instructions

GREENLED SIRIUS FLOOD GEN2 Installation instruction

GREENLED

GREENLED SIRIUS FLOOD GEN2 Installation instruction

EuroLite DMF-5 user manual

EuroLite

EuroLite DMF-5 user manual

ADJ Revo Rave User instructions

ADJ

ADJ Revo Rave User instructions

RAB Lighting CANVAS78TW installation instructions

RAB Lighting

RAB Lighting CANVAS78TW installation instructions

Philips SmartBright BVP171 Mounting instructions

Philips

Philips SmartBright BVP171 Mounting instructions

Robus RLEDF20W-24 instruction manual

Robus

Robus RLEDF20W-24 instruction manual

LED Lighting STAGE PRO SPOT 650 user manual

LED Lighting

LED Lighting STAGE PRO SPOT 650 user manual

Emos ZS2312 manual

Emos

Emos ZS2312 manual

Malibu Boats CL509 instructions

Malibu Boats

Malibu Boats CL509 instructions

Scanic Astute LED 30 instruction manual

Scanic

Scanic Astute LED 30 instruction manual

ACME LITE PANEL 900 LP-900 WW BD30 user manual

ACME

ACME LITE PANEL 900 LP-900 WW BD30 user manual

Beamz BS1500H instruction manual

Beamz

Beamz BS1500H instruction manual

Raytec VARIO2 series installation guide

Raytec

Raytec VARIO2 series installation guide

manuals.online logo
manuals.online logoBrands
  • About & Mission
  • Contact us
  • Privacy Policy
  • Terms and Conditions

Copyright 2025 Manuals.Online. All Rights Reserved.