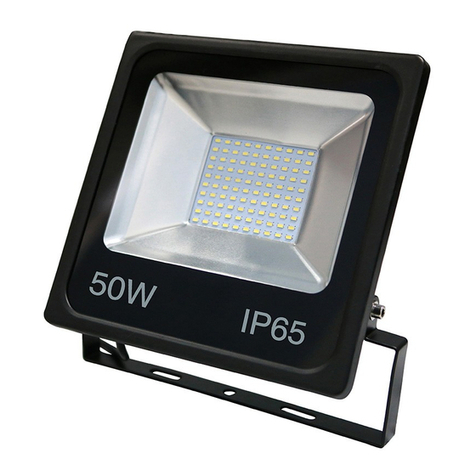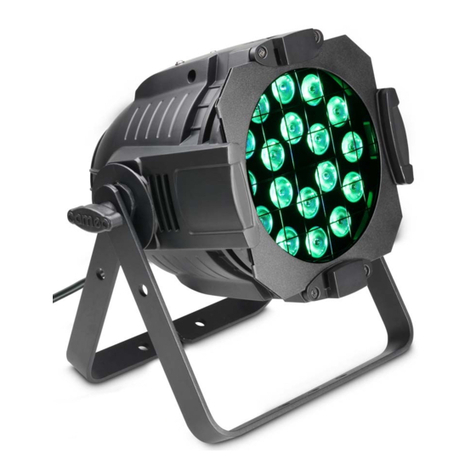
PRODUCT: SITE AC FLOODLIGHTS
PRODUCT CODES: FLAC50Y, FLAC100Y, FLAC150Y
INSTALLATION INSTRUCTIONS
Red Arrow Electrical Distribuon
Elsworth House, Herries Road South
Sheeld, S6 1QS
Tel: 0800 195 0006 Fax: 0870 195 0006
Email: sales@redarrowtrading.com Web: www.redarrowtrading.com
G U A R A N T E E
This product is guaranteed for a period of 2 years from the date of purchase.
The guarantee is invalid in the case of improper use, tampering, removal
of the Q.C. date label, installaon in an improper working environment
or installaon not according to the current edion of the I.E.E. Wiring
Regulaons (BS7671).
The guarantee is also invalidated if the luminaire has been insulaon tested.
Should this product fail during the guarantee period it will be replaced free
of charge, subject to correct installaon and return of the faulty unit. We
do not accept responsibility for any installaon costs associated with the
replacement of this product. Your statutory rights are not aected. We
reserve the right to alter specicaons without prior noce.
M A I N T E N A N C E
• In order to maintain good even light coverage, the front glass cov-
er should be cleaned regularly, with a clean cloth and water only.
• For opmum performance and heat dissipaon, the oodlight
housing should also be cleaned regularly, with a clean cloth and
water only.
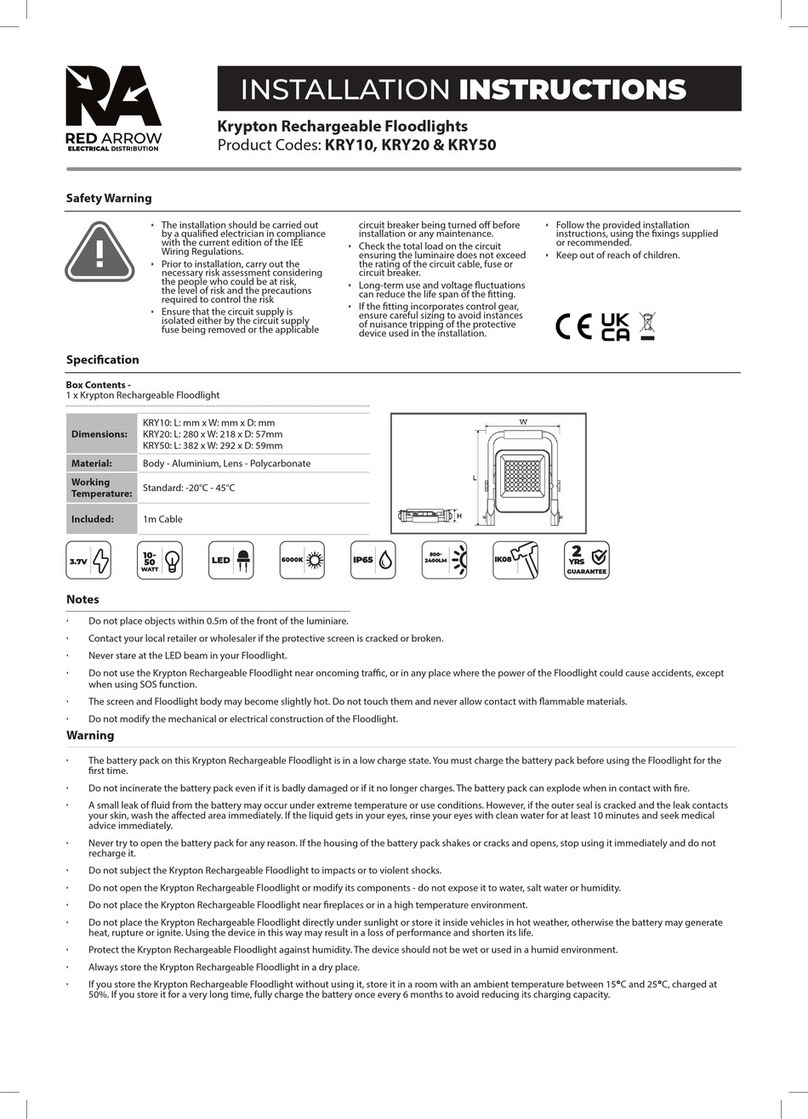
• When this ng comes to the end of it’s life or you choose to
replace it, please do not dispose of it with your normal household
waste. Please recycle where the facilies exist, check with your
local authority for suitable opons.
I N S T A L L A T I O N I N S T R U C T I O N S
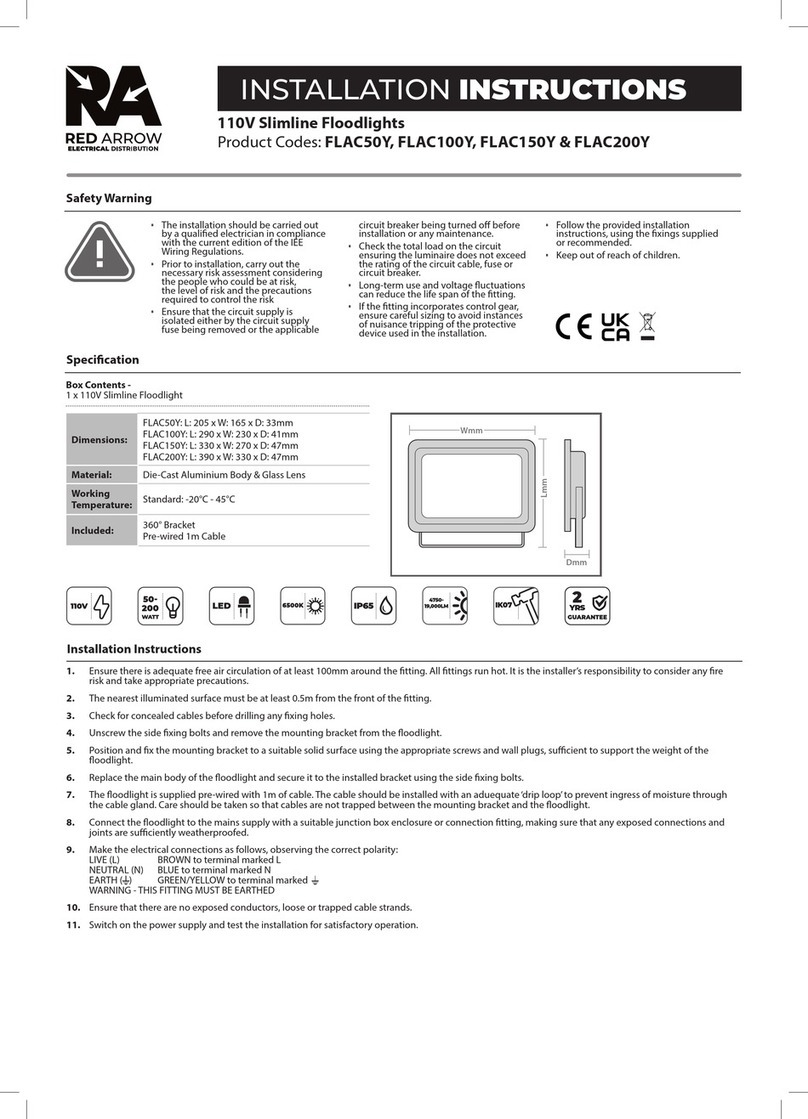
1. Ensure there is adequate free air circulaon of at least 100mm around the ng. All ngs run hot. It is the installer’s
responsibility to consider any re risk and take appropriate precauons.
2. The nearest illuminated surface must be at least 0.5m from the front of the ng.
3. Check for concealed cables before drilling any xing holes.
4. Unscrew the side xing bolts and remove the mounng bracket from the oodlight.
5. Posion and x the mounng bracket to a suitable solid surface using the appropriate screws and wall plugs, sucient to
support the weight of the oodlight.
6. Replace the main body of the oodlight and secure it to the installed bracket using the side xing bolts.
7. The oodlight is supplied pre-wired with 1m of cable. The cable should be installed with an adequate ‘Drip loop’ to
prevent ingress of moisture through the cable gland. Care should be taken so that cables are not trapped between the
mounng bracket and the oodlight.
8. Connect the oodlight to the mains supply with a suitable juncon box enclosure or connecon ng, making sure that any
exposed connecons and joints are suciently weatherproofed.
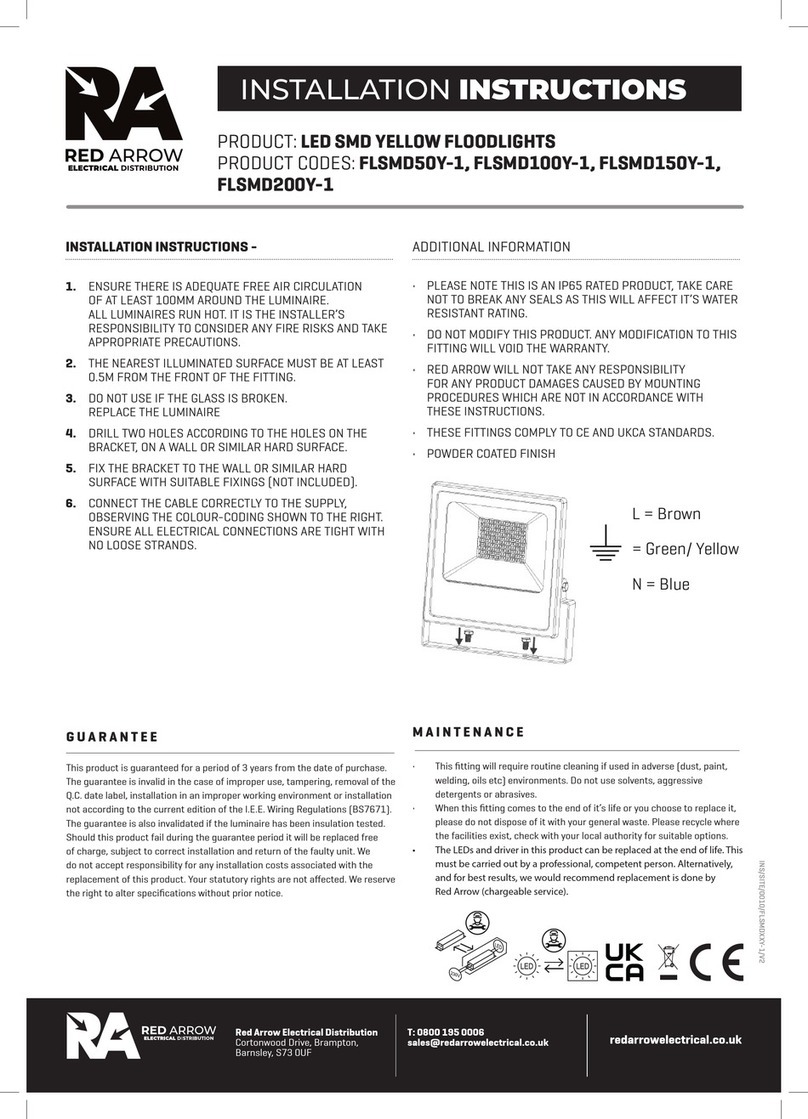
9. Make the electrical connecons as follows, observing the correct polarity:
LIVE (L) BROWN to terminal marked L
NEUTRAL (N) BLUE to terminal marked N
EARTH ( ) GREEN/YELLOW to terminal marked
WARNING - THIS FITTING MUST BE EARTHED
10. Ensure that there are no exposed conductors, loose or trapped cable strands.
11. Switch on the power supply and test the installaon for sasfactory operaon.


