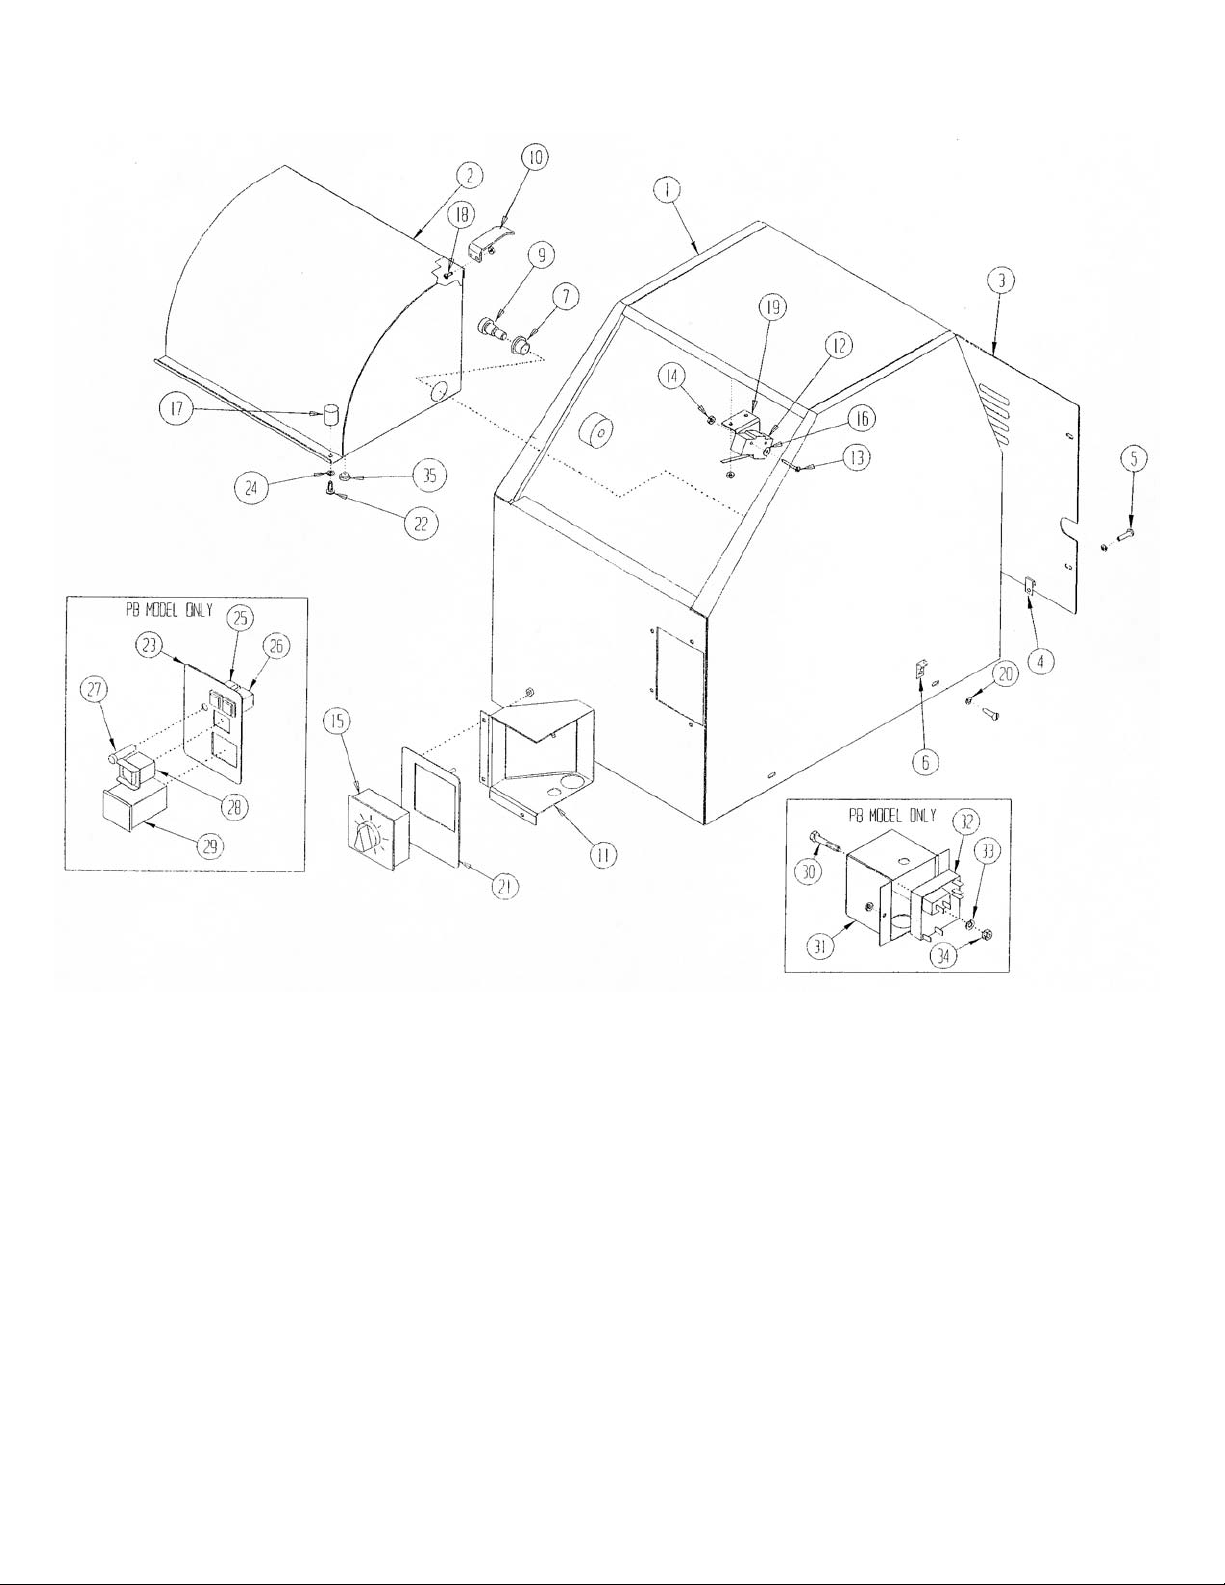
RED DEVIL Speed Demon 0-5300-00-SQ User manual

Speed Demon Paint Mixer
Model 0-5300-00-SQ(110V, 60 Hz)
Model 0-5300-PB-SQ (110V, 60 Hz)
Model 0-5300-E1-SQ (220V, 50Hz)
Owner’s Manual
1-7835-17
www.reddevilequipment.com
June 2006 Rev. I

Introduction
The RED DEVIL EQUIPMENT Speed DemonSQ Paint
Mixer accommodates standard 1-gallon round paint cans
and Square 1-gallon cans (6.5” x 6.5”); when used with
the 9-7842-03 Adapter, it also accommodates quart cans.
To take full advantage of your mixers capabilities, you
should understand its features and proper operation.
Before operating the machine, read this manual com-
pletely. In particular, study the section on “Mixing Proce-
dure” (page 5). Practice installing and removing a pail
before attempting to mix paint. Save the manual for
future reference.
Follow all safety instructions!
4-Minute
Mechanical Timer
Fig. 1: Speed Demon 1-Gallon Paint Mixer (Model 0-5300-00-SQ shown)
2
Can Holder
“Patent Pending”
Contents
Introduction . . . . . . . . . . . . . . . . . . . . . . . . . . . . . . . . . .2
Safety Precautions . . . . . . . . . . . . . . . . . . . . . . . . . . . .3
Installation . . . . . . . . . . . . . . . . . . . . . . . . . . . . . . . . . . .4
Operation . . . . . . . . . . . . . . . . . . . . . . . . . . . . . . . . . . .5
Maintenance . . . . . . . . . . . . . . . . . . . . . . . . . . . . . . . . .6
Troubleshooting . . . . . . . . . . . . . . . . . . . . . . . . . . . . . .6
Wiring Diagrams . . . . . . . . . . . . . . . . . . . . . . . . . . . . . .7-8
Replacement Parts Lists . . . . . . . . . . . . . . . . . . . . . . . .9
Warranty Terms and Conditions . . . . . . . . . . . . . . . . . .13

Safety Precautions
Always follow these safety precautions when operating
the RED DEVIL EQUIPMENT Speed Demon Paint Mixer:
INSTALLATION
1. Before operating the machine, read this Owner’s
Manual carefully. Learn the machine’s applications
and limitations.
2. Ground the machine properly. Be sure to follow
proper grounding and electrical procedures.
3. Avoid extension cords. To minimize the risk of
tripping, improper electrical grounding, or over-
loading, extension cords are not recommended.
4. Use the proper power source. Refer to the
machine data plate. If the machine data plate has
been removed or is unreadable, call the RED DEVIL
EQUIPMENT Customer Service Department (see
the back cover of this Owner’s Manual) before con-
necting the mixer to a power source.
5. Avoid dangerous environments. Do not use the
machine in a damp or wet environment. Keep the
work area well lit.
6. Keep the work area clean. Cluttered areas and
benches invite accidents. To prevent accidents, be
sure all electrical cords are out of the way.
OPERATION
1. Keep Customers away. All customers should be
kept away from the work area. The mixer should be
used only by properly trained workers.
MAINTENANCE
1. Keep the machine clean. Clean all surfaces with a
mixture of lukewarm water and mild detergent.
Avoid solvent based cleaners or thinners.
2. To avoid electric shock, don’t get the timer, control
panel, or wiring wet.
3. Disconnect the electric plug. When cleaning the
mixer or doing maintenance work, always unplug the
machine.
4. Service properly. Follow the maintenance proce-
dures outlined in this manual. If problems occur,
contact the RED DEVIL EQUIPMENT Customer
Service Department (see back cover of this Owner’s
Manual).
3
Above warning does not apply to explosion proof models

Installation
Safety Precautions
1. Before operating the machine, read this Owner’s
Manual carefully. Learn the machine’s applications
and limitations.
2. Ground the machine properly. Be sure to follow
proper grounding and electrical procedures
described below.
3. Avoid extension cords. To minimize the risk of
tripping, improper electrical grounding, or over-
loading, extension cords are not recommended.
4. Use the proper power source. Refer to the
machine data plate. If the machine data plate has
been removed or is unreadable, call the RED DEVIL
EQUIPMENT Customer Service Department (see
the back cover of this Owner’s Manual) before con-
necting the mixer to a power source.
5. Avoid dangerous environments. Do not use the
machine in a damp or wet environment. Keep the
work area well lighted.
6. Keep the work area clean. Cluttered areas and
benches invite accidents. To prevent accidents,
be sure all electrical cords are out of the way.
Assembly
The Speed DemonSQ Mixer is shipped fully-assembled.
Remove the long shipping bolts that extend out of the bot-
tom of the mixer into the pallet. Unpack the machine and
set it on a firm and level surface.
IMPORTANT: Before Plugging in the machine or
attempting to operate it, remove all packing material.
Plug machine into an appropriate grounded receptacle
(see below).
The machine MUST BE GROUNDED. If there should be
an electrical short circuit, grounding reduces the risk of
electric shock by providing an escape wire for the electric
current.
The machine’s power cord has a grounding wire with an
appropriate grounding plug. This plug must be inserted
into an electrical outlet that is properly installed and
grounded according to all local codes and ordinances.
If you must repair or replace the power cord or plug, do
not connect the grounding wire to either flat-blade termi-
nal. The wire with insulation having an outer surface that
is green (with or without yellow stripes) is the grounding
wire.
Check with a qualified electrician if you don’t completely
understand these grounding instructions, or if you are not
sure whether the machine is properly grounded. Do not
Electrical Connection and Grounding Requirements
modify the plug provided: if it won’t fit in the outlet, have
a proper outlet installed by a qualified electrician.
110V Units
Machines rated at 110V, 60 Hz are for use on a nominal
120V circuit. These machines have a grounding plug that
looks like the one shown in Fig. 2.
Extension Cords
Avoid using extension cords. If an extension cord is
unavoidable, consult a qualified electrician to determine
what type of extension cord will satisfy the grounding, cur-
rent capacity, and other requirements or the particular sit-
uation
Fig. 2: Grounding Plug of 110V Units
4
Risk of electric shock.
Always have machine
properly grounded.
Grounded
Outlet
Cover of
Grounded
Outlet Box
Grounding Pin

Operation
Safety Precautions
1. Before operating the machine, read this
Owner’s Manual carefully. Learn the machine’s
applications and limitations.
2. Be sure machine is properly grounded. See the
“Installation” section for details
3. Do not use in hazardous environment.
Avoid dust and flammable vapor. Use factory
container only. Do not mix highly-flammable
materials that have low flash points (such as
gasoline, or concentrated thinners and solvents).
4. Close can lids tightly. If the can lid has been
opened, reclose it tightly before mixing.
5. Do not mix in breakable containers. No glass,
porcelain, or other breakable containers.
6. Insert the can carefully to ensure that it is held
securely during the mixing cycle. Do not use if the
can is damaged or missing bail handles.
7. Keep the work area clean. Cluttered areas and
benches invite accidents. To prevent accidents, be
sure all electrical cords are out of the way.
8. Keep Customers away. All customers should be
kept away from the work area. The mixer should be
used only by properly trained workers.
9. Counterweight Insert. To extend machine life,
use of the aluminum handle insert counterweight
is recommended.
Mixing Procedure
NOTE: If colorant has been added to the paint, be
sure to reattach paint can lid tightly (using the RED
DEVIL EQUIPMENT 1-Gallon Pail Press, Part
No. 0-5090-01for round cans only).
1. Open the cabinet Door
2. Load the can into the machine for mixing:
a. Round Gallon Cans. Insert the can into the can
holder. Slip the bail handle into the clip retainers,
making sure can is all the way to the bottom
between the four lower tabs in the canholder.
Square Gallon Cans. Insert the can into the can
holder. Push can down until fully seated at the
bottom of the can holder.
Quart Cans. Place the can inside the special
adapter (Fig. 3). Set round quart cans horizontal-
ly, with lid up (A); set square quart cans vertically,
lid up (B). Insert the adapter into the can holder.
Make sure the adapter lugs are lined up with the
bail retainers (C) and adapter is all the way to the
bottom of the canholder.
b. Close the cabinet door. The mixer has a safety
switch to prevent operation if the door is open.
c. Set the timer to the desired setting .
5
Risk of serious injury!
Never open the cabinet
door when the mixer is
running. Moving parts
inside the mixer can
cause serious injury
AB
Fig. 3: Using the 9-7842-03 Can Adapter
C

Maintenance
Safety Precautions
1. Keep the machine clean. Clean all surfaces with a
mixture of lukewarm water and mild detergent.
Avoid solvent-based cleaners or thinners.
2. To avoid electric shock, don’t get the timer, control
panel, or wiring wet.
3. Service Properly. Follow the maintenance proce--
dures outlined in this manual. If problems occur,
contact the RED DEVIL EQUIPMENT Customer
Service Department (see the back cover of this
Owner’s Manual).
Cleaning
Keep the machine clean. To remove colorant or base
paint spilled on machine surfaces:
• Base Paint or Water-Base/Glycol Colorant. Use
lukewarm water and mild detergent.
• Oil-Base/Solvent Colorant. Use mineral spirits,
Duosol, or MEK sparingly in a well-ventilated room.
To preserve the appearance of the machine do not use
abrasives to clean machine surfaces.
Troubleshooting
PROBLEM CAUSE REMEDY
Mixer won’t operate. Power cord not plugged in. Plug cord into grounded outlet.
Building circuit breaker or fuse Reset breaker or replace fuse.
blown.
Mixer door not completely closed. Remove any obstruction and close
door properly.
Motor thermal protector activated. Allow to cool, then restart.
Faulty Timer. Have qualified electrician replace
Worn, damaged, or loose drive Unplug power cord, open mixer door,
belt. and visually inspect drive belt. If
worn, damaged, loose, replace belt.
Interlock switch faulty or needs Adjust switch arm, or have qualified
adjustment. electrician replace switch.
Loose or broken wire connection Replace or repair wire connection
Excessive vibration. Damaged can. Fix can or replace.
Can not properly seated. Reinsert into can holder.
Mixer doesn’t shut off at end of Faulty timer. Have qualified electrician replace
mixing cycle. timer.
Mixer doesn’t shut off when door Faulty door interlock switch. Have qualified electrician replace
is opened. switch.
6

Wiring Diagrams
7
Model 0-5300-00-SQ
Model 0-5300-PB-SQ

Wiring Diagrams
8
Model 0-5300-E1-SQ
5784217 MOTOR HARNESS

Replacement Parts Lists
How to Order Replacement Parts
Replacement parts can be ordered from RED DEVIL EQUIPMENT CO. by mail,
telephone, or FAX:
RED DEVIL EQUIPMENT CO.
14900 21st Ave North
Plymouth, MN 55447
763-533-2969
800-221-1083
763-533-0015 (FAX)
If you need help in determining the proper part(s) to order, call 1-800-221-1083
and ask for Customer Service.
Always indicate the Model No. and Serial No. of the Mixer when ordering replace-
ment parts.
General Parts Replacement Policies
While your Mixer is under warranty, do not attempt on-site repair or parts replace-
ment without first contacting RED DEVIL EQUIPMENT CO. (to protect your
warranty).
After the warranty expires, on-site servicing and parts replacement are available
from RED DEVIL EQUIPMENT CO. Contact Customer Service for arrangements
and costs.
Subsequent service cost quotations may be affected unless RED DEVIL EQUIP-
MENT CO. replacement parts (or their approved equivalent) are used.
Restocking Fee
A restocking fee will be charged on all unused parts which are returned.
9

Enclosure Assembly
PART NO. DESCRIPTION
1 9-7835-00 Enclosure weldment
2 9-7835-01 Door weldment
3 9-7835-02 Panel, back
4 9-7820-53 Nut, U-type
5 9-7530-60 Screw, thread-forming, #10
6 9-7820-54 Nut, J-type
7 9-7823-62 Bushing
9 9-7824-41 Screw, shoulder 1/2 x 1/2
10 9-7835-10 Limit actuator
11 9-7826-75 Timer box
12 5-7838-15 Switch, limit
13 9-7813-38 Screw, pan-head, 8-32 x 1”
14 9-7818-40 Nut, Keps, 8-32
15 5-7566-90 Timer
16 9-7597-70 Washer, lock, #8
17 9-7826-81 Bumper, door
18 9-7803-81 Screw, round-head, 8-32 x 3/8”
PART NO. DESCRIPTION
19 9-7835-03 Limit bracket
20 9-7820-55 Washer, ext.-tooth, #10
21 9-7826-01 Timer plate (Model 5300-00-SQ)
22 9-7811-42 Screw, pan hd 10-32 x .50
23 9-7824-43 Timer plate
24 9-7806-33 Lockwasher, #10
25 5-7825-84 Pushbutton, green
26 5-7825-85 Pushbutton, blue
27 5-7824-48 Operation lamp
28 5-7824-45 On / Off switch
29 5-7822-11 Cycle counter
30 9-7803-53 Screw, hex hd 1/4-20 x 1.50
31 9-7824-52 Controller box
32 5-7824-47 Controller unit
33 9-7801-64 Lock washer, 1/4
34 9-6541-00 Nut, hex 1/4-20
35 9-7807-89 Bumper pad
- 9-7829-75 Holder, Insert (Not Shown)
10

11
Main Assembly

Main Assembly
12
PART NO. DESCRIPTION
1 9-7835-04 Base weldment, SQ
2 9-7820-44 Foot, Floor stand
3 6-7819-10 Frame weldment
4 9-7825-37 Gear
5 9-7818-50 Screw, socket-head, 1/4-20 x 1"
6 9-7801-64 Washer, lock, 1/4"
7 5-7824-18 Motor (00, PB)
7 5-7822-05 Motor (E1)
8 9-5617-00 Screw, hex-head, 5/16-18 x 1”
9 9-4961-00 Nut, hex, 5/16-18
10 9-7605-21 Washer, lock, 5/16"
11 9-1000-23 Washer, flat, 5/16"
12 9-7819-29 Isolator, rubber
13 9-7803-43 Nut, Nylock, 1/4-20
14 9-7819-18 Pulley (00, PB)
14 9-7821-82 Pulley, (E1)
15 9-7823-89 Pulley, motor
16 9-7835-23 Belt
16 9-7821-81 Belt, (E1)
17 9-7819-03 Bearing
18 9-7819-02 Housing, bearing
19 9-7819-06 Shaft, drive
20 9-7819-60 Key, square, 3/16" x 1"
21 9-7819-04 Washer, spacer
22 9-7819-21 Counterweight
23 9-7819-61 Screw, pan-head, 10-32 x 2 3/4"
24 9-7807-49 Washer, flat, #10
PART NO. DESCRIPTION
25 9-7806-33 Washer, lock, #10
26 9-7813-83 Nut, Nylock, 10-32
27 9-7812-09 Screw, pan-head, 10-32 x 3/4"
28 9-7819-20 Bracket, counterweight
29 9-7819-39 Bolt, shoulder, 5/16" x 2"
30 9-7825-38 Gear
31 9-7819-05 Block, aluminum
32 6-7819-07 Shaft, drive, can
33 9-7835-41 Tab, spring SQ
34 9-7829-45 Universal Can Holder
35 9-7819-63 Screw, set, 10-24 x 3/4"
36 9-7808-86 Bolt, 3/8-16 x 1"
37 9-7803-81 Screw, 8-32 x 3/8"
38 9-7597-70 Washer, int.-tooth, #8
39 6-2159-73 Wire assembly
40 9-7818-40 Nut, Keps, 8-32
41 9-7835-07 Plate, Weight SQ
42 9-7818-96 Collar
43 9-7835-09 Middle Frame, Weldment SQ
44 9-7834-10 Plate, Universal can holder
45 9-7835-05 Screw, Flat head 1/4-20 x 1/2
46 9-7835-29 Washer, Nylon
47 9-7815-41 Screw Hex 1/4” x 2 1/4”
48 9-7801-83 Screw Hex 1/4” x 1 1/4”
49 9-7843-22 Washer, Spacer- Thin (top washer only)
Assemblies
-6-7820-88 Housing & shaft assembly
Includes bearing #17, bearing housing #18, and drive shaft #19
-6-7820-89 Block & can drive assembly
Includes bearing #17, aluminum block #31, and can drive shaft #32
-6-7835-20 SQ Can Holder Assy
Includes #24, #26, #33, #34, #44 and #45

WARRANTY TERMS & CONDITIONS
Warranty Terms and Conditions
Equipment Covered Under This Warranty:
1015/5300 Speed Demon® Series, 5400/5410 Series, 5025 Red D Mix™,
5305/5315 Speed Demon 5™ Series, 5990 Multi-Size Shaker,
1025 Red D Mix™
Warranty
Red Devil Equipment Co. warrants equipment manufactured by it and bearing its name to be free from defects
in material and workmanship.
Red Devil Equipment Co. will provide replacement parts caused by failure due to production or manufactur-
ing error. Cost of labor and transportation for service of machines under this warranty will also be covered
during the warranty period. Normal ground freight will be covered for replacement parts sent within the war-
ranty period for parts and machines. UPS ground or common carrier ground freight will be covered for the
return of defective items only.
This warranty applies only when the equipment is installed, operated and maintained in accordance with writ-
ten Red Devil Equipment Co. instructions as appearing in the owner's manuals.
This warranty does not cover, and Red Devil Equipment Co. shall not be liable for, any malfunction, damage
or wear caused by faulty installation, misapplication, abrasion, corrosion, inadequate or improper mainte-
nance, negligence, accident, tampering, or substitution of non-Red Devil Equipment Co. component parts,
modification or use for non-intended purpose. Nor shall RDE be liable for malfunction, damage or wear
caused by the incompatibility with RDE equipment of structures, accessories, equipment or materials not sup-
plied by RDE.
Disclaimers and Limitations
The terms of this warranty constitute purchaser's sole and exclusive remedy and are in lieu of any other war-
ranties, express or implied. In no case shall Red Devil Equipment Co's liability exceed the amount of the pur-
chase price. Any action for breach of warranty must be brought within 1 year of the date of the sale. *All
warranty repairs must be executed by an RDE Authorized Service Center or warranty will be voided.
Equipment Not Covered
Equipment not covered by this warranty: Red Devil Equipment Co. makes no warranty, and disclaims all
implied warranties of merchantability and fitness for a particular purpose, with respect to accessories, equip-
ment, materials or components sold but not manufactured by RDE.
The items sold, but not manufactured by Red Devil Equipment Co. (such as computers, electric motors,
switches, etc.) are subject to the warranty, if any, of their manufacturer. Red Devil Equipment Co. will pro-
vide the purchaser with reasonable assistance in making any claim against accessories or components manu-
factured for breach of these warranties.
Please contact your Red Devil Equipment account representative toll-free at 800-221-1083 for specific ques-
tions regarding warranty terms.
Revised: 05/30/06
13

June 2006
For sales or service, please contact Customer Service:
763-533-2969
800-221-1083
763-533-0015 (FAX)
RED DEVIL EQUIPMENT CO.
Attn: Customer Service Dept.
14900 21st Ave North
Plymouth, MN 55447
www.reddevilequipment.com
This manual suits for next models
2
Table of contents
Other RED DEVIL Paint Sprayer manuals
Popular Paint Sprayer manuals by other brands

Thermo Scientific
Thermo Scientific MaxQ 2000 CO2 Plus user manual

Craftsman
Craftsman CMXGZBF7124533 instruction manual

Graco
Graco Ultimate NOVA 395 PC Operation, parts

Generac Power Systems
Generac Power Systems Dust Fighter DF Smart user guide

Grizzly
Grizzly H7670 instruction manual

Steel Core
Steel Core 40828 manual